











Most advice about belly button piercing top or bottom starts with the wrong question. You're probably thinking about which placement looks better with a crop top, but the placement that photographs best in week three isn't automatically the one that survives jeans, leggings, seatbelts, bending, sleeping, and daily movement.
The smart choice is the placement your anatomy can support with the least friction across a 6 to 12 month healing period. A top piercing is the standard for a reason, but a bottom placement can work when the lower rim gives a piercer enough stable tissue. Your anatomy, your clothing, and the jewelry you plan to wear matter more than a trend photo.
Why Placement Matters More Than You Think
The best belly button piercing top or bottom placement is not the one that looks most striking in a photo. It is the one your anatomy can support while clothing, body movement, and jewelry apply pressure throughout healing. A navel piercing passes through a fold, or “lip,” of skin that holds the jewelry while the opening remains clear. The standard version uses the upper rim, while a bottom-rim version can work when the lower fold provides enough stable tissue. This anatomy-focused guide explains why the distinction matters.
Plan for a full year of pressure and movement, not just the first few weeks. Waistbands press against the jewelry when you sit. Seatbelts drag across the area. Leggings can trap moisture and rub the entry points. A mark that looks perfectly straight while standing may shift when you bend, twist, or sleep.
A bad placement usually reveals itself slowly. The jewelry may tilt, the skin channel can become irritated, and more of the bar may show as the tissue migrates. Choose a piercer who checks your navel while you stand, sit, and bend. Marking a standard spot without observing how the fold moves is poor practice.
Practical rule: Choose the placement that stays calm under clothing pressure, not the one that looks most dramatic in a still photo.
Top and bottom placements also change the jewelry requirements. A stable upper fold commonly supports a curved barbell and a wider range of healed jewelry. A lower placement may require a smaller, simpler design when movement is high or a waistband sits directly over the lower exit.
The upper placement became the standard through fashion history. Navel piercings rose in punk culture in the early 1970s and gained mainstream visibility in 1993, when Christy Turlington and Naomi Campbell revealed pierced navels at a London fashion show. A 2005 UK survey of 10,503 respondents found that 33% had navel piercings, making the navel the most common body-piercing site in that sample, as reported in the historical placement overview.
That history explains the usual top placement, not a universal rule. The right decision still depends on available tissue, movement, healing friction, and jewelry fit.
Anatomy of the Navel and Where a Piercing Sits
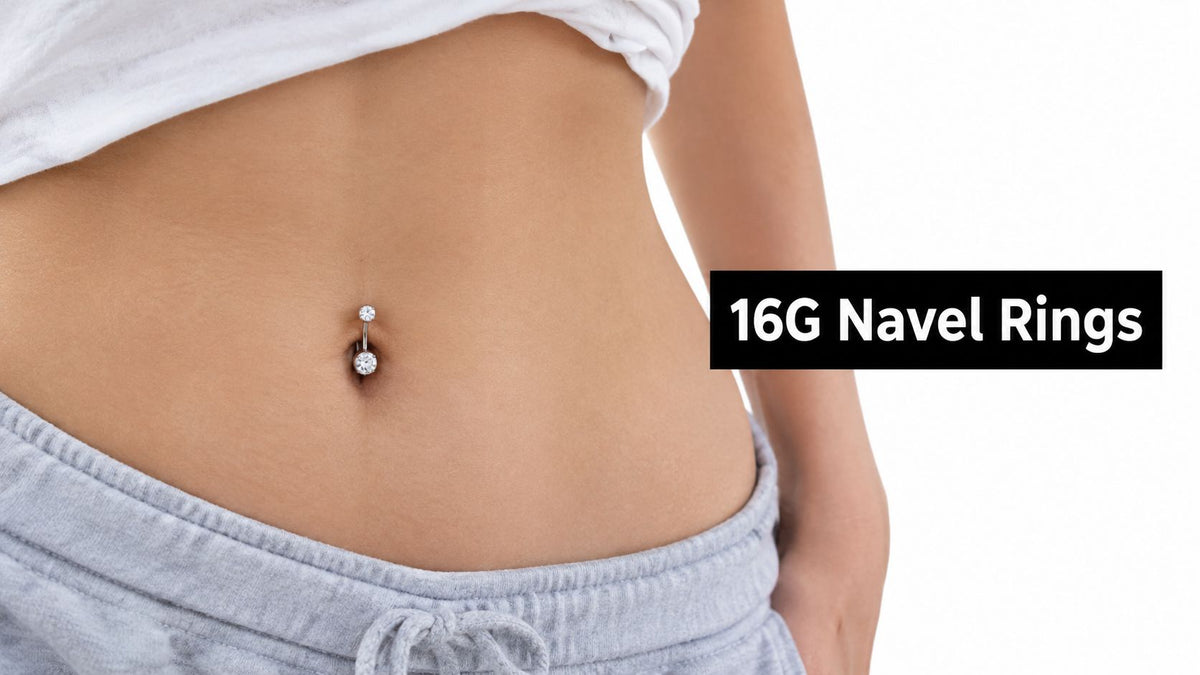
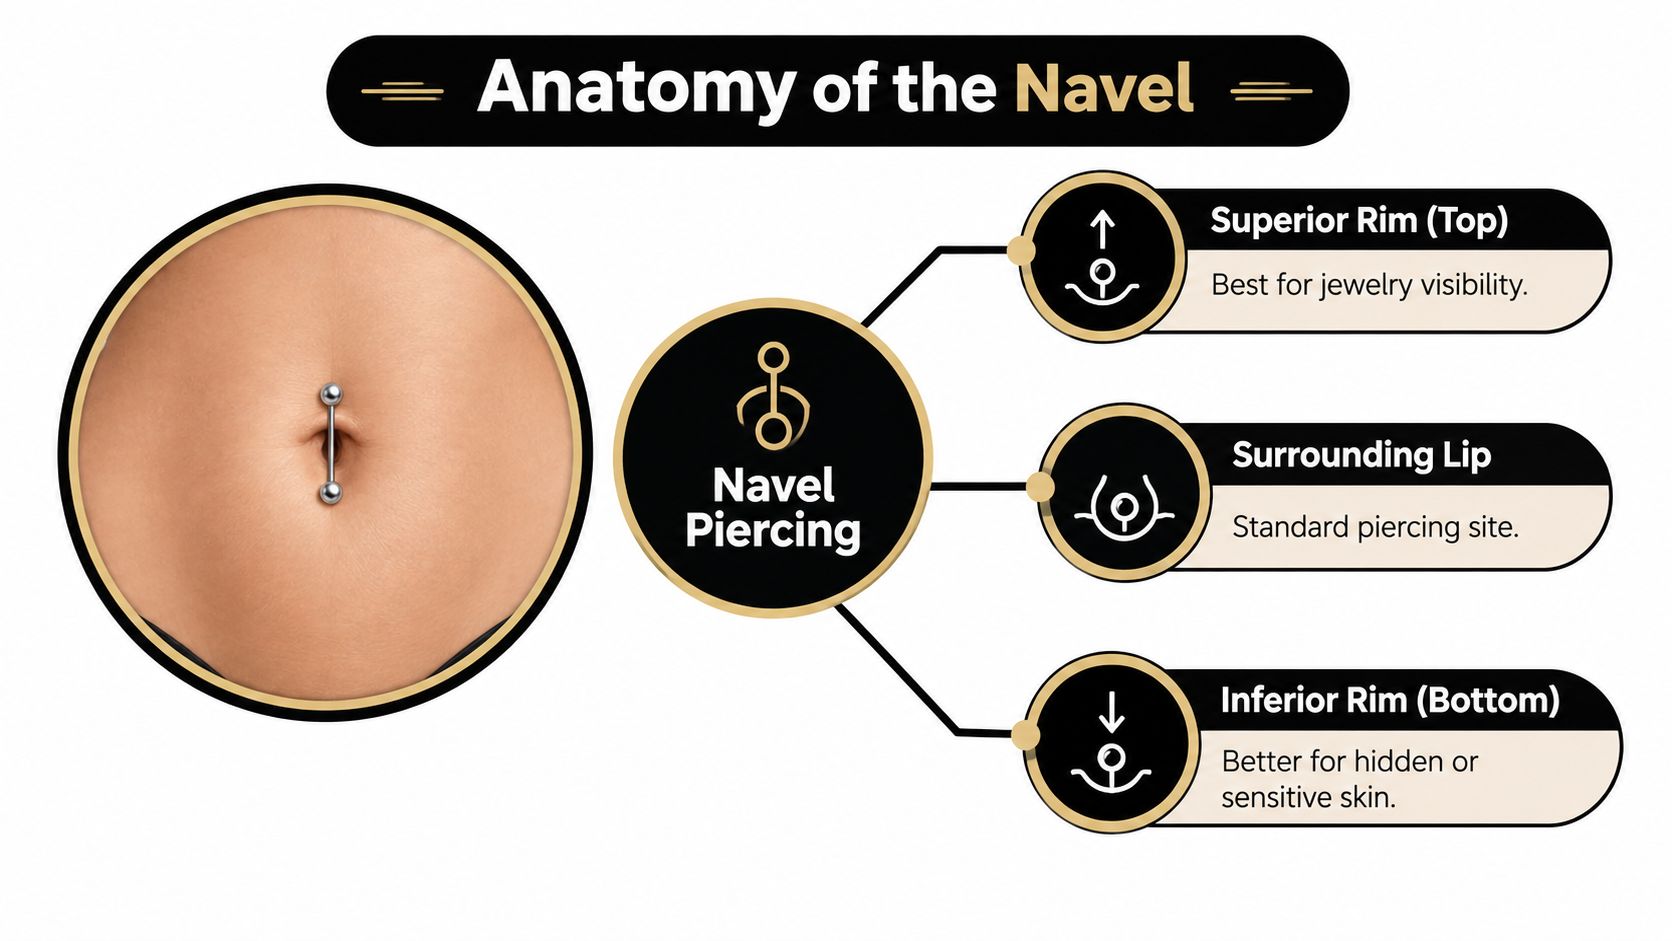
Your navel is a flexible fold of tissue, not a flat target. The upper fold is the superior rim, the lower fold is the inferior rim, and the surrounding lip forms the skin shelf a piercer evaluates for support. The channel should pass through that shelf rather than through the central navel canal. Placement that looks best in a photo can still heal poorly if the fold moves across the jewelry or clothing presses on the exits.
A standard top placement enters through the upper rim and exits above the opening. A bottom, or inverse, placement uses the lower rim and exits below it. Side or surrounding placements work only when the surrounding tissue creates a stable path and remains calm through bending, sitting, and everyday clothing friction.
What a piercer checks
A skilled piercer assesses your navel while you stand, then checks how the tissue changes in motion. They should examine:
- Tissue thickness: The fold must hold curved jewelry without excessive pressure at either exit.
- Fold projection: A defined upper lip often gives a curved barbell a steadier shelf.
- Canal depth: A deep or hooded navel may need a floating style so the lower end does not press into the skin.
- Movement: The fold should remain usable when you bend and sit, rather than closing tightly around the bar.
Many piercers use a three-pinch assessment to compare the upper rim, lower rim, and surrounding tissue. You can feel these areas gently at home, but a self-check cannot approve a piercing. Tissue that feels substantial while standing may flatten, bunch, or shift when you sit.
The top rim commonly wins because it offers a thicker, steadier shelf for a curved barbell. The bottom rim can work when it has enough support and stays clear of waistband pressure. Treat it as an anatomy-specific choice, not a simple way to reverse the classic look. For more detail on jewelry and navel structure, read BodyCandy's anatomy guide to belly rings.
Your piercer should mark the site while you stand and reassess it while you sit. If the upper rim collapses, pinches, or leaves too little tissue, choose another style or skip a navel piercing. The placement that heals well over six to twelve months is the one that limits clothing friction and tissue movement throughout recovery.
Top vs Bottom Placement Side by Side
The top placement is the clear default for many. It usually has a more stable upper fold, works naturally with a curved barbell, and offers more flexibility once the piercing has healed.
The bottom placement can look striking, especially with a decorative end below the navel, but it depends heavily on the lower rim. If that tissue is thin, loose, or constantly compressed by clothing, the piercing has a tougher healing environment from the start.
| Factor | Top Placement | Bottom Placement |
|---|---|---|
| Typical tissue | Often uses a more defined upper lip | Requires a supportive lower rim |
| Jewelry fit | Usually suits a curved barbell | May need a more carefully selected bar |
| Clothing pressure | Waistbands may press on the lower jewelry end | Waistbands can press directly on the lower exit |
| Movement | Often steadier when the upper fold stays open | More vulnerable when lower skin bunches while sitting |
| Style range | Broad options after healing, including decorative pieces | More limited until the anatomy and channel prove stable |
| Long-term wear | Usually the easier everyday configuration | Depends on lower-rim stability and low friction |
Why top placement is easier to live with
The upper fold commonly gives the jewelry a stronger anchor. That doesn't make it friction-proof, but it gives the piercing a better starting position for the long recovery. A top placement also pairs naturally with floating, reverse, and classic curved-barbell styles.
Bottom placement has a narrower margin for error. The jewelry may sit closer to a waistband, and a lower fold that bunches when you sit can repeatedly tug on the channel. If your piercer recommends bottom placement, ask which jewelry shape will keep pressure off the fold during healing.
BodyCandy's guide to bottom belly piercings and top-mount jewelry is useful for understanding how the decorative end can be positioned differently from a classic navel ring.
The recovery window is the deciding factor. A placement that feels fine for a few days still has to tolerate months of clothing friction and body movement before you judge its durability.
Healing Realities for Top and Bottom Piercings
Navel piercings commonly need 6 to 12 months to heal, and complete internal healing may take up to 12 months or even up to 18 months in some guidance. Independent medical and aftercare guidance connects the long timeline to the area's movement, bending, sitting, waistbands, and friction.
A top piercing usually benefits when the upper fold remains firm and open as you move. Clothing can still push against the lower end, but the tissue shelf may keep the channel steadier. A bottom placement often faces more bunching underneath the navel, which can make sitting, bending, and high-waisted clothing especially irritating.
| Friction Source | Top Rim | Bottom Rim |
|---|---|---|
| Jeans and waistbands | Often press against the lower jewelry end | May press directly across the lower exit |
| Leggings | Can rub and trap moisture around the bar | Can compress the lower fold more noticeably |
| Seatbelts | May cross the lower end depending on position | Can drag across the lower piercing path |
| Sleeping | Stomach sleeping can put pressure on the upper fold | Sheet and towel drag may catch the lower jewelry |
| Exercise | Bending and core movement can tug the fold | Compression and bunching can stress the lower rim |
What six to twelve months looks like
The outside may look settled before the internal channel is ready. That's why a calm-looking piercing can flare after a jewelry change, a week of tight clothing, or repeated friction from exercise. Treat the entire healing period as active recovery, not as a short phase that ends when swelling disappears.
Avoid twisting or rotating the jewelry. Clean with sterile saline, keep the area dry after washing, and avoid contaminated water such as pools, hot tubs, lakes, and the ocean while it heals. Guidance from medical aftercare advice also warns against alcohol, hydrogen peroxide, iodine, and other irritating products.
Your clothing is part of your aftercare. If a waistband repeatedly hits the piercing, changing the placement or changing the wardrobe is more useful than adding stronger products.
Pain, swelling, infection, and hypertrophic scarring are recognized complications of body piercings. In one medical-student study, 50% of students with piercings reported local reactions, and navel piercings were associated with higher frequencies of pain, swelling, and infection, according to the published study. Increasing pain, spreading heat or swelling, or concerning discharge deserves medical attention, not an improvised jewelry change.
For a practical list of irritation problems and warning signs, use this belly piercing problems guide.
Jewelry That Fits Top and Bottom Placements
The most flattering jewelry is the piece that stays quiet during healing. Choose for gauge, tissue depth, and clothing friction first. Decorative style comes after the jewelry can sit without pulling, swinging, or pressing through the full recovery window.
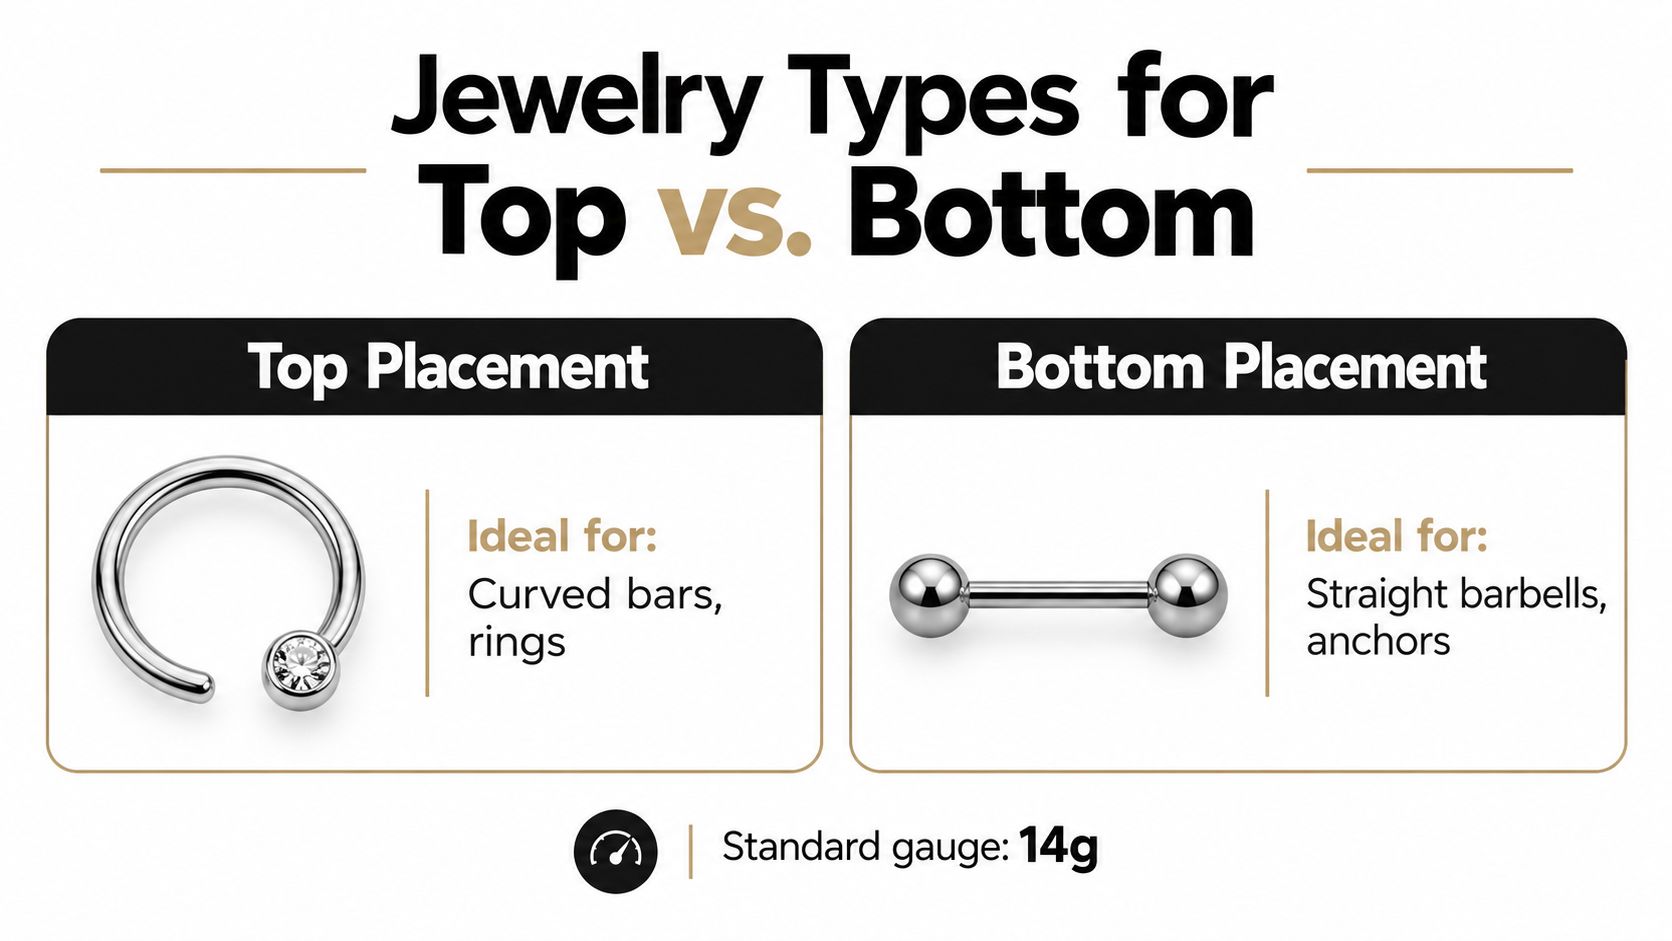
Common navel jewelry uses 14G, or about 1.6 mm, with wearable lengths from 5/16 inch to 5/8 inch. A healed fit is often 3/8 inch, or 10 mm, while 5/16 inch, or 8 mm, and 7/16 inch, or 11 mm, can suit different anatomy, according to BodyCandy's anatomy and sizing guide to belly rings.
Match the shape to the fold
- Top placement: Start with a curved barbell. After healing, rings, clickers, captive rings, seamed rings, and dangles can work if they do not create constant pull or catch on clothing.
- Shallow top folds: A floating navel piece with a flat disc or small lower end reduces pressure from a traditional bottom ball.
- Bottom placement: Use jewelry fitted specifically to the lower rim. A reverse top-drop design can keep the decorative focus above the navel while leaving the lower end less bulky.
Initial jewelry needs space for swelling, but excess length creates movement, snagging, and repeated contact with waistbands. A bar that is too short presses into tissue. One that is too long swings against clothing. Your piercer should measure the wearable length while examining the fold, rather than selecting a generic size.
Material affects comfort too. Implant-grade titanium is a practical choice for sensitive healing tissue. Surgical steel may suit a fully healed piercing if nickel does not bother you. Skip heavy shields and dangling pieces during healing. Gravity turns decorative movement into repeated irritation, especially when denim, leggings, or other fitted clothing presses against the placement. Choose the piece that minimizes friction and tissue movement, even if a different style photographs better.
How to Choose the Right Placement for You
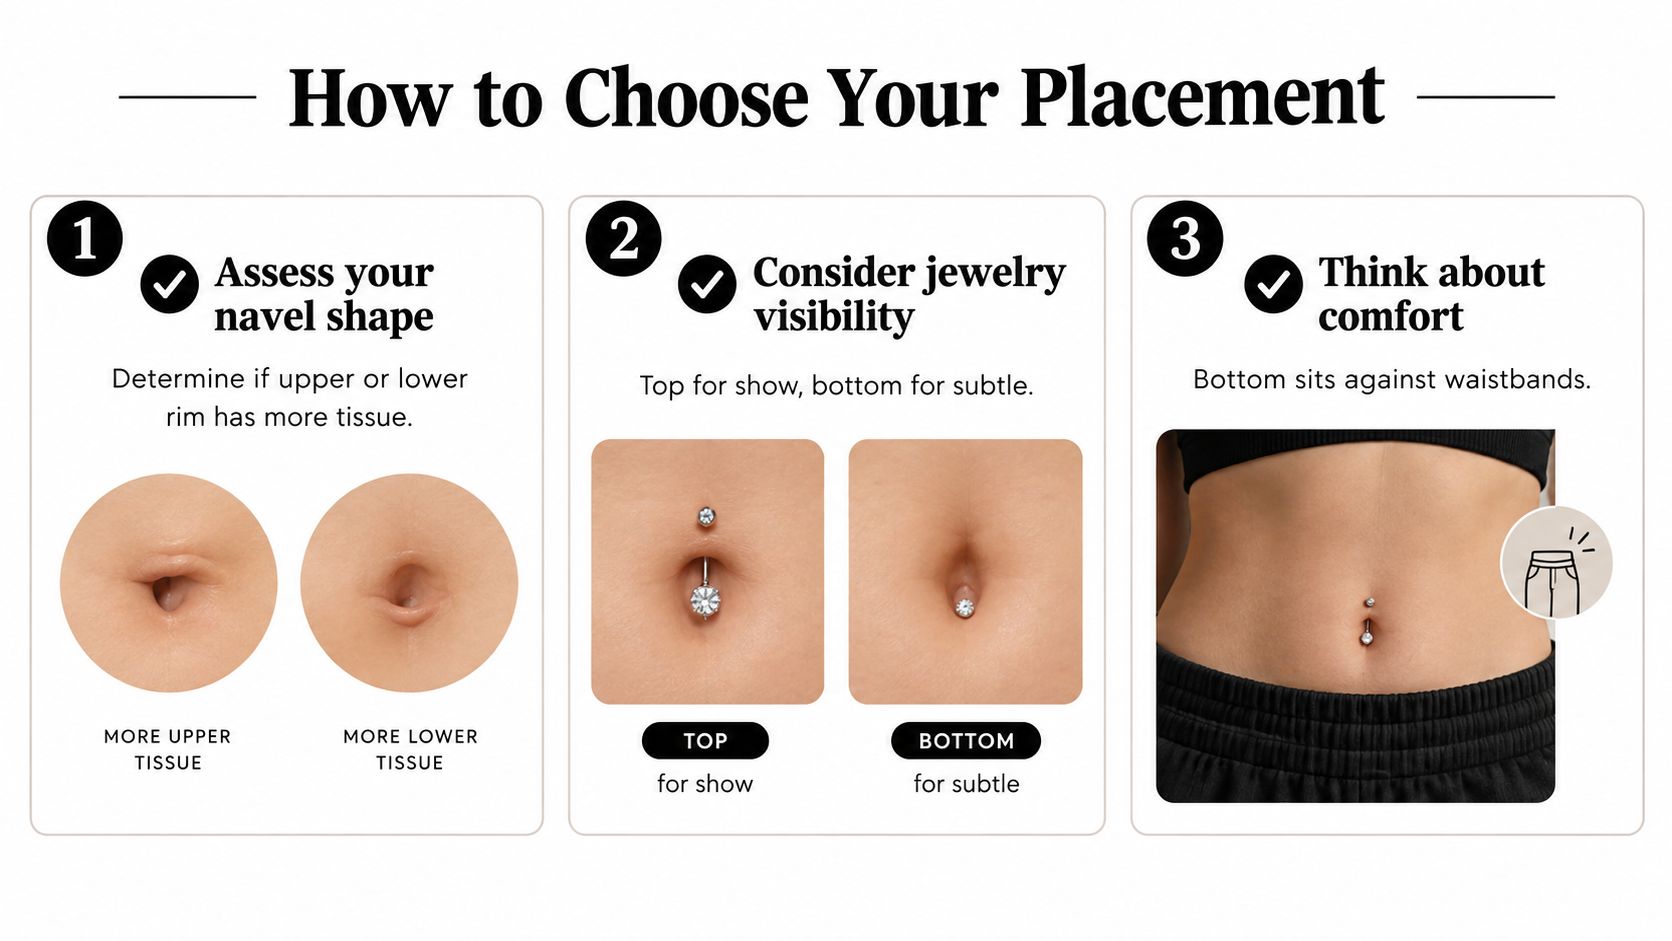
Start with your body, not the jewelry display. The upper rim is usually the firm ridge that catches your finger first. If it has enough tissue and stays naturally open when you bend or sit, top placement is usually the sensible choice.
A bottom placement should require a specific reason. Choose it only when an experienced piercer has assessed the lower lip and confirmed that it can support the jewelry without constant bunching or waistband pressure.
Use this pre-appointment check
- Feel the upper and lower rims gently. Compare which fold feels more substantial and defined. Don't pinch hard or manipulate the skin repeatedly.
- Bend and sit normally. Notice whether either fold collapses, pinches, or becomes covered by a waistband.
- Check your everyday clothing. High-waisted denim, fitted dresses, athletic leggings, and long periods of sitting can make a seemingly attractive placement impractical.
- Think about your preferred jewelry. A classic curved barbell, a floating piece, and a decorative bottom drop place pressure in different areas.
- Bring your observations to a piercer. Let them confirm the tissue, angle, and wearable length with professional assessment.
My direct recommendation
Pick top placement unless your piercer finds that your upper fold collapses or lacks usable tissue. Pick bottom only when the lower rim is clearly more stable and your clothing habits won't keep pressing on it.
Don't choose bottom because it looks more unusual in photos. Don't choose top because it's traditional if the upper fold pinches shut when you sit. The right decision is the one that combines stable anatomy, manageable friction, and jewelry you can wear comfortably throughout healing.
Shop Belly Rings Built for Your Placement
Shopping should happen after the placement decision, not before it. A pretty belly ring with the wrong bar length can press into tissue, move too much, or catch on clothing. Measure the piercing with help from your piercer, especially if the piercing is still healing.
For a standard top rim
Choose a curved barbell with a length that allows for swelling without leaving excessive movement. The common 14G size is a useful reference, but your piercer should confirm whether your anatomy needs a shorter or longer wearable length. Keep the decorative ends light during healing, then move into gems, reverse designs, or dangles after the channel is fully settled.
This setup works well when your upper fold is defined and the lower end sits inside the navel without pressing against the surrounding skin. It also gives you the widest styling range for everyday wear.
For a shallow or collapsing top fold
A floating navel ring can reduce bulk inside the navel. Its small lower end or flat disc stays more discreet, while the upper decoration remains visible. That can help when a traditional bottom ball sits flush against the skin or when a large lower end catches on waistbands.
Use a fit that leaves room for swelling during healing. A shorter bar may be appropriate later, but downsizing should happen only after a piercer confirms that the tissue is ready.
For a supported bottom fold
A reverse top-drop or custom-fit piece can work when the lower rim has enough stable tissue. The decorative portion sits above the navel, while the lower end is kept simpler to reduce weight and friction near the bottom exit.
Bottom anatomy often needs more careful sizing than a standard top placement. A bar that's too long may move against clothing, while one that's too short can embed as swelling changes. A piercer should check the fit in both standing and seated positions before you order replacement jewelry.
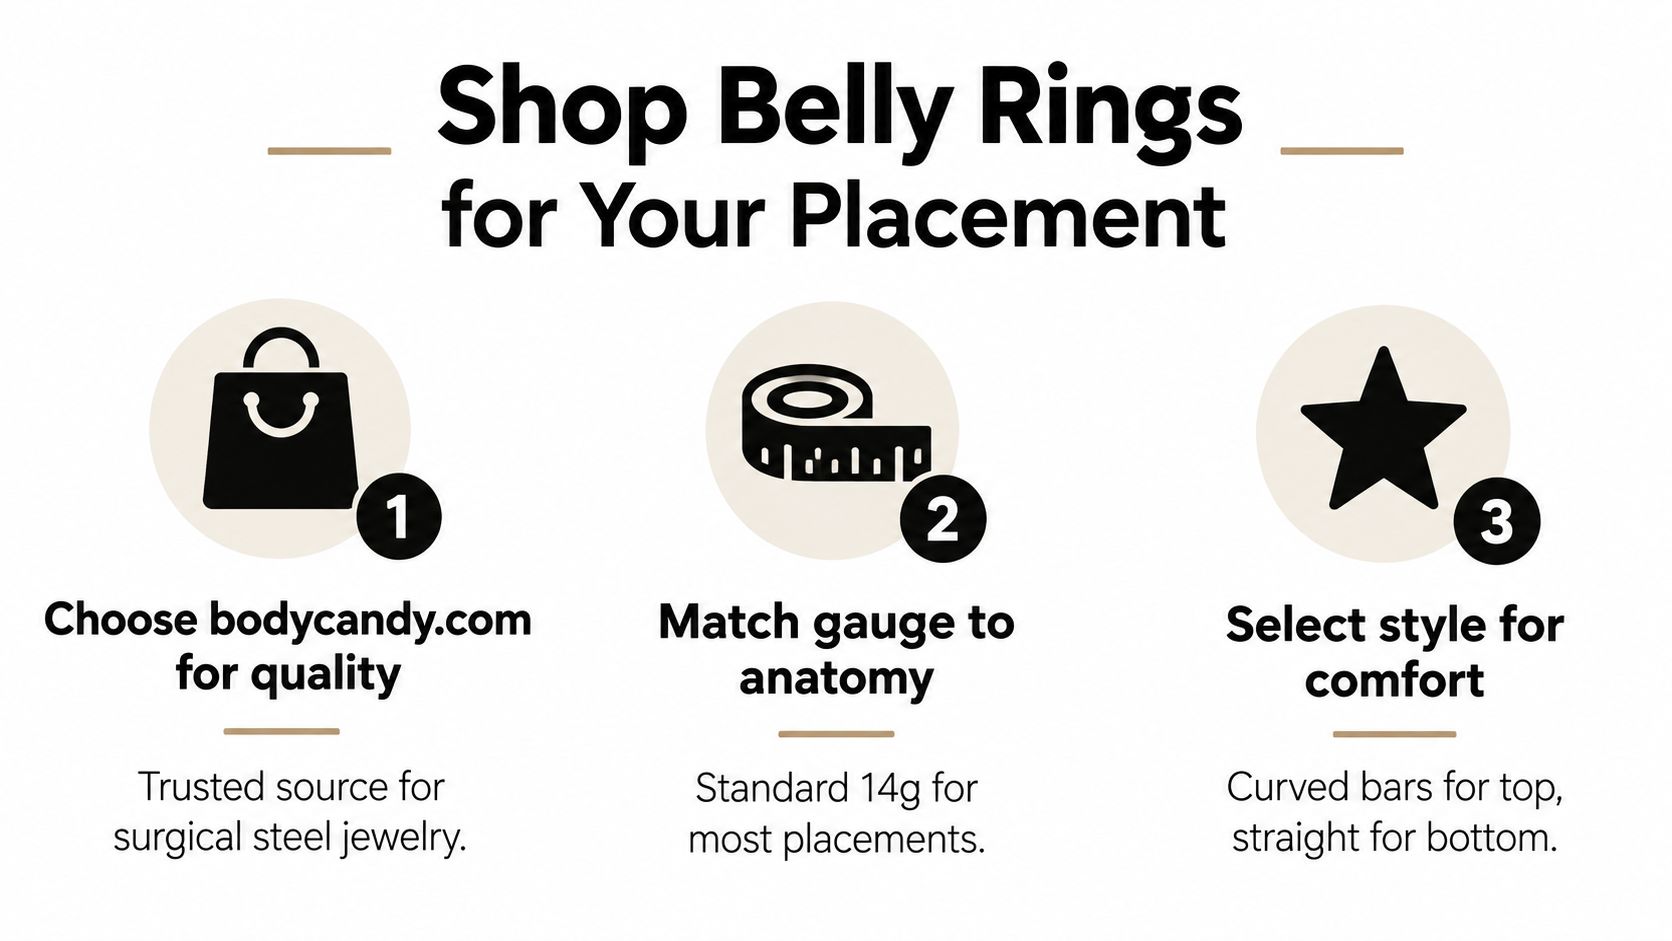
BodyCandy offers belly rings in different styles and sizing options, including pieces suited to classic top placements, floating looks, and decorative top-focused designs. Match the gauge, length, material, and weight to your anatomy instead of buying solely by appearance.
Browse the BodyCandy belly ring collection to compare curved barbells, floating styles, and placement-conscious designs for your next jewelry choice. Choose the piece that gives your piercing room to heal and keeps clothing friction under control.