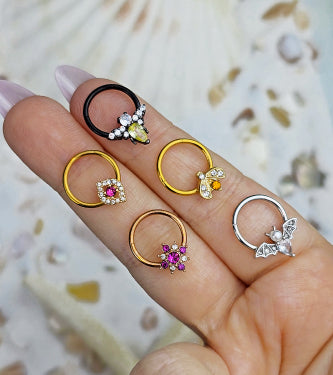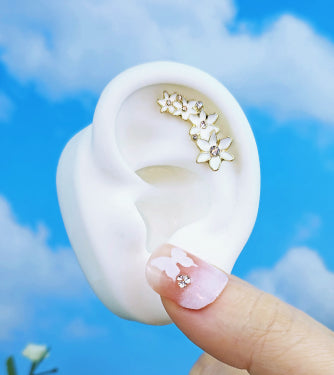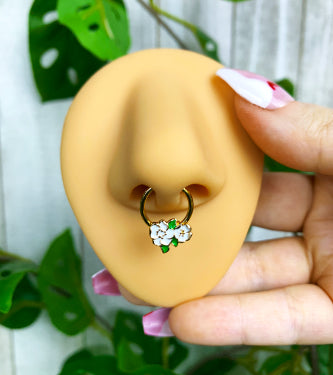












You've found it: the little dagger, dramatic gemstone cluster, or dangling charm that would make your piercing setup feel completely yours. Then you open the product details and hit the less glamorous questions. Will it fit? What's underneath that finish? And is your piercing ready for it?
Unique body piercing jewelry should suit your anatomy and healing stage, not just your mood board. You don't have to abandon the bold piece. You might need a different post, a better-documented metal, or a little more patience before wearing it.
Materials That Keep Unique Designs Safe
That striking celestial barbell looks perfect until you discover it's plated brass. The decoration isn't the problem. The question is what will touch your tissue when the finish scratches or wears.
For fresh or healing piercings, material selection is a safety specification. Clinical guidance identifies implant-compatible titanium, niobium, suitable surgical-grade steel, and solid 14- or 18-karat gold as preferable options, while warning about reactions associated with brass and nickel-containing alloys.
Materials for unique body jewelry compared
| Material | Best for | Nickel risk | What to verify |
|---|---|---|---|
| Implant-grade titanium | Fresh and sensitive piercings | Very low when verified | Implant-grade documentation, including the claimed ASTM F136 specification |
| Niobium | Sensitive skin and nickel-allergic wearers | Very low when verified | Solid niobium, not a coated base |
| Solid gold | Long-term wear, statement pieces | Low when solid and nickel-free | Karat stamp, alloy disclosure, solid versus filled or gold-plated |
| Surgical steel | Everyday wear after healing, subject to sensitivity | Variable, can release nickel | Nickel-release test or material certificate |
| Acrylic or bioplast, flexible | Sometimes marketed for initial jewelry on curved sites, but not a default recommendation | Low nickel concern doesn't establish tissue compatibility | Medical-grade documentation, suitability for the placement, and sizing for swelling |
| Brass or plated base metal | Fashion swaps after full healing only, if tolerated | Potentially high if a nickel-containing base is exposed | Base metal disclosed under the finish |
Treat the flexible-material row as a caution, not permission. A product being bendy, comfortable-looking, or labeled medical-grade doesn't establish that it's appropriate for a fresh piercing. Ask your piercer to assess the specific product rather than choosing by material category alone.
Verified implant-grade titanium is a sensible starting point for fresh or sensitive piercings. If a listing names ASTM F136, ask for documentation supporting that specification. Niobium is another option to discuss, particularly when you need to avoid nickel.
Look past the metal's nickname
The word gold isn't a construction description. A karat stamp matters, but so does confirming that the piece is solid and that its alloy meets your needs. Gold-colored, gold-filled, and gold-plated aren't interchangeable with solid gold.
Likewise, 316L surgical steel isn't automatically nickel-free. A systematic review of nickel release and piercing jewelry reports that even AISI 316L can release nickel and describes allergic nickel dermatitis associated with stainless-steel piercing kits. It identifies EN 1811 as the reference nickel-release test and dimethylglyoxime testing as a practical screening method, not a substitute for full material documentation.
Shopping rule: Buy the metal specification, not the reassuring adjective.
Before adding anything to your cart, check:
- Exact base metal: Look for the actual material and alloy, not just premium metal.
- Plating status: Establish whether the finish covers another material.
- Nickel documentation: Ask about a nickel-free claim, material certificate, or release-test result.
For help interpreting product descriptions, use this guide to allergic reactions, piercing care, and jewelry materials.
Gauge and Length Charts for Distinctive Designs
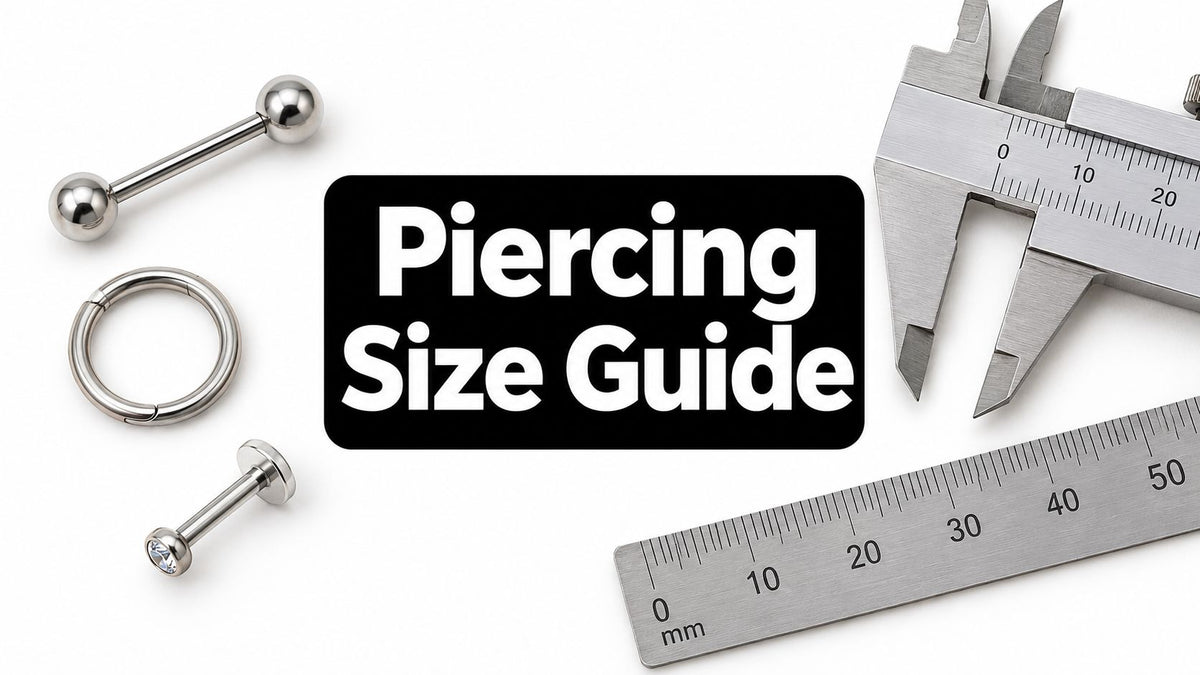
A bold end can draw the eye, but the post still needs to fit the piercing. Use this chart to compare common gauge sizes, then have your piercer confirm the actual diameter before ordering.
| Gauge | Approx. mm | Approx. inches | Common uses |
|---|---|---|---|
| 18g | 1.0 mm | 0.040 in | Helix, tragus, nose hoops |
| 16g | 1.2 mm | 0.050 in | Cartilage, septum, eyebrow |
| 14g | 1.6 mm | 0.063 in | Lip, navel, nipple barbells |
| 12g | 2.0 mm | 0.080 in | Lobe stretching, large cartilage |
| 8g | 3.2 mm | 0.125 in | Early lobe stretching |
| 6g | 4.0 mm | 0.160 in | Tunnels, stretched lobes |
| 4g | 5.0 mm | 0.200 in | Large tunnels, plugs |
These approximate conversions and placement examples follow the body jewelry gauge-sizing guide. They're shopping references, not prescriptions for your anatomy. Listings can use different conversions or rounding, so confirm the actual diameter with your piercer, especially when a product description mixes gauge, millimeters, and inches.
Gauge describes the thickness of the part passing through your piercing. In this sizing system, a higher gauge number means a thinner piece. A delicate-looking decorative end doesn't necessarily have a thin post, so check the post measurement separately.
Separate thickness from wearable length
Start with the jewelry that fits your established piercing, rather than guessing from a product photo. Ask your piercer to confirm both the gauge and the wearable length, the portion of the jewelry that sits through the tissue.
Initial jewelry needs room for swelling, and your piercer should determine the fit. Don't order the shortest bar that looks right or add an arbitrary amount yourself. Too-tight jewelry and excess length create different fit problems.
- Straight or curved bars: Confirm how the seller measures the wearable section.
- Hoops: Check the internal diameter as well as the gauge.
- Decorative ends: Verify that the attachment system matches your post.
- Custom pieces: Have the measurements checked before approving production.
Check the connection, too
Threadless and threaded ends aren't automatically interchangeable. For threaded jewelry, ask whether the connection is internal or external, and whether the stated length covers the wearable shaft or includes connection hardware.
Exposed threading can catch during insertion. Don't force an unfamiliar piece through a piercing channel. Have your piercer check compatibility and fit first.
Stretched lobes need their own measurements. A tunnel's wearable area, flare, and opening affect how it fits, while a ring worn through a tunnel adds a separate diameter choice. A dramatic product photo can't show whether that combination will sit comfortably on your ear.
Confirm measurements before approving a custom order.
Matching Designs to Placement and Healing Time
A sculptural hoop may look perfect in a healed earlobe, then snag on clothing in a healing navel. Before choosing a standout design, consider your anatomy, the angle of the piercing, nearby clothing, and how much the jewelry will move. The right piece depends on both placement and healing stage.
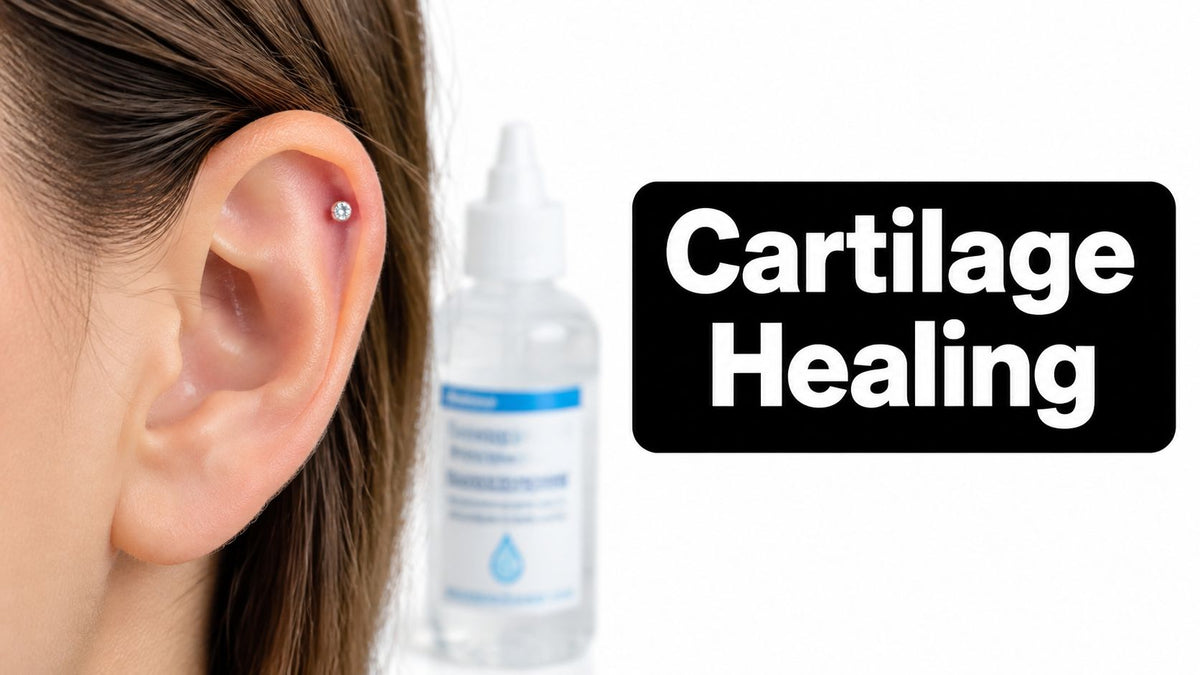
Healing estimates help with planning, but a calendar date isn't clearance to change jewelry. The windows below are general estimates, not guarantees. Healing varies by person and placement, and a piercing can become irritated or infected during healing, as explained in this clinical guide to piercing healing and infection.
Healing windows and design starting points by placement
| Placement | Typical healing window | Start with | Explore after healing |
|---|---|---|---|
| Earlobe | 6 to 8 weeks | Piercer-fitted flat-back or threadless stud; small hoops only when appropriate | Stacked lobe designs, dangle earrings |
| Helix | 3 to 6 months | Small stud; a slim curved barbell only if suitable for the specific channel | Ear cuffs that don't press on the piercing, sculptural hoops, helix stacks |
| Daith and tragus | Up to 12 months | Placement-specific, low-profile jewelry; a curved barbell isn't a universal choice | Anatomy-appropriate hoops or statement studs |
| Nose | 2 to 4 months | Properly fitted flat-disc or slim nose stud | Hoops, nostril screws, custom nose pieces |
| Nipple | 6 weeks to 6 months | Smooth, low-profile barbell fitted to the anatomy | Decorative shields, chain-linked barbells |
| Navel | 9 to 12 months | Properly fitted curved barbell with swelling allowance; flexible jewelry requires individual assessment | Dangle charms, gemstone barbells |
Treat the starter options as topics to discuss with your piercer, not as a menu for self-prescribing. Daith and tragus placements have different anatomy, so they may need different jewelry even when their healing estimates overlap.
Mayo Clinic's piercing guidance advises leaving the original jewelry in throughout healing, including overnight, to help keep the channel open. If the fit needs attention before healing is complete, have a qualified piercer assess it. A fit adjustment is different from a fashion change.
Compare how the jewelry behaves
A product photo rarely shows how a piece will behave against your body. Check its details before committing to the most eye-catching option:
- Connection: Does the threaded or threadless end match its post and fasten securely?
- Prongs and edges: Could exposed details catch on hair, fabric, or a towel?
- Weight and movement: Will a dangling ornament tug repeatedly or swing against the piercing?
- Surface finish: Are the areas that touch tissue smooth and free of damage?
- Swelling allowance: Has a piercer confirmed the jewelry leaves enough room without excess length?
- Daily contact: Could headphones, waistbands, helmets, or your sleep position press against it?
For a fresh piercing, a low-profile piece can be the practical choice, even if your long-term style is gloriously extra. Repeated catching and movement can prolong irritation. Save swinging chains and elaborate ornaments for a placement that has healed and can comfortably support them.
The linked Association of Professional Piercers material on piercing complications is a reason to take piercing care seriously, not a basis for predicting your individual outcome. Fit, healing, and metal sensitivity all matter when choosing jewelry. If you have reacted to metals before, tell your piercer before selecting a piece.
Know when styling should stop
Build an ear stack or nose setup gradually, giving each piercing time to heal before introducing its intended jewelry. A calm-looking surface doesn't prove the channel is ready for a change.
Increasing swelling or redness, severe burning or throbbing, worsening tenderness, or unusual yellow or green discharge warrant medical advice. The NHS guidance on infected piercings says leave jewelry in place unless a doctor tells you to remove it.
Don't try to solve a suspected infection by changing jewelry. No material, fastening, or decorative style guarantees uncomplicated healing.
Custom and Bespoke Options Worth Considering
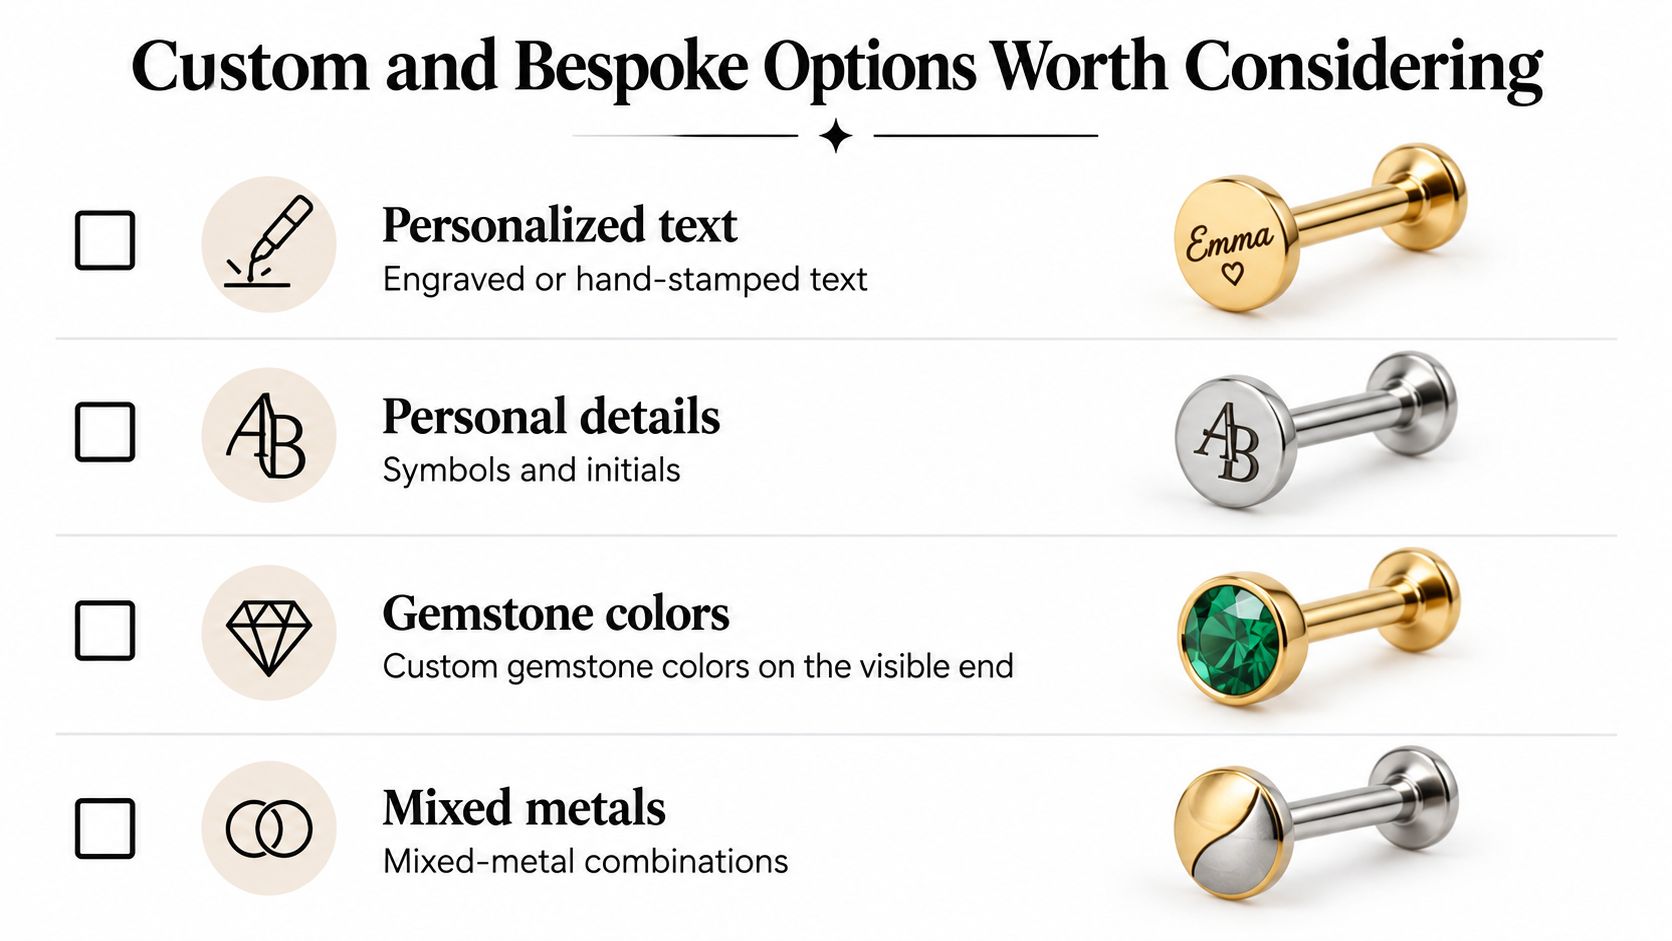
Custom jewelry gets interesting when you stop asking only what shape you want and start asking which part needs to be personal. The answer might be an initial, a tiny symbol, or a gemstone color that repeats elsewhere in your setup.
Keep the personalization on the visible decoration while preserving the verified specification of the tissue-contacting post or bar. These routes offer different ways to make that happen.
Personalize the end, not the fit
Engraved or hand-stamped text can turn a simple visible disc into something meaningful without requiring an oversized silhouette. Symbols and initials offer a similar effect when you'd rather keep the meaning private.
Gemstone color is another strong route. You can repeat a favorite shade across separate placements without making every piece identical. For mixed-metal designs, ask the maker to identify each component's material rather than describing the whole assembly by its most decorative metal.
Consider this hypothetical maker brief: a small engraved initial on the outward-facing end, attached to a solid implant-grade titanium post. The engraving stays off the wearable shaft, the maker documents the material, and your piercer confirms the fit and connection before you order.
That's a design proposal, not a claim that every maker can produce it. Ask what's technically available and whether the finished piece remains suitable for your placement.
Give the maker a usable brief
Send the information that determines whether the idea can become wearable jewelry:
- Target placement: Name the site and describe any fit issue your piercer has identified.
- Healing stage: Say whether it's established or still healing.
- Wearable length: Supply a piercer-confirmed measurement.
- Gauge: Specify the actual channel size rather than a general label such as cartilage jewelry.
- Required metal: State the documented material you need, including any known sensitivity.
A made-to-length bar should follow an in-person assessment of the channel and any necessary allowance, not a measurement taken from an old photograph. Don't automatically build extra length into a healed fit without discussing why it's needed.
For another look at personalized jewelry, watch the embedded video.
Handcrafted and customizable options are available through the publisher's custom body jewelry selection, alongside independent makers you might discuss with your piercer. Compare any option against the pre-purchase checklist below, including production timing and return terms, before committing to a personalized order.
Mix-and-Match Styling Ideas for Every Piercing
At the mirror, a lobe stud, helix barbell, and tragus piece can all compete for attention. Build the look around one focal point, then choose supporting jewelry that suits each piercing's anatomy and healing stage. The boldest piece may be a later upgrade, not the right first choice.
For a hypothetical, already-fitted ear stack, you might combine a 20g lobe stud, an 18g helix barbell, and a 16g tragus piece. These are example sizes, not a reason to change an existing piercing channel. Keep the fit your piercer has confirmed, and let the decorative shapes create the composition.
Give the bold piece some breathing room
Choose one statement piece per side and keep the supporting pieces quieter. A sculptural helix ornament reads clearly beside a plain lobe stud, while several elaborate shapes can compete with one another.
Try these combinations as visual ideas for piercings that are suitable for the jewelry:
- Dark gemstone focal point: Pair a dramatic stone with small polished ends in the same metal family.
- Celestial theme: Make one moon shape the feature, then echo it with understated round accents.
- Mixed-metal contrast: Use a deliberate contrasting accent rather than alternating finishes at random.
- Repeated color: Carry a gemstone shade from your ear to your nose without matching every detail.
Matching isn't the goal. A deliberate relationship between the pieces is.
That relationship might come from a shared finish, repeated shape, or recurring color. Don't choose a less suitable material just to coordinate with the rest of your collection.
Let your routine choose the finishing touch
For an established nostril piercing, a flat stud can work well for everyday wear. A properly fitted hoop may suit occasional wear if your piercer confirms it's appropriate. Wait until the site is fully healed before making the switch.
A healed navel piercing can take a curved barbell with a single charm, adding movement without crowding the area. Check the fit with your usual waistband and seated posture, since a piece that looks comfortable while standing may press or catch when you sit.
Keep healing piercings visually simple, and let established piercings carry the statement pieces. Color and shape can tie the setup together without putting a prominent design in a site that isn't ready for it.
Store removed jewelry separately to reduce scratching, and keep matching ends and posts together. For pieces outside the body, follow the maker's material-specific instructions and use a gentle, non-abrasive cleaning method. Cleaning jewelry and caring for a healing piercing are different tasks.
Confirm the Metal, Gauge and Healing Stage First
Check the specifications before you check out. A distinctive design is worth buying only when you can establish that it fits your piercing, your skin, and your current stage of healing.
- Confirm the construction: Identify the base metal and whether the piece is solid, plated, or filled.
- Check nickel information: Look for a supported nickel-free claim or relevant test documentation.
- Match the fit: Have the gauge, wearable length, and any necessary swelling allowance confirmed.
- Verify readiness: Get professional guidance on whether the placement is ready for a replacement.
- Inspect the mechanism: Check end compatibility, threading, surface finish, and snag points.
- Ask the maker: Confirm available lengths, production turnaround, and the return policy, particularly for personalized orders.
If you're booking a new piercing, check the studio's procedure as carefully as the jewelry. Mayo Clinic's nickel-allergy guidance recommends confirming that the studio uses sterile, nickel-free or surgical-grade stainless-steel needles.
Still healing? Keep the next step practical: ask your piercer whether your current low-profile piece fits properly, and save the statement upgrade for later. Already healed? Shop with your verified material and measurements in hand rather than asking an attractive product to solve an unknown fit.
Unique body piercing jewelry should feel like your style, not a negotiation with discomfort. Leave questions about metals or sizing in the comments, and sign up for the newsletter if you want new-arrival alerts.
BodyCandy offers titanium, gold, handcrafted, and customizable body jewelry to help you build a look around your confirmed fit. Visit BodyCandy with your metal, gauge, and length requirements ready, then choose the detail that makes the setup yours.