


















The surface of a cartilage piercing may close in roughly 6 to 8 weeks, but the cartilage often needs 6 months or longer to heal fully, and some sites can take up to 12 months. So if your ear looks calm but still gets tender when you bump it, that doesn't automatically mean something's wrong, or that healing is finished.
Maybe you're at week three, admiring a piercing that looks settled, then your pillow catches it and your ear reminds you it's still there. Cartilage heals on a slower schedule than the soft tissue of your earlobe, so looking healed and being healed aren't the same thing. Here's how to read the timeline, care for the piercing, troubleshoot irritation, and spot signs that deserve professional attention.
Why Cartilage Piercings Need More Patience Than You Think
A cartilage piercing can look settled while the tissue beneath it is still repairing. Cartilage has a limited blood supply compared with the soft tissue of an earlobe, so fewer repair resources reach the area and healing tends to move more slowly. The visible opening is only the doorway; the channel underneath takes longer to strengthen.
A clinical review gives 6 to 8 weeks as a typical surface-healing period for earlobe and auricle piercings, while full cartilage healing may take 6 months or longer (American Family Physician's review of ear piercing complications). Those figures describe different stages, not conflicting timelines: the surface can settle before the deeper channel is ready.
Looking calm isn't the same as being done
The piercing channel works like a small tunnel through tissue. Its entrance may look tidy while the walls inside remain delicate. Pressure and friction can irritate that tissue, and jewelry changes can disturb it before it has finished strengthening.
Use the trend in symptoms as a practical check. Mild tenderness or occasional irritation after pressure can fit a healing piercing, especially if it settles again. If discomfort repeatedly follows pressure or jewelry movement, reduce that trigger and have a qualified piercer check whether the fit or style of the jewelry is contributing. Worsening pain, spreading redness, marked swelling, or feeling unwell calls for prompt medical attention.
Patience is part of the care, not a bonus. Keep protecting the piercing even when it looks quiet, and don't use a calm appearance alone as a signal to change jewelry or stop aftercare.
Healing Stages From Week One to Month Twelve
A piercing can look calmer one week, then feel tender again after a snag. That back-and-forth can be part of healing, so follow the trend rather than judging it by one sore day. These stages are a guide, not a promise that every ear follows the same calendar.
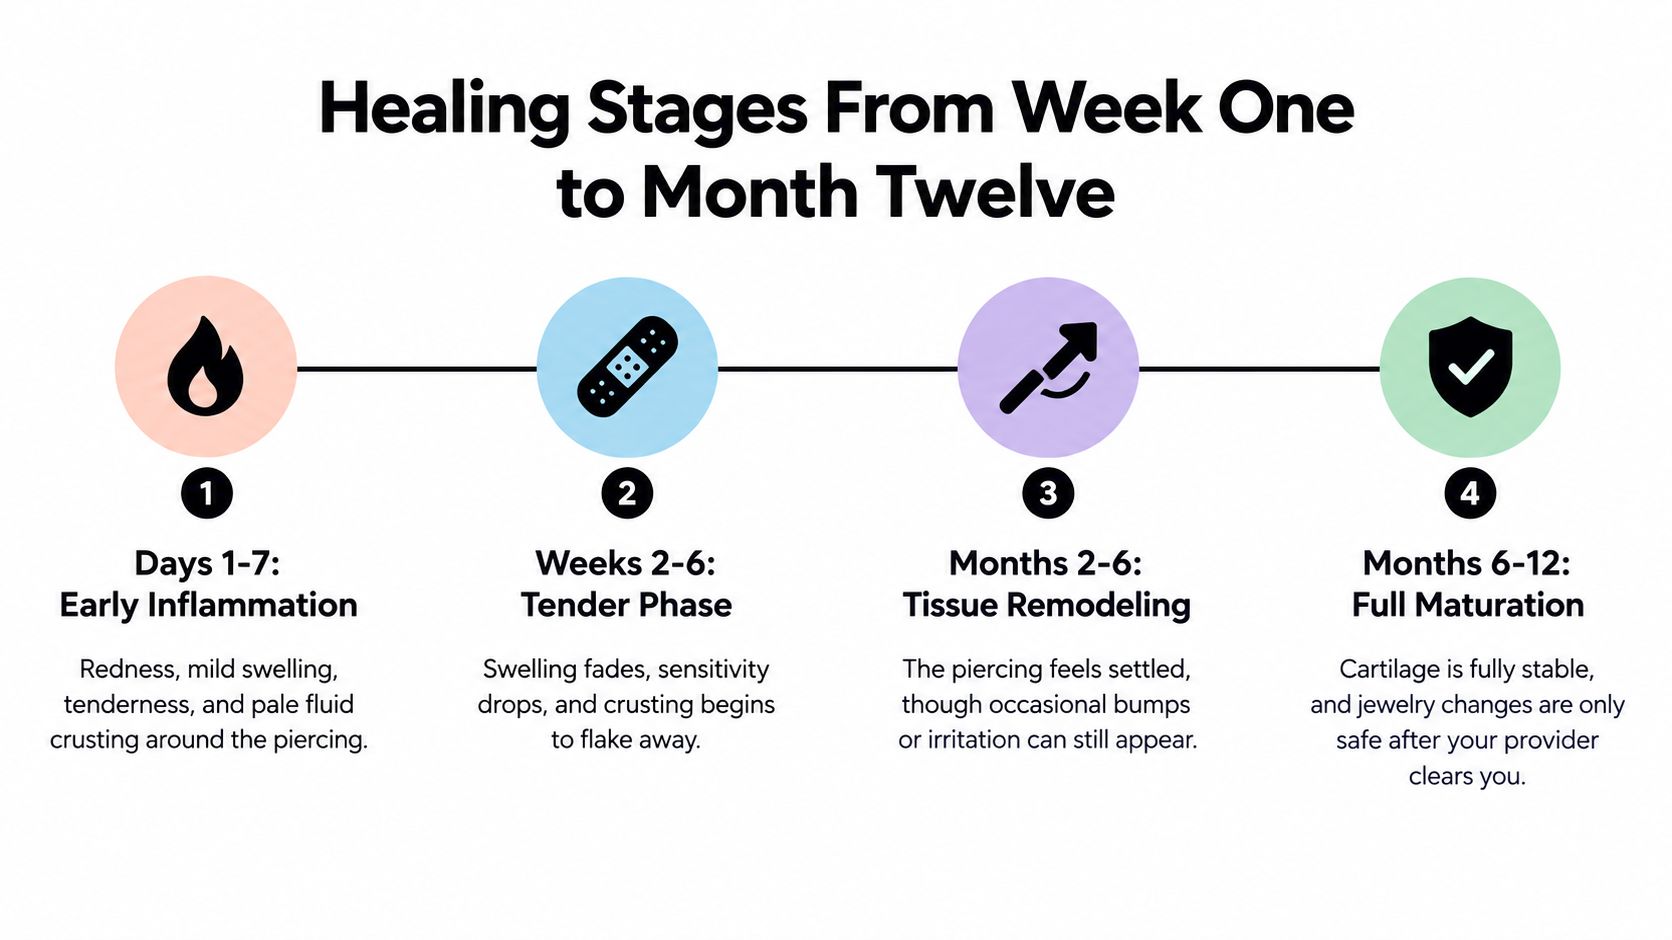
Days 1-7: Early inflammation
Tenderness, mild swelling, and redness near the piercing can be expected early on. Clear or pale fluid may dry into a light crust. Keep your hands clean, gently clean around the jewelry, and don't twist or move it. Symptoms that steadily worsen, or redness and swelling spreading beyond the area, deserve prompt attention from a clinician.
Weeks 2-8: The tender phase
As initial swelling eases, the piercing may bother you less, though touch or pressure can still make it sore. Light crusting may continue, and the surface can take 6 to 8 weeks to heal. That surface milestone does not mean the cartilage channel is fully healed. Keep the jewelry in place and avoid changing it during this period. A little irritation after pressure may settle; persistent soreness, increasing swelling, or jewelry that feels too tight calls for advice from a qualified piercer or clinician.
Months 2-6: Deeper healing
The outside may look settled while the tissue inside is still repairing. Progress often means less frequent tenderness and crusting, with flare-ups becoming less common. A brief sore spell after accidental pressure can happen; pain or swelling that keeps increasing, discharge that looks unusual, or skin that feels hot needs professional assessment. Leave the jewelry in, and ask a qualified piercer to check fit if it seems to press or pull. Don't swap jewelry just because the opening looks calm.
Months 6-12: Later maturation
Cartilage may take 6 months or longer to heal fully, and some piercings can need up to 12 months (public guidance on cartilage piercing healing and aftercare). Comfort and a calm appearance are encouraging signs, but they can't confirm that the inside has finished healing. If you're unsure, have a qualified piercer or clinician assess it before changing jewelry.
Everyday Habits That Quietly Slow Healing
You can follow a gentle cleaning routine and still keep a piercing irritated if the same spot gets pressed or rubbed every day. Mechanical irritation is sneaky: it doesn't always come from one dramatic accident. It can come from hours of pressure while you sleep, or repeated contact from something you barely notice.
Sleeping directly on a new piercing can put pressure on it for hours. Aftercare guidance recommends reducing pressure and friction, and avoiding unnecessary twisting or moving of the jewelry (piercing aftercare guidance on pressure and friction).
Do a quick pressure audit
- Pillow: If you usually sleep on the pierced side, try sleeping on the opposite side. A travel pillow can also let your ear sit in the opening instead of being squashed against the pillow.
- Headphones and earbuds: Check whether the ear cup or bud touches the jewelry. Switch to an option that doesn't press on the piercing while it heals.
- Hats and helmets: Notice whether a tight edge rubs the site when you put something on, take it off, or move your head. A different fit may help, as long as it doesn't create another pressure point.
- Hair, glasses, and masks: Hair getting tucked behind your ear, glasses arms sliding into place, or mask loops catching on jewelry can all produce a small but repeated tug. Move slowly and keep the area clear when you can.
A habit can be a problem even if it doesn't hurt every time. If your piercing repeatedly feels worse after a particular activity, change the contact point or give that activity a break rather than trying to compensate by cleaning more aggressively. For more ideas about side-sleeping, see BodyCandy's guide to sleeping with a new piercing.
A Saline Aftercare Routine That Actually Works
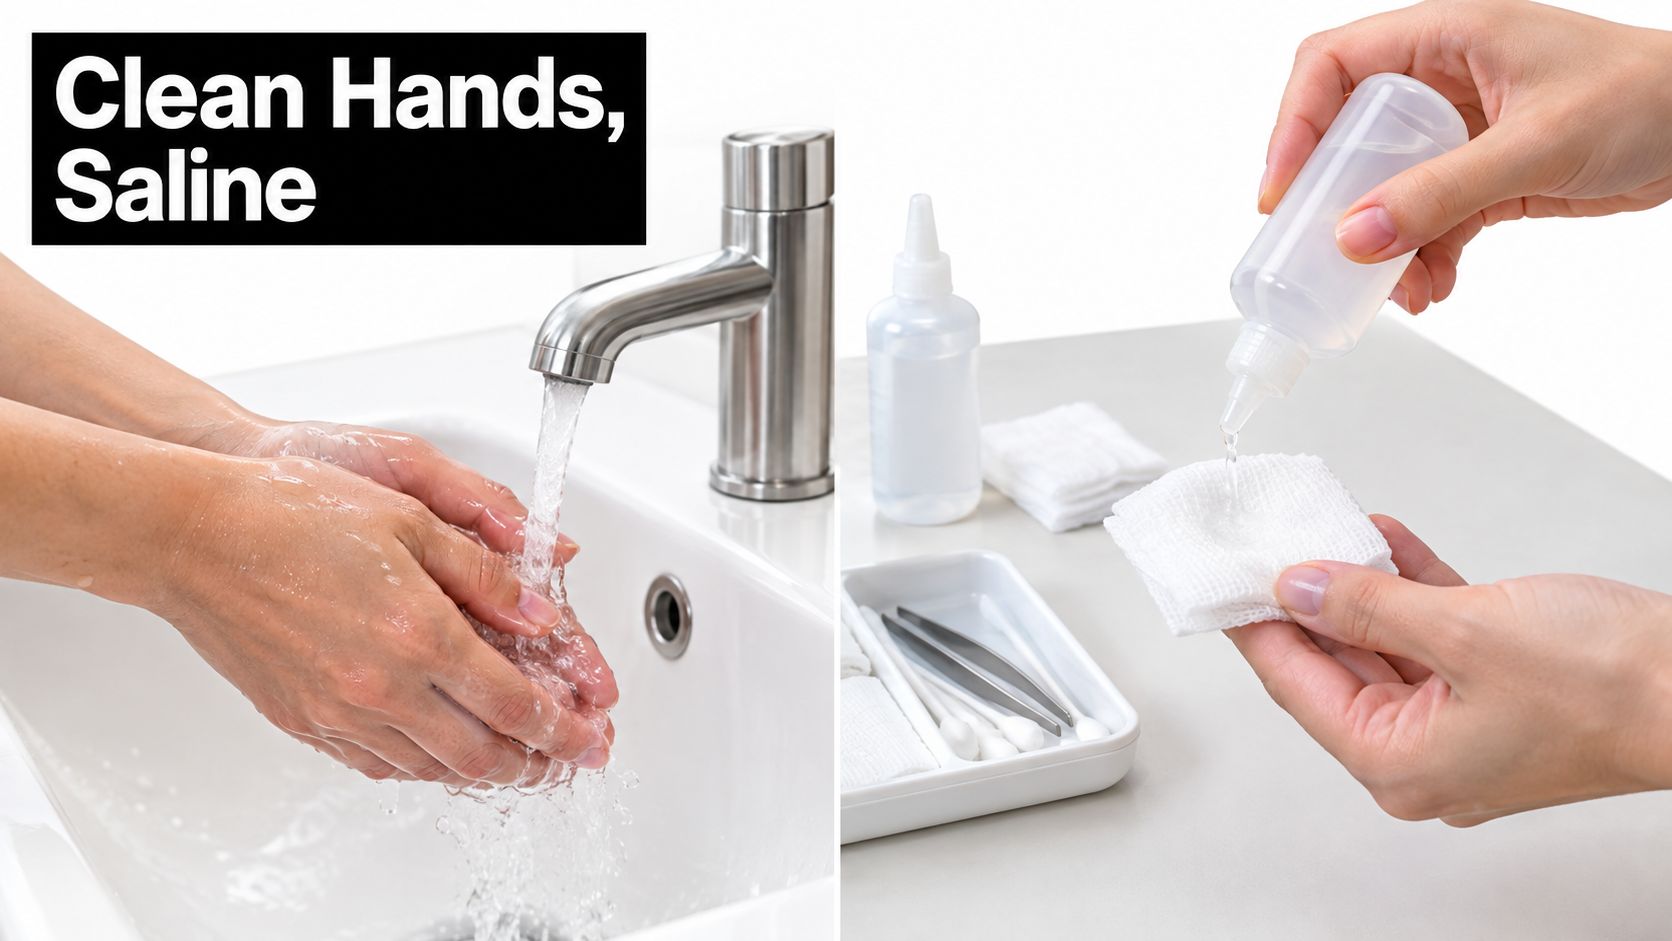
A good routine should be gentle enough to repeat without turning cleaning into a wrestling match with your ear. Clean hands and sterile wound-care saline are a sensible starting point. The goal is to rinse away everyday buildup without twisting jewelry or scrubbing tender tissue.
Keep the routine simple
- Wash your hands. Don't touch the piercing with unwashed fingers, including when you're only checking how it feels.
- Apply sterile saline gently. Use a sterile wound-care saline product and clean gauze or a non-woven pad to rinse around the front and back. Don't rotate or slide the jewelry through the channel.
- Let crust soften. If pale crust is stuck, let saline loosen it rather than picking it off. Avoid pulling at anything that doesn't release easily.
- Pat dry. Use clean gauze or a fresh paper towel to gently dry the area. Avoid rubbing, which can catch the jewelry or irritate the skin.
Improvised salt mixtures can be too concentrated or inconsistent, so they're not as reliable as a sterile wound-care product. Alcohol and hydrogen peroxide can irritate tissue and delay recovery. More cleaning isn't always better either; repeated scrubbing can make a healing piercing grumpier, not cleaner.
If you're unsure why a homemade salt rinse can cause trouble, BodyCandy's explanation of salt as piercing aftercare offers more context. For a visual walkthrough of gentle aftercare, watch the demonstration below.
Complications to Recognize Early
You notice a small bump after sleeping on your new piercing. It's easy to wonder whether it's ordinary irritation or a sign of trouble. The clue is what's causing it, how it changes, and whether symptoms are getting worse. Pressure, repeated handling, metal sensitivity, snags, and infection can all affect a healing piercing, while a raised scar may grow beyond the original wound.
A historical survey of pierced ears described complications such as infection, allergic reactions, keloids, and traumatic tearing. Its categories overlap, so they don't offer a clear forecast for your piercing. The useful takeaway is that different problems need different responses.
What those complications can look like
An irritation bump may follow pressure or repeated handling. Check whether anything is pressing on the jewelry or catching it, and avoid fiddling with the area. A metal sensitivity reaction can cause persistent redness, itchiness, or a rash around the jewelry. Those symptoms can resemble irritation, so don't assume a bump alone identifies the cause.
A traumatic tear can happen when jewelry gets snagged. A keloid is raised scar tissue that extends beyond the original wound. If a problem seems linked to pressure, a snag, or the jewelry itself, ask a qualified piercer or healthcare professional for help deciding what to change. Don't force jewelry out of swollen tissue.
Infection deserves more caution in cartilage than a grumpy-looking bump does. A commercial upper-ear piercing outbreak linked cartilage sites with infections caused by Pseudomonas, a bacterium that can cause serious illness. That outbreak doesn't predict what will happen to your piercing, but it's a reminder to take worsening symptoms seriously (the JAMA outbreak report available through PubMed Central).
Get medical advice promptly if symptoms are worsening or you're concerned about infection. Increasing pain, heat, swelling, redness, or discharge are reasons to contact a healthcare professional rather than trying to diagnose the cause from a bump. A piercing professional can help with fit or pressure concerns, but suspected infection needs medical attention.
Choosing Hypoallergenic Jewelry for Sensitive Ears
Jewelry can be part of the problem when a piercing stays irritated. A piece that presses into swollen tissue may add constant mechanical stress, while a metal that doesn't agree with your skin can cause a reaction that looks a lot like ordinary irritation. Clinical guidance lists trauma, embedded jewelry, hypersensitivity, and poor technique as meaningful piercing complications, and notes that persistent irritation isn't automatically an infection (clinical review of body-piercing complications).
Compare materials with your skin in mind
| Material | What to consider |
|---|---|
| Implant-grade titanium | Often considered by people who want to minimize exposure to common metal allergens. Check that the item is actually identified as implant-grade rather than relying on a vague material label. |
| Surgical steel | The name alone doesn't tell you whether a piece will suit sensitive skin. If you've reacted to metals before, ask about the specific alloy and consider discussing alternatives with a professional. |
| Niobium | Another material people may consider when looking for an alternative to common jewelry metals. Confirm the product's material details before buying. |
| Nickel-free gold | A possible style option for sensitive ears, provided the piece is genuinely nickel-free and appropriate for your piercing and healing status. |
Material is only part of fit. A post that's too short or too tight can press into tissue as it swells; jewelry that's excessively loose may catch or move more than you want. If the jewelry appears to be sinking into the ear, or there's no comfortable space around it, ask a qualified piercer or clinician to assess it rather than forcing it into place.
Check fit before you blame the bump
Jewelry sizing includes the gauge, or thickness of the post, and its length. The right fit depends on your piercing and your anatomy, so don't guess based on how a different earring fits your lobe. Keep healing jewelry in place unless a qualified piercer or clinician recommends a change, especially if you suspect infection.
For a closer look at what “hypoallergenic” means on a jewelry label, read BodyCandy's guide to hypoallergenic jewelry for sensitive skin. Persistent redness or itching can point to sensitivity, but worsening pain, heat, or spreading redness needs a different level of attention.
Telling Normal Healing From a Real Infection
The advice to “wait and see” can be risky when symptoms are getting worse in cartilage. Mild tenderness or pale crust can happen during healing, but increasing pain, warmth, spreading redness, or a change in your ear's shape isn't something to solve by cleaning harder and hoping for the best.
Signs that can fit ordinary healing
- Mild, local tenderness: It's a little sore when touched, but the discomfort is gradually easing rather than intensifying.
- Light redness or swelling: It stays close to the piercing and improves over time.
- Clear or pale crusting: A small amount dries around the opening and loosens with gentle cleaning.
Signs that need prompt medical attention
- Worsening pain, warmth, or spreading redness: The area is becoming more inflamed instead of settling.
- Thick or foul-smelling drainage: Yellow-green discharge or a bad smell needs professional assessment.
- Fever, feeling unwell, or a change in ear shape: Don't wait for these signs to fade on their own.
High cartilage piercing is the most common cause of ear perichondritis, an infection of tissue around the cartilage. Cleveland Clinic advises that prompt antibiotic treatment should begin improving symptoms within roughly two to three days (Cleveland Clinic's overview of ear perichondritis). That's a treatment response detail, not a reason to wait at home before seeking care.
Don't remove the jewelry on your own if you suspect infection. Contact a clinician promptly; they can assess the infection and decide how the jewelry should be managed.
If symptoms are rapidly worsening, your ear is changing shape, or you have fever, seek medical care promptly. A piercer can help assess jewelry fit and irritation, but suspected infection calls for a medical professional.
Your Next Steps for a Calm, Complete Recovery
Cartilage piercing healing is a months-long project, not a quick surface patch. A piercing can look settled before the inner channel is ready for a jewelry change, so keep protecting it even when it stops demanding your attention every day.
Make your recovery plan easy to repeat:
- Reduce pressure: Sleep off the piercing when you can, and adjust headphones, hats, glasses, or mask loops that rub or catch.
- Clean gently: Wash your hands, use sterile wound-care saline, and leave the jewelry still. Don't use harsh antiseptics or scrub at crust.
- Watch the direction of change: Mild symptoms should gradually ease. Worsening pain, heat, spreading redness, thick or foul drainage, fever, or ear deformity need prompt medical assessment.
- Check the jewelry: If it feels tight, presses into swollen tissue, or keeps snagging, ask a qualified piercer or clinician about fit instead of changing it yourself.
Your piercing doesn't need constant attention, but it does need steady, low-drama care. Give it room, keep pressure off it, and ask for help when symptoms are moving in the wrong direction.
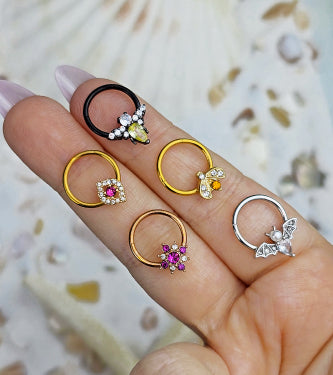
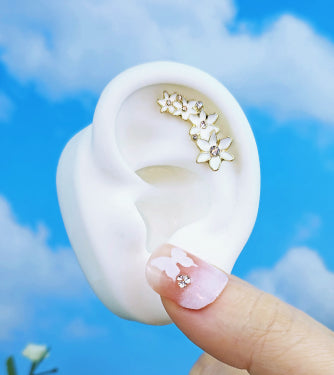
Browse BodyCandy for hypoallergenic cartilage jewelry, including titanium and gold options, and choose a style that suits your look and comfort needs. Sign up for aftercare reminders and new arrivals, and drop your questions about your healing journey in the comments.