














You're staring at a tiny sparkling stud, a perfectly curved hoop, and a clicker that would look ridiculously good with your favorite earrings. Then the practical questions arrive: Will it fit your ear? Is that metal suitable for sensitive skin? And can your still-healing helix handle it?
Choosing helix jewelry gets easier when you separate what looks good from what your piercing is ready to wear. You can absolutely have both, just not always on the same shopping trip.
Finding the Right Helix Jewelry for Your Ear
At the display case, everything looks like a possibility. There's a delicate gem stud for everyday sparkle, a snug ring for that clean outline, and a decorative hoop practically auditioning to become your entire personality.
But two pieces that look equally cute can suit very different stages of healing. Your starting question isn't “Which one matches my outfit?” It's “What does my piercing need right now?”
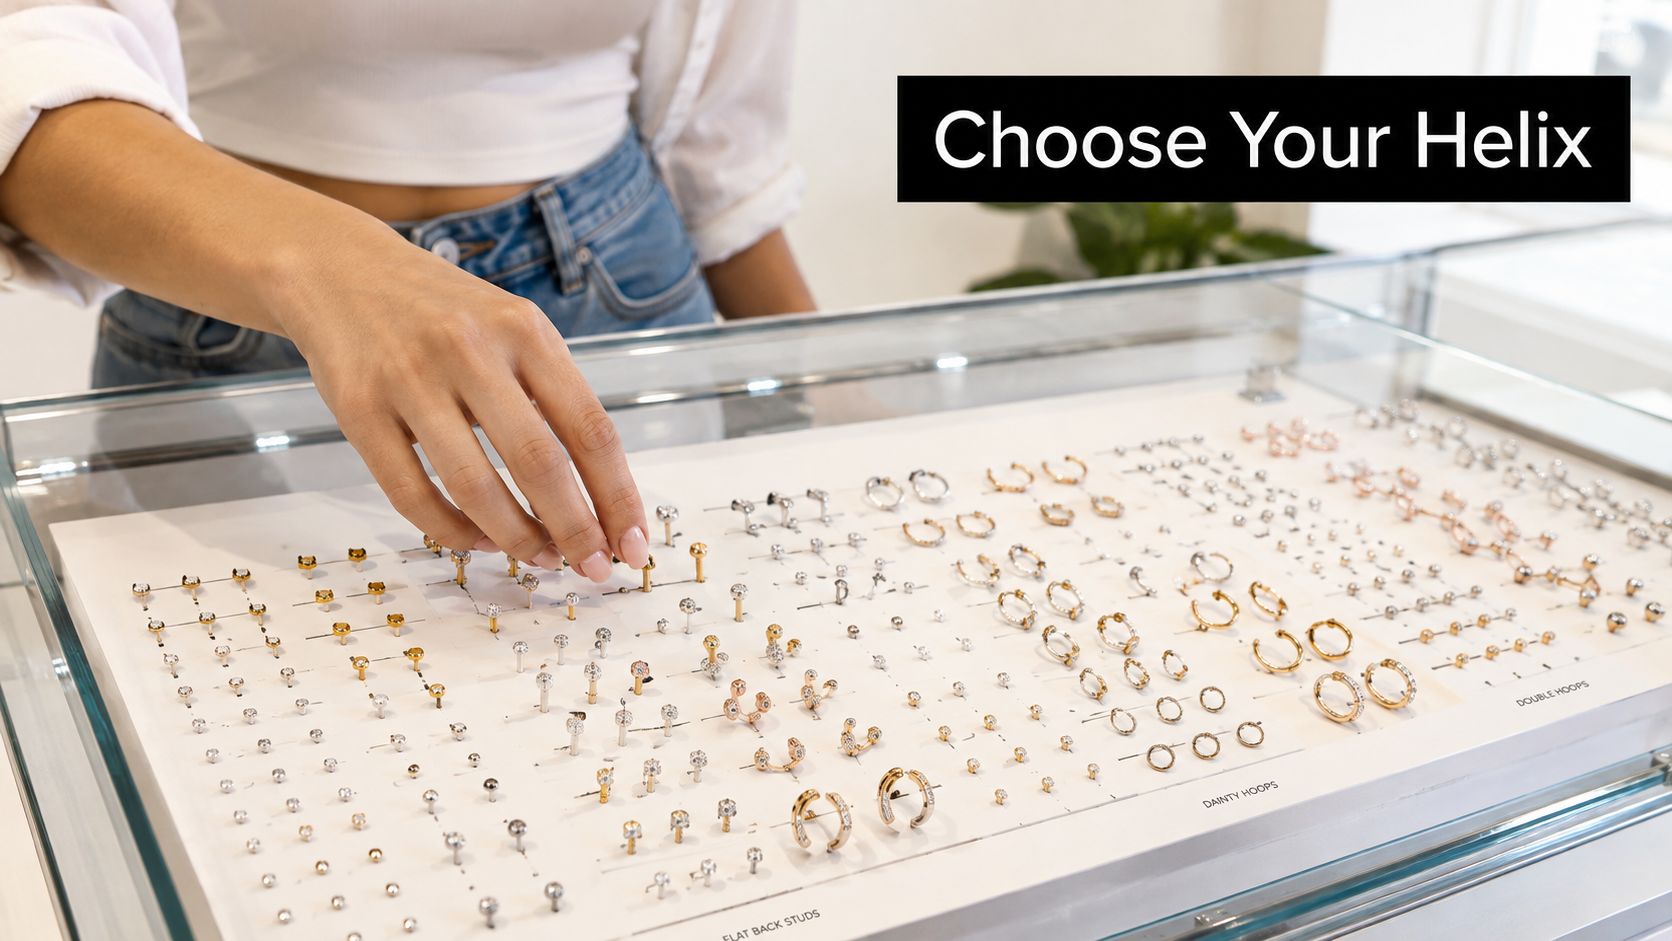
Start With Your Piercing's Stage
A newly pierced ear needs a different shopping mindset from an established, comfortable piercing. For the fresh one, prioritize a professional fit and a clearly documented material. For the healed one, you have more room to experiment with shape and decoration.
That distinction matters medically, not just aesthetically. A large respondent-reported study found complications in 40.2% of cartilage piercings versus 25.4% of lobule piercings, although those results aren't a universal risk estimate for every studio, material, or wearer (cartilage and lobule piercing outcomes).
You don't need to panic. You need a better filter than “shiny.”
- Check readiness first. If the piercing is healing, tender, swollen, or behaving differently, get it assessed before choosing a new style.
- Confirm construction and material. A decorative front doesn't tell you what the post is made from.
- Match the measurements. The jewelry has to suit your actual channel and ear, not somebody else's perfectly styled photo.
- Choose the look last. Once the practical boxes are checked, bring on the sparkle.
Shopping rule: Buy for the ear you have today, not the healed-ear mood board you're building.
If your search started with “piercing jewelry helix,” think of the results as possibilities rather than automatic matches. Flat-back studs, traditional hoops, and hinged clickers each have a place. The trick is knowing when that place is your ear.
How a Helix Piercing Actually Works
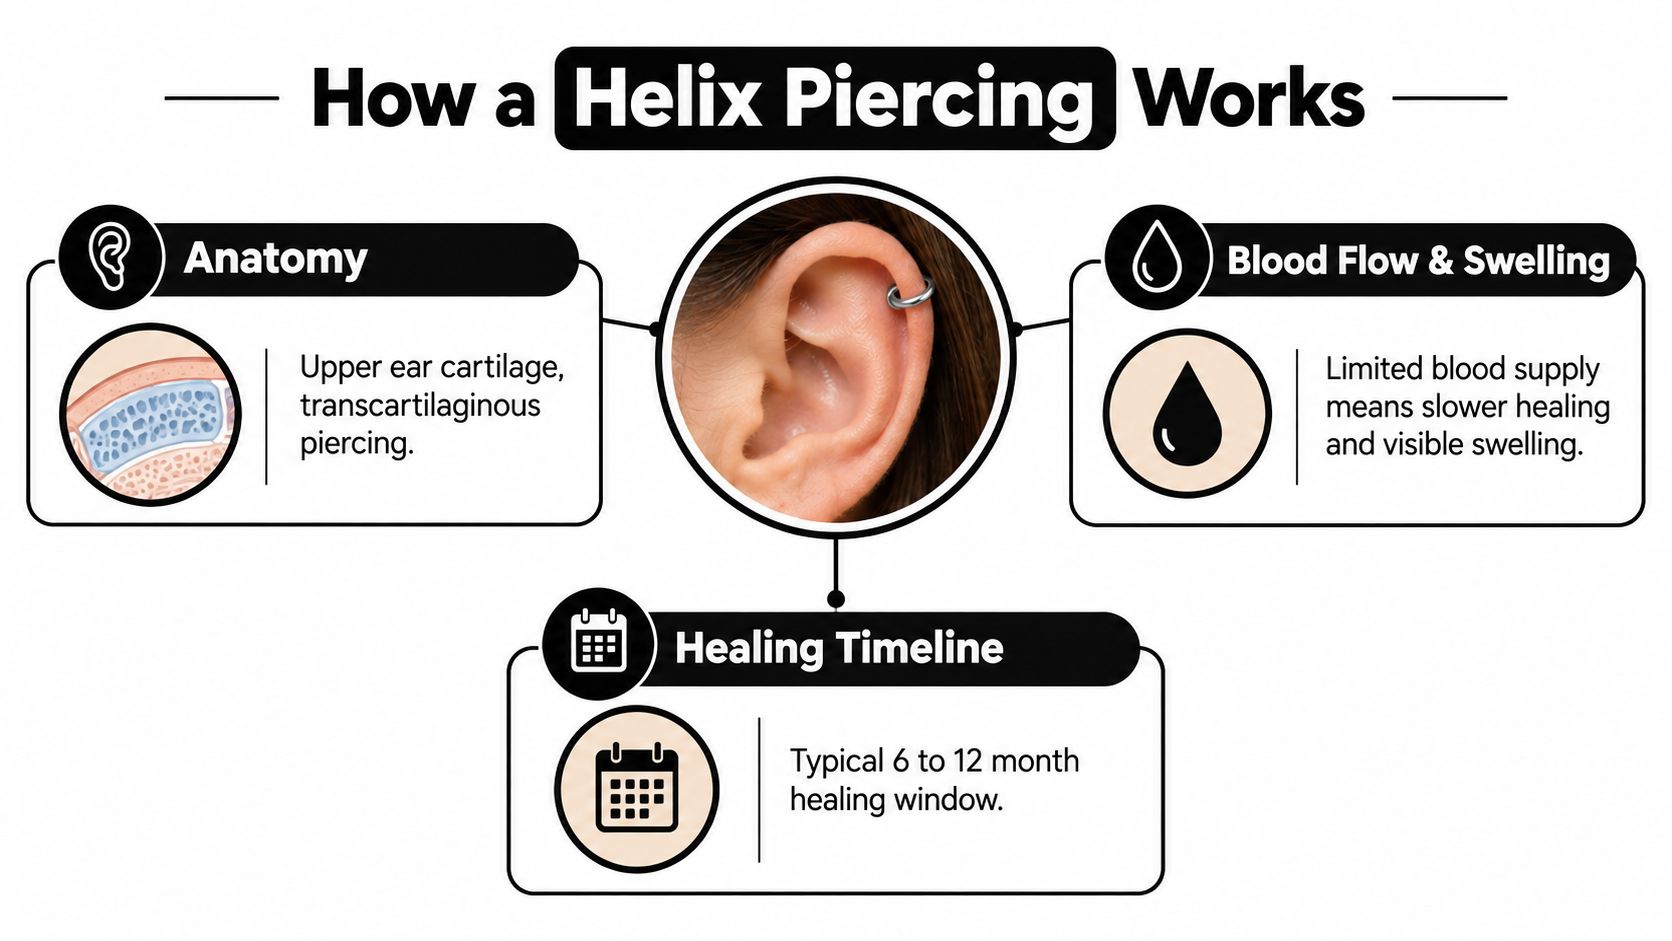
A helix piercing passes through cartilage along the upper ear's outer curve. Clinicians describe this as a transcartilaginous piercing, which means the channel goes through cartilage rather than the soft tissue of your lobe.
That anatomical difference explains why your helix deserves its own rules. It isn't a lobe piercing wearing a cooler outfit.
Why Cartilage Takes Longer
For a loose mental picture, think of soft lobe tissue as a sponge with supply routes running through it. Now think of cartilage as firmer, loosely arranged bubble wrap with much less direct circulation. Neither analogy is anatomically exact, but it helps explain why these tissues don't recover at the same pace.
Cartilage has poorer vascularity, meaning less blood supply to support repair. Helix piercings commonly take 6–12 months to heal, compared with roughly 6–8 weeks for soft-tissue lobe piercings; pressure, excessive movement, and a post that's too short can contribute to irritation and healing complications (clinical guidance on piercing complications).
What That Means for Your Jewelry
Think in terms of a long-term healing setup, not a temporary accessory you'll replace as soon as the surface looks tidy. Your piercer may adjust the fit during recovery, but frequent decorative swaps shouldn't be the plan.
A useful way to approach that appointment is to ask:
- What placement suits my anatomy? Your ear's curve and available space should guide the plan.
- How will the initial jewelry accommodate swelling? Ask your piercer to explain the fit.
- When should I return for a fit check? Arrange follow-up rather than guessing when an adjustment is appropriate.
Choose a trained professional who uses sterile technique. Medical guidance identifies inadequate training, improper aseptic technique, and trauma from high-pressure spring-loaded piercing instruments as risk factors for cartilage-piercing complications (professional technique and cartilage safety).
The takeaway is reassuringly practical: you don't need to become an anatomy expert. You do need to treat placement, jewelry, and follow-up as connected decisions.
Studs, Hoops, and Clickers Compared
The biggest style difference isn't always the decorative front. Sometimes it's the shape of the jewelry passing through the channel, or the closure hiding behind your ear.
For a fresh helix, my practical starting recommendation is a professionally fitted flat-back labret. For an established piercing, hoops and clickers become options to discuss based on placement and comfort.
Flat-Back Labret Studs
A labret has a straight post, a flat rear disc, and a decorative front. Depending on the design, the front attaches through a threaded or threadless connection.
The appeal is straightforward: you can choose a discreet gem, tiny star, or polished bead without committing to a ring around the ear's edge. The flat backing also avoids the projecting shape of a traditional butterfly-style earring back.
Still, “flat-back” doesn't mean “fits everyone.” The disc, post, and decorative end all need to suit your ear. Don't choose an oversized front just because the post looks sensible.
Traditional Hoops and Hinged Clickers
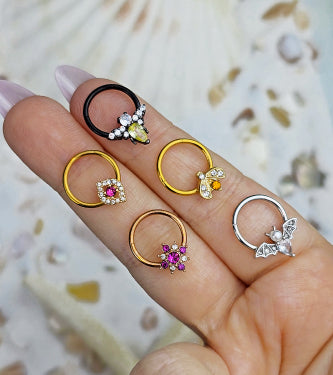
A captive bead ring holds a bead between the ring's ends. A ring closes by bringing its ends together, while a hinged clicker uses a small opening segment that clicks shut.
For healed-ear styling, hoops create a continuous outline around the rim. Clickers offer that ring shape with a different opening mechanism, but the hinge doesn't automatically make them appropriate for a healing piercing.
Think about your routine, too. If you're constantly moving hair behind your ear or wearing over-ear accessories, ask how the proposed design will sit during those movements.
Helix Jewelry Formats at a Glance
| Format | Best Healing Stage | Sleep Comfort | Style Vibe |
|---|---|---|---|
| Flat-back labret stud | Practical starting option when professionally selected and fitted | Low-profile backing, but avoid direct pressure while healing | Minimal gems, stars, beads, curated sparkle |
| Captive bead or seamless hoop | Consider after healing and a fit assessment | Depends on diameter, placement, and pressure | Classic ring, understated edge |
| Hinged segment clicker | Usually a later styling choice | Hinge and decoration need clearance from the ear | Clean metal outline or decorative statement |
A convenient closure is a shopping feature, not proof that a piece belongs in a fresh piercing.
For your first piece, keep the design manageable. You can save the dramatic hoop for the point when changing jewelry is a style decision rather than a healing gamble.
Materials That Actually Protect a Cartilage Piercing
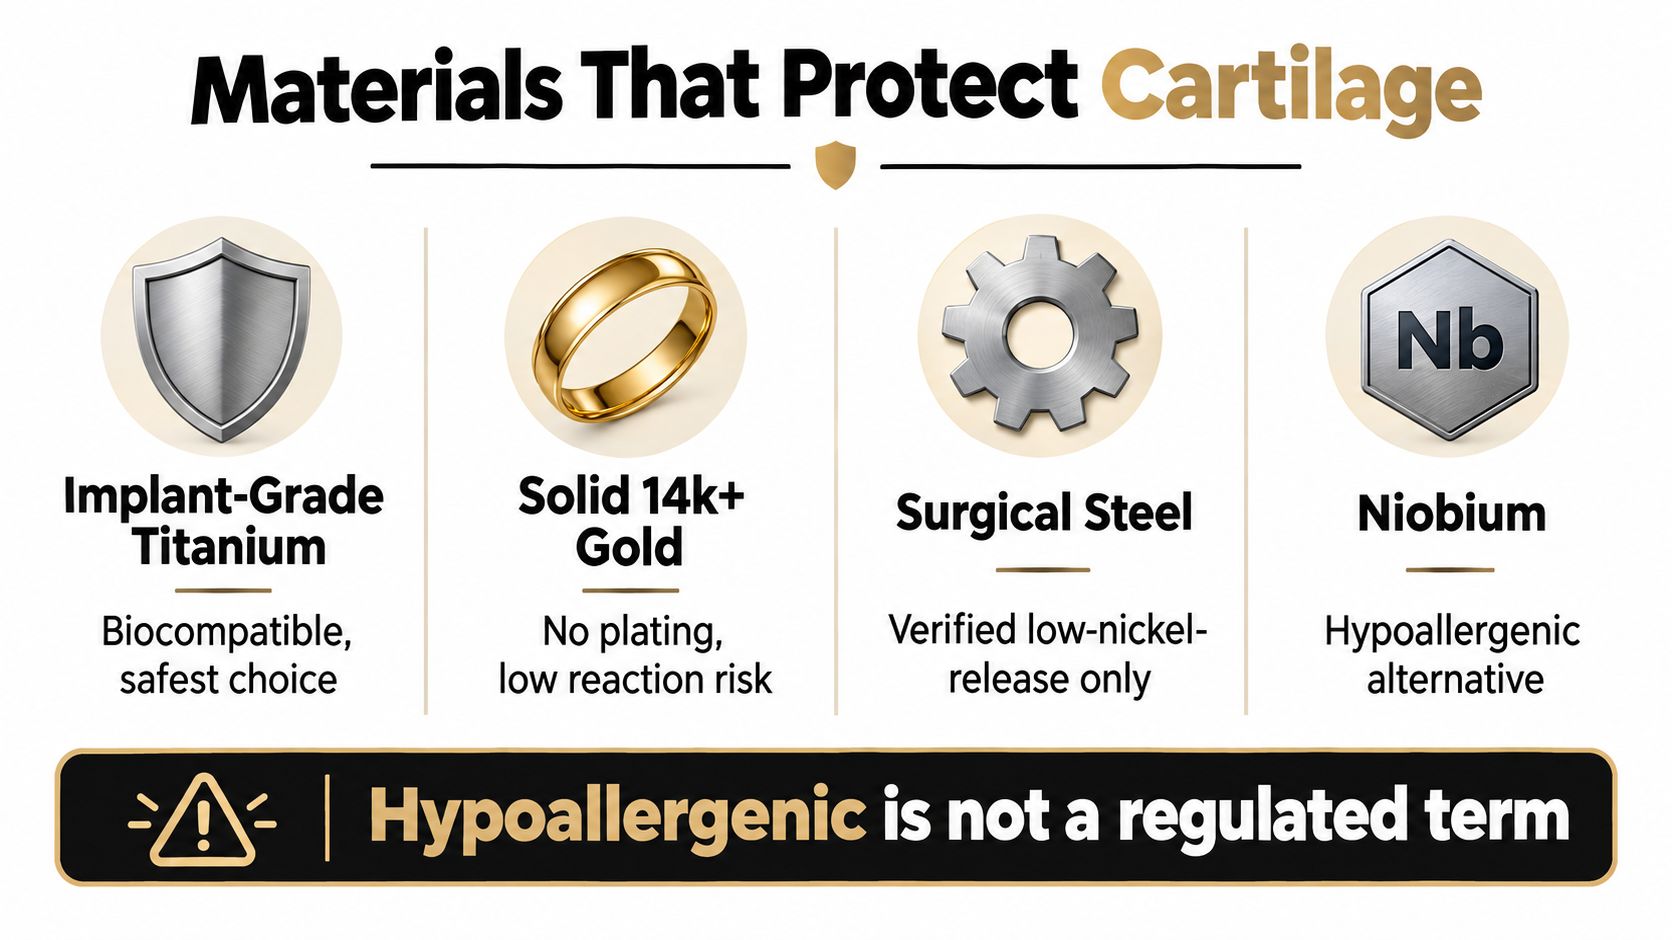
“Hypoallergenic” isn't enough information to make a buying decision. You want to know the actual material, what's in the alloy, and what documentation supports the description.
The material categories below are a starting point, not a blanket guarantee that every product carrying those names is suitable.
Read Beyond the Marketing Label
A 2025 systematic review and meta-analysis found an association between piercings and nickel allergy, with an odds ratio of 5.9, a 95% confidence interval of 3.6 to 9.4, and 5,333 participants, and concluded that many earrings still release nickel at levels capable of causing allergic dermatitis (piercings and nickel allergy review).
That's an association, not a prediction that you personally will develop an allergy. It's a strong reason to ask better questions before buying.
- Implant-grade titanium. Ask for the exact material specification and manufacturer documentation. Don't assume a vague titanium description establishes implant-grade quality.
- Solid gold. Confirm both the alloy composition and that the piece is solid rather than plated. Gold color alone tells you very little.
- Surgical steel. Don't treat this name as another way of saying nickel-free. Look for composition information and verified low-nickel-release documentation.
- Niobium. Consider it as an alternative to discuss with your piercer, particularly when you're avoiding nickel-containing products.
For another way to organize those questions, use this body jewelry material guide while comparing product descriptions.
Know What a Reaction Can Look Like
Nickel allergy can cause delayed contact dermatitis, including itching, redness, scaling, and swelling. Nickel-containing alloys and plated surfaces can expose skin to nickel, and clinical guidance emphasizes nickel avoidance and appropriate jewelry replacement when sensitivity is suspected (ear-piercing allergy and complications review).
Don't try to solve recurring symptoms by buying another vaguely labeled piece. A clinician can help assess the reaction, while your piercer can help coordinate an appropriate jewelry change.
Use this video alongside the written material checklist.
Sizing and Fit for Real Ears
A beautiful piece in the wrong size is still the wrong piece. Your friend's snug hoop might squeeze your ear, while their comfortable stud might leave you with a post that sticks out awkwardly.
Separate gauge, post length, and inner diameter before you compare listings. They describe different measurements, and none can substitute for the others.
Understand What You're Measuring
Gauge describes the thickness of the part passing through the piercing. Match it to the channel your piercer established rather than choosing by how delicate a product photo looks.
Post length describes the wearable length of a stud's shaft. Hoop inner diameter describes the space inside a ring, not its outside width.
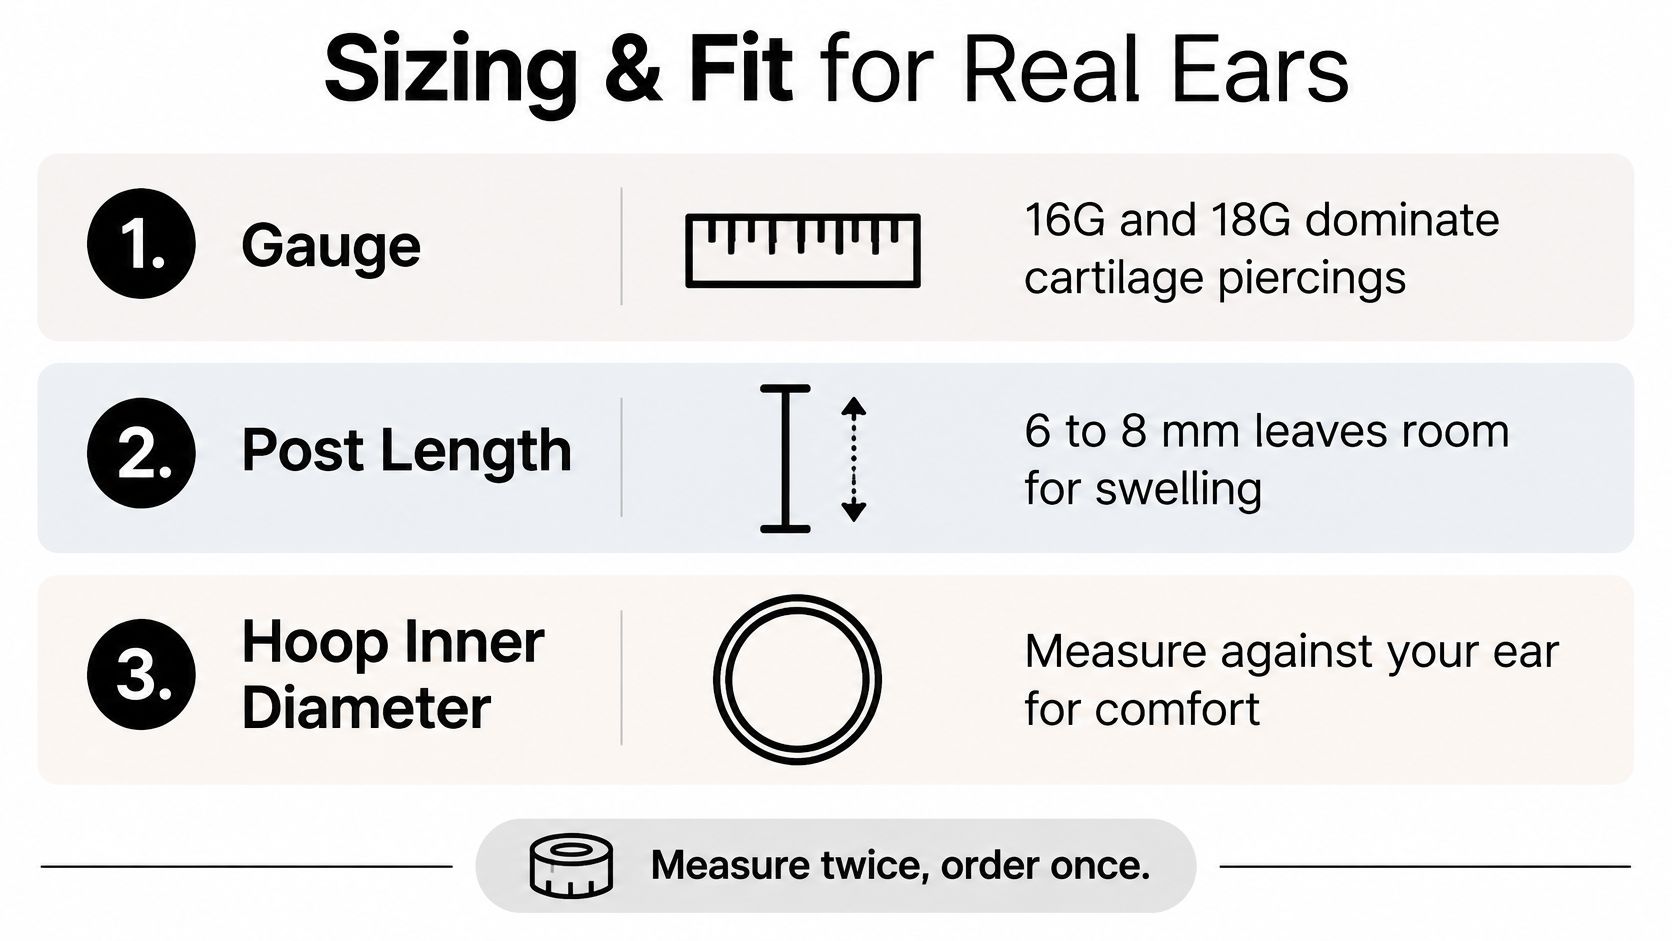
Treat the infographic's size examples as orientation, not a universal prescription. No standard post length automatically provides enough swelling room for every fresh helix.
Your Fit Cheat Sheet
| Measurement | What to Check | What Not to Assume |
|---|---|---|
| Gauge | Your piercer's record or confirmed jewelry specification | That all cartilage jewelry has the same thickness |
| Post length | Wearable shaft length and your current tissue clearance | That the decorative front is included in the measurement |
| Hoop inner diameter | Inside space relative to the channel and ear's edge | That outside diameter describes wearable clearance |
| Decorative end | Whether it rests comfortably without crowding nearby jewelry | That a small-looking photo means a small footprint |
For healed jewelry you've already removed safely, a ruler can help you understand a listed measurement. A printable gauge card may help compare specifications, but neither should replace a professional assessment of your channel.
Don't remove fresh jewelry just to measure it. Take the product listing to your piercer and ask them to confirm what will fit.
The cartilage piercing and jewelry sizing guide can help you read sizing terminology before that conversation. Save your confirmed measurements somewhere easy to find, along with the format and placement they belong to.
Styling Your Helix Stack
Once your piercing is ready for decorative changes, you can stop shopping like a risk assessor and start shopping like yourself. The trick is to make deliberate choices rather than wearing every favorite piece at once.
My styling preference is metal first, finish second, focal point last. It's a design shortcut, not a rule you have to obey.
The Minimalist Single Helix
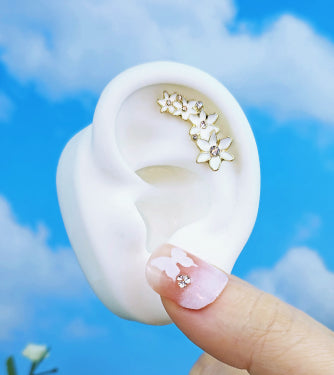
Try a small polished bead or bezel-style gem on a flat-back stud, then echo its metal tone in your lobe jewelry. Keep the shapes simple so the helix feels intentional rather than isolated.
For example, a silver-tone helix dot with smooth silver-tone lobe hoops gives you a clean outline. Prefer warmer colors? Use the same idea with appropriately specified gold jewelry.
- Choose one detail. Let the gem, shape, or metal finish provide the interest.
- Leave breathing room. You don't need another piercing beside it to make it look complete.
The Curated Mixed-Metal Ear
Mixing metals can look considered rather than accidental. Try repeating each tone somewhere else: a gold-tone helix piece with a gold-tone lobe detail, balanced by silver-tone jewelry elsewhere.
Use this ear-curation guide to think through the overall arrangement before buying individual pieces. Sketching your ear and labeling the finishes is surprisingly useful, even if your drawing looks more like a potato than an ear.
The Bold Statement Stack
For a healed helix, consider a decorative clicker as the focal piece, with quieter studs around it. If the clicker already has an elaborate front, you don't need neighboring pieces competing for attention.
High-shine gold beside matte black can be a deliberate contrast, but it can also look disconnected. Repeat a shape or finish elsewhere if you want those pieces to feel related.
- Pick a focal point. Decide which piece you want someone to notice first.
- Test the everyday look. Check the arrangement with your hair down, glasses on, and usual accessories.
- Edit freely. Removing a piece can improve a stack just as much as adding one.
Helix Aftercare That Respects Cartilage
Aftercare doesn't need a dramatic product lineup. Your goal is a consistent, gentle routine, not a tiny chemistry experiment on your ear.
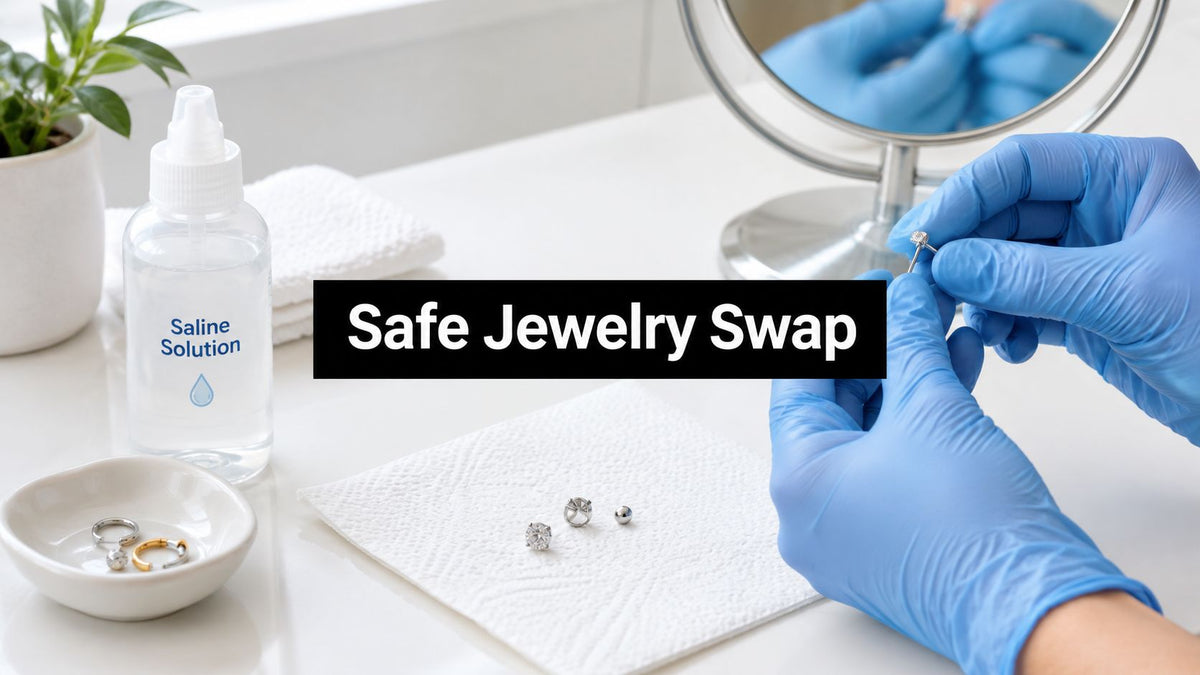
Clinical guidance recommends sterile saline wound wash containing 0.9% sodium chloride about twice daily, advises against rotating jewelry or making a stronger homemade salt mix, and recommends avoiding pools, hot tubs, and open water while healing; it also advises drying with clean paper or sterile gauze (saline aftercare and warning signs).
Keep the Routine Simple
- Choose the right wash. Check that you're buying sterile saline wound wash rather than improvising a concentrated salt solution.
- Leave the jewelry still. Cleaning doesn't require twisting the post through the channel.
- Dry gently. Pat rather than scrub.
- Reduce unnecessary handling. Keep your hands away except when needed for care.
More cleaning isn't automatically better care. Be consistent without turning every mirror check into another treatment session.
Read Symptoms Without Self-Diagnosing
A bump isn't automatically a keloid, and redness isn't enough to identify the cause. Pressure, allergy, embedded jewelry, and infection require different responses.
| What You Notice | What It Could Mean | Practical Next Step |
|---|---|---|
| Localized bump after pressure or snagging | Mechanical irritation may be involved | Reduce contact and have your piercer assess fit |
| Itching, scaling, or recurring redness | Material sensitivity is possible | Seek clinical guidance and arrange an appropriate material assessment |
| Jewelry pressing into or disappearing beneath tissue | Possible embedding | Get prompt professional assessment rather than forcing it |
| Persistent or worsening redness, swelling, bleeding, or pus | A complication needing medical evaluation | Contact a healthcare professional |
| Severe pain, spreading redness, fever, or changing ear shape | Potentially serious infection | Seek urgent medical care |
Mayo Clinic advises contacting a healthcare professional for persistent redness, swelling, bleeding, or pus and keeping jewelry in place during healing (piercing safety and care guidance). Don't self-remove jewelry when infection is suspected without medical advice.
Delayed treatment of cartilage infections can have serious consequences, including deformity (systematic review of transcartilaginous piercing infections). Don't wait for a dramatic appearance before asking for help.
For sleep, consider positioning your ear over the opening of a travel pillow rather than against the cushion. Check that the jewelry isn't touching the edges.
Your Helix Jewelry Checklist and Next Step
The right helix purchase is a match between your piercing's stage, your ear's dimensions, and the product's actual specifications. Style matters, but it works better when you aren't negotiating with an uncomfortable piercing all day.
For a healing helix, keep the starting recommendation clear: choose a professionally fitted implant-grade titanium flat-back labret, with your piercer confirming its suitability. Save the experimental shapes for later.
Before You Add to Cart
- Confirm the stage. Is the piercing ready for a decorative change, or does it still need its healing setup?
- Choose the format deliberately. Decide whether you're shopping for a labret, traditional ring, or hinged clicker.
- Read the material details. Look for composition and documentation rather than relying on a reassuring label.
- Check your recorded size. Match the gauge and the relevant post length or inner diameter.
- Review the decorative shape. Consider nearby jewelry, your ear's curve, and the clearance around the piece.
- Name the styling goal. Minimal accent, coordinated stack, or statement piece? A clear answer helps you skip impulse purchases that don't fit the plan.
Make the Next Step Specific
If you don't know your measurements, book a fit check before ordering. If you know the size but the material description is vague, ask for clarification before deciding.
If your ear is uncomfortable, make assessment your next step instead of treating shopping as the solution. A replacement piece may be part of the answer, but it shouldn't be a blind guess.
And if everything checks out? Choose the piece that feels like you. Sensible jewelry selection doesn't mean settling for boring jewelry. It means giving your favorite look a better foundation.
BodyCandy offers helix jewelry options including flat-back studs and hoops, so you can compare formats with your fit and material checklist in hand. Visit BodyCandy to explore helix styles, check individual product specifications, and save your favorites for your next piercer-approved jewelry change.