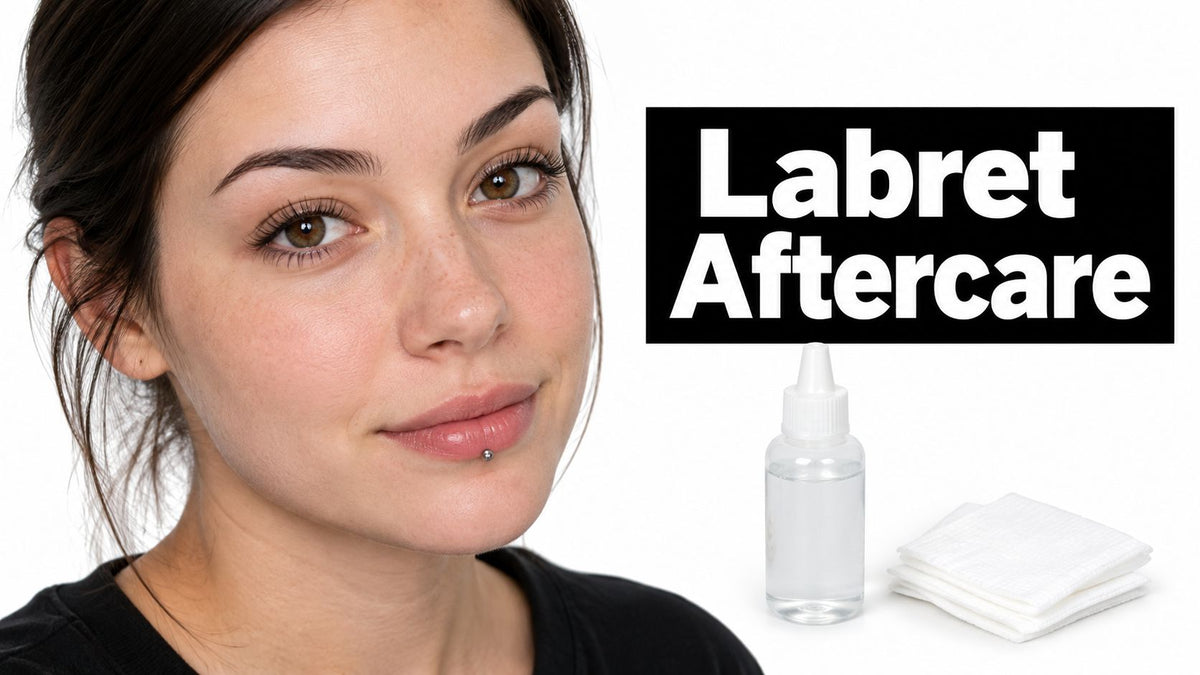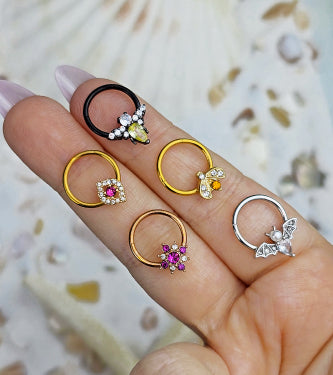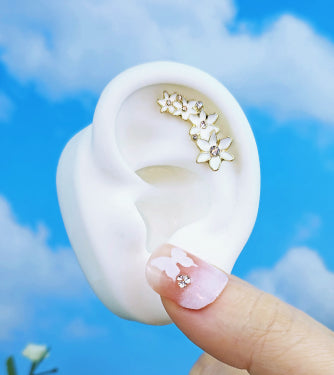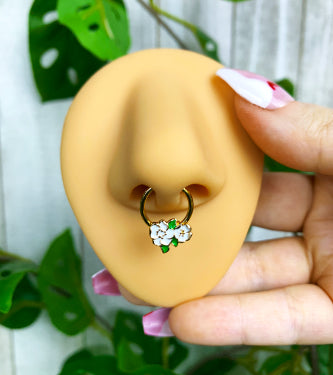


















You're standing in front of the bathroom mirror, new jewelry on a clean towel, starter piece still in, and your fingers are suddenly less steady than you expected. That's normal. Learning how to change piercing jewelry isn't hard, but your first swap goes better when you slow down, check readiness first, and know exactly when to stop.
Before You Touch Anything
Most first swaps start the same way. You've bought something you want to wear, you've waited longer than you wanted to, and now you're leaning close to the mirror thinking the old piece should just twist off. Sometimes it does. Sometimes the end is tighter than you expected, the angle feels awkward, or the new post won't find the exit hole.
That hesitation is useful. A home swap is doable for a fully healed, calm piercing that you can see and reach easily. It's a bad idea when the area is sore, swollen, crusty, hot, or producing unusual discharge, or when you're guessing about size. In those cases, a piercer isn't a backup plan for people who failed. A piercer is the right tool for the job.
The quiet decisions before the swap
Before your hands go near the jewelry, answer three questions.
- Is it healed? Not just older, but comfortable, settled, and free of ongoing crust or tenderness.
- Is the replacement right? The gauge, length, and threading need to match what you're wearing now.
- Can you finish it? You need light, time, clean supplies, and a plan if the new piece won't go in smoothly.
If you have to talk yourself into it with phrases like "it's probably fine," wait another day and reassess.
You'll get the most from what follows by reading in order. First you'll build a clean setup and learn to read readiness signs. Then you'll work through the actual mechanics by placement, why healing timelines vary so much, how materials affect sensitive skin, and what to do if the channel tightens, an end won't budge, or jewelry looks embedded. If you're in pain right now, skip straight to the troubleshooting section and don't experiment.
Setting Up a Clean Swap Station
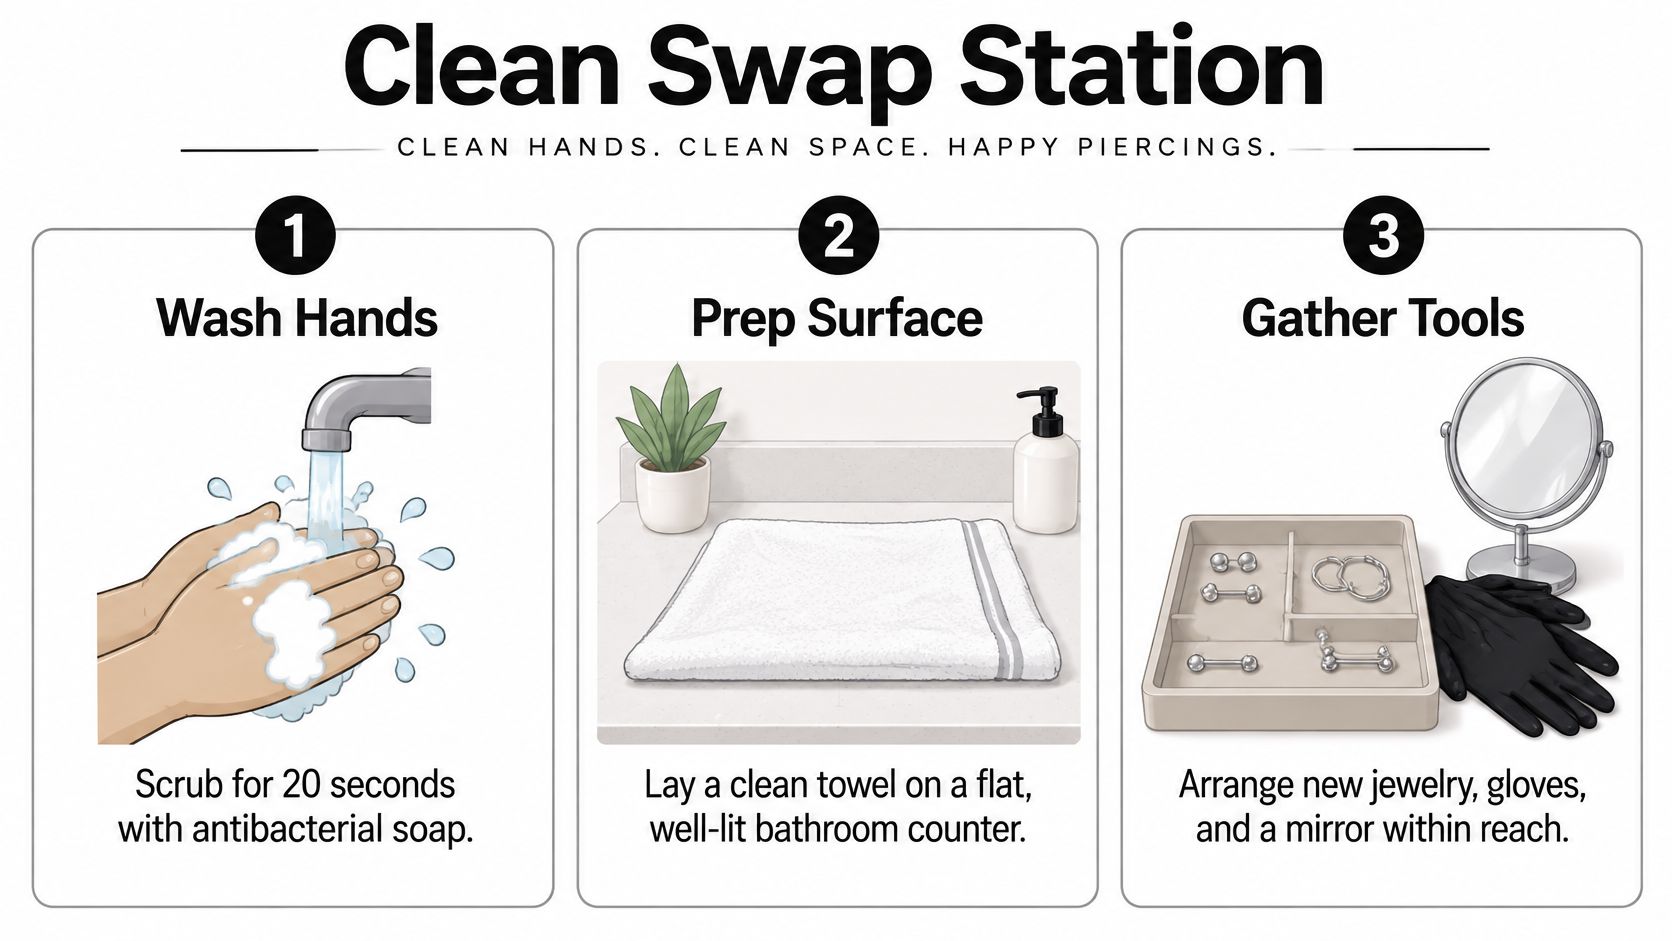
Don't start with one hand already on your piercing. Set up first, then touch nothing unnecessary. Choose a flat, well lit surface, lay down a clean towel, and close the sink drain if you're working over a sink. Tiny balls and flat backs disappear fast, and hunting on the floor with an open piercing is how a calm swap turns chaotic.
Start by washing your hands thoroughly with soap and water, then dry them on something clean. If you touch your phone, hair, faucet, or a cabinet handle after washing, wash again. Disposable nitrile or latex free gloves can help you grip small threaded ends, but they don't replace hand washing, and torn or dirty gloves help nobody.
Here's the station layout that keeps everything within reach:
What clean means for the new piece
Keep new jewelry in its packaging until you're ready, then handle it with clean hands. Follow BodyCandy's guide to cleaning your body jewelry for routine cleaning basics, and place the piece on clean paper towel or gauze, not directly on a bathroom counter. Practice opening and closing it now, while both hands are free. You want to know whether it screws, clicks, or pushes together before the old jewelry comes out.
Skip the harsh stuff. Alcohol and hydrogen peroxide aren't your shortcut here. They can be rough on finishes and irritating to tissue, especially if residue rides in on the new post. Gentle cleaning, clean hands, and a tidy surface do the work.
Your one trip checklist
- Replacement jewelry: checked for size, threading, and closure.
- Mirror and good light: positioned before you start.
- Saline or warm water: in a small clean dish if you use it.
- Clean paper towels or gauze: for drying and catching dropped ends.
- Gloves if you want grip: clean, intact, and put on after hand washing.
- Your old jewelry plan: a clean spot to set it down so you can reinsert it fast if needed.
Reading Your Piercing's Real Readiness
A calendar can't feel your piercing. Your fingers and eyes can, as long as you're honest about what they're telling you. Cleveland Clinic's practical criteria for an earlobe being ready include no pain, redness, swelling, crusting, scabbing, or flaking, plus jewelry that moves easily. The Association of Professional Piercers uses the same basic logic. A healed piercing shouldn't be tender, shouldn't produce discharge or crust, and should have passed its minimum healing time.
Use that as a whole picture test, not a single checkbox. One calm day after a week of crusting isn't a green light. You want a sustained pattern of boring. Boring is good.
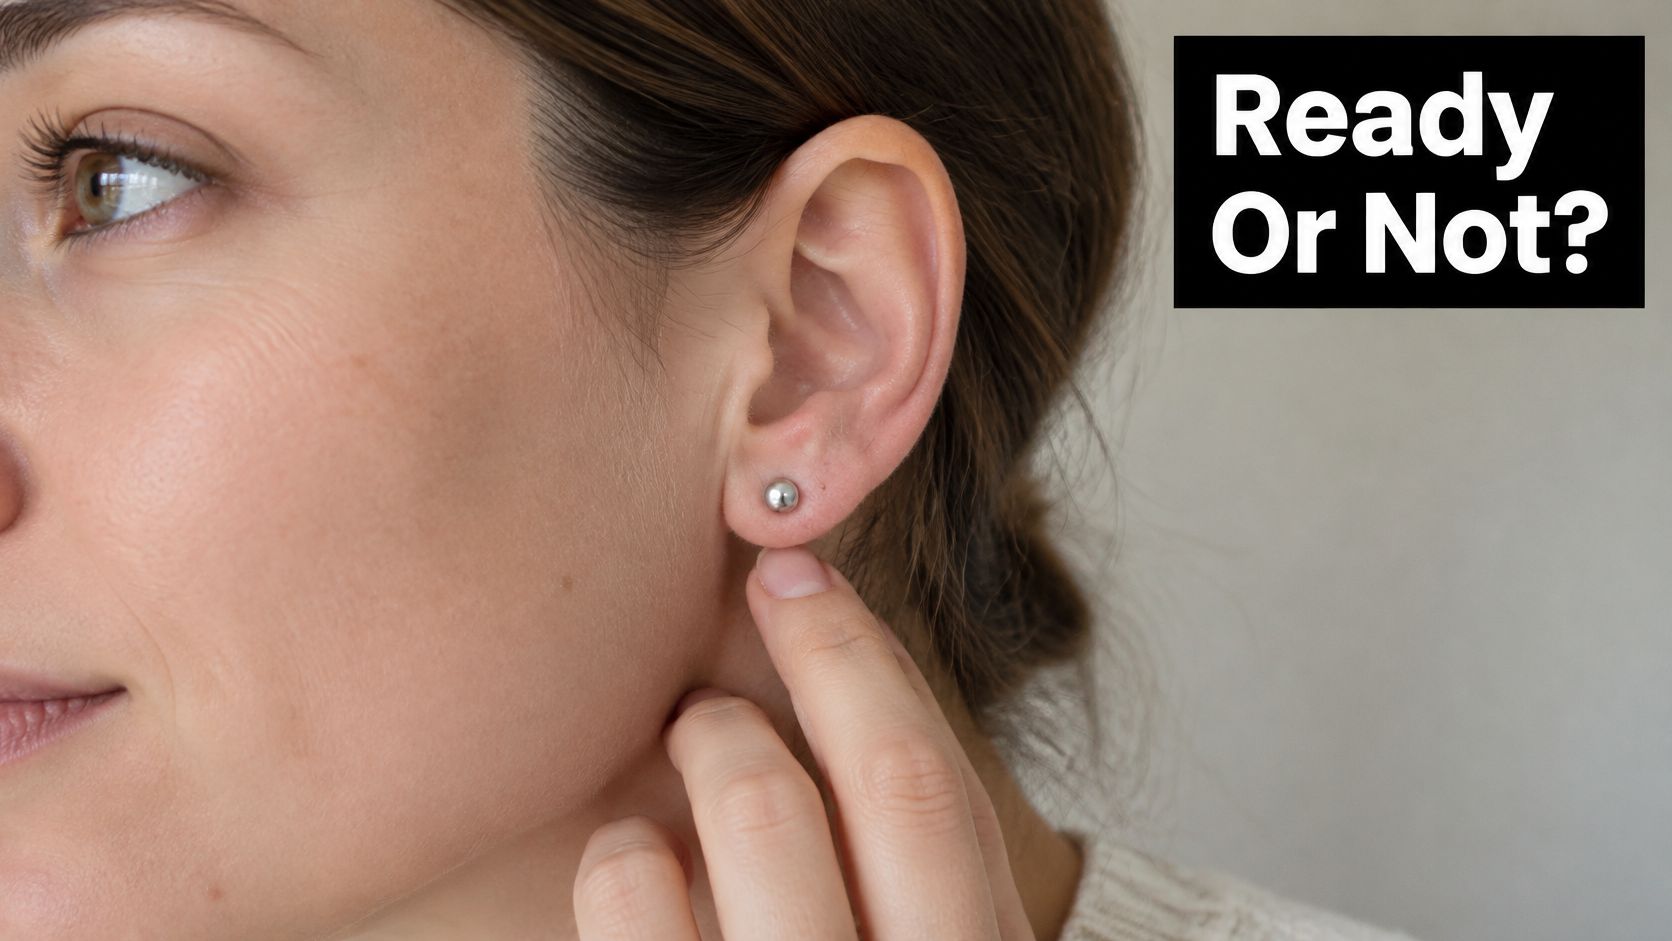
The photo below shows the kind of gentle check to do, with light contact around the area rather than tugging the jewelry itself:
Movement tells you more than looks
Jewelry should shift comfortably, without a pinchy, gritty, hot, or stuck feeling. Don't force a wiggle test just to prove it's ready.
Tissue can look calm on the surface while the internal channel is still fragile. That's the trap behind a lot of rough first swaps. The outside seems fine, the new post catches halfway, and suddenly you're pushing against tissue that wasn't ready to be disturbed.
If you're still in active healing, these basics for caring for a healing piercing are a better next step than a style change.
Normal healing versus wait or get help
| What you notice | What it usually calls for |
|---|---|
| Mild itch, slight tenderness, pale crust during healing | Wait, keep up aftercare, don't swap yet |
| No pain, no crust, no swelling, easy movement | Reasonable sign you can proceed carefully |
| Heat, throbbing, worsening redness or darkening | Stop, don't swap, get advice |
| Pus that's white, green, or yellow, or feeling feverish and unwell | Seek medical advice promptly |
Expected early healing can include tenderness, itching, slight redness or darkening, and pale fluid that dries into crust. Worsening pain, heat, pronounced swelling, blood, or colored pus is different. If you can't clearly sort your symptoms into the calm column, let a piercer examine it before you remove anything.
The Actual Swap, Placement by Placement
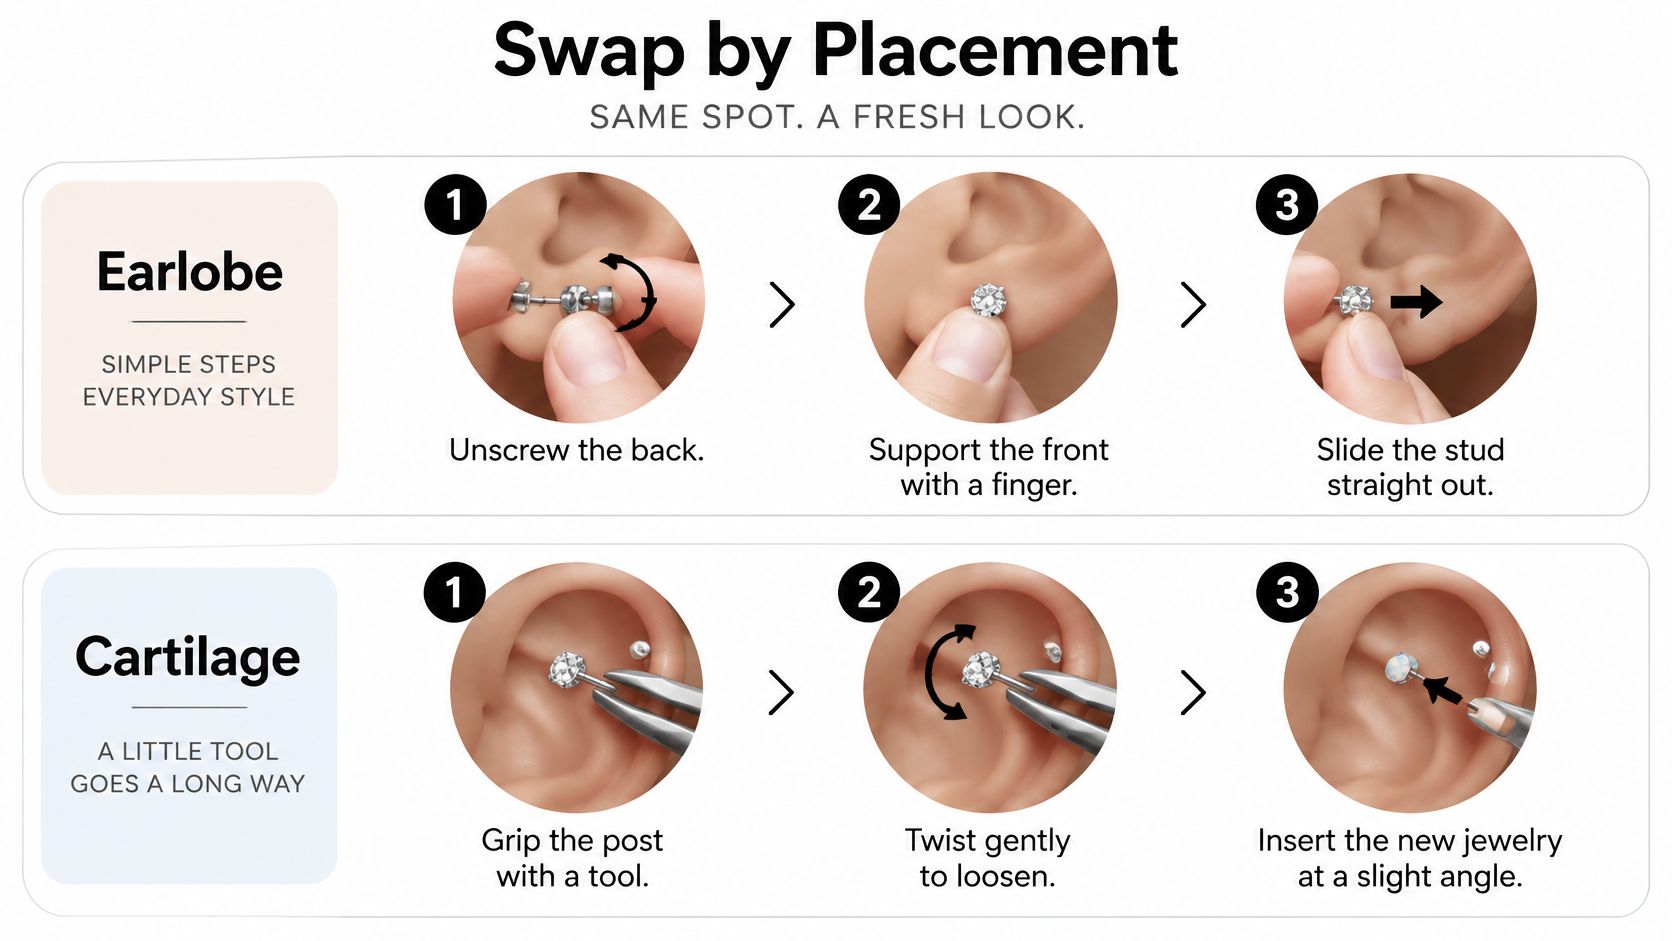
Only remove the old piece when the new one is open, clean, and immediately ready to go in. Even older piercings can narrow if left empty, so don't wander off mid swap. Work at the natural angle of the channel, guide rather than shove, and treat resistance, bleeding, or sharp pain as a stop sign every single time.
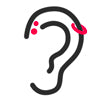
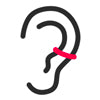
This visual breaks down the two ear placements people most often mix up:
Earlobe
Support the front of the jewelry with one hand so you're not pulling on the lobe. With the other hand, unscrew or remove the back, then slide the post straight out. Insert the new piece along that same straight path, secure the back, and check that it isn't pinching. If it tugs, stop.
Helix and other cartilage
Cartilage channels are less forgiving and often sit at an angle you can't see well. Hold the flat back steady from behind, unscrew or pull the front depending on the style, and ease the post out slowly. A gentle, controlled motion helps, but twisting harder doesn't. If the path feels tight, a piercer with a taper and better visibility is safer than you fishing blindly. If it tugs, stop.
Watching the hand positions once before you try can help you plan which hand stabilizes and which hand turns:
Nostril and septum
For a nostril screw or L bend, the exit isn't a straight pull. You need to follow the bend out slowly, then guide the replacement along the same curve. Septum circular barbells have two ends to keep track of, so unscrew one ball over your towel, rotate the ring gently through, and don't rush if you feel a sneeze building. Pause, breathe, then continue. If it tugs, stop.
Oral piercings including labret, Monroe, and tongue
You need a mirror and direct light, no exceptions. Dry the visible end so your fingers can grip, hold one side steady, and unscrew the other without pulling the post through at an angle. Threading direction trips people up inside the mouth because everything feels reversed, so confirm how the replacement opens before removal. If it tugs, stop.
Navel
Lie back if you can. Standing tenses your stomach and lets gravity work against you, while reclining relaxes the skin around the curve. Unscrew the top ball, support the bottom, slide the curved barbell out along its curve, then reverse the path with the new piece. Don't straighten a curve by force. If it tugs, stop.
Why the Six Week Rule Is a Rough Estimate
The six week number gets repeated because it's simple, not because it fits every body part. The American Academy of Dermatology advises leaving starter jewelry in for six weeks or longer because removing it too early can let the channel close. That's a floor for some piercings, not a finish line for all of them.
Mayo Clinic makes the same broader point in its overview of piercing healing and risks. Many piercings heal in about six weeks, while others take several months or longer. Placement changes everything because blood supply, tissue thickness, movement, and friction aren't the same in a lobe, a nostril, and a navel.
Site by site minimums worth planning around
Professional aftercare guidance commonly places healing at 1 to 6 months for many oral piercings, with 2 to 4 months more typical, 6 to 12 months for cartilage, 4 to 6 months for nostril, and roughly 6 to 9 months for navel, according to dental aftercare guidance for piercings. Other professional tables put earlobes around 2 to 3 months and navels as long as 6 to 12 months. Treat those ranges as planning benchmarks, not promises.
- Earlobes and some soft tissue: often the earliest candidates once symptoms are fully calm.
- Nostril: commonly months, not weeks, even when the outside looks tidy.
- Cartilage: frequently the slowest ear placements, especially if you sleep on them or catch them often.
- Navel: movement and clothing friction can stretch healing out.
Downsizing is the exception, not a loophole
A downsize means a piercer replaces an initially longer post, which was placed to leave room for swelling, with a shorter one once swelling subsides. For oral piercings, excess length can knock against teeth and oral tissue, so that professionally performed change reduces trauma during healing. It's a fit correction, not permission to start rotating fashion pieces at home.
Your symptom checklist still outranks the calendar. If the minimum time has passed but the piercing is tender, crusty, or swollen, you're not ready. If a size, style, or material problem forces a change during healing, have a qualified piercer do it.
Picking Jewelry That Won't Fight Your Skin
Plenty of swaps go wrong before insertion, at the shopping stage. Nickel is the most common allergen linked with piercing jewelry, and a 2025 systematic review found piercing significantly associated with nickel allergy in the general population, with an odds ratio of 5.9 (95% CI 3.6 to 9.4; n=5,333), in the 2025 systematic review on piercing and nickel allergy. If you've reacted to costume jewelry, belt buckles, or jean buttons before, take material selection seriously.
Materials that lower the risk
Medical guidance points toward hypoallergenic options such as titanium, niobium, or suitable gold instead of nickel containing alloys, particularly during healing. Read this breakdown of which jewelry material is right for you before you buy, especially if a listing is vague about what the piece is made of.
Don't let the phrase surgical steel do your thinking for you. It isn't automatically nickel free, and it isn't automatically right for every sensitive wearer. Plated and unknown metal jewelry adds another variable, since surface wear can expose what's underneath. For a first replacement, boring and well described beats mystery metal with a cute gem.
Fit before flair
Practical rule: Confirm gauge, length or diameter, and threading match your current piece before you fall for a color, charm, or stone.
A post that's too short can pinch and press into tissue. A post that's too long can catch, move excessively, and irritate the channel. Wrong threading wastes your one calm attempt while the piercing sits empty.
Allergy, irritation, or infection
- Itchy, eczematous rash or recurring irritation around the site: can suggest contact dermatitis from the material. Stop experimenting with unknown metals and get advice if it persists.
- Increasing pain, warmth, swelling, or pus: points more toward infection and needs a different response.
- A reaction that keeps returning with one specific piece: retire that piece and discuss material options with a piercer or clinician.
Those categories overlap enough that guessing can mislead you. If symptoms are escalating, don't keep rotating jewelry hoping the next one fixes it.
When a Swap Goes Sideways
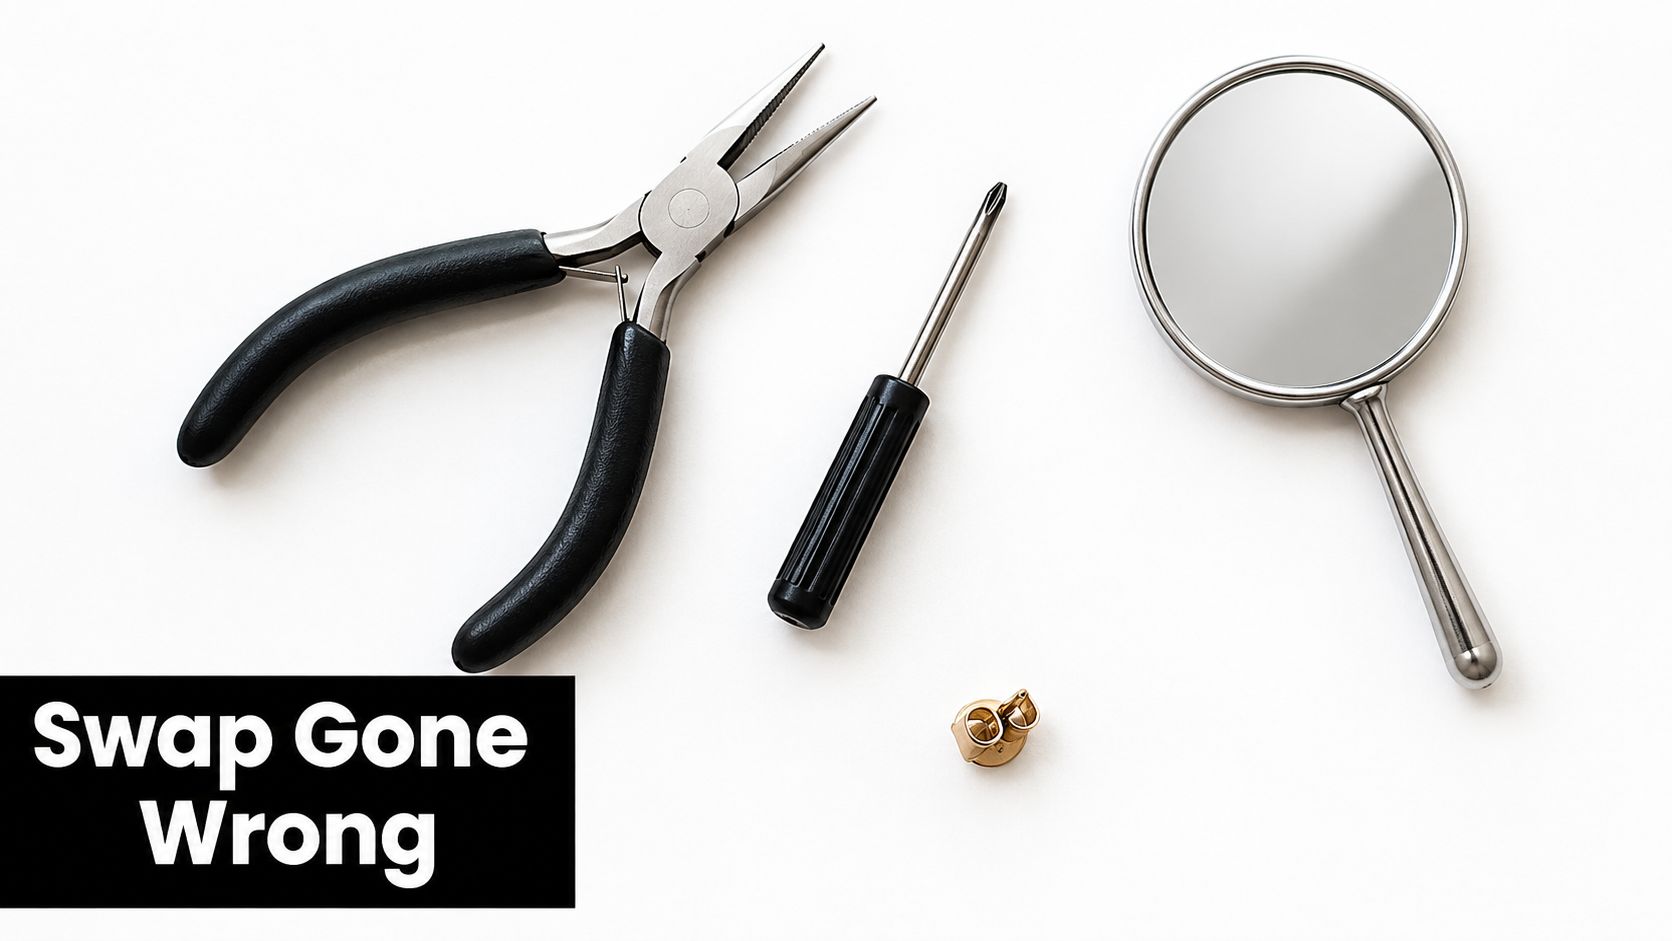
Things going sideways doesn't mean you ruined your piercing. It usually means you need to stop adding force, protect the channel, and decide whether this is still a home job. These tools can help with grip and visibility, but none of them justify digging or prying:
The channel feels tight or starts shrinking
Stop pushing. Try reinserting your clean original jewelry only if it slides in easily, because keeping the channel occupied matters more than winning the style change. A warm saline compress and trying again another day may be reasonable for a calm, healed piercing, but never force a taper or post through dry, resisting tissue. If nothing goes back in without pressure, contact a piercer promptly. Channels can narrow quickly, and earlier help gives you better options.
A threaded end won't unscrew
Dry your hands and the jewelry, then use clean latex free gloves for grip. Hold the post or flat back completely still with one hand and turn the end with steady pressure from the other. You're trying to stop the whole piece spinning, which is the usual reason ends feel impossible. Don't use your teeth. Don't clamp down with household pliers and twist harder. If the end still won't move, a piercer has hemostat style tools, better angles, and a second set of hands.
Jewelry looks embedded or partly embedded
Stop immediately. Don't dig for a sinking back, squeeze the area to pop it forward, or try to cut anything free at home. Gentle saline soaks can keep the area clean while you arrange help, but embedded jewelry needs a piercer or clinician to assess it in person, especially if swelling is increasing.
Infection warning signs change the rules
The NHS lists possible infection signs including swelling, pain, heat, pronounced redness or darkening, blood or pus that may be white, green, or yellow, and feeling hot, cold, shivery, or generally unwell. Its guidance on infected piercings says to leave jewelry in unless a doctor instructs otherwise, because removal can obstruct drainage or let the channel close around an infection. If you suspect infection, significant pain, bleeding that won't settle, or unusual discharge, skip the swap and seek medical evaluation.
Ready to shop for your first replacement once your piercing passes the readiness check? Visit BodyCandy to browse nose rings, belly rings, flat backs, and hypoallergenic options by placement, gauge, and material, so your next piece fits your piercing as well as it fits your style.