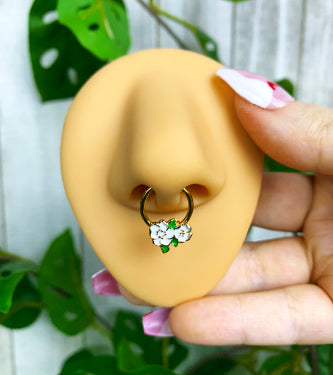
Piercing Tools: Ball Grabbers, Insertion Tapers & Pliers

The three tools that make changing body jewelry easy: a ball grabber that holds a 3mm to 6mm ball while you unscrew it, an insertion taper that guides a threadless or flat back post straight into the piercing, and ring opening and closing pliers for captive bead rings too stiff to open by hand. These are jewelry-changing tools for healed piercings, not piercing needles; a new piercing belongs with a professional. Since 1999.


Which Piercing Tool Do You Need?

Balls that slip: the ball grabber tool is a pen-sized plunger with a four-prong claw. Press, cup the ball, release, and it grips the ball steady while your other hand turns the bar, which is the trick on a belly or nipple barbell you cannot see and on any ball once your fingers are wet. Dry everything first; most stuck balls are just slippery, and a seized one loosens in warm water. Hold the bar and turn the ball counter-clockwise; never put household pliers on the jewelry itself.

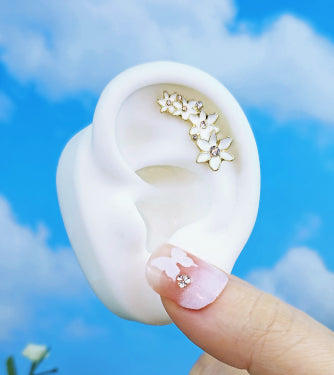
Posts that will not find the hole: the insertion taper is a thin pin in your gauge with a hollow end. Pass the point through from behind, seat the flat back or threadless post in the hollow end, push the post through as the taper slides out, then snap or screw the top on. Buy it in the same gauge as the jewelry: 16G for cartilage and lip, 18G or 20G for nostril and lobe.

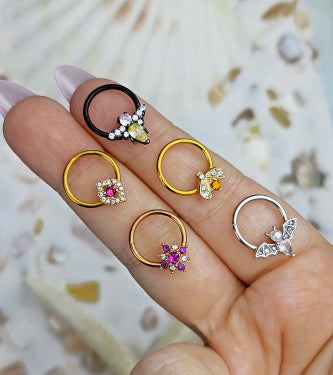
Rings that will not open: a good captive bead ring opens by hand, bead at twelve o'clock, ends pulled gently apart. Thick gauges and small diameters are stiffer, so ring opening pliers spread the ring from inside just enough to free or seat the bead, and closing pliers bring an over-opened ring back to round. Nylon- and rubber-tipped jaws protect polished and colored finishes. Wash tools and jewelry in warm water and plain soap and dry them before they touch a piercing; keep alcohol off the piercing itself and off acrylic or anodized pieces.

The parts and how-tos that go with the tools:

FAQ

A pen-sized tool with a four-prong claw on the end: press the plunger, the claw opens, release it over the ball and it grips. It holds a 3mm to 6mm ball steady while you unscrew or tighten it with your other hand, which is the part fingers struggle with, especially on a nipple or belly bar you cannot see. You do not strictly need one, but if your balls keep slipping out of your fingertips, or you have long nails, it turns a five-minute fight into ten seconds. It also picks a dropped ball out of the sink.

The taper is a thin pin that matches your gauge, with a hollow end that seats on the post. Slide the pointed end through the piercing from the back, fit the flat back post into the hollow end on the other side, then push the post through so it follows the taper into the channel and the taper slides out the front. Snap or screw the top on and you are done, with no fishing for the hole. Buy the taper in the same gauge as your jewelry, 16G, 18G or 20G; a taper that is too thin lets the post catch, one that is too thick will not fit the piercing.

Captive bead rings hold their bead by tension, and a well-made one can be opened by hand: hold the ring with the bead at twelve o'clock and pull the ends gently apart. Thicker gauges and small diameters are stiffer, and that is where ring opening pliers come in; their jaws sit inside the ring and spread it just enough to pop the bead out or seat a new one. Closing pliers do the opposite, squeezing a ring that has been opened too far back to round so the bead holds again. Use the nylon- or rubber-tipped jaws on polished or colored jewelry to avoid scratches.

No. Everything on this page is for changing jewelry in a healed piercing, not for making one. A new piercing belongs with a professional piercer using a sterile single-use needle, and the first jewelry should stay in until the piercer says it has healed. If you are looking for tools to keep an existing piercing happy, the saline spray and the care guides are on the Aftercare page.

Dry everything first; wet fingers on a polished ball are the usual problem. Grip the bar on one side (a ball grabber or the nylon-jaw pliers help) and turn the ball counter-clockwise on the other, and remember that on an externally threaded barbell only the ball turns, so hold the bar still. A ball that has been on for months can seize from dried residue: a few minutes of warm water loosens it. If it still will not budge, a piercer will have it off in seconds; never use household pliers directly on the jewelry, which marks the metal and can bend the post.

Wash your hands, then wash the tool and the jewelry in warm water with a drop of plain soap, rinse well and dry before they touch a piercing. Stainless steel tools can also be wiped with rubbing alcohol, but keep alcohol off the piercing itself and off acrylic or anodized jewelry, which it dulls. Store tools dry in the jewelry box so the claw and the taper tip stay straight; a bent taper tip is the one thing that makes insertion harder rather than easier.