So, you're ready to switch up your nose stud and show off some new bling? If the idea of doing it yourself feels a little nerve-wracking, you're not alone. The real secret to a happy, healthy piercing is learning how to insert a nose stud the right way—smoothly and safely. Think of this guide as your new best friend for all things nose jewelry.
Your Guide to Changing Your Nose Stud Like a Pro
Changing your nose jewelry is hands-down one of the best parts of having a nostril piercing. It’s your chance to match your vibe, coordinate an outfit, or just express yourself with something new and sparkly. From tiny gems to bold statements, the options are endless! But before you jump in, it’s super important to get the basics down to avoid irritation, frustration, or even hurting your piercing. Technique is everything.
Nose piercings are anything but a new trend—they’ve been a major form of body art for literally thousands of years. The practice has a seriously rich history, with roots tracing back more than 4,000 years to the Middle East. From there, it traveled to India and eventually became the Western fashion staple we know and love today. You can read more about the long and cool history of nose piercing on Wikipedia.
This guide is going to walk you through everything you need to know for a successful jewelry swap, including:
- Figuring out if your piercing is actually healed enough to change.
- The non-negotiable hygiene steps you have to follow every single time.
- Step-by-step instructions for all the different stud types you'll find here at Bodycandy.
- Building the confidence to make changing your jewelry an easy, totally stress-free process.
Key Takeaway: The goal isn't just jamming new jewelry in there. It's about doing it in a way that keeps your piercing healthy and looking its absolute best for the long haul.
With just a little bit of know-how and preparation, you'll master changing your nose stud like a total pro. Let's get you ready to rock that new look with confidence.
Setting Yourself Up for a Smooth Swap
Okay, before you even think about touching your jewelry, let's talk about setting the stage. A few minutes of prep work is the difference between a quick, easy swap and a frustrating struggle that leaves your nose red and angry. Trust us, it’s worth it.
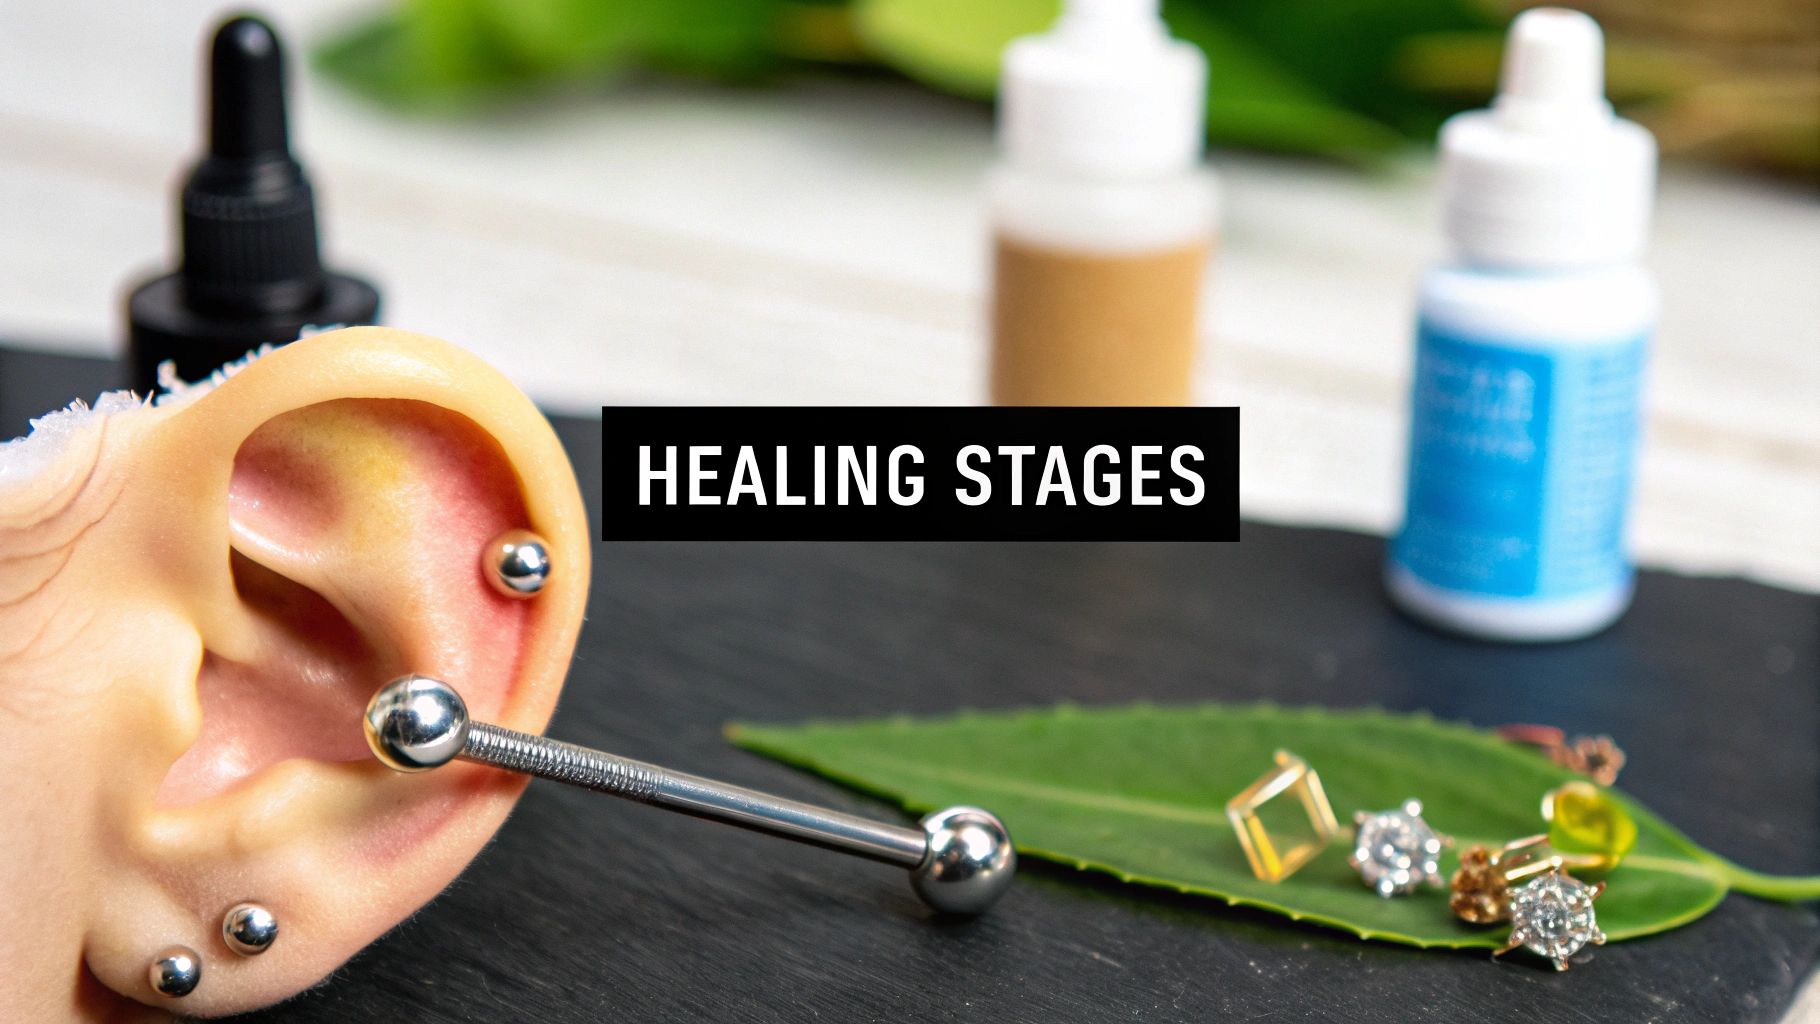
First things first, is your piercing actually ready for this? If your nostril piercing is less than 4-6 months old, it's almost certainly still healing. Trying to change jewelry too soon is a one-way ticket to irritation, healing bumps, and major setbacks.
A fully healed piercing will show zero signs of pain, swelling, discharge, or redness. It should feel like a normal part of your body. If you’re unsure, it’s always best to wait another few weeks or check in with a pro piercer.
Your Clean-Swap Checklist
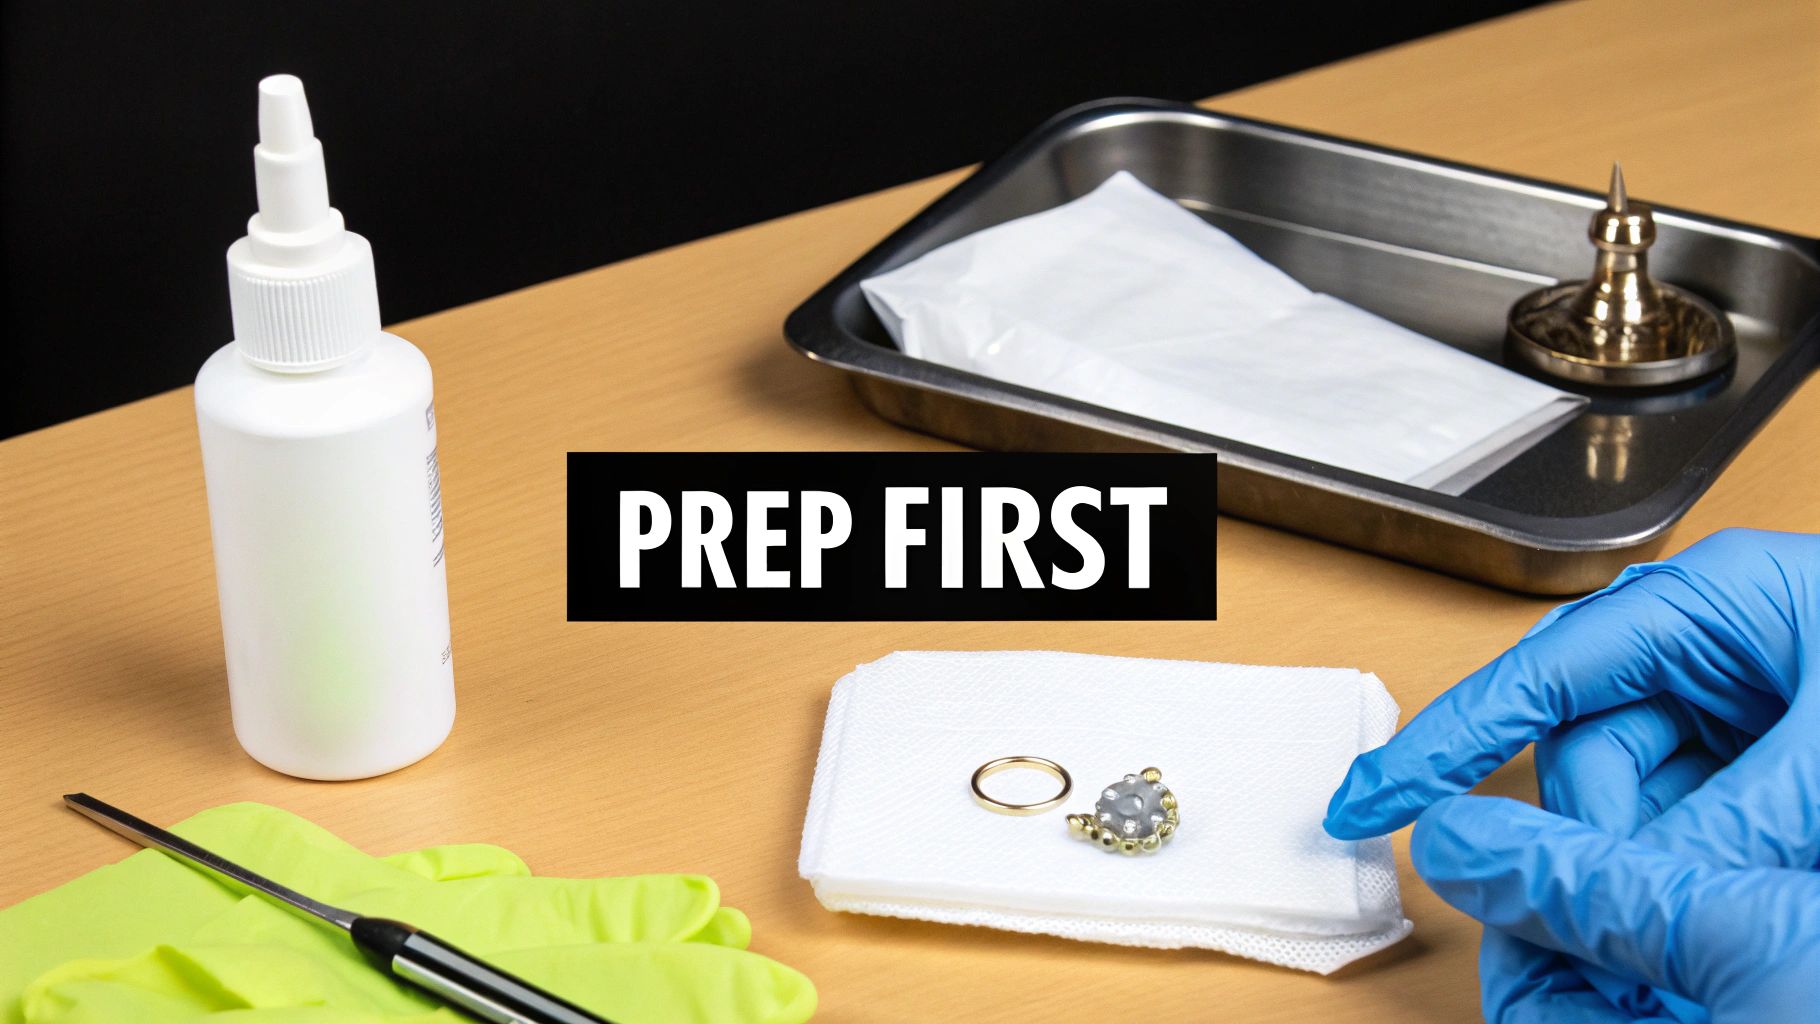
Once you're sure you're healed and ready, it's time to create your clean zone. Think of it like a mini-operation—hygiene is everything here. Grab what you need before you start so you aren’t scrambling with one hand on your nose.
- Scrub Those Hands: Wash your hands thoroughly with antibacterial soap and warm water for at least 20 seconds. This is a non-negotiable step to avoid introducing bacteria into your piercing.
- Clean Your Space: Wipe down a small area on your counter or vanity. A clean paper towel works perfectly as a sterile surface to place your jewelry.
- Sanitize the Bling: Gently clean your new nose stud. Soak it for a few minutes in a sterile saline solution or wipe it down carefully with an alcohol pad and let it air dry completely.
- Prep the Piercing: Use a fresh cotton swab or gauze soaked in sterile saline solution to clean around the outside and just inside your nostril. This removes any lingering crusties or oils.
Now for a pro-tip that will change your life: lubrication. A tiny dab of a sterile, water-based lubricant on the tip of the new stud can make insertion incredibly smooth. It helps the jewelry glide through without any uncomfortable friction or snagging.
Never use petroleum-based products like Vaseline, as they can trap bacteria and clog your piercing.
Why Material Matters: Remember, the material of your new jewelry is just as important as your prep. If your skin is easily irritated, sticking with high-quality, hypoallergenic metals like titanium or surgical steel is key. Making the right choice can prevent a world of trouble, and you can learn more about picking the right hypoallergenic jewelry for sensitive skin to keep your piercing happy.
How to Insert Every Type of Nose Stud
Alright, let's get into the fun part. Not all nose studs are built the same, which is awesome for style but means your insertion technique needs to match the jewelry. Knowing the right way to put in each type will save you a ton of frustration (and maybe a few tears).
Think of it like learning to use different tools—each one is great, but you wouldn't use a hammer for a screw. Once you get the hang of these, you’ll be swapping your bling like a seasoned pro.
Before we dive in, it helps to have a quick reference. Choosing the right stud often comes down to personal preference, how healed your piercing is, and how active you are.
Nose Stud Style Cheat Sheet
Here's a quick comparison of the most common nose stud types to help you choose the best one for your piercing and lifestyle.
| Stud Type | Insertion Method | Best For | Pro Tip |
|---|---|---|---|
| L-Shape | Push & Turn | Healed & new piercings | A great all-rounder; secure but easier to insert than a screw. |
| Corkscrew | Twist & Push | Healed piercings; active lifestyles | The most secure option once it's in, but has the steepest learning curve. |
| Nose Bone | Straight Push | Fully healed piercings only | Perfect for quick changes, but the bulb end can irritate sensitive piercings. |
| Flat Back | Insert Post from Inside | Sensitive skin; comfort | Unbeatable for comfort, especially for sleeping. Can be tricky to insert yourself at first. |
Getting to know the different styles is key to a happy piercing. Now, let's break down how to actually get them in your nose.
The L-Shape Stud: The Crowd Favorite
The L-shape is super popular for a reason. It's relatively easy to insert and sits securely without too much fuss. That 90-degree bend is what helps it stay put inside your nostril.
To insert it, line up the tip of the short end with your piercing hole from the outside. Push it gently straight in until you feel the bend hit the inside of your skin. Now, slightly angle the stud downward and continue to push while rotating it upwards, following the curve of the "L." It should slide right into place.
Pro-Tip: If you feel resistance, don't force it! Pull back slightly, take a breath, and try adjusting the angle. A tiny bit of water-based lubricant can make this process incredibly smooth, especially if you're new to this.
The Corkscrew or Nose Screw: The Secure Master
The corkscrew, or nose screw, can look intimidating with its curly tail, but that unique shape is what makes it one of the most secure styles out there. Once it's in, it's not going anywhere!
For a deeper dive into the different parts that make up nose jewelry, check out our guide on the anatomy of a nose ring.
Start by inserting the very tip into your piercing. Then, you'll want to gently twist the stud—like you’re screwing it in—while simultaneously pushing it inward. You'll need to follow the curve of the screw. It feels a bit weird at first, but with a little practice, the motion becomes second nature.
The key is a slow, steady twisting motion. You'll feel it slide and settle comfortably against the inside of your nostril.
The Nose Bone: The Simple Push-In
The nose bone is simplicity at its finest. It's just a straight post with a decorative top and a small, slightly thicker ball on the other end to hold it in place.
This one is all about a straight, gentle push. Line the post up with your piercing and push it directly through. You might feel a tiny "pop" as the small ball on the end passes through the piercing hole. This is totally normal!
- Best For: Fully healed and well-established piercings. The end ball can be slightly irritating to a new or sensitive piercing channel, so avoid this style until you're completely healed up.
- Quick Changes: It's perfect for people who like to change their jewelry often and want a no-fuss option.
The Flat Back Stud: The Comfort King
Flat back studs, also known as labret studs, are the ultimate in comfort, especially if you’re prone to irritation inside your nose. The flat disc sits flush against the inside of your nostril, preventing any poking or snagging.
These are typically "threadless" or "push-pin" style. You'll insert the hollow post from the inside of your nostril first. Once the post is through, you take the decorative top and gently push its pin into the hollow post until it feels secure. This can take some practice, but the comfort is worth it.
It’s no surprise that nose jewelry has become such a staple. In fact, the global nosepins market is a significant part of the wider jewelry world, valued at around $500 million in 2025 and is projected to grow steadily. You can explore more about this market’s expansion at Archive Market Research. This growth shows just how many people are embracing nose piercings and looking for cool, new styles to wear.
Troubleshooting Common Jewelry Change Issues
Okay, so you followed all the steps, but changing your jewelry isn't going quite as planned. First things first: take a deep breath. Don't panic. Hitting a snag is completely normal, especially when you're just learning the ropes of inserting a new nose stud.
It's a huge bummer when things don't go perfectly, but remember how popular nostril piercings are. There's a reason for that! They're usually very manageable once you get the hang of it. Back in early 2020, piercers were doing around 46 nostril piercings per week, making them one of the most requested piercings out there. You can check out more cool insights from these piercing statistics at Infinite Body. You're part of a massive, stylish club, and trust me, everyone has a tricky jewelry change story.
"I Can't Find the Hole from the Inside!"
This is probably the number one frustration, especially with flat-back labrets that you have to insert from inside your nose. Let's be real, the inside of your nostril is a weird, slippery place, and trying to find that tiny exit point can feel like an impossible mission.
Whatever you do, don't just keep poking around blindly. That's a one-way ticket to irritation city. Instead, take the decorative top of your jewelry and gently place it on the outside of your piercing, right where it's supposed to sit. Use it as a little guidepost to help you feel where the post needs to emerge on the inside.
"It Starts to Hurt When I Push"
Pain is your body's way of screaming, "Hey, stop that!" If you feel a sharp or significant pinch, don't just try to power through it. This could mean a few different things:
- You're at the wrong angle. The piercing channel is very specific. Gently pull the stud back a bit and try re-angling it.
- Your piercing is just plain irritated. If your nose already feels tender, red, or a little swollen, it might not be the best day for a jewelry swap. Let it chill out and try again tomorrow.
- The piercing has started to shrink. Nostril piercings, even fully healed ones, can shrink surprisingly fast. If the jewelry has been out for more than a few minutes, the channel might have tightened up.
A fantastic tool for this exact situation is a piercing taper. This is a long, thin tool that starts at a very fine point and gradually widens to your jewelry's gauge. You can use it to gently guide the piercing channel back open, making it super easy to slide the new stud in right behind it.
Understanding the shape of your jewelry is half the battle. Each style navigates your piercing in a slightly different way.
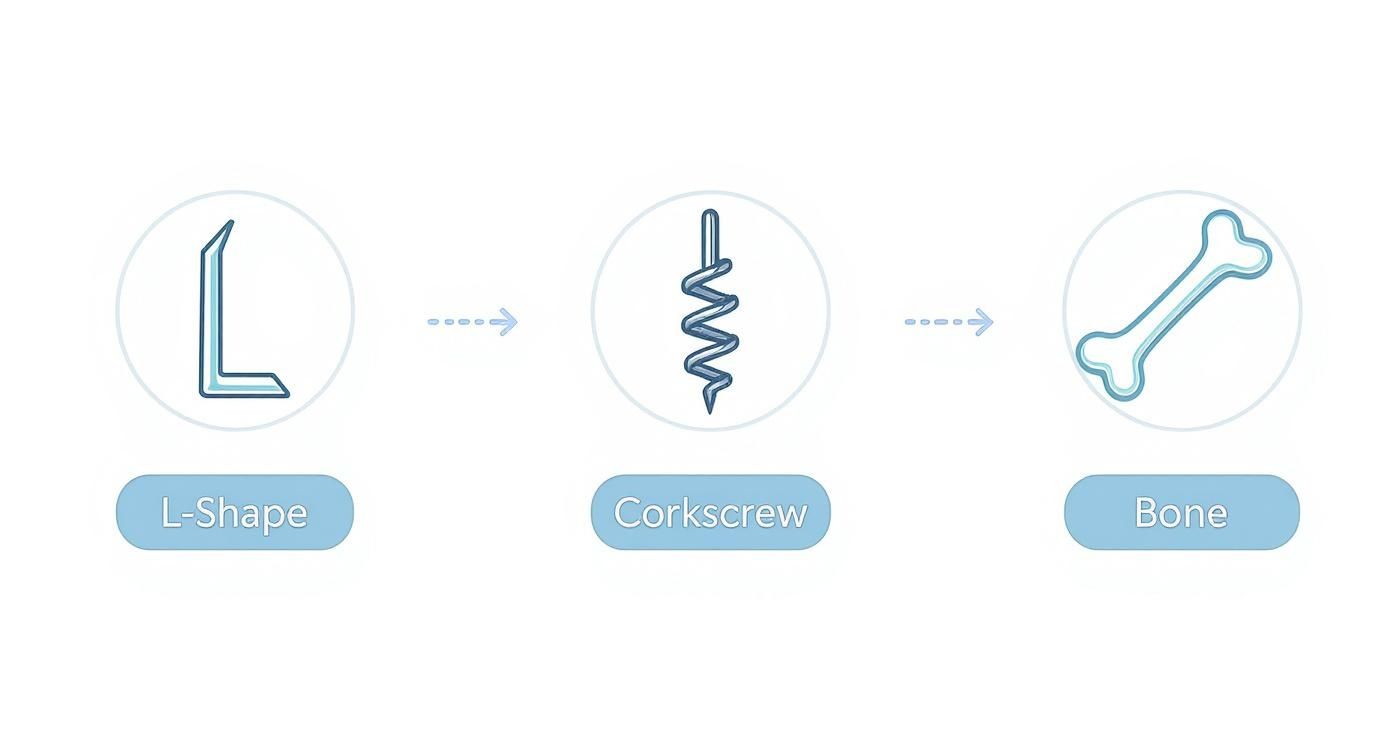
Whether it's an L-shape, Corkscrew, or Bone stud, each one requires its own little twist or push. Getting familiar with that motion is key to a smooth change.
What if There's Minor Bleeding or Swelling?
Seeing a tiny pinpoint of blood can be alarming, but it can happen, especially if you had to work a little to get the jewelry in. This isn't usually a cause for major concern. Just treat it like it's a new piercing for the next day or two.
Clean the area with a sterile saline solution, and most importantly, leave it alone. No touching, no twisting.
Now, if you experience significant bleeding that doesn't stop, or if the swelling becomes painful and excessive, it's time to stop what you're doing. Contact a professional piercer immediately. Your health and safety always, always come first.
Post-Change Aftercare for a Happy Piercing
You did it! The new stud is in, and it's looking absolutely fantastic. Go ahead, take a moment to admire your work in the mirror. You've earned it! But before you completely sign off, your job isn't quite finished just yet.
Even a piercing that's been healed for years can get a little sensitive or fussy after being poked and prodded during a jewelry swap. Think of the next day or two as a mini-healing period to let your piercing settle in with its new bling.
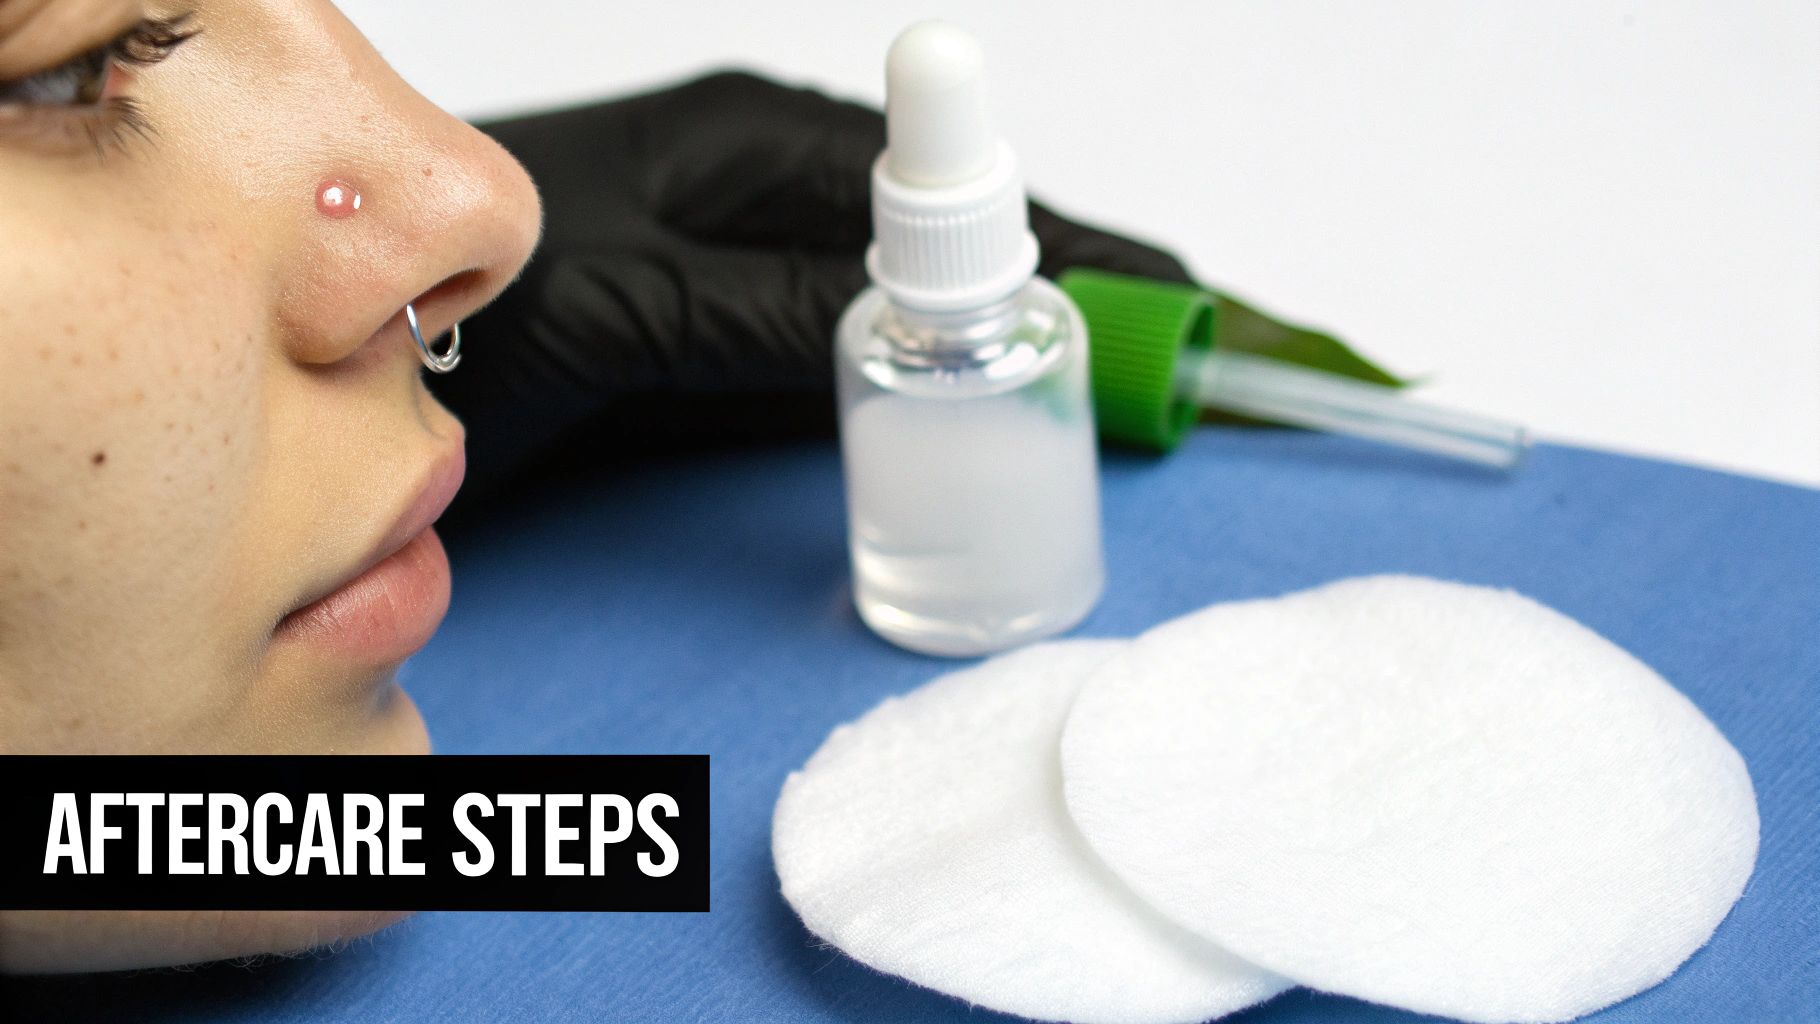
The best way to soothe any minor irritation is to treat your piercing with a little extra TLC. Continuing with gentle saline soaks for a day or two is a fantastic idea. This helps calm everything down and ensures the area stays perfectly clean, preventing any opportunistic bacteria from causing trouble.
Simple Steps for a Settled Piercing
Keeping things calm and happy is super easy. Your piercing just needs a little space to adjust to its new resident.
- Hands Off: This is the golden rule. Avoid the temptation to twist, turn, or play with your new jewelry. Every touch introduces bacteria and can irritate the delicate tissue.
- Gentle Cleaning Only: Stick to your sterile saline solution. A quick spritz or a gentle wipe with saline-soaked gauze once or twice a day is plenty. Don't go overboard.
- Be Mindful: For the next few days, be extra careful when washing your face, drying off with a towel, or pulling clothes over your head. A snag can be a major setback.
It's all about maintaining a clean and calm environment. If you want a refresher on the best aftercare practices, our guide to H2Ocean aftercare has some awesome tips that apply here, too.
Basically, you're just giving your piercing a little breathing room. Following these simple steps ensures that the jewelry change is a complete success from start to finish. This brief aftercare routine keeps your piercing healthy and ready for its next fabulous jewelry debut whenever you are.
A happy piercing is a beautiful piercing, after all.
When You Should See a Professional Piercer
While this guide gives you the confidence to handle most jewelry swaps at home, one of the smartest things you can do for your piercing is knowing when to call it quits and head to a pro.
Think of your piercer as your piercing’s best friend. They have the right tools, specialized training, and years of experience to solve problems that can feel totally overwhelming when you're staring in the bathroom mirror. This isn’t about admitting defeat; it’s about making the best choice for your body.
Sometimes, your piercing sends out clear SOS signals. If you've tried to insert your jewelry and it just won’t go through, don't force it. After a few gentle, unsuccessful attempts, it’s time to stop pushing. Forcing jewelry can cause some serious trauma, leading to swelling, irritation, and even permanent damage to the piercing channel itself.
Red Flags That Mean "See a Pro"
It’s so important to learn the difference between minor, temporary irritation and a real, brewing problem. Listen to your body and keep an eye out for these warning signs:
- Signs of Infection: Any kind of thick, yellow or green discharge is a major red flag. Also, watch for excessive swelling that doesn’t seem to go down, skin that feels hot to the touch, or a severe, throbbing pain that won't let up.
- Stuck Jewelry: Whether you can't get an old stud out or a new one in, don't panic and start yanking. A piercer has specialized tools like insertion tapers and forceps to safely manage the situation without causing a bigger issue.
- Persistent Bleeding: A tiny pinpoint of blood might happen if you snag it, but anything more than that, or any bleeding that doesn’t stop within a few moments, needs a professional’s attention right away.
Expert Insight: For your very first jewelry change after the initial healing period, we highly recommend having a piercer do it for you. They can give you the official all-clear that your piercing is fully healed and even show you the proper technique for your specific anatomy and jewelry type.
Your piercing is a part of you, and treating it with care is the name of the game. A quick trip to a professional studio can save you a world of pain, complications, and potential damage down the road. It's always worth it.
Nose Stud Q&A: Your Top Questions Answered
Even with all the steps laid out, a few questions are probably still floating around. That’s totally normal! Let's go through some of the most common things we get asked all the time. Getting these last few worries out of the way will help you swap your bling with total confidence.
Think of this as our rapid-fire round to clear up any lingering doubts.
How Long Do I Really Have to Wait Before Changing My Jewelry?
This is the big one, and getting it right is everything for a happy, healthy piercing. You absolutely have to wait until your piercing is 100% fully healed. For most people, that means a minimum of 4 to 6 months. No shortcuts!
Trying to change your jewelry too early is one of the worst mistakes you can make. A piercing that isn't fully healed is basically an open wound. Shoving new jewelry through it is asking for trouble, including:
- Irritation bumps: Those annoying, stubborn bumps that just won't seem to go away.
- Healing setbacks: You could end up adding months to your heal time.
- Damaging the fistula: That's the delicate tube of skin inside your piercing, and you don't want to tear it.
- Infection: An open wound is a gateway for bacteria.
If you're even a little bit unsure whether it's ready, just swing by a professional piercing studio. A good piercer can tell you in two seconds if you've got the green light. It’s better to be safe than sorry.
Key Takeaway: Seriously, just be patient. Waiting a few more weeks is so much better than dealing with a painful, angry piercing for months. Your nose will thank you.
Is It Normal to Bleed a Little When I Change My Stud?
Seeing a tiny drop of blood can definitely be scary, but it’s not always a red flag. If your piercing is fully healed, a little pinpoint of blood might just mean you caused some minor irritation, especially if the piercing was a bit tight.
When I say minimal, I mean it—like, a single speck that’s gone almost instantly. If you see more than that or the bleeding doesn't stop right away, stop what you're doing. You've probably aggravated the piercing more than you realize. Just clean it gently with saline, leave it alone, and give it a day or two to calm down before you try again.
Ahh! My Nose Stud Fell Out and I Can't Get It Back In!
Okay, first things first: don't panic! Nostril piercings are notorious for closing up fast. We're talking minutes or hours, especially if the piercing is less than a year old. The most important thing is not to force it.
Try using a water-based lubricant to gently guide the jewelry back through. If you feel any real resistance or pain, stop immediately. Your best move is to get to a professional piercer as fast as you can. They have special tools called insertion tapers that can safely and gently reopen the piercing, saving it from closing for good.
Can I Use Vaseline or Oil to Help Slide the Stud In?
That’s a hard no. You should never, ever use petroleum-based products like Vaseline, antibiotic ointments, or any kind of oil on your piercing.
These things are not meant to go inside your body. They'll clog the piercing, trap bacteria right where you don't want it, and can easily lead to some nasty irritation or a full-blown infection. If you need some help getting the jewelry in, only use a sterile, water-based lubricant. It gives you the slip you need without all the risky business.
Ready to show off your new look? The BodyCandy collection has thousands of amazing nose studs waiting for you. Find your next favorite piece and shop our full collection of nose rings today!