Let's be real, your captive bead ring (CBR) looks killer, but trying to take it out for the first time can feel like you're solving a tiny, impossible puzzle. Don't sweat it! The secret is to gently pinch the ring to create a small gap opposite the bead, which lets the bead pop right out. This simple pinch and pull trick usually works like a charm for most common sizes without needing any special tools.
Understanding Captive Bead Ring Basics
So, you're staring at your CBR, wondering what kind of sorcery is holding that little bead in place. Don't worry, it's not magic—it's just clever tension. A captive bead ring is designed so the ring's natural springiness holds the bead securely between its two ends. Think of it like a tiny, powerful hug keeping your jewelry right where it should be.
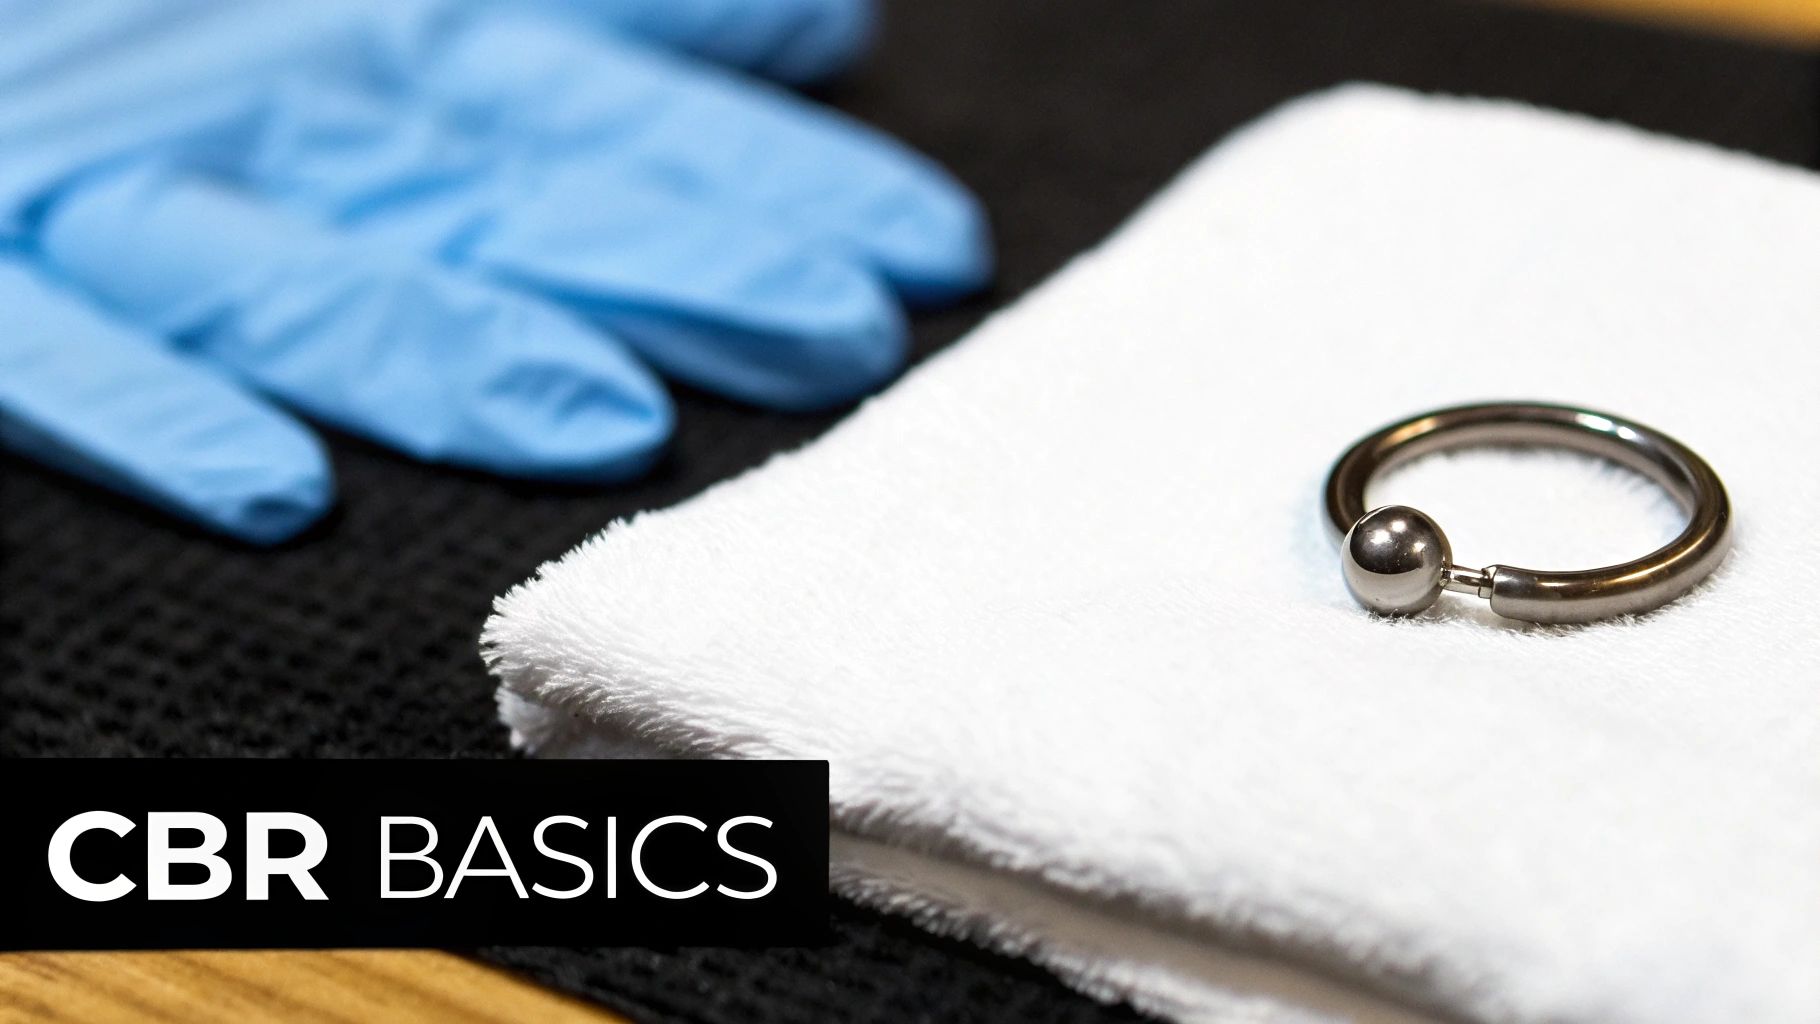
That little bead has small dimples on each side that nestle perfectly into slight indentations on the ring. This tension-fit is what makes CBRs so secure for active lifestyles, but it's also what can make them a bit tricky to remove. It's all about releasing that tension just enough for the bead to break free.
CBR Removal at a Glance
Here's a quick rundown of the essential tools and steps for a successful captive bead ring removal.
| Item or Step | Why It's Important | Pro Tip |
|---|---|---|
| Clean Hands | Prevents introducing bacteria to your piercing and improves your grip. | Wash with antibacterial soap and dry them completely before you start. |
| Disposable Gloves | Your secret weapon for an unbeatable grip on slippery metal jewelry. | Nitrile gloves often provide a better grip than latex ones. Seriously, a game-changer. |
| Ring Opening Pliers | A specialized tool that makes opening thicker rings effortless and safe. | Only use these if you can't open the ring by hand; gentle pressure is key to avoid damage. |
| Pinch & Pop | The fundamental technique for releasing the bead from the ring's tension. | Hold the ring with one hand and use your thumbnail to push the bead out from its setting. |
| Proper Lighting | Helps you see exactly what you're doing, especially with smaller jewelry. | Use a well-lit bathroom or a makeup mirror with built-in lights for the best visibility. |
| Safe Workspace | Prevents the tiny bead from getting lost if you drop it. | Lay a towel over the sink or countertop to catch any dropped parts. |
Having this stuff ready and knowing the basic moves can turn a frustrating experience into a quick and simple jewelry change.
Why Grip Is Your Best Friend
The biggest hurdle most people face isn't strength, but grip. Trying to handle tiny, smooth metal with oily or wet hands is a recipe for frustration. Simply washing and thoroughly drying your hands is often all you need.
For most standard jewelry sizes, from 18g to 12g, a firm, dry grip is enough to pop the bead out.
For some tougher rings, especially thicker gauges or those in hard-to-reach spots like a daith piercing, you might need a little help. Simple tools can make a huge difference:
- Disposable Gloves: Seriously, these are a game-changer for getting that solid, no-slip grip.
- Ring Opening Pliers: Specifically designed for this job, they open the ring just enough without warping or damaging it.
Once you master the removal, you can start exploring all the amazing styles out there. Check out our guide on how to captivate with captive rings to find your next look!
Setting Up for a Safe and Easy Removal
Before you even think about touching your jewelry, let's set the scene for a drama-free removal. Your number one goal here is creating a clean, safe space to work in. Trust me, rushing this part is how tiny beads get lost forever down a drain or how happy piercings get angry and irritated.
First things first: wash your hands. Seriously, this is non-negotiable. Use a good antibacterial soap and warm water, and scrub like you mean it for at least 20 seconds. Clean hands not only prevent bacteria from getting near your piercing but also give you a much better grip on that slippery jewelry.
Is Your Piercing Ready for This?
Next, let’s talk timing. You should only attempt to remove your captive bead ring if your piercing is 100% fully healed. Trying to swap jewelry in a fresh or still-healing piercing is a recipe for disaster, potentially leading to swelling, infection, and setting your healing time way back.
So, how do you know it’s truly ready? A happy, healed piercing will show these signs:
- No Pain: The area shouldn't be tender at all, even when you touch it.
- No Redness or Swelling: The skin around the piercing should look calm and normal-colored.
- No Discharge: You shouldn't see any crusting or fluid (especially yellow or green) coming from the piercing site.
If you’re seeing any of these warning signs, your body is telling you to just wait. Give it more time before you try to make a change.
Pro Tip: If your piercing is fully healed but the jewelry feels a bit tight or stuck, try taking a warm shower first. The steam can help relax the skin and tissue around the piercing, making removal just a little bit easier.
Create Your Safe Zone
We've all been there—that heart-stopping moment when a tiny piece of jewelry slips and vanishes into thin air. Let's make sure that doesn't happen to you.
Create a "safe zone" by laying a clean towel or even just a paper towel on a flat, well-lit surface, like your bathroom counter. This simple step provides a soft landing spot and makes that little bead much easier to find if it decides to make a run for it. If you have a particularly stubborn ring, having the right equipment on hand is key. You can learn more about a handy body piercing ball removal tool that can make the whole process much smoother.
Removing a CBR With Just Your Hands
Ready to try taking out your captive bead ring without any tools? You can totally do this. This hands-only method works best on smaller gauge rings, usually anywhere from 18g to 14g, because they have a bit more flex. The goal here is gentle persuasion, not a full-on wrestling match with your piercing.
The secret is all in applying steady, even pressure. It's about technique, not brute force. You want to work with the jewelry's natural tension to coax it open just enough for that satisfying little 'pop' as the bead comes free.
This diagram lays out the essential prep work you should do before you even think about touching your jewelry.
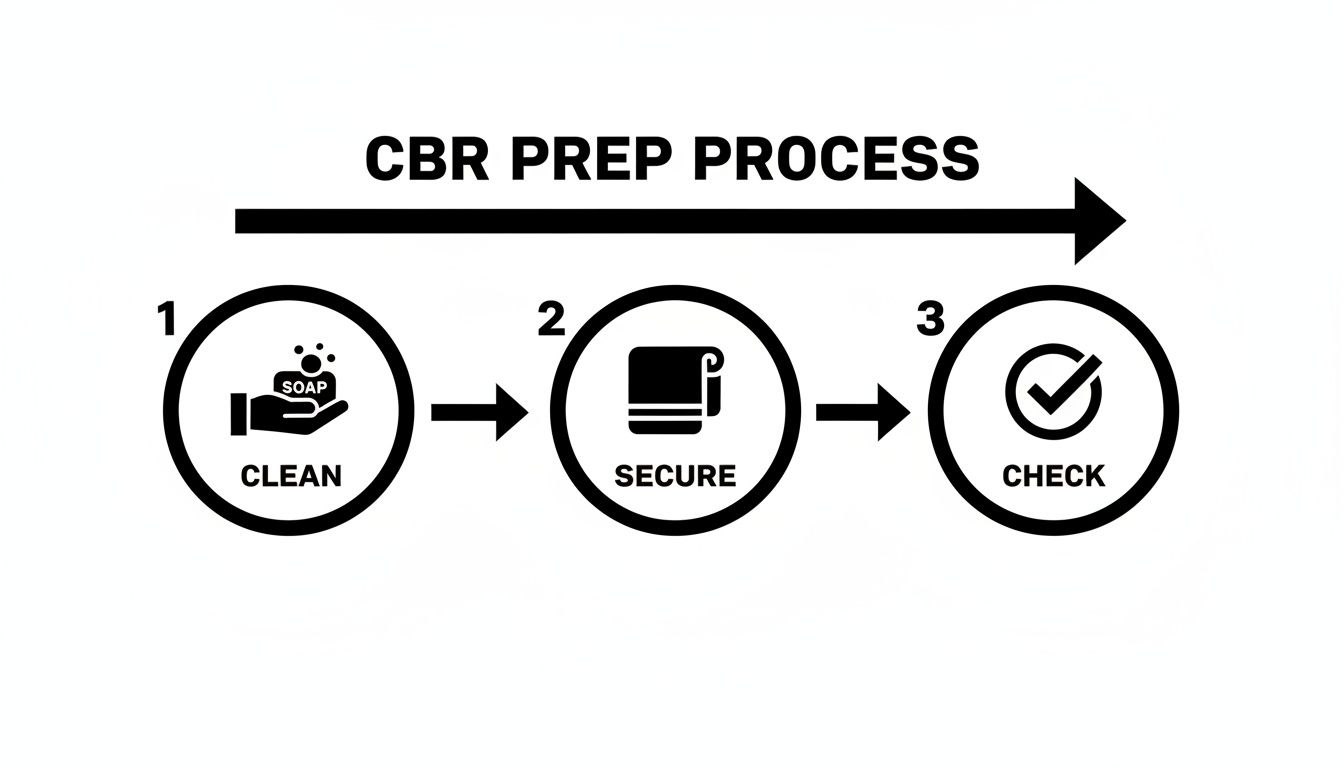
Following this simple flow—Clean, Secure, and Check—makes sure your hands are ready for a solid grip and your piercing is safe from any unwanted bacteria.
Finding Your Grip
First things first, you need to get your fingers positioned for the best possible leverage. Grip the ring firmly on both sides of the bead using your thumb and index finger. You want to get as close to the bead as you can without actually covering it. This is what gives you maximum control.
If you’re working with a piercing in a tricky spot, like a daith or a septum, the angle can feel really awkward. Don't be a hero—use a mirror to see exactly what you're doing. Feel free to try a few different finger combinations until you find a hold that feels both comfortable and secure.
The Gentle Pop Technique
Once you have a solid grip, you're going to apply pressure in two directions at the same time. Gently pull the sides of the ring apart while also twisting them slightly in opposite directions—think one side forward, one side back. This dual-action motion is the key to releasing the tension that holds the bead in place.
You're not trying to yank the ring into a giant 'C' shape. The idea is to open it just a millimeter or two—just enough for one of the bead's dimples to slip out of its indent on the ring.
You should feel a distinct pop or click when the bead comes loose. Be ready to catch it before it makes a run for it and disappears down the drain!
If the bead doesn't budge after a couple of tries, just take a break. Forcing it is only going to irritate your piercing and frustrate you. Patience is your best friend here; sometimes all it takes is a short rest before giving it another go.
Using Ring Opening Pliers for Tougher Jewelry
Sometimes, your fingers just won’t cut it. This is especially true when you're dealing with thicker gauge jewelry—think 12g and up—or a ring that’s just plain stubborn. When you can’t get it by hand, it’s time to bring in the right tool for the job: ring opening pliers.
These are not the rusty pliers you have in your garage toolbox. Ring opening pliers are specifically designed with smooth, rounded tips made to fit perfectly inside your jewelry. Their entire purpose is to gently expand the ring just enough to release the bead's tension, all without scratching, denting, or permanently warping the metal. Using them is all about finesse, not brute force.
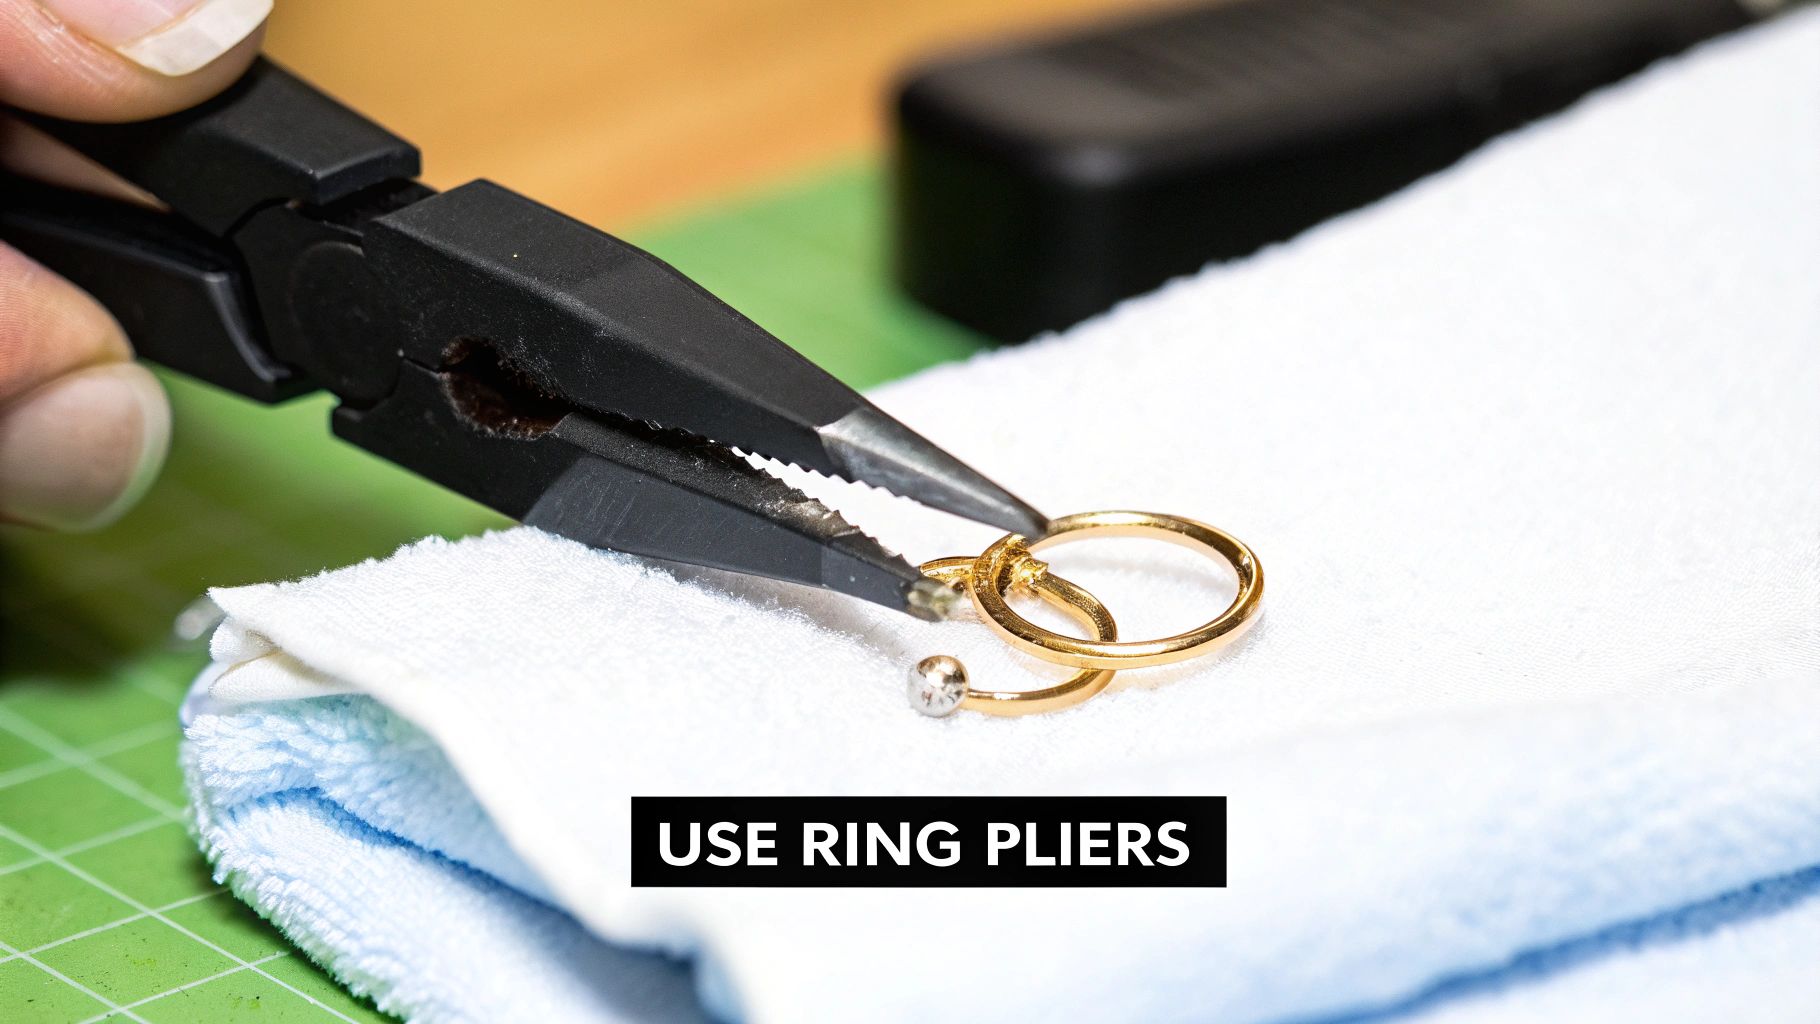
The Right Way to Use Your Pliers
First things first, make sure both your jewelry and the plier tips are clean and sterile. Get a firm but gentle grip on your piercing's ring with one hand to keep it steady.
With your other hand, carefully insert the closed tips of the pliers into the center of the captive bead ring. Now, squeeze the handles gently. You'll see the ring begin to open slightly. Go slow and apply steady, even pressure until you've created just enough of a gap for the bead to pop out. It really shouldn't take much effort; if you feel like you're fighting it, stop and reposition.
Once the bead is out, slowly release the pressure on the handles, remove the pliers, and the ring should be free.
Crucial Safety Warning: Never, ever use household pliers (like needle-nose or standard pliers) on your body jewelry. Their serrated jaws will absolutely scratch the metal's surface, creating microscopic hiding spots for bacteria that can lead to irritation or a nasty infection. They also apply uneven pressure, which is a surefire way to bend your CBR completely out of shape.
Avoiding Common Mistakes
The single biggest mistake you can make with ring opening pliers is getting overzealous. Opening the ring too wide can permanently ruin its tension, which means it will never hold a bead securely again. You're aiming for a tiny gap, just enough for the bead to slip out. That's it.
Gauge is another huge factor. Trying to muscle open a thick 12g ring by hand is a great way to hurt yourself or damage your jewelry. When in doubt, a professional piercer is your best bet. You can always find out more about proper piercing care and when to seek assistance to keep your piercings happy and healthy.
Troubleshooting Common CBR Problems
So, you've been twisting, pulling, and maybe even cursing, but that captive bead ring just won't cooperate. First off, don't panic! This happens to pretty much everyone who wears a CBR at some point.
Whether the bead is jammed, the ring is refusing to budge, or you finally got it out only to realize putting it back in is a whole new challenge, we've got you covered.
The mental game is half the battle here. If you start feeling frustrated, just take a break. Seriously. Step away for a few minutes and cool off. Trying to force it when you’re annoyed is a surefire way to irritate your piercing and make things worse.
When the Bead Just Won't Budge
Is that stubborn little bead refusing to pop out of its dimples? This is usually due to the ring's tension, especially with thicker gauge jewelry. That spring-like force is what holds it in place, but it can also be your biggest enemy during removal.
A little pro tip: try using a tiny dab of water-based lubricant right where the bead meets the ring. This can give it just enough slip to pop out. Also, make sure your hands are completely dry for the best possible grip—nitrile gloves can be a game-changer here.
Knowing When to Call It Quits
Pushing through isn't always the answer. Knowing your limits is just as important as knowing the right technique. It’s time to throw in the towel and head to your local professional piercer if you notice any of the following:
- You're in pain or see any blood. This is your body's way of screaming "STOP!"
- The piercing area is getting red and swollen. You're only going to aggravate the tissue, which could set back your healing.
- You've been trying for more than 10-15 minutes. At this point, you're far more likely to cause irritation than to succeed.
- You've dropped the bead. Don't even think about putting a dirty bead back into a fresh or sensitive piercing. For more on this common fumble, check out our guide, "Don't Drop the Ball!".
Remember, there's absolutely no shame in asking for help. A professional piercer can get your CBR out in seconds, completely safely, and without damaging your piercing or your jewelry.
Got Questions About Captive Bead Rings?
Still have a few things buzzing around in your head? It happens. We've put together some straightforward answers to the questions we hear all the time about captive bead rings, so you can handle your jewelry like a pro.
Can I Reuse My Captive Bead Ring After Removing It?
Yes, you absolutely can! So long as you didn't accidentally warp the ring trying to get it out, it's totally fine to pop it back in later.
The one thing you have to do is give it a good cleaning first. Both the ring and the bead need to be thoroughly sterilized with a saline solution before they go anywhere near your piercing. It's a simple step, but it's super important for keeping unwanted bacteria out of the picture.
What if My Piercing Gets Irritated After Changing Jewelry?
Don't panic! A little bit of redness or some minor swelling right after a jewelry swap can be perfectly normal. Your piercing is just getting used to its new bling.
Just gently clean the area with a sterile saline solution and keep a close eye on it for a day or two. If the irritation doesn't chill out, gets worse, or you start seeing signs of infection (like pus or serious pain), it's time to take action. Swap back to a simple, high-quality piece of jewelry you know your body likes and give your professional piercer a call. They'll know exactly what to do.
Ready to show off those new skills with some fresh styles? BodyCandy has an amazing collection of captive bead rings and other body jewelry just waiting for you. Shop the full collection today!