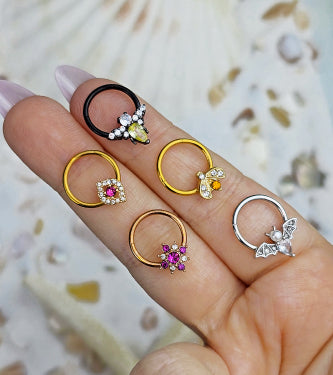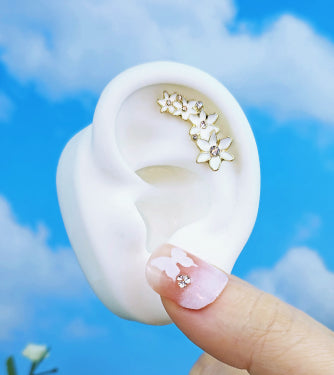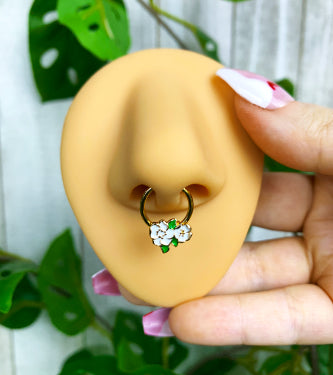






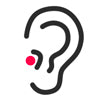
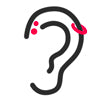
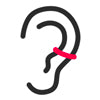
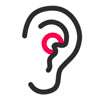



You've saved the tiny helix gem, the heart-shaped ring, and the ear stack that somehow makes a messy bun look intentional. Then you put on your headphones and wonder where all that jewelry is supposed to go. Making a cartilage piercing cute is easy in a photo. Making it comfortable enough to live with takes a little more thought.
Why Cute Cartilage Piercings Need a Plan
Say your favorite saved photo features a sparkling upper-ear stud, a snug hoop, and a little chain connecting everything. You love the finished look, but you're starting with an unpierced ear. Copying the entire arrangement immediately isn't the same as building toward it.
Cartilage is the firm framework of your ear, including the outer rim and inner folds. It isn't the soft, flexible lobe. A piece that looks weightless online can still tug when your hair wraps around it or your pillow presses it sideways.
Your first jewelry also has a different job from your eventual statement piece. It needs to accommodate healing tissue, sit smoothly, and avoid unnecessary movement while you wear it for months. Sparkle gets a vote, but fit gets the final say.
Start with your actual ear
A professional piercer should assess the fold, angle, and available space before you commit. They'll also select the post length, including room for initial swelling, rather than squeezing your ear into the dimensions of a saved photo.
Bring the inspiration, but bring your daily routine too:
- Your nonnegotiables: Glasses, work headsets, helmets, or earbuds.
- Your habits: Which side you sleep on and how you usually wear your hair.
- Your finish line: A tiny standalone sparkle or a fuller arrangement you can build gradually.
The starting goal: One well-fitted first piece and one later upgrade, not an entire shopping cart of jewelry your ear isn't ready for.
Cute Cartilage Placements Worth Wearing
Cute cartilage placements, jewelry, healing, and friction
The healing estimates below use Cleveland Clinic's ear-piercing guidance, which gives approximately 6 to 12 months for common cartilage placements including helix, tragus, conch, rook, and daith; unconfirmed placements are marked for an individual assessment rather than assigned a guessed deadline.
| Placement | Cute first jewelry | Healing range | Daily friction | Styling note |
|---|---|---|---|---|
| Helix | Piercer-sized flat-back stud; hoop only if suitable | About 6 to 12 months | Medium from hair and headphones | Tiny gem first, slim hoop later |
| Forward helix | Small flat-back stud | Ask your piercer for a placement-specific estimate | High from glasses and mask loops | Micro studs, not charms |
| Flat | Low-profile flat-back stud | Ask your piercer for a placement-specific estimate | Lower when nothing presses the front | Single sparkle in the upper bowl |
| Conch | Flat disc stud | About 6 to 12 months | Medium from earbuds | Close-fitting front first, hoop later |
| Tragus | Micro stud; ring only if professionally approved | About 6 to 12 months | High from earbuds | Keep the front tiny |
| Rook | Fitted curved barbell | About 6 to 12 months | Low to medium | Delicate curve tucked into the fold |
| Daith | Properly fitted ring | About 6 to 12 months | Medium from earbuds | Decorative shape only if suitable |
| Anti-tragus | Fitted curved barbell | Ask your piercer for a placement-specific estimate | Medium | Tiny curve above the lobe |
| Industrial | Anatomy-fitted straight barbell | Ask your piercer for a placement-specific estimate | High from sleep and helmets | Plain bar first, decoration later |
Choose the placement before the decoration
Start by comparing flat and lower helix placements. A small, smooth front can give you that single-speck-of-light effect without a large decorative outline. Neither is automatically pressure-free, though. Your glasses or headphone cushions may land exactly where someone else has open space.
The forward helix sits toward the front of the upper rim. A finished arrangement of micro studs can look beautifully deliberate, but glasses arms and mask loops deserve a test before you choose it. Treat a clustered look as a destination, not a requirement for your first appointment.
A conch stud makes a stronger visual statement because it sits in the ear's central bowl. Start with a fitted disc or similarly smooth front. A hoop around the outer ear creates a different silhouette, but it's an upgrade to discuss once the channel is healed and stable.
Let the folds set the limits
Tragus and daith placements sit near the ear canal, so earbud compatibility matters. The rook sits higher inside a fold and usually wears a curved barbell. The anti-tragus is the small raised area above the lobe, where available tissue can limit your options.
An industrial deserves its own conversation. A straight bar must align with both piercing channels and clear the tissue between them. It isn't just a long accessory you can fit across any ear.
Gauge and length are fitting decisions, not styling guesses. Ask your piercer to write down your measurements, and don't choose a tighter post just because less visible metal looks neater.
For arrangement inspiration, use our guide to ear curations to identify a focal point. Then circle the placement that best fits your anatomy and routine.
Layouts That Survive Headphones and Sleep
A mirror check won't tell you whether your new stud sits beneath a helmet strap. The useful test is what touches your ear during an ordinary day.
Trauma and piercing technique matter because cartilage complications can include infection, embedded jewelry, and problematic scarring, as discussed in the clinical paper published in The Laryngoscope. A practical layout leaves clearance instead of filling every visible gap.
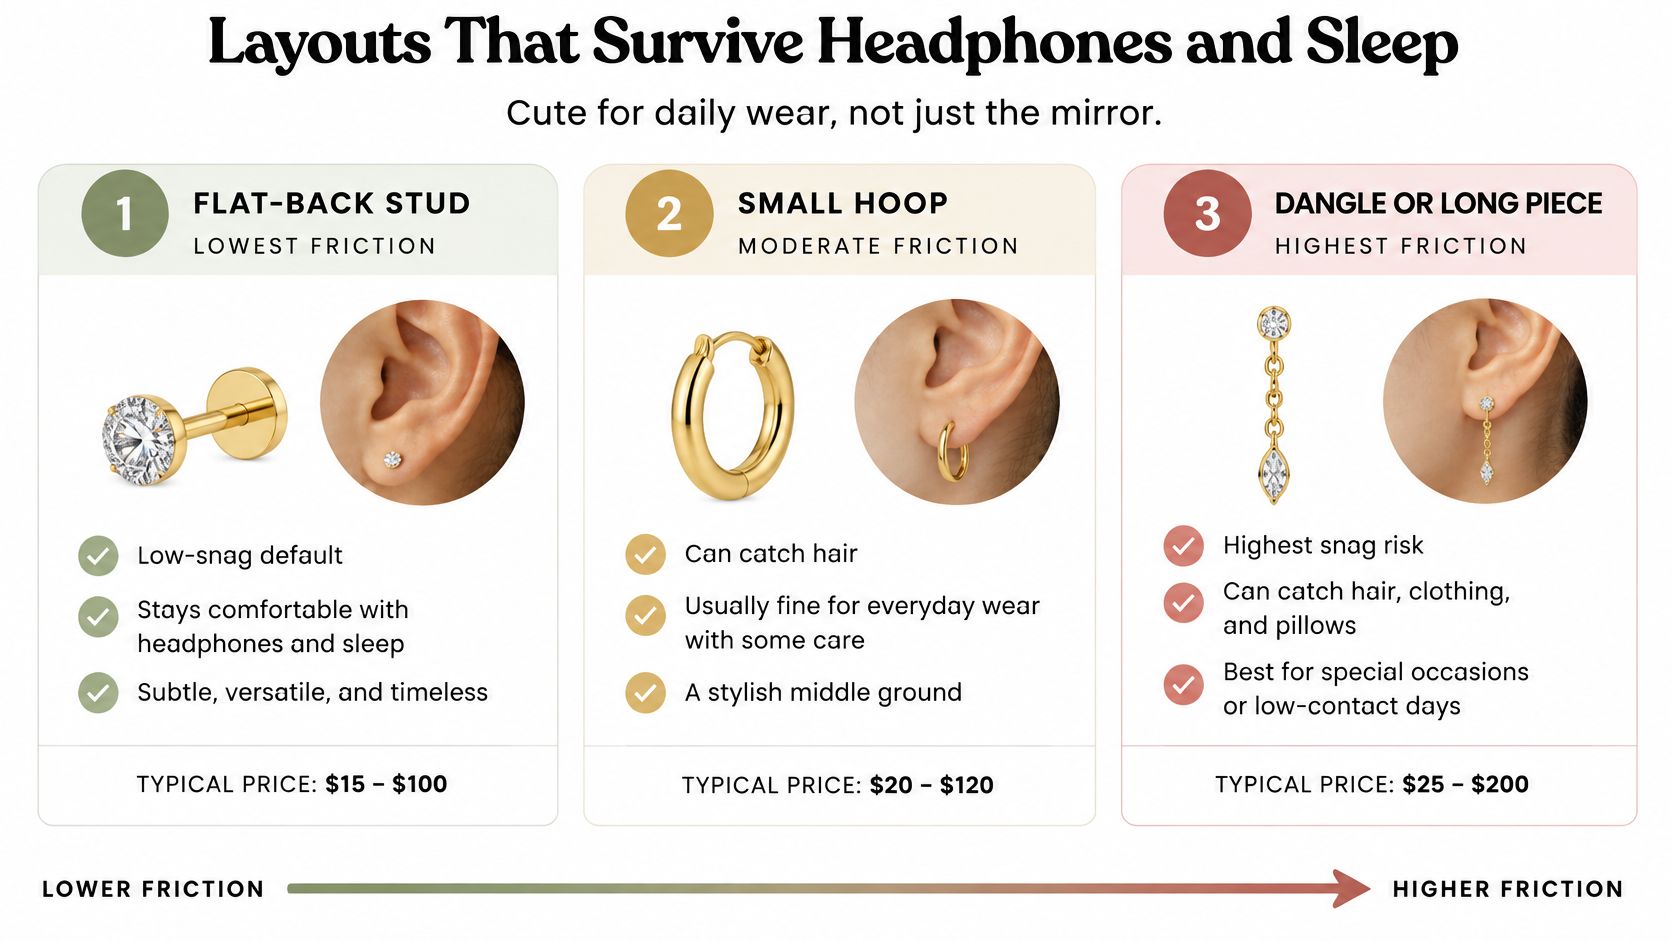
Use this visual ranking as a starting point, not a promise that any style is pressure-proof.
Rank the snag potential
- Lowest snag potential: A smooth, low-profile flat-back stud has fewer projecting parts. A tall gemstone setting can still catch, even with a flat back.
- More opportunities to catch: A hoop creates an open loop that hair, clothing, or a towel can enter.
- Most force applied: Dangling charms, connected pieces, and long exposed bars can transmit a pull across the piercing.
This is about shape and exposure, not declaring every stud good and every ring bad. Some placements require curved or ring-shaped starter jewelry. Your piercer should choose the appropriate form.
Match the layout to your day
If you sleep on the planned piercing side, start with a restrained arrangement rather than several fresh channels. A travel pillow may help you keep the ear suspended in its opening, but only if you can maintain that position. Don't treat the pillow as permission to press against the jewelry.
If earbuds are practically part of your anatomy, a fresh tragus or daith may be an awkward match. Ask about a flat or helix location outside the earbud's contact area, and check the actual fit of your device. Our headphones and ear-piercings guide can help you think through the contact points.
If you wear a helmet or over-ear headphones, bring that information to the appointment. Don't alter protective equipment to accommodate a piercing. Postpone an industrial or crowded forward-helix arrangement if your gear would press against it.
A high ponytail needs its own check too. Loose strands can wrap around an exposed post, while brushing and tying your hair can knock a protruding end.
An uncluttered ear with comfortable spacing often looks more intentional than a crowded arrangement you're constantly trying not to bump.
Metals That Keep Cute Jewelry Wearable
The prettiest low-cost piece can be the worst first jewelry. A polished photo tells you about color and shape, not what's in the alloy or underneath the coating.
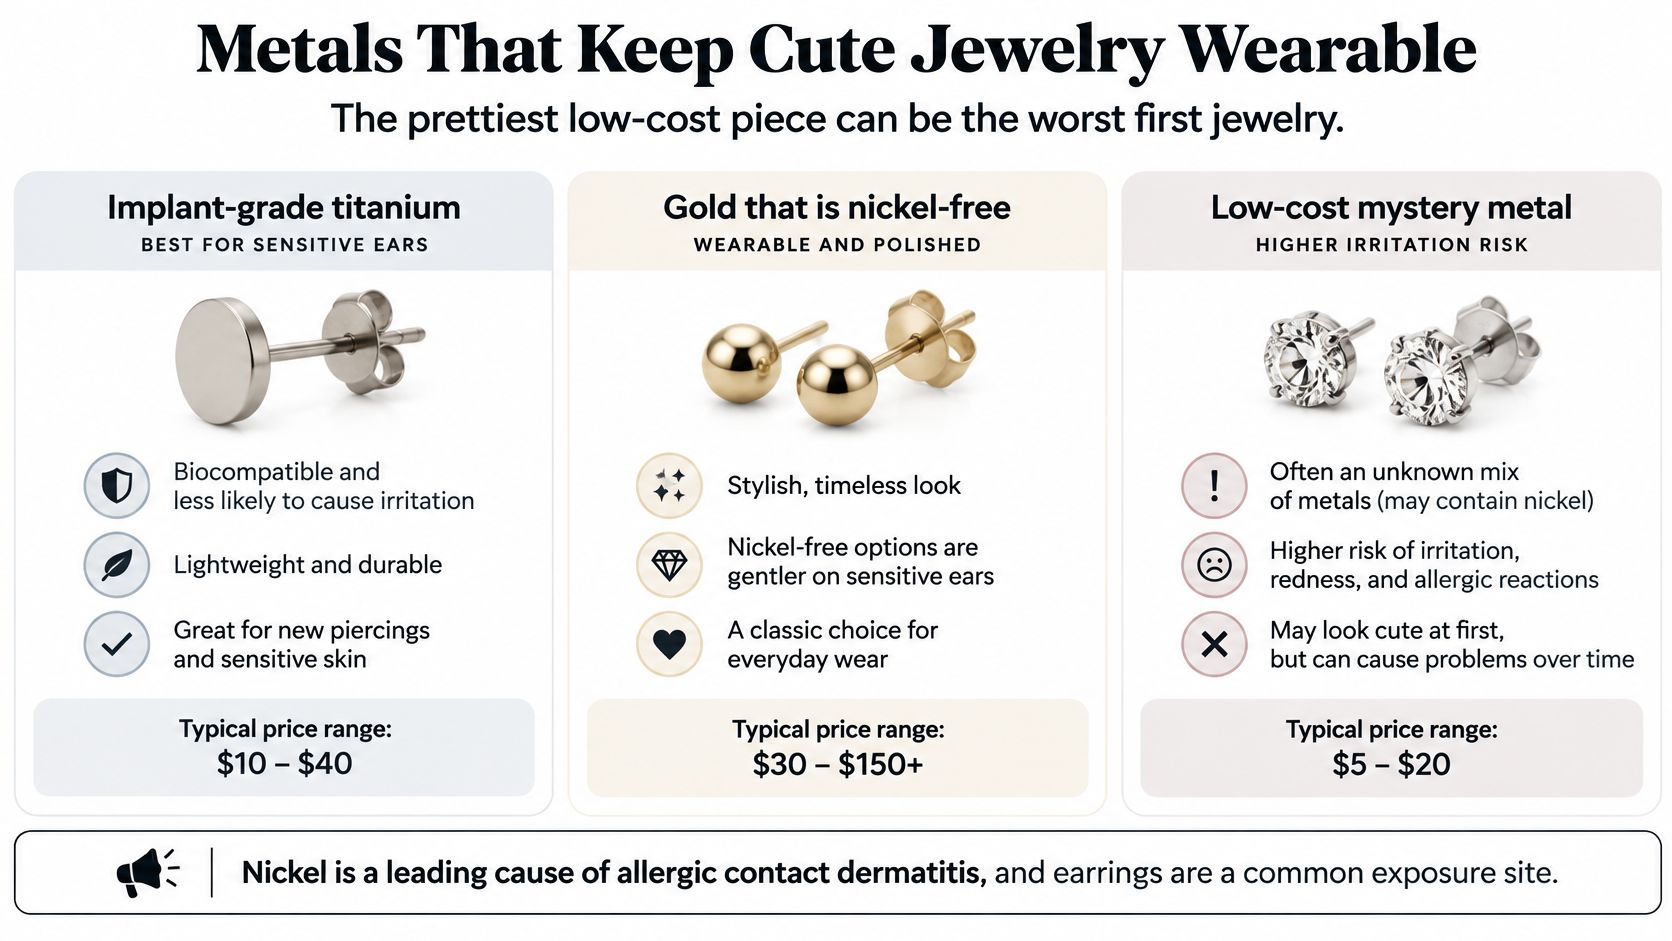
Nickel is a major cause of allergic contact dermatitis, and earrings are a common exposure, according to DermNet's nickel-allergy guidance. If costume earrings have left you itchy before, don't assume a smaller cartilage piece will behave differently.
Hypoallergenic isn't a complete material specification. You still need the exact metal, any applicable implant-material documentation, and a clear answer about plating.
This comparison separates material suitability from the decorative finish.
Cartilage jewelry metals compared
| Material | Nickel concern | Best time to wear | Cute-look note |
|---|---|---|---|
| Implant-grade titanium | Very low when documented | Fresh piercing and long-term wear | Anodized color without plating |
| Niobium | Very low when verified | Sensitive skin, fresh or healed with piercer approval | Anodized options; decorative selection may be narrower |
| Solid nickel-safe gold | Low when the alloy is verified | Healed wear, or fresh if your piercer approves | Warm-toned moons, stars, and gemstone settings |
| Implant-grade steel | Contains nickel; not a nickel-free choice | Selected individually, especially with allergy history | Bright silver-colored basics |
| Gold plated or mystery alloy | Uncertain, including when plating wears | Not starter jewelry; avoid unknown alloys | Surface color doesn't establish compatibility |
Read the rows as conditional choices, not guarantees. Titanium needs a verifiable specification rather than a vague titanium-colored description. Niobium also needs a trustworthy material identity and a smooth finish.
Solid gold isn't automatically nickel-safe. The other metals in the alloy matter, so ask for confirmation rather than judging by its warm color. Steel can work for some wearers, but it's a less straightforward choice when you already know you react to nickel.
Plated jewelry needs particular caution. The coating and underlying alloy are separate materials, and neither should remain a mystery. A healed piercing doesn't make an unknown metal allergy-proof.
Ask questions that produce useful answers
At the counter, work through these checks:
- Exact alloy: What is the jewelry made from, including the decorative end?
- Documentation: Can the studio or retailer provide a written material specification?
- Surface treatment: Is the color anodized, plated, painted, or part of the solid material?
- Underlying metal: What touches your skin if a coating wears or chips?
Anodized titanium can give you color without a plated coating, which makes it useful when you want something brighter than silver tones. It still needs the right finish and fit.
Our guide to choosing a jewelry metal can help you compare terminology before shopping.
If you develop itching, a rash, or blistering, have the material assessed rather than immediately abandoning the placement. Don't swap a fresh piece yourself to test a theory. Ask a qualified piercer about a suitable replacement and seek clinical advice for persistent symptoms or uncertainty about infection.
Jewelry Pairings That Still Look Cute
A finished ear doesn't need every piece to perform. The most wearable combinations usually have a clear focal point, enough open space, and an upgrade you can save for later.
Use these looks as styling scenarios rather than instructions to pierce several sites at once.
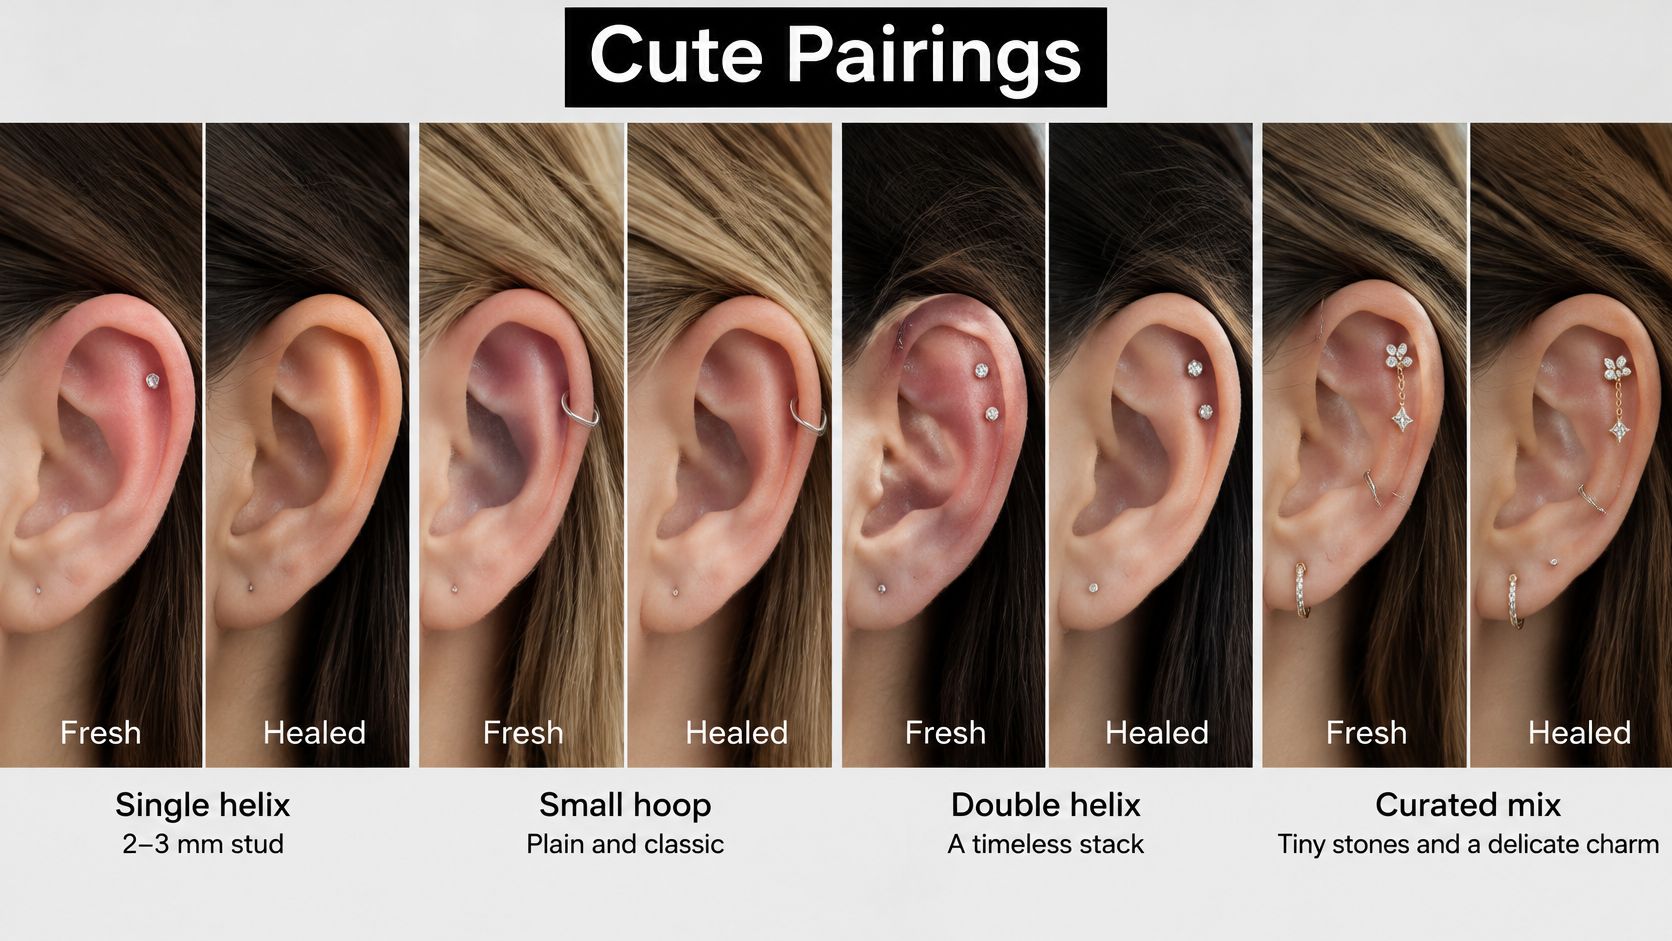
A tiny helix sparkle
Start with a fitted flat-back and a small clear gem. For example, you might bring your piercer a sketch of a 2 to 3 mm gem and ask whether that decorative size suits your ear and their starter-jewelry options.
The healed upgrade is a slim huggie fitted to the channel's position. It should follow your ear without squeezing the rim.
Leave out dangling charms while it's new. A tiny gemstone already gives you the sparkle without an extra swinging attachment.
A conch disc with a familiar lobe stud
Pair a smooth conch disc with a lobe stud you already wear comfortably in a healed piercing. You get the feeling of a coordinated arrangement without adding another fresh cartilage site.
Once the conch is fully healed, you can consider a professionally fitted hoop or keep the disc and change the lobe jewelry for contrast. The lobe can carry the more playful detail.
Skip the heavy conch hoop. A bold silhouette doesn't need a bulky piece of metal to make its point.
A rook curve with a tiny helix accent
This is a staged look. Heal the first placement before deciding whether your ear has room for the other, then have a piercer check that the jewelry fronts won't touch.
The rook's curved barbell provides the shape. A tiny helix stud above it acts as an accent rather than a competing centerpiece.
Avoid oversized or tightly packed decorative ends. If the pieces crowd each other when your ear moves, the arrangement needs more room, not more determination.
For another styling reference, watch how individual placements contribute to an overall ear layout.
A healed daith with a heart or moon
Start the daith with the ring your piercer selects for your anatomy. Save the decorative clicker for a healed channel and have the hinge, seam, and overall fit checked before insertion.
A lightweight heart or moon can be the focal piece all by itself. Keep nearby jewelry understated so the shape stays readable.
Don't add connected chains to a new channel. A pull on the chain can move jewelry somewhere you weren't expecting.
Pretty and pokey aren't the same thing. If the decoration presses into surrounding tissue, it isn't the right fit.
For a cohesive finish, match metal tones, let one piece take the spotlight, and put your boldest color on a healed flat-back rather than using a fresh industrial as the experiment.
Healing Care Before You Change the Look
A piercing can look tidy before the channel is ready for a jewelry change. Treat surface appearance as one clue, not a clearance certificate.
Protecting cartilage means limiting avoidable trauma as well as keeping it clean. Public Health Ontario's piercing-risk guidance explains why limited blood supply makes cartilage healing and infection more concerning than a simple styling problem.
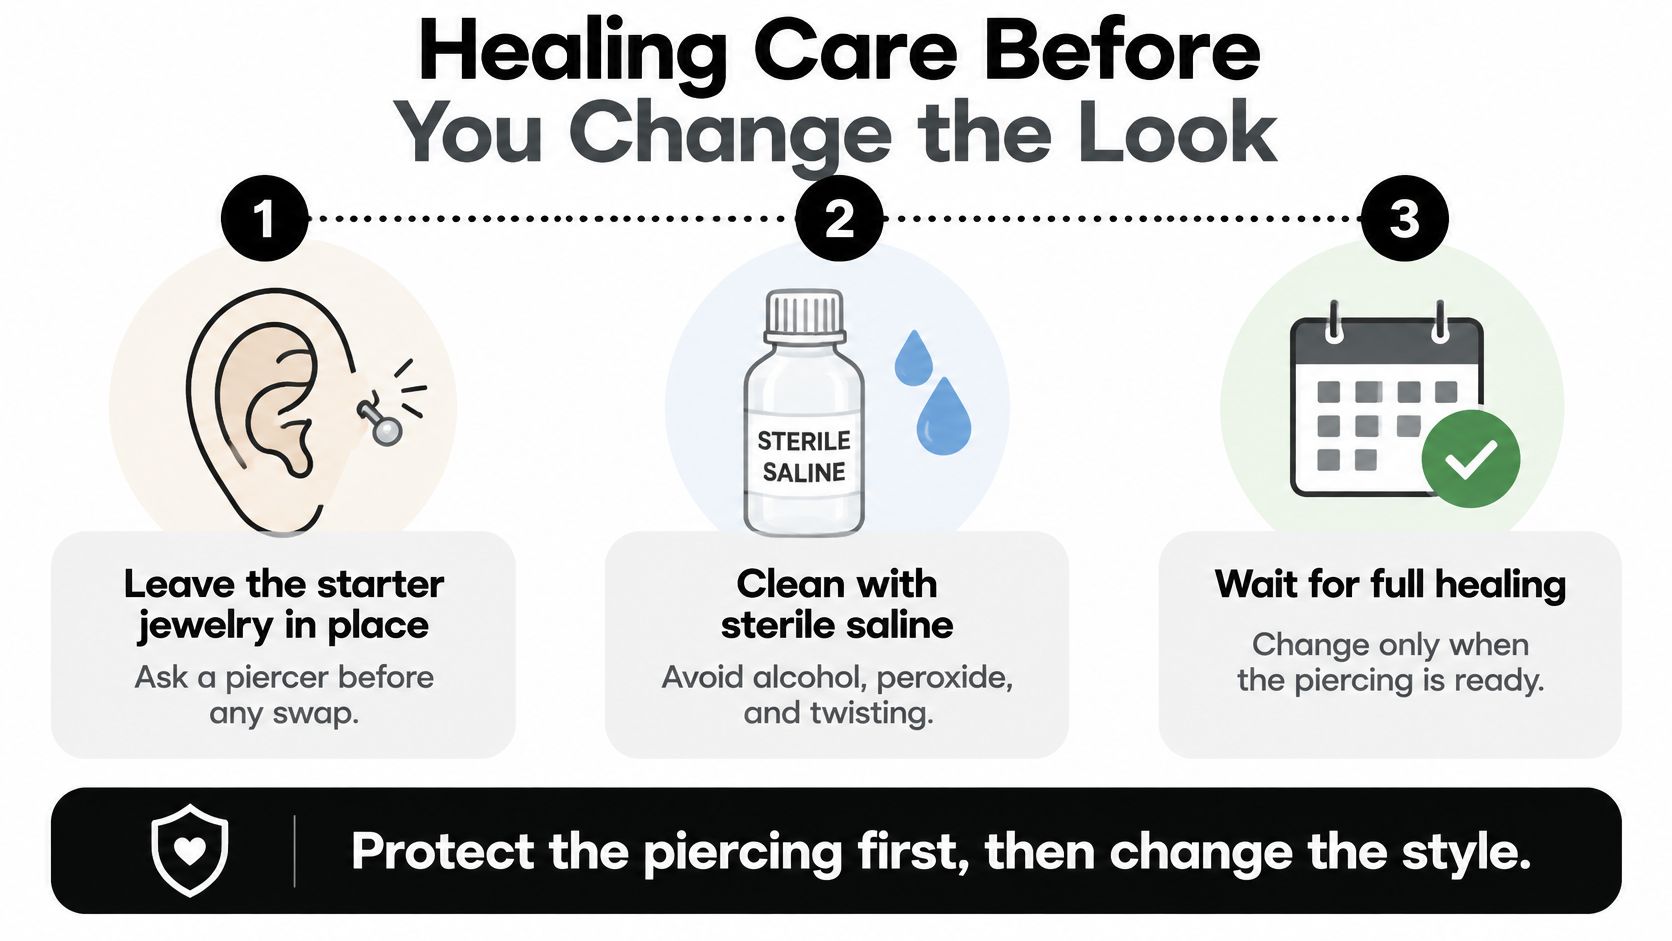
Use this checklist to keep the routine straightforward.
Keep the routine gentle
- Leave starter jewelry in place. Ask your piercer before any swap. Unnecessary removal and reinsertion can disturb the healing channel.
- Clean with sterile saline wound wash. Choose a product containing saline without added fragrances or antiseptics. Don't use alcohol, peroxide, or ointment as routine aftercare unless a clinician specifically directs you.
- Don't twist or rotate it. Moving the jewelry isn't a cleaning step. Wash your hands before any necessary contact.
- Keep pressure and tangles away. Manage loose hair and check where headphones, helmets, and bedding touch. Gently pat dry with clean disposable material rather than rubbing with a bath towel.
- Return for a fit check. When initial swelling settles, a piercer can determine whether the post needs downsizing. A shorter fitted post may catch less, but shortening it too early can leave insufficient room.
Know when styling stops being the priority
In a survey covering 9,016 ear piercings, including 2,741 cartilage piercings, reported complications occurred in 40.2% of cartilage piercings versus 25.4% of lobule piercings, while reported infection occurred in 30.3% versus 23.8%, respectively. These are survey findings, not a prediction of what will happen to your ear.
The practical reason for caution is access. Think of blood supply as a delivery route for the body's defenses and medication: cartilage has a more limited route than the soft lobe. Repeated knocks can keep a vulnerable site irritated instead of letting it settle.
Perichondritis is inflammation of the tissue surrounding cartilage, often associated with infection. Cleveland Clinic's perichondritis guidance describes how an abscess can interrupt cartilage blood supply and lead to tissue death or permanent deformity.
Painful swelling and redness over the firm outer ear, particularly when the lobe is spared, need prompt medical evaluation. Don't dismiss that pattern because the jewelry still looks nicely positioned.
Early tenderness should move toward improvement, not steadily intensify. Rising pain, warmth, swelling over the firm ear, and pus are not a jewelry-shopping problem. Seek a clinician, and don't remove or replace the jewelry on your own unless they advise it.
These warning signs override every styling suggestion. Decorative hoops and charms wait for a fully healed, stable channel, which can mean many months rather than a quick early switch.
Pick One Cute Cartilage Piece to Start
Your first purchase doesn't need to represent your entire personality. Choose a smooth, low-profile flat-back for a placement that suits your daily routine, then let a piercer confirm your anatomy, gauge, and post length.
The decorative upgrade can wait. You're building an ear you can enjoy, not racing to complete a photo.
Choose the pace your ear can handle
- Start small: If another site is still healing or you can't reliably avoid pressure, discuss postponing the new piercing rather than adding more to manage.
- Add deliberately: Consider another placement only when the first has settled and your piercer agrees you're ready.
- Build the dense arrangement later: Keep elaborate curation for healed tissue with adequate space between channels and jewelry fronts.
A calm-looking surface alone doesn't prove full healing. Before changing a fresh piece, get a professional assessment instead of using comfort on a good day as your only test.
Shop the measurement, not just the motif
Our ear-jewelry range includes 16G cartilage options and 18G and 20G gauges, plus titanium body jewelry such as simple hoops; the 36mm steampunk gears industrial barbell is labelled hypoallergenic and described for sensitive skin. Those labels and measurements describe options, not a universal fit recommendation, so match your purchase to your documented piercing specifications and material needs.
For a first look, choose the fitted flat-back. For the later upgrade, consider a slim hoop only when your placement and healing allow it. Don't switch to a thinner gauge just because a design catches your eye.
Shop by metal and the gauge you were pierced with, then choose the color and shape. Drop your placement question in the comments, or ask a professional piercer before changing fresh jewelry. Redness with heat, increasing pain, or pus calls for medical advice, not a new earring.
Visit BodyCandy to browse cartilage and flat-back styles that match your confirmed gauge, fit, and metal requirements. Start with one wearable piece, save the statement upgrade for a healed ear, and tell us in the comments which placement you're planning.