

















You found a piece you love, the listing says 16G, and your piercing card says something else entirely. Don't guess and hope. Gauge controls how a post fits through your channel, how it handles a tug, and whether swapping pieces feels easy or miserable.
You're in the right place. I'll walk you through body jewellery gauges the way I'd explain them at the counter, with millimetres first, placement second, and honest limits on what a chart can and can't tell you.
Gauge to Millimetre Chart for Every Common Size
A millimetre measurement makes a gauge chart easier to use when comparing jewellery listings. The table gives approximate diameters for common sizes, from fine posts to large-bore jewellery.
Body Jewellery Gauge to Millimetre Conversion
The Association of Professional Piercers stretching brochure lists common conversions from 20G at approximately 0.8 mm through 0G at 8.0 mm. For smaller sizes, the APP procedures manual gives more precise reference values: 18G at approximately 1.024 mm, 16G at 1.291 mm, 14G at 1.628 mm, and 12G at 2.053 mm. The 00G figure below is approximate.
| Gauge | Approx. diameter (mm) | Typical placements |
|---|---|---|
| 20G | about 0.8 (0.813 reference) | Nose studs, lobes, helix |
| 18G | about 1.0 (1.024 reference) | Lobes, helix, flat back earrings |
| 16G | about 1.2 (1.291 reference) | Cartilage, septum |
| 14G | about 1.6 (1.628 reference) | Belly, nipple, tongue |
| 12G | about 2.0 (2.053 reference) | Heavy-gauge and genital placements |
| 10G | about 2.5 | Heavy-gauge and genital placements |
| 8G | about 3.2 | Stretched or large-bore piercings |
| 6G | about 4.0 | Stretched or large-bore piercings |
| 4G | about 5.0 | Stretched or large-bore piercings |
| 2G | about 6.0 | Stretched or large-bore piercings |
| 0G | about 8.0 | Stretched or large-bore piercings, professional advice needed |
| 00G | about 9 | Large-bore piercings, professional advice needed |
How to Read the Chart Without Getting Tripped Up
For fine jewellery, 20G and 18G are common sizes for noses and lobes; 16G is used for cartilage and septum jewellery, while 14G is standard for belly, nipple, and tongue jewellery. These are common examples, not a substitute for checking the size required by your piercing.
As sizes increase beyond 12G, the jewellery gets thicker. Large-bore and stretched piercings need careful consideration of tissue, jewellery weight, and healing history. A thicker piece is not automatically safer or a better fit.
Practical rule: If two listings give different measurements for the same gauge, compare the millimetres and confirm the size before ordering.
Keep your own size written in both formats, such as 16G, about 1.2 mm. If a listing gives only inches or a gauge number, convert it and check the fit rather than assuming a near match will work.
Why the Gauge Number Runs Backwards
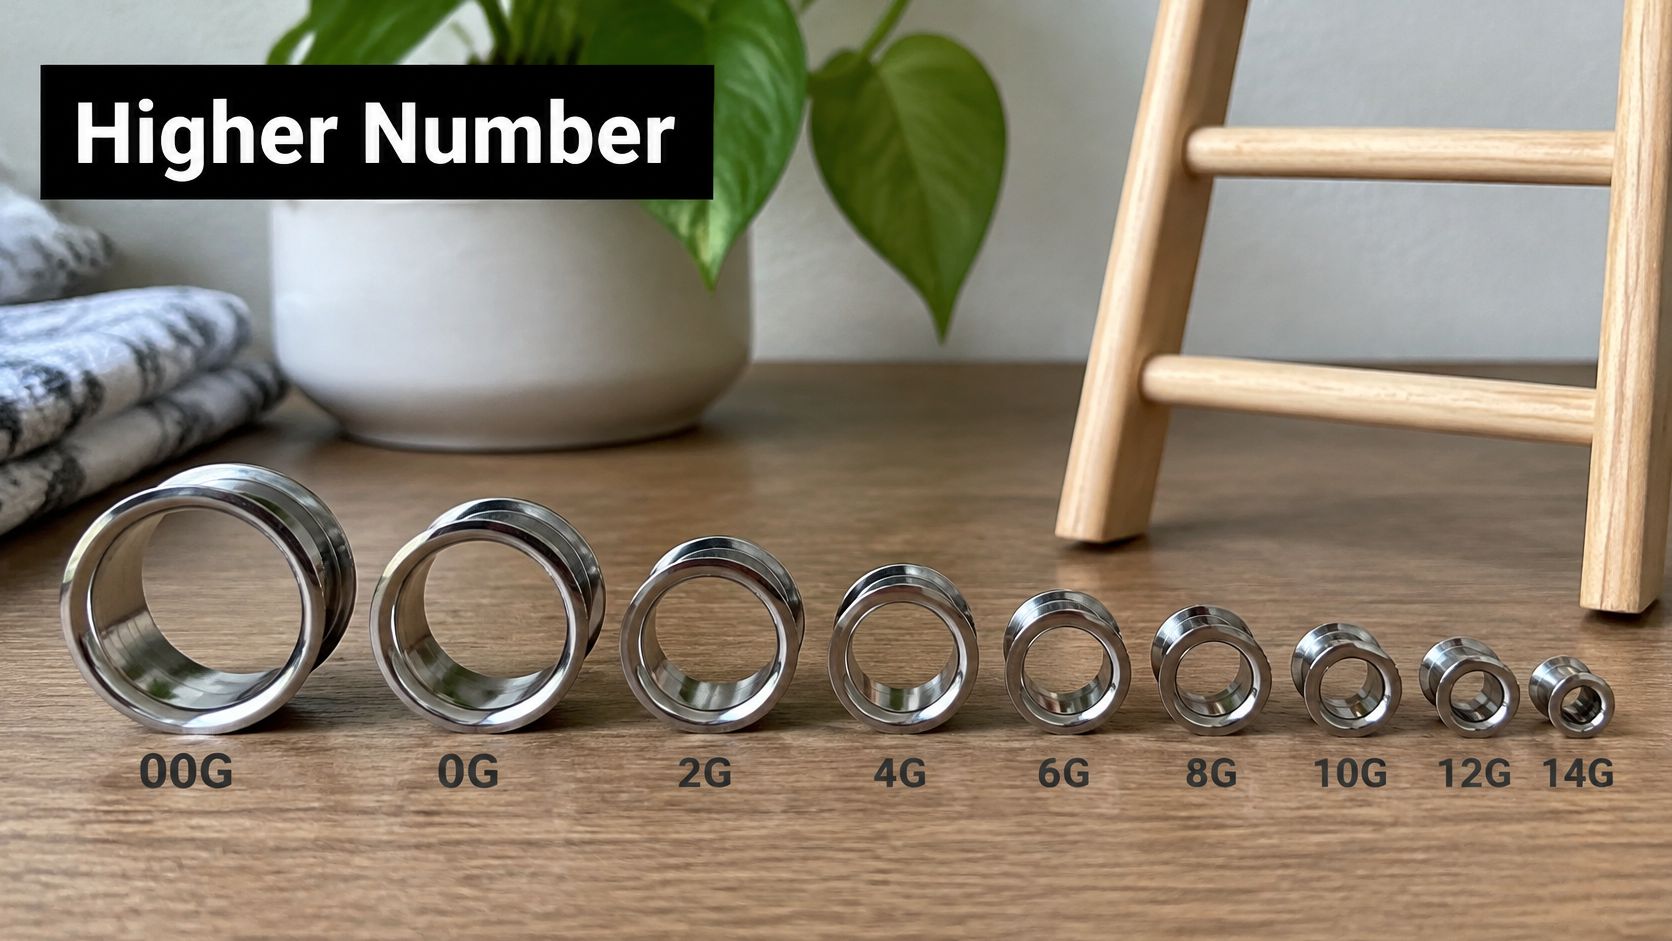
Gauge numbers run opposite to jewellery thickness: a higher number means a thinner post, while a lower number means a thicker one. In North America, body jewellery commonly follows the Brown and Sharpe, or American Wire Gauge, convention. Many sellers elsewhere list thickness directly in millimetres.
Higher number, thinner post. Lower number, thicker post. Keep that rule in mind when comparing sizes.
The Spacing Is Not Even
Each step on the chart does not add the same amount of thickness. Going from 18G to 16G adds about 0.27 mm, while moving from 14G to 12G adds about 0.43 mm. The difference between sizes becomes more noticeable as the jewellery gets thicker.
A gauge label and a millimetre listing may look inconsistent because sellers round measurements differently. Compare the stated millimetres, and check the product details before ordering if the measurement is unclear.
The Working Range Is Wider Than You Think
Piercing needles and jewellery come in a wide range of gauges, from delicate sizes for high-ear placements to large-bore sizes for torso or genital piercings. Your friend's size is no reliable guide to yours.
Gauge describes thickness, not post length, hoop diameter, or how jewellery will sit on your anatomy. The same gauge can be used in different placements, but the right fit depends on the piercing and the jewellery design. A thicker gauge is not automatically safer or a better fit. Nor does changing gauge address a metal allergy.
Measure Your Piercing and Check the Fit
Grab the piece you already wear comfortably and work through these steps with it in hand. Measuring takes two minutes, and it beats ordering three sizes and returning two.
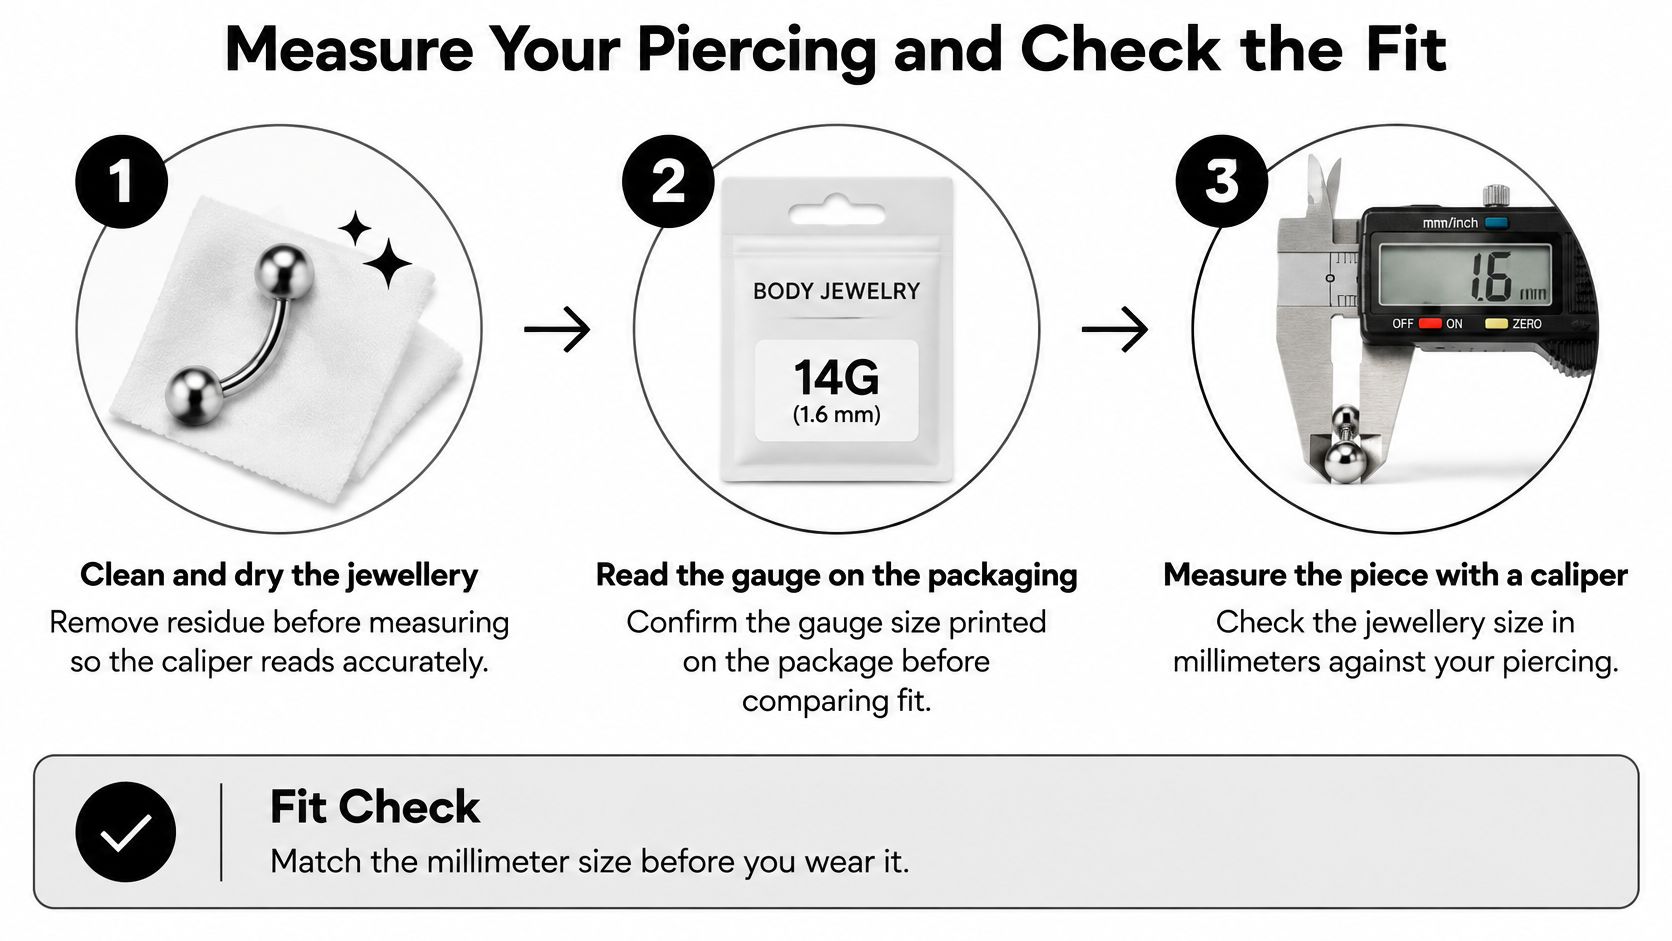
- Clean and dry the jewellery. Residue, soap film, and skin oils can skew a caliper reading more than you'd expect on a 1 mm post.
- Read the packaging first. Find the printed gauge and the stated millimetre value, then check that the two agree with the chart.
- Measure the post, not the end. Close a digital or dial caliper on the post at its thickest point. Measuring the ball or decorative end is the most common slip I see, and it always reads too big.
- Measure length or diameter separately. For rings and hoops, measure the usable internal diameter. For studs and barbells, measure wearable length between the ends.
- Check your tissue. The Association of Professional Piercers troubleshooting guidance states that a piercing vulnerable to migration or rejection should have at least 5/16 inch, or nearly 8 mm, of tissue between the entrance and exit holes.
- Compare and note the jump. Match your reading to the chart, then look at the millimetre difference to the next size before you even think about changing.
If you want the caliper technique in more detail, our guide on how to measure jewellery using calipers walks through hand placement and reading the display. A correct fit turns freely where it should, sits flat without pulling, and leaves no pressure marks when you take it out. If you're squinting at a ruler and guessing between marks, stop and borrow a caliper or ask a piercer, because eyeballing a fraction of a millimetre doesn't work.
Why Bigger Is Not Automatically Safer
This is the part most charts skip. Gauge interacts with your anatomy, channel maturity, jewellery length, stretching history, and tissue response, a point made in a clinical chapter on piercing complications that treats gauge choice as a risk decision, not just a conversion lookup. A thicker post can reduce the cheese-cutter effect in some stretched piercings, where a thin wire slices slowly through tissue under load. But forcing that thicker post into an undersized or unhealed channel causes trauma of its own.
Very thin jewellery concentrates force over a smaller cross-section of tissue and bends or cuts more easily when it's pulled. Oversized jewellery creates constant pressure, especially in a channel that isn't fully healed or in thin anatomy. You're not picking the strongest piece, you're picking the piece your tissue can support.
Match the Symptom to the Cause
Measure first, then diagnose. Use this table once you have a real millimetre number, not before.
| Symptom | Likely cause | What to do |
|---|---|---|
| Piece feels tight on insertion | Channel smaller than the jewellery, or swelling | Stop, do not force it, check the mm size and see a professional |
| Piece rotates or sinks into tissue | Post too thin or too long for the tissue | Ask a piercer to check length and gauge before replacing |
| Piece catches or tugs | Gauge too thin for a high-friction placement | Move to appropriately sized jewellery after professional advice |
| Itching, rash or weeping near the metal | Metal reaction, not a gauge problem | Remove the item and seek medical advice |
| Heat, throbbing or discharge | Possible infection or trauma | Get professional evaluation rather than changing gauge |
Notice what isn't on that list of fixes. You don't treat heat, throbbing, swelling, or discharge by swapping to a different gauge and hoping. Those symptoms need a professional set of eyes, and a size change can make an irritated channel worse.
Keep a note of the millimetre size you wear for each piercing, not just the gauge. Two piercings on the same ear can happily live at different sizes, and future you will be grateful you wrote it down instead of re-measuring every time you spot something cute.
Stretching Up Without Jumping Too Far
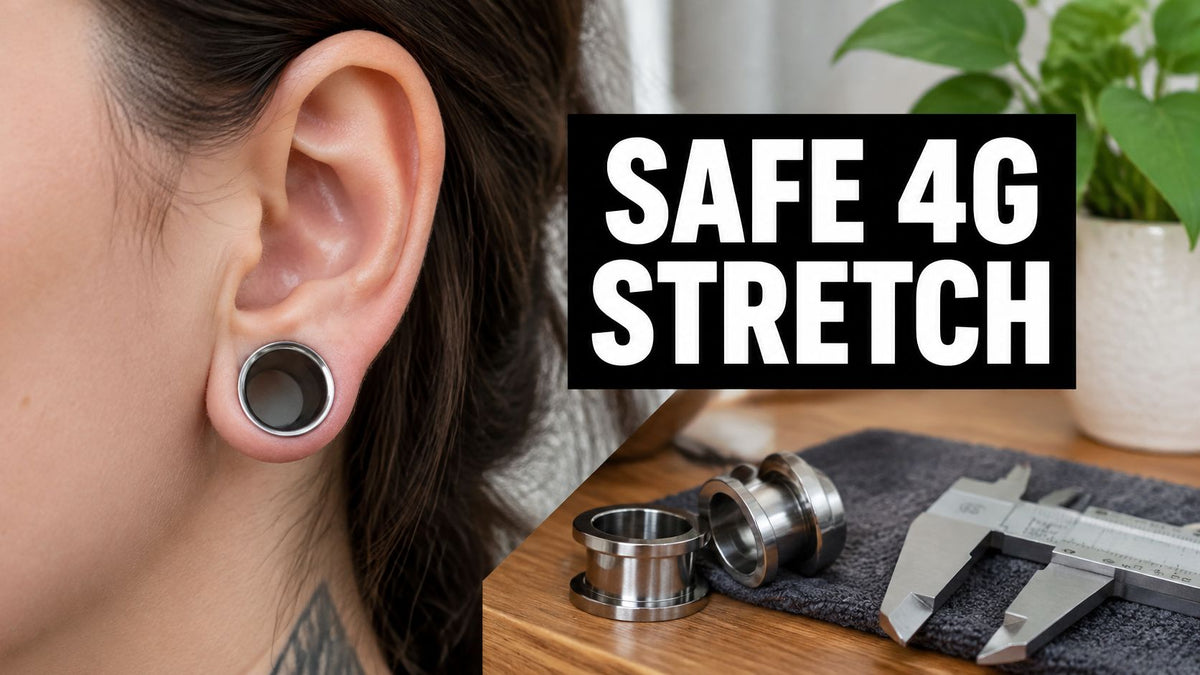
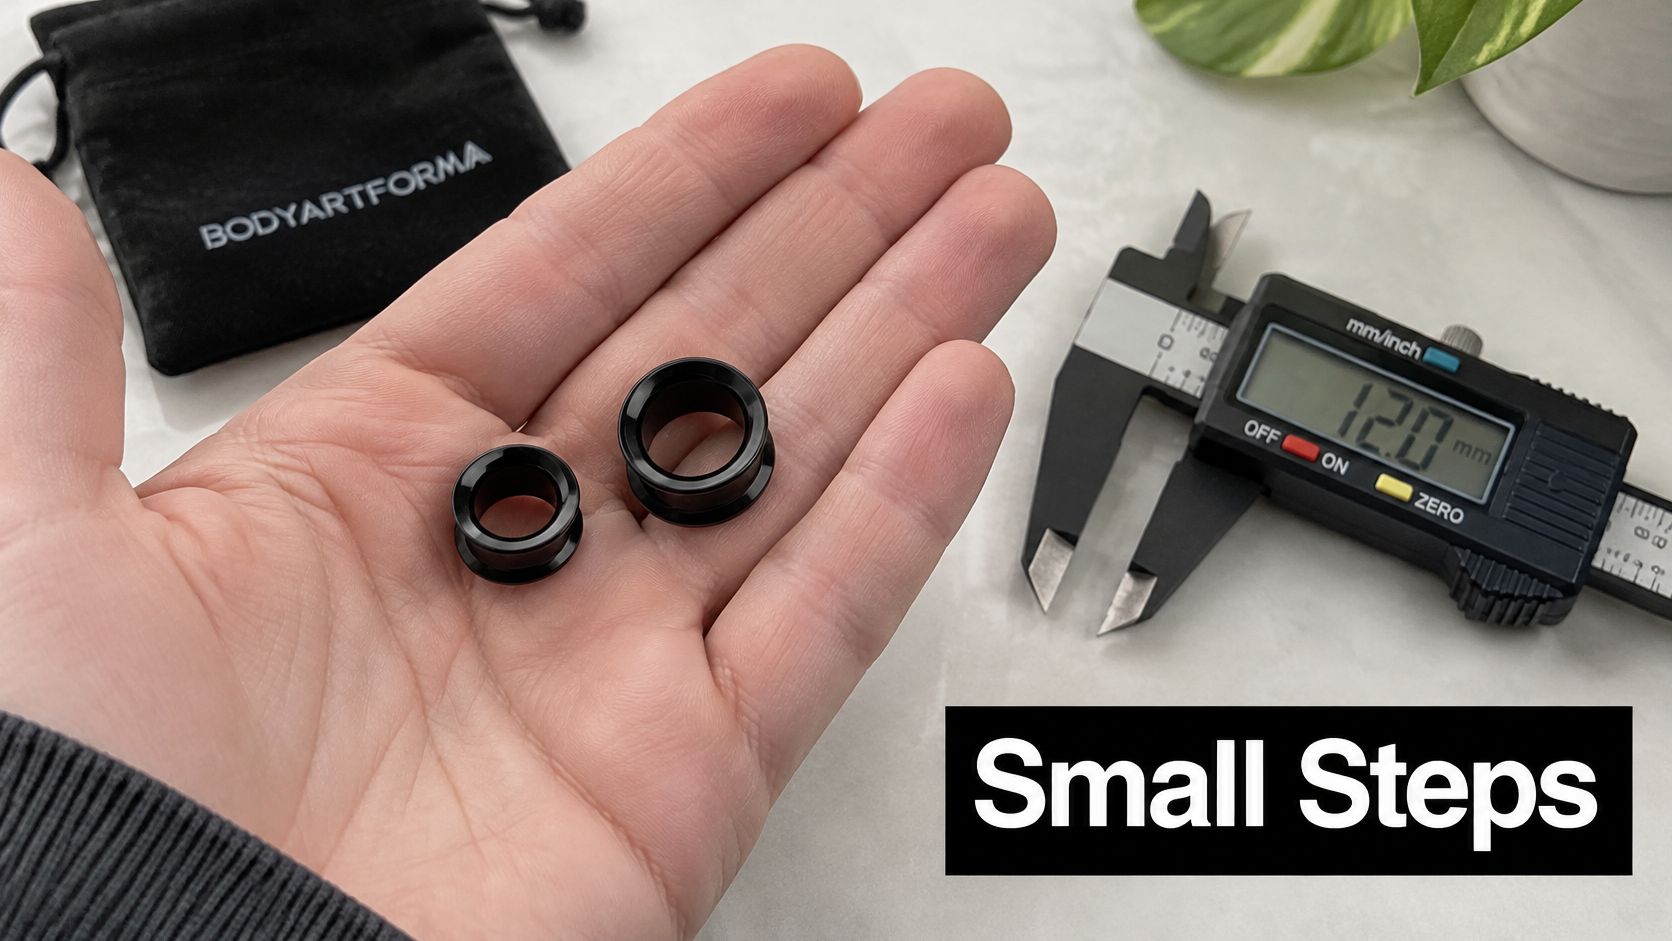
Say you're wearing 4G plugs and your eye is on a 2G set. It looks like one small step on paper, just two numbers apart. On your ear, it's a much bigger ask than the step you took earlier in your stretching journey, and treating it casually is how people end up sore, torn, and set back months.
The Jumps Get Bigger as You Go
The Association of Professional Piercers stretching guidance gives a 14G to 12G increase of only about 0.43 mm, but puts the jump from 4G to 2G at approximately 1.36 mm. Same "one size up" language, roughly triple the tissue displacement. A larger diameter increase puts substantially more pressure on the channel, and healed tissue pushes back.
Here's a wrinkle worth knowing. The chart spacing between 4G at 5.0 mm and 2G at 6.0 mm is 1.0 mm, while the APP figure is about 1.36 mm. Different references round and measure differently, so measure your own pieces with a caliper rather than trusting either number alone. When the next standard gauge is too big a jump, an intermediate millimetre size can be the gentler, smarter move.
A Worked Example From Start to Finish
Back to our 4G wearer. She measures her current plugs, measures the 2G set she bought, and finds the increase is far larger than her old 14G to 12G step ever was. Instead of lubing up and pushing through resistance, she waits until the channel is fully healed, gets a professional opinion, and considers a half-step in millimetres first.
That's not being timid, that's how stretching stays reversible and healthy. For the full routine, our guide to healthy ear stretching covers preparation and aftercare in order. Watch the technique before your next attempt, not after something hurts.
Stretching isn't risk-free, and I'd rather you hear that plainly. In a clinical review of 497 female patients, redness and swelling occurred in 30%, infection in 24%, and trauma or tearing in 2%. Those figures describe that patient group, not your personal odds, but they show why patience matters. Thin jewellery concentrates force, and a caught or tugged piece can damage tissue fast.
Move one size at a time, wait until the channel is fully healed, and never force a piece through.
Healing time varies by placement and by person, so don't stretch by calendar. Confirm readiness with a professional piercer who can examine your tissue, because "it's been six weeks" tells you nothing about whether your channel is ready for more diameter.
Materials and Nickel Risks for Sensitive Skin
Let's challenge a label you see everywhere. Surgical steel, stainless steel, and hypoallergenic on a product page do not guarantee skin-safe wear. Those words describe a marketing category or a broad alloy family, not what your skin will react to.
Gauge describes dimensions, not biocompatibility. A perfectly sized 16G post in the wrong metal will still make you itch, and going up or down a gauge won't change the chemistry touching your skin. The core issue is nickel release, how much nickel leaves the metal and reaches your tissue over time.
What the Nickel Numbers Actually Say
A 2025 systematic review found that piercing was significantly associated with nickel allergy in the general population, with an odds ratio of 5.9, and reported that 24.7% of tested European earrings intended for piercing exceeded the applicable nickel-release limit. Earlier North American contact-dermatitis data in that review found nickel positivity increased from 14.3% among people with one piercing to 34.0% among those with at least five piercings. More piercings can mean more cumulative exposure, which is exactly why material checks matter more as your collection grows.
| Material | Nickel consideration | What to check before buying |
|---|---|---|
| F136 titanium | Generally low nickel release; confirm for each item | Composition certificate from the seller |
| 316L surgical steel | Contains nickel; release depends on alloy and finish | Nickel-release test data |
| Solid 14k gold | Alloy content varies; nickel may be present | Karat and alloy details |
| Nickel-free alloys | No nickel in the stated composition; not every item is tested | Ask for documented release data |
How to Check Before You Buy
- Ask for composition. A seller should be able to state the alloy and grade, not just a friendly label.
- Ask for nickel-release test data. That's the evidence that separates a claim from a verified product.
- Consider a patch test. Wear a new metal against skin briefly before committing it to a piercing channel all day.
- Separate allergy from irritation. Itching, rash, and weeping that follow the metal's contact area point to a reaction, while soreness after snagging points to mechanics.
Our explainer on piercing and material sensitivities goes deeper on telling those reactions apart. Keep the bottom line simple. Changing gauge does not fix a metal allergy, but a verified low-nickel or alternative material may. If you get recurrent rash, itching, or weeping, take the piece out and seek medical advice instead of toughing it out or resizing.
Choose Your Gauge and Shop With Confidence
A gauge choice sets both thickness and fit. A larger gauge number means a thinner piece, and choosing a thicker piece does not automatically make a piercing safer. Match the jewelry to the piercing's established size, and treat any change in thickness as a separate decision.
Your Four Checks, in Order
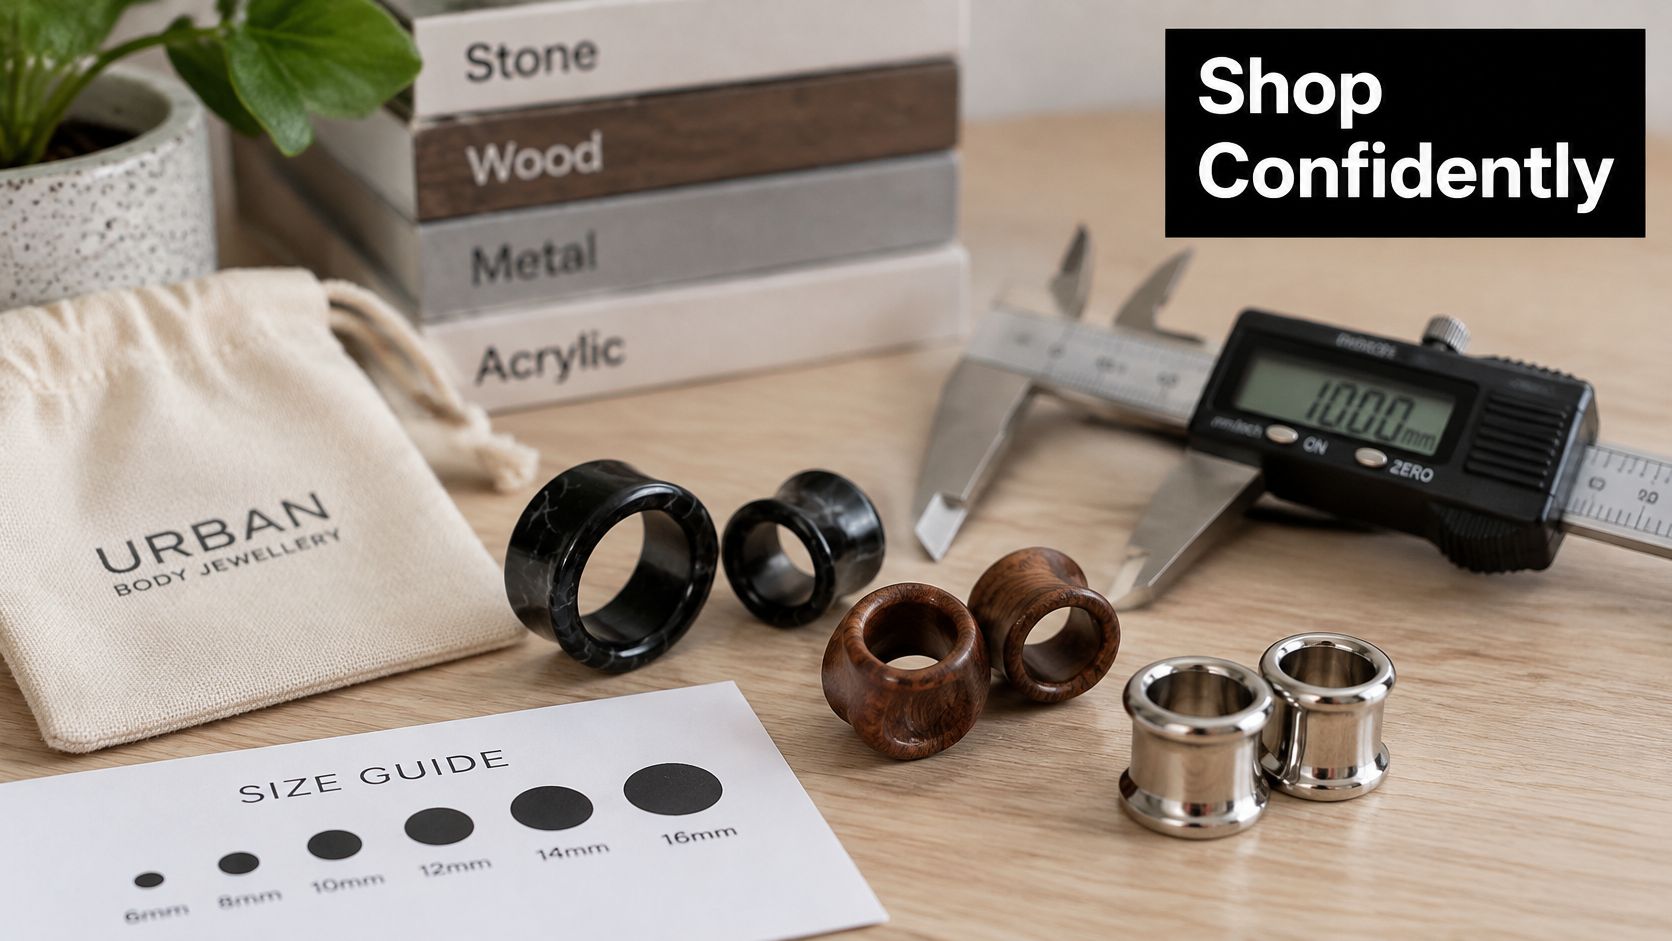
- Confirm the millimetre size. Measure your current jewelry or check its specifications.
- Check the piercing location. Gauge options differ by placement, so match the listing to your piercing.
- Check the material. A change in gauge will not resolve a metal allergy.
- Plan size changes gradually. Do not force jewelry into a piercing; ask a professional piercer if you are unsure about the fit.
This order helps separate two common problems: jewelry that is the wrong thickness and a reaction to the material. Take time to check both before ordering.
Finding Your Size in Our Collections
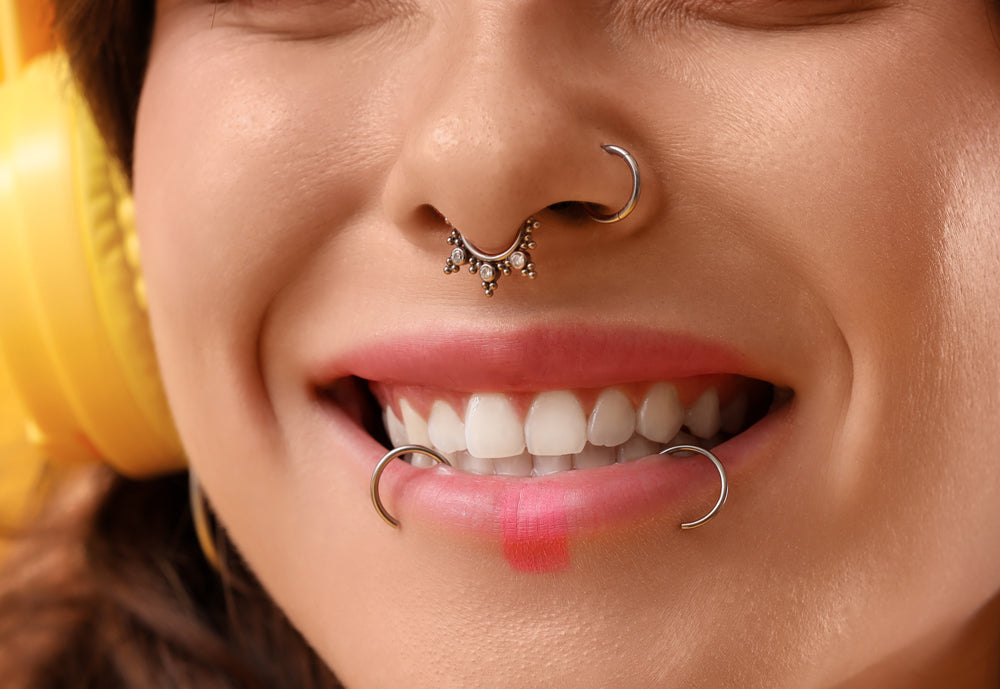
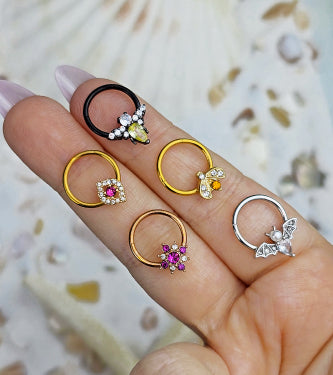
BodyCandy offers ear jewelry in 16G cartilage, 18G and 20G gauges, septum jewelry in 16G and 14G standard gauges, and nose rings in 20G standard, 18G and 22G gauges. Belly rings are sold in the standard 14G gauge. These are product options, not a substitute for checking the size of your own piercing.
BodyCandy sells body jewelry made from F136 titanium, 14k gold and 316L surgical steel, among other materials. Check the details on the individual product listing, including gauge and millimetre size, before ordering. Material and gauge answer different questions: one concerns the jewelry's composition, the other its thickness.
Browse BodyCandy's ear, nose, septum and belly jewelry, then compare the listing with your measured size and material requirements. If two sizes seem close, do not guess based on appearance. Confirm the product dimensions or ask a professional piercer for guidance.
At BodyCandy, you can browse body jewelry by piercing type and compare listed gauges and materials. Match the millimetre size first, then choose a style that suits your piercing.