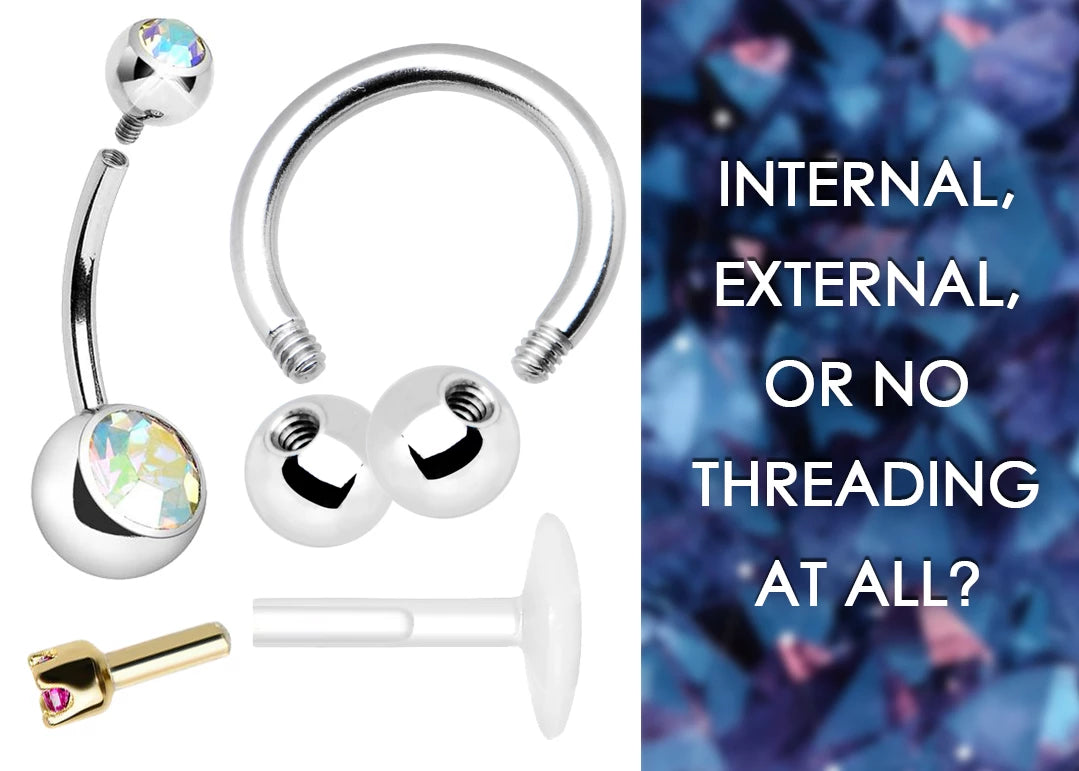
One of the most common questions about body jewelry is how to figure out what size it is! In order to get the most accurate measurements, the best way to do it means using one of two basic tools.
First you either need a measuring wheel/card (these have holes the jewelry can go through, as well as usually having a ruler-type area that has clear marks for millimeters) or for a truly accurate measure, a pair of digital calipers. Digital calipers are cheap and easily available online so they will pay for themselves pretty quickly. For the sake of brevity, we will focus on measuring with calipers.

If you are trying to measure for gauge, you simply place the jewelry between the ends of the calipers and close them. The most common gauges for body jewelry are 14 millimeters (navel, industrial), 16 gauge (most cartilage piercings), and 18 gauge (nostril piercings). You want to make sure that you have zeroed out your closed calipers before you begin in order to get the most accurate reading. 14 gauge jewelry will be 1.6mm thick, 16 gauge jewelry will be 1.2mm thick, and 18 gauge jewelry will be 1mm thick. If your calipers measure into finer numbers than that, you may need to simply round the result to the nearest tenth of a millimeter.
The part many people struggle with is measuring jewelry for length. Just because a great deal of body jewelry comes in standard sizes does not mean that you have standard anatomy. You may need a longer bar for your industrial but don’t know what size the barbell you already have is. Or perhaps your standard size belly ring is just a bit too long and you’d prefer a shorter one. This is all easily figured out just with a quick measurement. Straight barbells are the simplest, as you just place the zeroed-out, closed calipers between the ball ends and open them until the ends are firmly lodged against the ends of the barbell. Curved barbells are measured in same way, by measuring the distance between the ends, keeping the edges of the calipers between the ends of the jewelry.

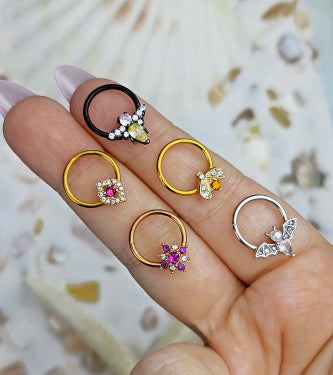
Circular jewelry is slightly different. For example, a captive ring would be measured across the center, along with a segment ring or any other circular piercing ring. Hold the jewelry by the edge and place your zeroed-out calipers in the center of the ring. Then open the calipers until you cannot open them further. That number is your length. L-shaped nose jewelry is measured from the end to the bend and can be a bit tricker to hold on to while measuring. A set of tweezers or jewelry pliers can help with gripping the jewelry. Finally, nipple shields are best measured not by the barbell, but by the shield itself. Shields have two openings where the barbell slides through. This is the wearable length of the jewelry, and you will want to measure the area inside, between the two openings. If the space between is 14mm and you need jewelry that is 16mm long, it doesn’t actually matter how long the barbell is because the shield will not fit. You may also need to measure the opening of the shield vertically to make sure the jewelry fits around your nipple. That area is called the “rise”. And if you are measuring plugs, remember to always measure the portion that goes through your earlobe and not the “flare” that sits outside your ear.
One of the most important tools in your pierced toolbox is always a set of calipers. Now that you know how to measure your jewelry, you’ll never have to wonder if the gorgeous jewelry you’re eyeing online will fit you, compared to the jewelry you’re already wearing.
Happy piercing!

