
















You sit down in your favorite jeans, and your belly ring suddenly feels less cute and more pinchy. An extender sounds like the easy fix: add room, keep the jewelry you love, carry on. But more clearance isn't always safer, especially if the extra length lets the jewelry swing, catch, or pull.
A belly button ring extender can help with a specific fit or styling problem in a healed piercing. The trick is matching your existing gauge, checking the actual connection, and judging the result by your tissue, not by how much length you bought.
When an Extender Fits and When to Wait
The most common mistake is buying an extender for a piercing that hasn't finished healing. An extender is a fit and styling accessory, not a stretching tool or a treatment for swelling.
A navel can look settled before the channel has matured. Pabau's piercing aftercare guidance distinguishes initial healing of 6–12 weeks from complete healing that can require 6–12 months. Calendar dates alone don't tell you whether changing the setup is appropriate.
Situations that call for an extender or a pause
| Situation | Extender a good fit? | What to do instead |
|---|---|---|
| Fully healed navel, bar sits flat and stable | Yes | Match the existing gauge and add only the length you need |
| Healed navel with tight waistband or deep fold | Possibly | Measure wearable length and test the extender unloaded first |
| Piercing under six months old | No | Keep the original jewelry unless your piercer recommends a change, and let the channel mature |
| Active redness, discharge or pain | No | Stop adding extra length and get a professional or medical check |
| Known metal sensitivity | Only with documented nickel-free material | Verify the material before buying |
A deep fold doesn't automatically need a longer setup. Sometimes a different jewelry shape is more appropriate, and a piercer can check whether your anatomy supports the proposed connection.
Check readiness without provoking the piercing
Look for a bar that rests without tugging, no tenderness during ordinary contact, and calm, flat skin around the openings over several weeks. Don't rotate the jewelry or press hard to test healing. These observations help you decide whether to ask about an extender, but they don't replace an assessment.
Practical rule: A piercing that needs extra length because it's suddenly swollen needs a fit assessment, not an accessory experiment.
If the current jewelry is already pressing into tissue, leave the sizing correction to a professional. Keeping unsuitable original jewelry isn't the goal either.
Measure Gauge and Length Before You Buy
Start with the jewelry you wear, not the size you remember ordering. The extender must suit both the bar and its connection.
Standard navel jewelry measurements to match
| Measurement | Typical value | Why it matters |
|---|---|---|
| Gauge | 14G, about 1.6 mm thick | Match your verified thickness rather than changing the channel's size |
| Post length | 9.5 mm (3/8 inch) or 11 mm (7/16 inch) | This is the wearable room you already have |
| Bend | Curved barbell | The finished assembly shouldn't redirect the bar or pull on tissue |
| Extra length to add | Only the clearance you need | Excess length can increase movement and snagging |
The navel-piercing reference describes a typical curved 14-gauge barbell, approximately 1.6 mm thick, with common post lengths of 9.5 mm (3/8 inch) or 11 mm (7/16 inch). These are starting points, not confirmation of your own size.
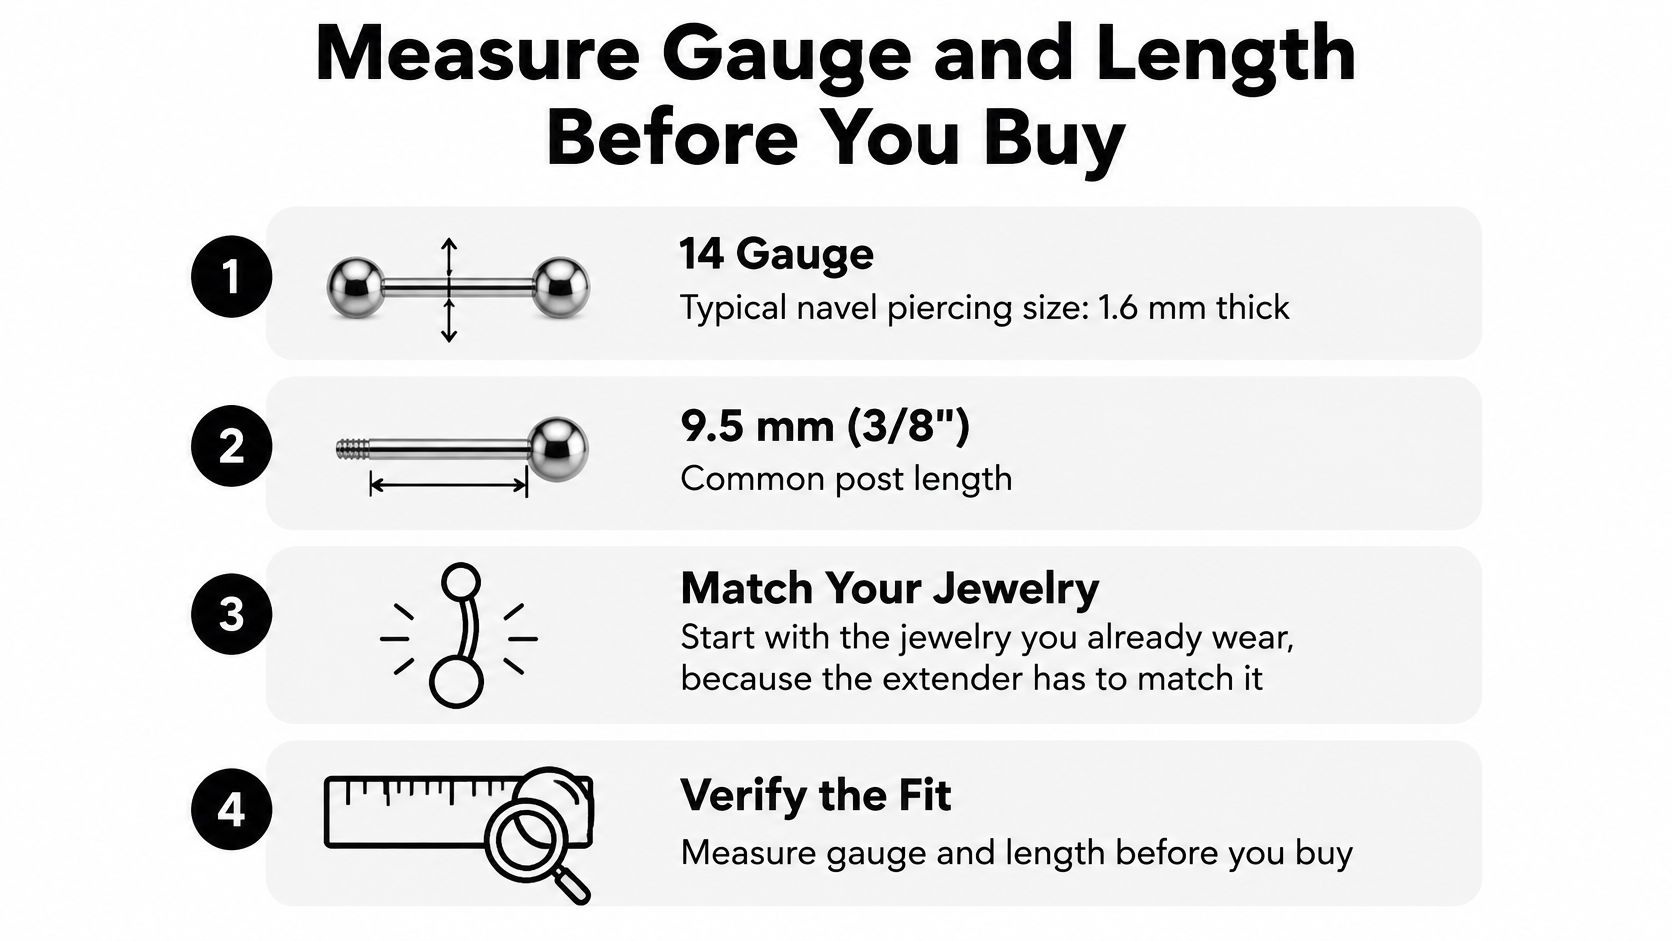
Measure the wearable space
Post length excludes the decorative ends. Measure between the surfaces that define the wearable portion, then establish how much usable length the extender contributes. A large charm doesn't create more room inside the piercing.
Use calipers or a jewelry sizing gauge on removed jewelry, rather than clamping a tool against your skin. Our guide to measuring jewelry using calipers explains the tool technique.
Before ordering, record:
- Verified gauge: Have your piercer confirm the thickness.
- Wearable length: Measure the post, excluding its ends.
- Shape and connection: Note the curve and confirm threading compatibility. Matching gauge alone doesn't guarantee matching threads.
- Everyday fit: Describe what happens when you sit, bend, and wear your usual waistband.
Say your ring feels comfortable standing but catches when you sit. That doesn't prove you need more length. You may need less exposed jewelry, a different end, or a waistband that doesn't cross the piercing.
Pick Metals That Won't Trigger a Reaction
Settle the metal question before you get attached to the sparkle. Nickel is a common cause of jewelry-related allergy, and a reaction can look like an itchy, eczematous patch rather than an obvious wound.
Mayo Clinic's nickel-allergy guidance lists titanium, nickel-free stainless steel, and 18-, 22-, or 24-karat yellow gold among lower-risk jewelry choices. Composition still matters, including the connector and any surface that contacts your skin.
Material options for belly button ring extenders
| Material | Nickel risk | What to verify |
|---|---|---|
| Implant-grade titanium (F136) | Lower | Confirm the grade is stated and the piece is implant-certified |
| Niobium | Lower when composition is verified | Confirm the material composition in the product specification |
| Nickel-free stainless steel | Lower | Confirm it's labelled nickel-free; surgical grade alone isn't a guarantee |
| 18k to 24k yellow gold | Lower for verified suitable alloys | Confirm the exact karat and whether it's solid or plated |
| Plated base metal | Uncertain | Identify the underlying alloy because plating can wear |
A surface coating doesn't turn an unidentified base metal into a dependable sensitive-skin choice. Once that coating wears, your skin can contact the alloy underneath.
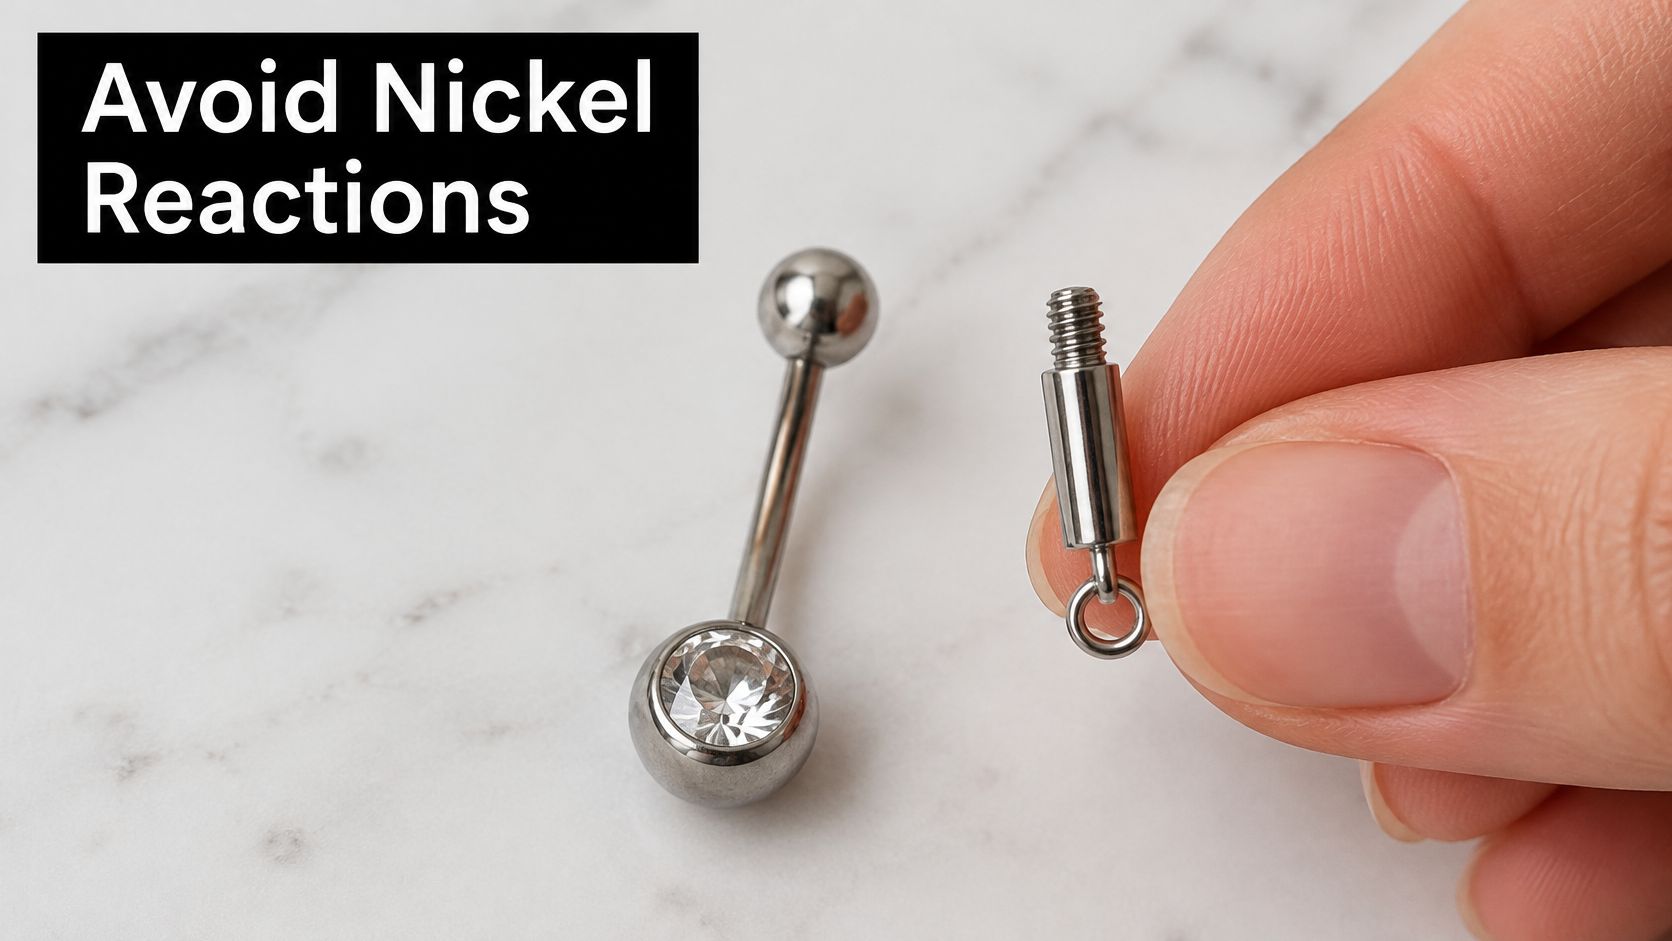
Ask for specifications, not reassurance
Hypoallergenic isn't a universal guarantee. Look for a written material description for the extender itself, not just the belly ring it attaches to. A familiar metal color doesn't establish composition, and matching colors doesn't establish compatibility.
Our guide to piercing and material sensitivities can help you separate a material concern from a styling preference.
Choose the material your skin tolerates before choosing the finish you love.
If itching, rash, or persistent redness starts after adding the accessory, stop using it and arrange an assessment. A switch to documented nickel-free material may be appropriate, but don't keep swapping jewelry through inflamed tissue.
How to Attach and Fit Your Extender Step by Step
Treat installation as a compatibility check, not a tiny DIY challenge you're supposed to win. If the connection doesn't fit smoothly, forcing it won't make it compatible.
Clinical literature in The Lancet's review of body piercing reports that navel healing commonly takes 6–12 months and sometimes up to 2 years. A healed appearance isn't permission to ignore tenderness or ongoing discharge.
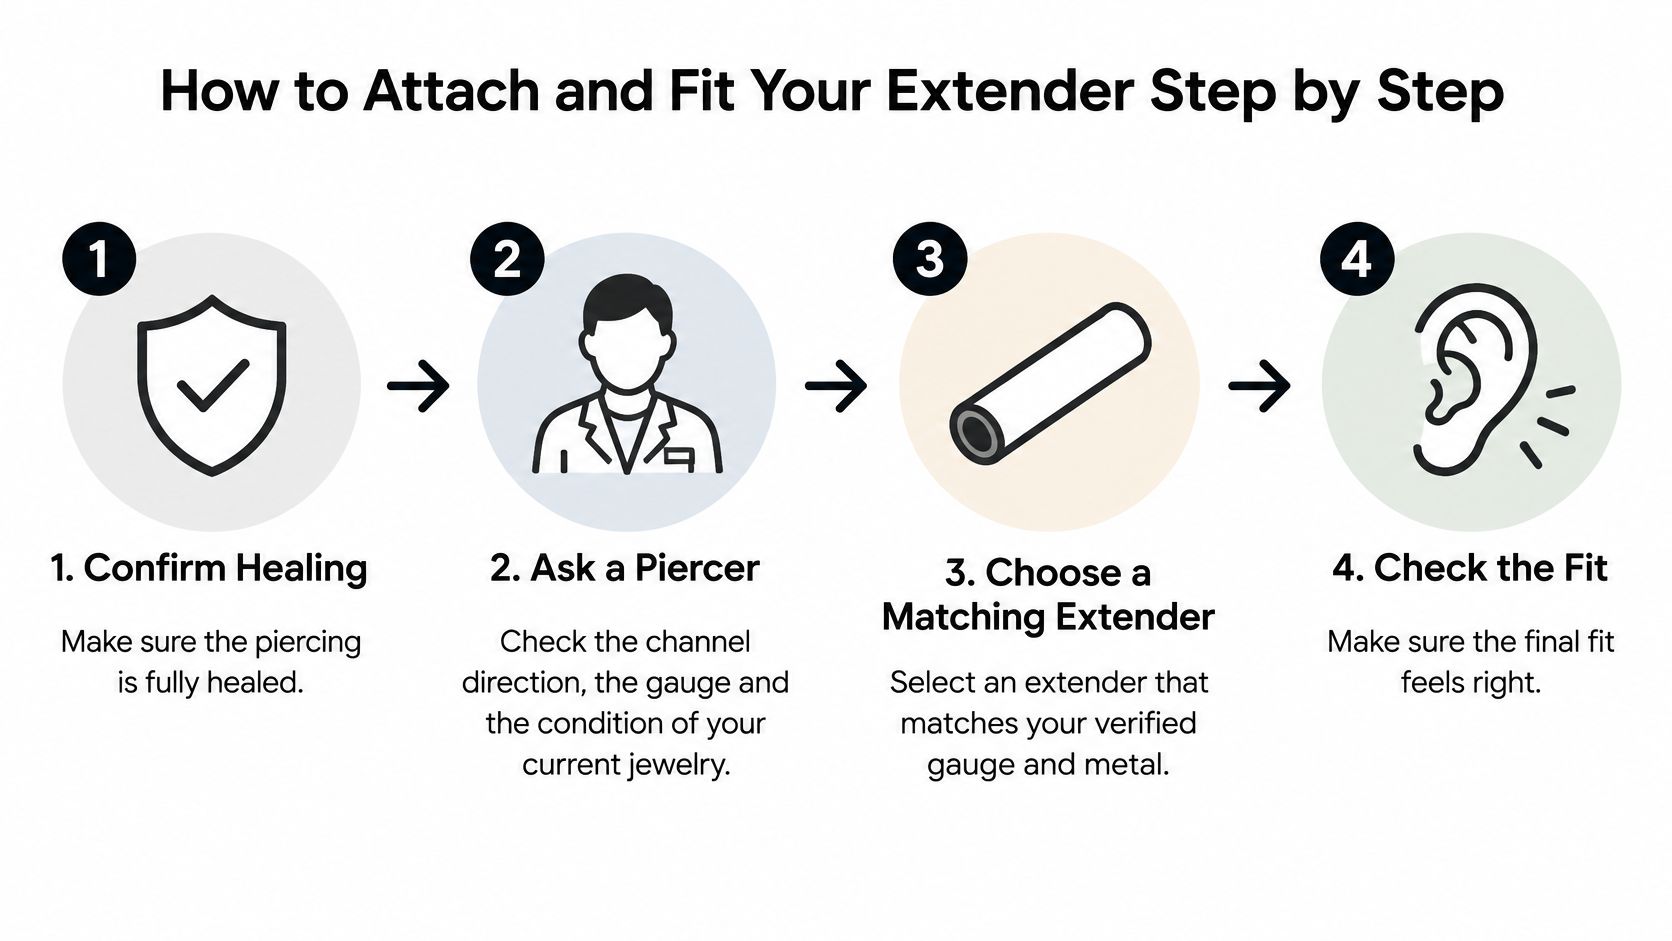
Fit the assembly without forcing it
- Confirm healing and placement. Ask a professional piercer to check your anatomy, channel direction, gauge, and current jewelry condition. They should also establish whether the accessory changes how the bar rests.
- Choose a smooth, matching connection. Check the gauge, threading, finish, and intended assembly method. Rough joints, exposed threads, or a connector that seats crookedly are reasons to reject the setup.
- Prepare clean hands and jewelry. Wash your hands and work over a clean surface. Clean the jewelry according to its material and manufacturer's guidance; saline can rinse residue, but it doesn't sterilize equipment.
- Test it unloaded. Assemble the connector on the removed bar without added decorative weight. Confirm that it seats securely at the planned length without wobbling or leaving a sharp gap.
- Install without force. Follow the accessory's intended connection method, preferably with your piercer's help for the first fitting. STOP for resistance, bleeding, sharp pain, or skin turning pale. Don't push through any of these signs.
- Check ordinary movement. Sit, bend gently, and try your normal waistband without deliberately stressing the piercing. Reassess after several hours for tugging, pressure, or a connection that has loosened.
- Look again the next day. Keep the accessory only if its position remains stable and the tissue stays comfortable. Jewelry that shifts or sinks needs assessment, not tighter fastening against the skin.
Keep weight out of the equation
A lightweight connector is preferable to a bulky assembly. The American Academy of Family Physicians' review warns that heavy jewelry, particularly with a thin gauge, increases migration and rejection risk.
That's why adding a connector and a heavier dangle at the same time is a poor fit test. Keep the trial simple enough to identify what's causing trouble.
Clean and Check Your Setup Every Day
Your daily routine should be gentle and boring. Extra scrubbing, twisting, and stronger disinfectants won't compensate for a connector that rubs.
MD.Saúde's piercing-care guidance recommends sterile saline containing 0.9% sodium chloride and advises against alcohol, hydrogen peroxide, and iodine because they can irritate healing tissue. Choose a sterile wound-wash product without unnecessary additives rather than improvising a household disinfectant.
Clean the joint without moving the bar
Wash your hands before touching the jewelry. Rinse around the full assembly, including the connector seam where residue can collect, then dry gently with clean disposable gauze.
Don't twist the extender to clean underneath it or rotate the bar to inspect the channel. If you can't access a rough or cramped joint without tugging on the piercing, have the construction checked.
Run a quick visual inspection:
- Pressure marks: Look for dents or an end pressing firmly into skin.
- Discharge: Notice new or changing drainage rather than scraping it away.
- Position: Check whether the bar sits differently from the previous day.
- Connector security: Look for a new gap or a joint that no longer sits flush.
- Skin changes: Watch for thinning tissue, persistent redness, or an opening changing shape.
Reduce friction before it becomes a pattern
Choose clothing that clears the jewelry rather than pressing across it. If the extender rubs during exercise, leave the accessory out of that activity when it can be detached without disturbing the piercing, or ask your piercer about a simpler setup.
Don't establish a nightly removal habit that requires repeatedly pulling jewelry through the channel. Sleep position and bedding can create snagging too, so judge the whole setup rather than assuming nighttime wear is automatically fine.
Daily stop rule: Persistent irritation calls for assessment, not another increment of length.
Troubleshoot Irritation, Allergy and Infection
An itchy patch confined to the jewelry contact area can suggest a material reaction, but itching alone can't diagnose an allergy. Pressure, friction, and cleaning products can also irritate the same small area.
The American Academy of Allergy, Asthma & Immunology's nickel-allergy guidance identifies body piercing as a major route of nickel sensitization. Localized itching and rash deserve a material check, while spreading redness, warmth, pus, fever, or worsening pain need medical attention.
Extender symptoms, likely causes and what to do
| Symptom | Likely cause | What to do |
|---|---|---|
| Itching or rash confined to the piercing | Possible metal allergy | Stop using the extender and arrange a switch to documented nickel-free material |
| Spreading redness, warmth or pus | Possible infection | Seek medical assessment promptly; ask before removing jewelry through the channel |
| Fever with worsening pain | Possible infection needing care | Seek medical care promptly |
| Jewelry sinking into skin or shifting position | Migration or excess pressure | Get professional evaluation; don't pull buried jewelry out yourself |
| Pain or pressure in tight clothing | Fit or friction problem | Remove clothing pressure and re-measure; reduce excess clearance rather than automatically adding length |
Choose the right kind of help
A piercer can assess mechanical fit, connection quality, and signs of migration. A clinician evaluates suspected infection and decides whether treatment or jewelry removal is appropriate.
Don't remove the entire piercing jewelry on your own when infection is suspected. If detaching the accessory requires pulling jewelry through sore tissue, leave it alone until you receive advice. Buried ends also need professional removal rather than a determined tug.
For additional symptom descriptions, our belly piercing problems guide can help you describe what has changed when arranging care.
Correct the cause, not just the length
Clothing-related pain needs a movement check. If the extra section swings into a waistband, reducing excess length may help; if the jewelry compresses tissue, shortening it could make the problem worse.
The Association of Professional Piercers' troubleshooting guidance highlights jewelry quality and sensitivity as possible contributors to irritation. Don't assume every uncomfortable navel needs the same sizing fix.
Stop the accessory trial when symptoms spread or affect your general health. Fever, worsening pain, or spreading redness warrant prompt medical attention, not an appointment later in the week.
Choose a Gauge-Matched Extender and Check Your Fit
The best belly button ring extender isn't the longest one or the one with the most dramatic decoration. It's the compatible piece that gives your healed piercing the room it needs without pulling, pressing, or adding unstable movement.
More clearance is not automatically safer. Length the tissue doesn't need swings, catches on waistbands, and levers against the piercing channel every time you bend or sit down.
Fit is judged by the tissue you have and the gauge you already wear, not by how much bar you bought.
Once healing, gauge, material, and connection compatibility are established, fit becomes the deciding factor. A comfortable result stays comfortable during ordinary life, not just while you stand still in front of a mirror. Check it by moving: sit, bend, walk around, pull on a snug waistband. If the jewelry shifts, pinches, or leaves an imprint in the skin afterward, the setup is wrong no matter how correct the measurements looked on paper.
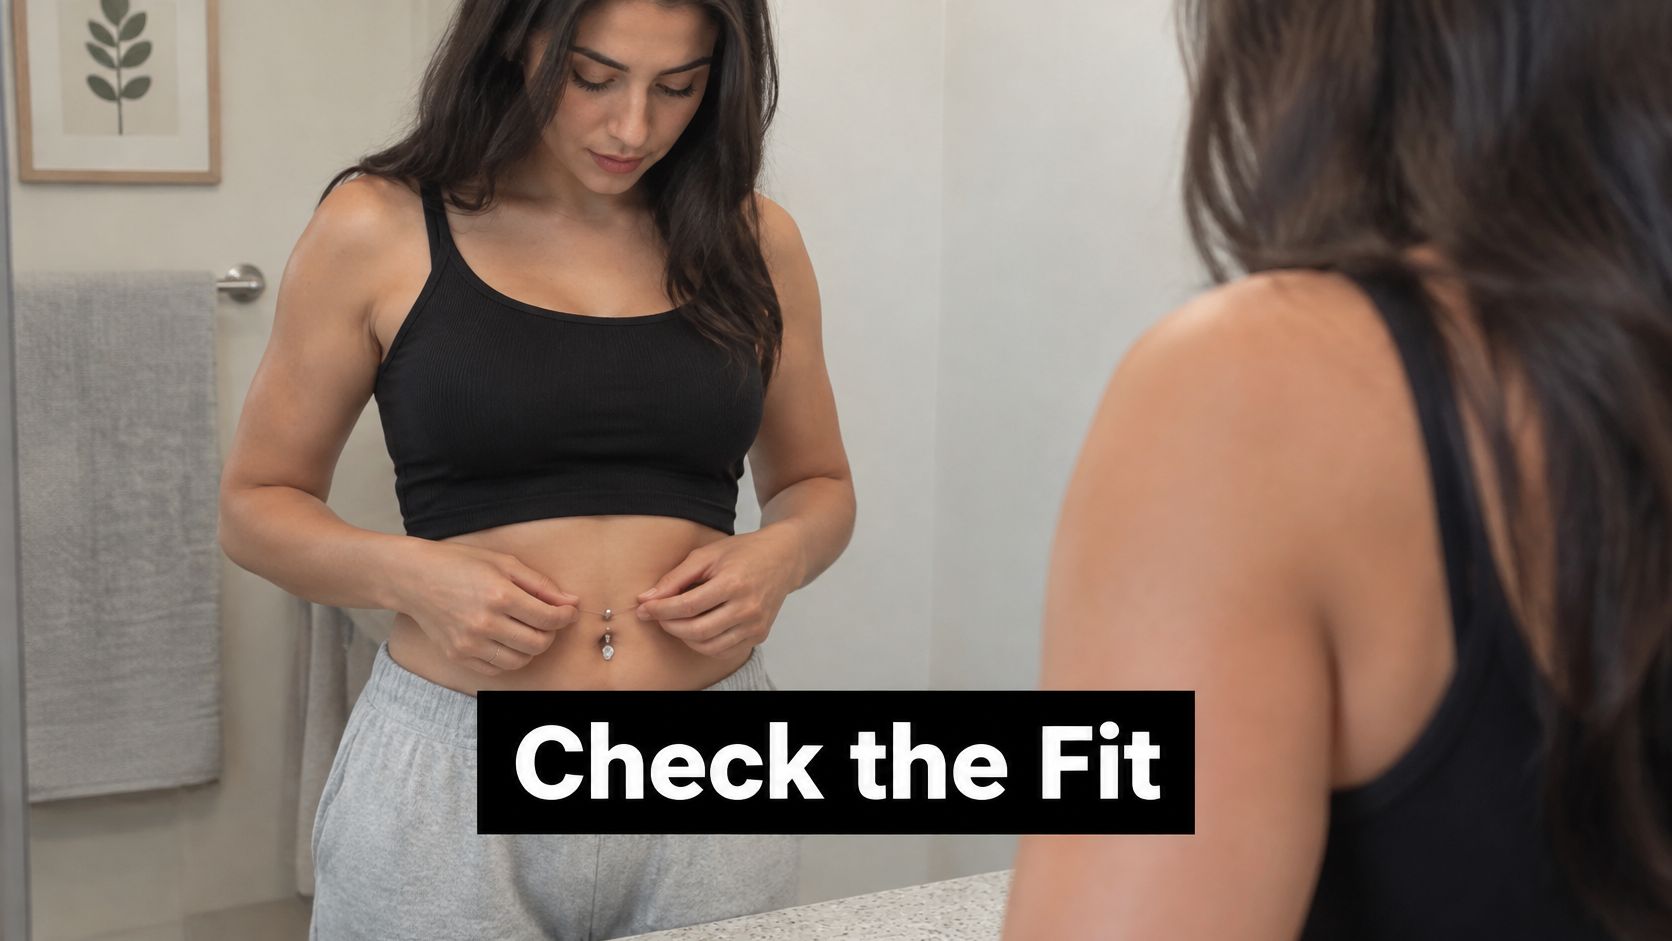
Give yourself permission to skip it
Sometimes the better purchase is a correctly fitted replacement barbell rather than an additional connector. That removes a joint from the assembly and may solve the fit problem more directly. Every connection point is a place where threading can loosen or a seam can rub, so a one-piece barbell has fewer ways to fail you.
Say no to undocumented metal, mismatched threading, or a setup you have to keep adjusting. A bargain isn't much of a bargain if you can't wear it comfortably, and a pretty accessory doesn't get a pass for pinching.
Buy for the navel you have, not the amount of clearance you think you should have.
If you're unsure, bring your measurements and current jewelry to a piercer before ordering. A quick look at how the jewelry sits in your tissue beats guessing from a size chart. Have a fit question? Drop it in the comments with your verified gauge, wearable length, and the movement that causes discomfort, without posting personal medical details.
Your decision rule is simple: compatible construction, calm tissue, stable fit. If any part is missing, pause the purchase.
At BodyCandy, we offer standard 14G belly rings in F136 Titanium, 14k Gold, Rose Gold, and Handcrafted options, so you can compare pieces against your verified size and material needs. Browse for a curve and wearable length that suit your piercing, and explore the Belly Ring Monthly Club or Septum Monthly Club when you're ready for more styling options. Keep comfort at the top of your wish list.