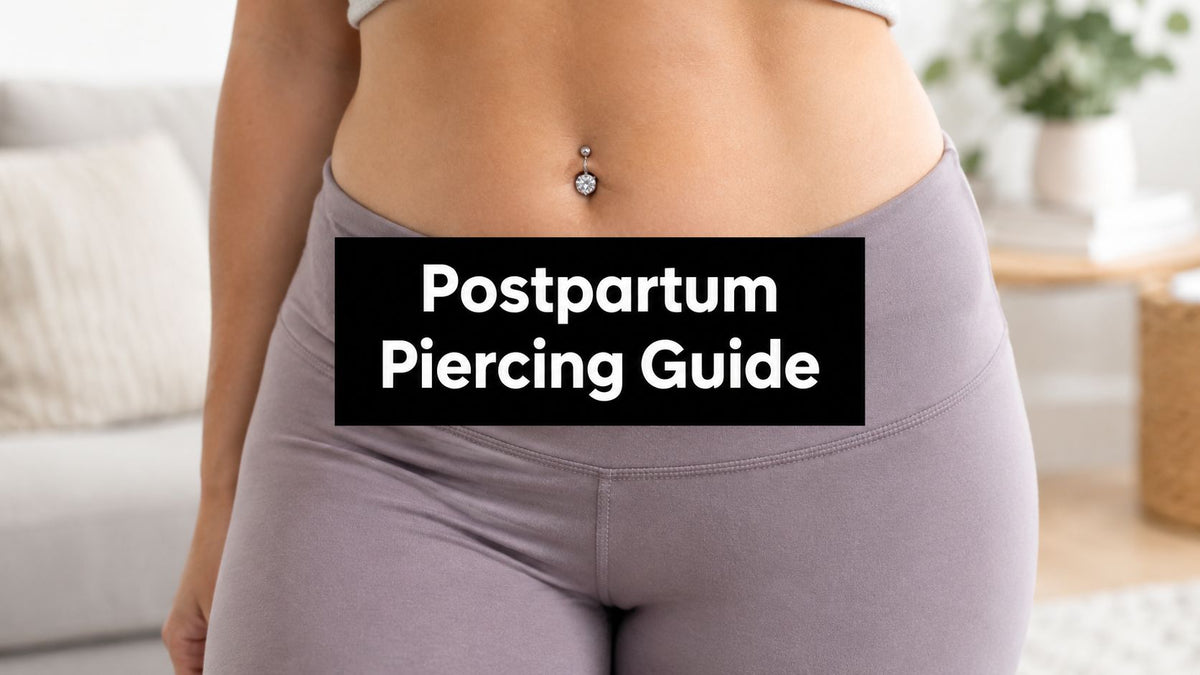














You're standing in front of the mirror, one hand on your belly ring and the other wondering whether that little top ball is really supposed to come off. Maybe you're ready for a new style. Maybe the piercing has been annoying you. Or maybe the skin looks angry, and you're not sure whether removing the jewelry will help or make things worse.
Belly button ring removal isn't difficult in the uncomplicated case, but the right approach depends on three things: how healed the piercing is, why you're removing it, and what the skin looks and feels like today. This guide helps you choose the right track before you touch the jewelry.
Knowing When It's Actually Safe to Remove Your Belly Ring
“Ready to remove” doesn't just mean that the outside looks fine. A navel piercing can appear calm while the deeper channel is still healing. Navel piercings are slow healers, with healing times listed as up to 9 months by Kaiser Permanente, 6 to 12 months by the University of California, Berkeley, and six months to a year, sometimes as long as 18 months, by Cleveland Clinic.
That gives you three practical tracks:
- Fully healed and routine: The piercing has had sufficient healing time, the holes match your surrounding skin tone, there's no discharge or crust on the jewelry, and moving the barbell doesn't hurt.
- Irritated but stable: The area is mildly tender or easily bothered, but there's no spreading redness, heat, thick discharge, or severe pain. This track deserves extra gentleness and, ideally, a piercer's opinion before removal.
- Problem piercing: The navel is hot, swollen, increasingly painful, oozing, bleeding, rejecting, or showing jewelry that appears to be sinking into the skin. Don't treat this like a style change. Get professional help.
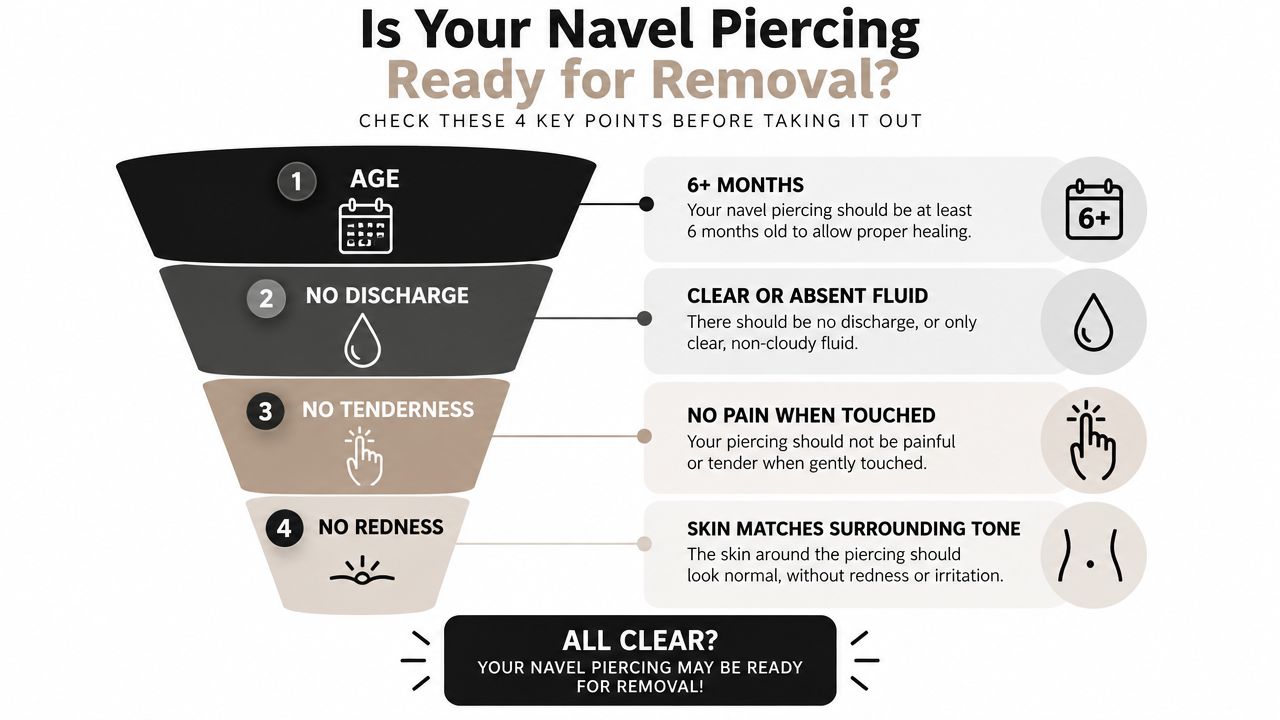
Use the four-point check
Before removal, look for:
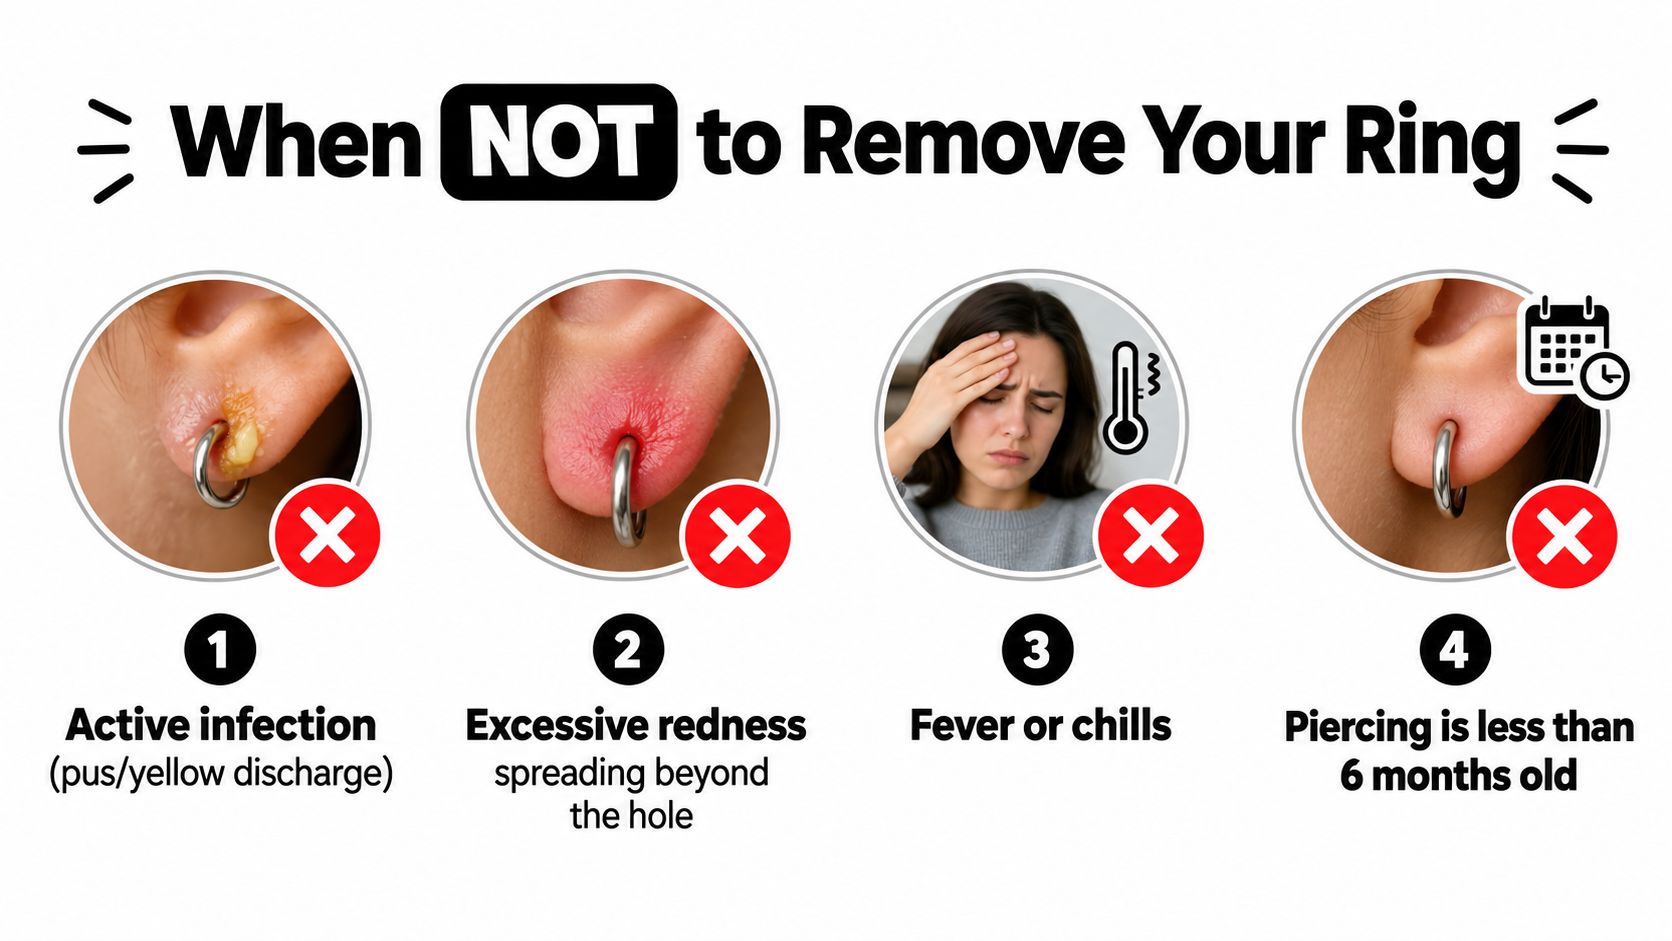
- Age: The piercing is at least 6 months old, with full healing often taking longer, as explained by NeilMed's navel piercing guidance.
- No discharge: Clear or absent fluid is reassuring. Thick or colored discharge isn't.
- No tenderness: Touch and gentle jewelry movement are pain-free.
- No redness: The entry points look like the surrounding skin rather than inflamed or increasingly red.
Jewelry removed too early can cause fresh trauma, encourage the channel to tighten, and leave irritated tissue struggling to recover. Body-piercing complications occur in roughly 20% of body piercings overall, a figure discussed in Pierce Now's belly-button-piercing overview. If pregnancy, clothing pressure, or another life change is part of your decision, learn how pregnancy can affect belly button rings before choosing a removal plan.
Gathering Your Supplies and Prepping the Area
A calm setup prevents rushed fingers and dropped jewelry. Work somewhere bright, clean, and comfortable, with your navel easy to see. A seated position is usually steadier than standing over a sink.
Put these within reach:
- Sterile saline wound wash: Choose a product made for wound care, ideally containing 0.9% sodium chloride. Single-dose vials are convenient because they reduce repeated exposure to the solution.
- Non-woven gauze: Saline-soaked gauze can soften residue without leaving cotton fibers behind.
- Clean paper towel or disposable tray: Use it as a work surface for the jewelry and supplies.
- Small clean dish: The barbell and balls can go straight into it instead of onto a counter.
- Nitrile or latex-free gloves: Gloves reduce contact with skin oils and help you grip smooth metal. They don't replace hand-washing.
Wash your hands under warm water with plain soap. Scrub every surface, including between your fingers and around your nails, for a full 20 seconds, then dry with a lint-free cloth or clean paper towel. Put on gloves only after your hands are clean and dry.
Loosen residue before you twist
Soak gauze with sterile saline and gently wipe the upper and lower openings. If you see crust around the barbell, don't pick it off dry. Hold the damp gauze against the area briefly, then move the jewelry only enough to help the softened residue release.
The navel traps moisture and experiences friction from waistbands, shirts, and movement, so preparation matters. Skip alcohol, hydrogen peroxide, and antibiotic ointments unless a medical professional specifically tells you otherwise. These products can irritate healing tissue, dry the area, and make the removal more difficult.
Practical rule: Clean skin and a clean grip are more useful than force.
Have your clean dish ready before you start unscrewing. If the jewelry slips, you'll have somewhere safe to place it, and you won't need to search for it with wet or contaminated fingers.
The Removal Process From Unscrew to Slide Out
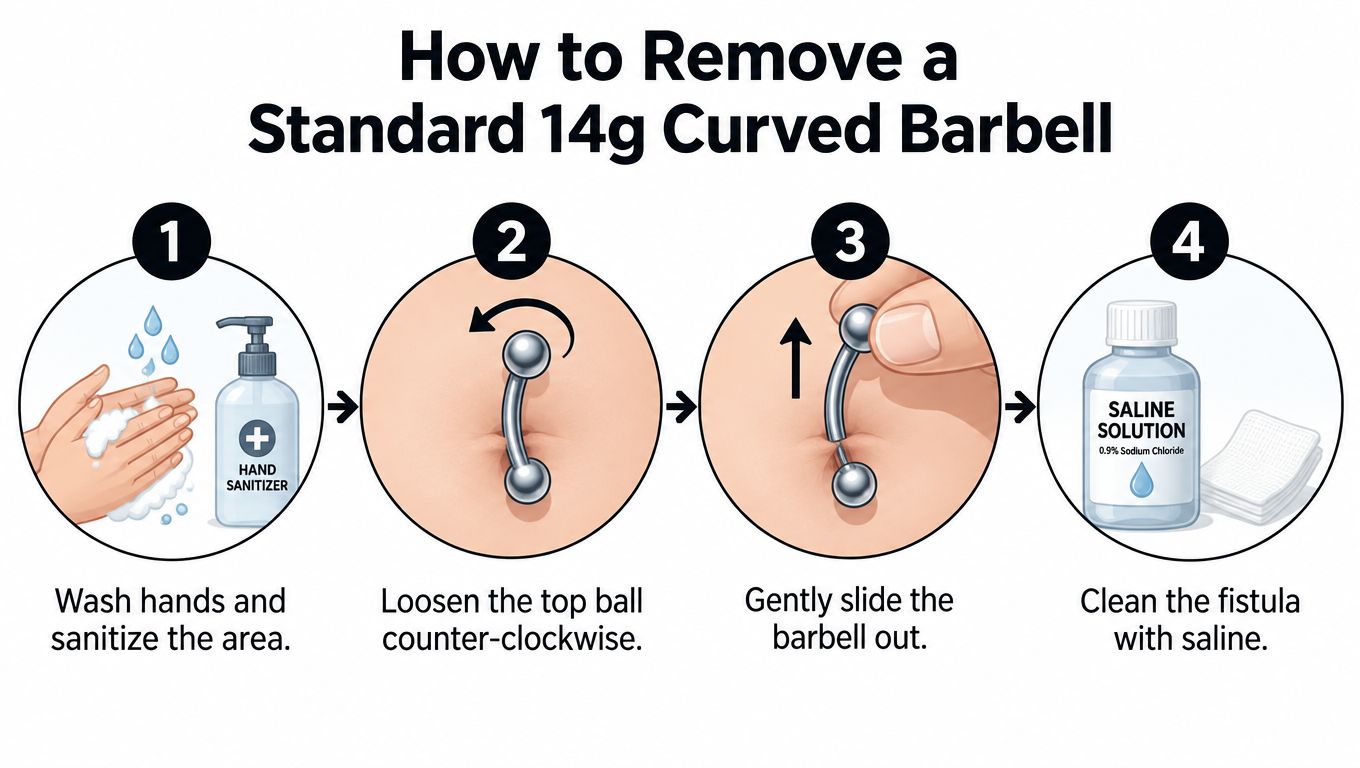
This walkthrough applies to a standard curved barbell, commonly 14 gauge, or 1.6 mm, as described in this belly button ring size guide. Check the jewelry before starting, because decorative pieces and unusual closures may work differently.
Sit where your navel is visible and reachable. A mirror resting on your lap can help, especially if your jewelry sits below a fold of skin or your hands block your view.
- Stabilize the bottom ball. Use your non-dominant hand to hold the lower ball or the barbell shaft. Keep the jewelry steady rather than squeezing the skin.
- Turn the top ball counterclockwise. With your dominant hand, rotate the top ball to the left. Most threaded barbell balls loosen this way, but if the ball doesn't move with light pressure, stop rather than escalating immediately.
- Remove the top ball. Set it in the clean dish. Keep one hand near the barbell so it doesn't drop through or rotate unexpectedly.
- Support the upper opening. Place a saline-soaked gauze pad over the top hole. This gives the skin gentle support as the bar slides out.
- Slide the bar downward. Guide the curved barbell through the lower opening with slow, even pressure. It should move smoothly. Sharp resistance, burning pain, or fresh bleeding means you should stop.
A tiny spot of blood can happen if mature tissue is disturbed, but active bleeding isn't part of a routine removal. Place the barbell in the dish and look closely at both openings before cleaning the tract with saline.
For a visual walkthrough, BodyCandy's belly button ring changing video demonstrates the same basic unscrew-and-slide sequence.
Troubleshooting Stuck, Tight, or Stubborn Rings
A top ball that won't budge is usually a grip problem, residue in the threads, or both. Sweat, lotion, and shed skin can collect around the connection and make the jewelry feel welded together.
Start with a warm-water compress. Hold warm, damp gauze against the navel for about five to seven minutes, then dry the surrounding skin so your grip doesn't slide. You can place a tiny drop of vitamin E or jojoba oil on the external threads, keeping oil away from an actively irritated channel.
Try the counterclockwise twist again while gripping the barbell shaft with non-slip gloves or a rubber band. The goal is controlled traction, not brute strength. If the ball still refuses to move, don't keep repeating the same motion until the setting strips.
Read the shape of the problem
A few situations call for different responses:
- The top ball sits flush or recessed: The bar may have rotated inward. A professional piercer may use appropriate tools or a taper to bring the jewelry forward safely.
- The tissue is puffy around the channel: Saline care and appropriate anti-inflammatory pain relief may reduce discomfort, but swelling combined with heat, discharge, or worsening redness needs medical assessment.
- The jewelry is embedding: If skin is beginning to grow over the barbell or the ends are sinking into tissue, treat it as a medical event. Don't pull it through swollen skin.
The warm compress can make a routine stuck connection easier, but it can't solve infection or embedding. Avoid improvised pliers against bare jewelry because slipping tools can cut skin, scratch the metal, or apply uneven pressure to the fistula.
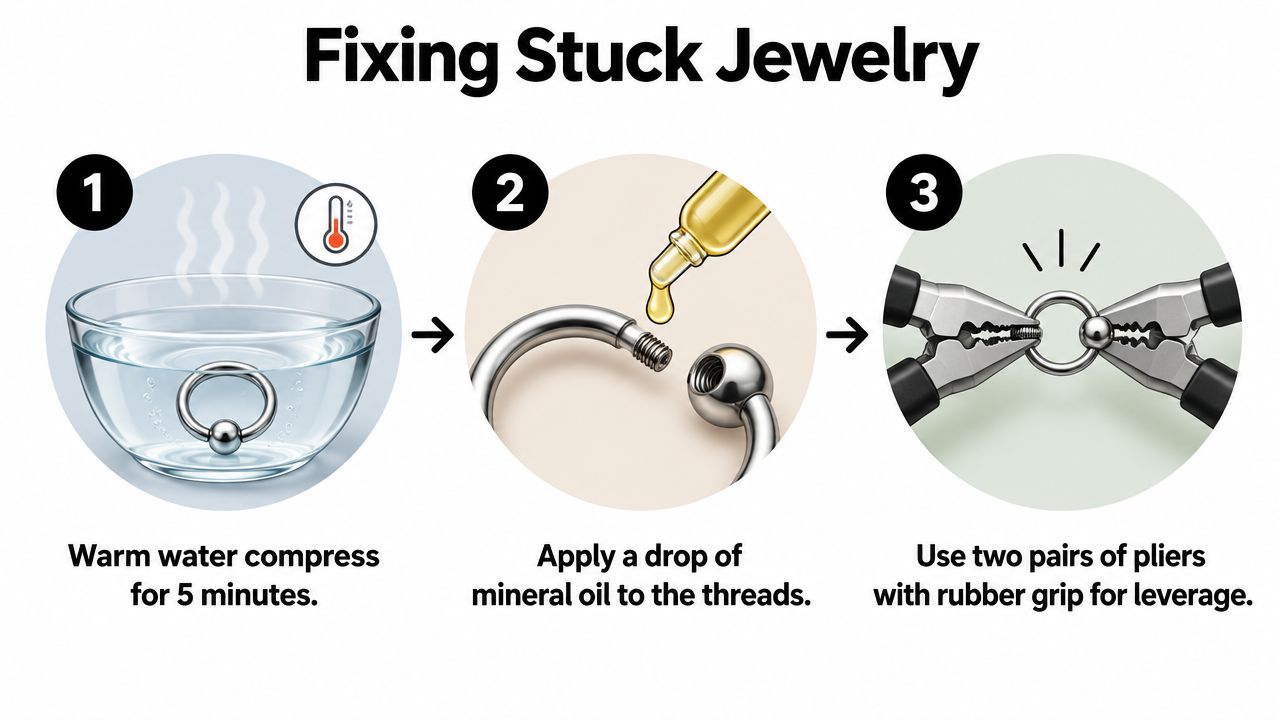
If two separate soak-and-twist attempts of about 10 minutes each don't work, stop and see a professional piercer. A piercer can identify the jewelry style, protect the tissue, and decide whether removal is safe. When the hardware is embedded or the area looks infected, a doctor should take over.
When Removing the Ring Could Make Things Worse
The most surprising rule in piercing aftercare is that removing jewelry from an actively infected piercing can make the situation worse. The jewelry can help keep the channel open for drainage. If you remove it while pus and bacteria remain inside, the opening may tighten and trap the infection, potentially forming an abscess, as explained in this medical guide to infected piercings.
Leave the jewelry in place and seek advice if you notice:
- Thick yellow or green discharge, particularly with a foul smell.
- Spreading redness or red streaks moving away from the piercing.
- Heat and increasing swelling around the navel.
- Fever or chills, which can signal that the problem isn't limited to the surface.
- Overgrown tissue covering the jewelry or ends that are disappearing into the skin.
Mild irritation and infection aren't the same thing. Clear fluid, limited tenderness, and temporary irritation after a snag may settle with gentle saline care. Thick discharge, spreading redness, heat, worsening pain, or systemic symptoms require a more cautious response.
Choose the right professional
A reputable piercer can help with stuck hardware, jewelry sizing, mechanical irritation, and suspected rejection. A doctor or urgent-care clinician should evaluate infection, embedding, fever, chills, or redness that's spreading.
Use this simple triage:
- Mild redness, no fever, no spreading heat: Leave the jewelry alone, use sterile saline, and contact your piercer within 48 hours.
- Fever, chills, spreading redness, severe pain, or embedded jewelry: Seek urgent medical care the same day.
- Active drainage with a bad smell: Don't remove the ring yourself. Ask a medical professional how to manage the jewelry while the infection is treated.
The risky move isn't always leaving jewelry in. With active infection, DIY removal can close the exit before the problem has drained.
Rejection is another reason to avoid a dramatic tug. If the skin between the openings is thinning, the jewelry is migrating, or the channel looks increasingly shallow, have a piercer assess it. Removing the jewelry may be appropriate, but the safest timing and method depend on the condition of the tissue.
Aftercare and What Comes Next
Once the jewelry is out, treat the openings as healing tissue rather than an ordinary scratch. Apply sterile saline to non-woven gauze and hold it gently against the upper and lower holes for three to five minutes, then pat the area dry with clean gauze or a paper towel.
Repeat saline cleaning twice daily for at least a week or until tenderness resolves, following the removal guidance from Painful Pleasures. A dedicated saline aftercare product such as H2Ocean aftercare can fit this routine when used according to its label.
Avoid cotton balls, alcohol, hydrogen peroxide, and antibiotic ointments unless prescribed or recommended by a clinician. Cotton fibers can catch on the openings, while harsh antiseptics and unnecessary ointments can irritate tissue and interfere with a calm closure.
Protect the area while it closes
Friction is the enemy after removal. Wear a loose shirt, avoid waistbands that press directly on the navel, and pat dry after showers instead of rubbing. Hold off on abdominal crunches and pool water for the first two weeks, because repeated stretching, sweat, and shared water can irritate or contaminate the openings.
Closure is unpredictable. One expert source places complete closure for some navel piercing sites at about 2 to 6 weeks after removal, while surface openings may begin shrinking much sooner. A deeper, long-established channel can remain open for months, and a mature piercing may sometimes accept jewelry again without a new piercing, but don't force anything through a narrowing tract.
If you decide to wear jewelry again, match the material and fit to the tissue's condition. Piercova's material guidance identifies implant-grade titanium as a safer choice for sensitive skin and active healing, while ASTM F138 surgical steel is generally better suited to healed piercings. Solid 14k gold may also be appropriate when it's verified as suitable for body jewelry.
Choose a barbell long enough to accommodate residual swelling, without leaving excess length to snag. A flat or low-profile top can reduce rubbing from shirts and seatbelts. If reinsertion doesn't glide in easily, stop and visit a piercer instead of turning a jewelry change into a fresh injury.
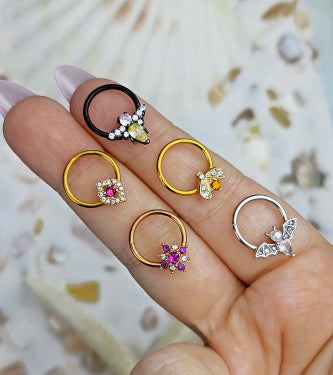
BodyCandy offers belly button rings in different styles, sizes, and materials, along with body jewelry tools that can help with future changes. When your piercing is ready for its next look, browse the selection at BodyCandy and choose jewelry that suits your healing stage and everyday wardrobe.