
















Does getting two holes automatically give you a matched double, or just 2 belly button piercings sitting near the same navel and hoping for the best? That's the gap most inspiration photos skip. A cute top-and-bottom pair only works if your navel has the right folds, enough tissue in two places, and room for both pieces when you sit down.
You're not picking a photo. You're finding the row your navel fits best, deciding whether to pierce both on one day or stage them, and then planning months of healing around that choice. A symmetrical double isn't automatic, and knowing that upfront saves you from forcing a layout your anatomy won't hold.
Which Two Navel Layouts Can You Actually Wear
Two holes don't always make a matched set. A true double navel usually means a standard piercing through the upper ridge plus an inverse piercing through the lower lip, so one curved barbell sits above and one sits below. It's not two holes crowded into the same fold.
Other layouts can work beautifully, but each asks something different from your navel. Stacked verticals need depth and two stable shelves. An offset pair can flatter a navel that already sits a little uneven. A floating top uses a flat disc inside the navel, which helps when your fold collapses as you sit.
Layouts for 2 Belly Button Piercings
| Layout | Where it sits | Usual jewelry | Best when | Main limit |
|---|---|---|---|---|
| Standard plus inverse | Upper ridge and lower lip | Two curved barbells | Deep navel with two stable ridges | Channels must not cross when you sit |
| Stacked verticals | Two vertical folds, one above and one below | Two curved barbells | Thick upper hood and thick lower lip | Tight tissue often needs staging |
| Offset pair | Classic site plus a slightly side placement | Curved barbell and a shorter curve | Already uneven navel | Alignment shifts between standing and sitting |
| Floating top plus lower | Flat disc inside the navel, second on the lower lip | Floating curved barbell plus a lower curve | Navel collapses when you sit | Disc must clear the fold or it will press the wound |
| One now, second later | Single best ridge only | One curved barbell | Thin, scarred, or first-time navel | Second site waits until the first channel is stable |
What Your Piercer Checks First
Before you claim a row, your piercer checks ridge depth, symmetry, jewelry clearance, and whether sitting or bending would pinch either channel. Medical literature summarized in The Lancet's body piercing guidance notes that not all navels can be successfully pierced, and navels without a distinct ridge may be unable to support jewelry, increasing the risk of migration or rejection.
That's why an in-person assessment beats a screenshot every time. If you're still learning how a lower placement differs from a classic top placement, our guide to bottom belly piercings and top mount navel jewelry breaks down where each end sits and what it needs underneath it.
If the channels would cross, touch, or leave only a thin bridge of tissue between them, the last row is your row for now.
Everybody's navel is different. Treat the table as a shortlist for your consult, not a guarantee. By the end of that conversation, you should be able to name the one row that matches your navel, or say that one strong piercing is the smarter starting point.
Pierce Both the Same Day or Stage Them
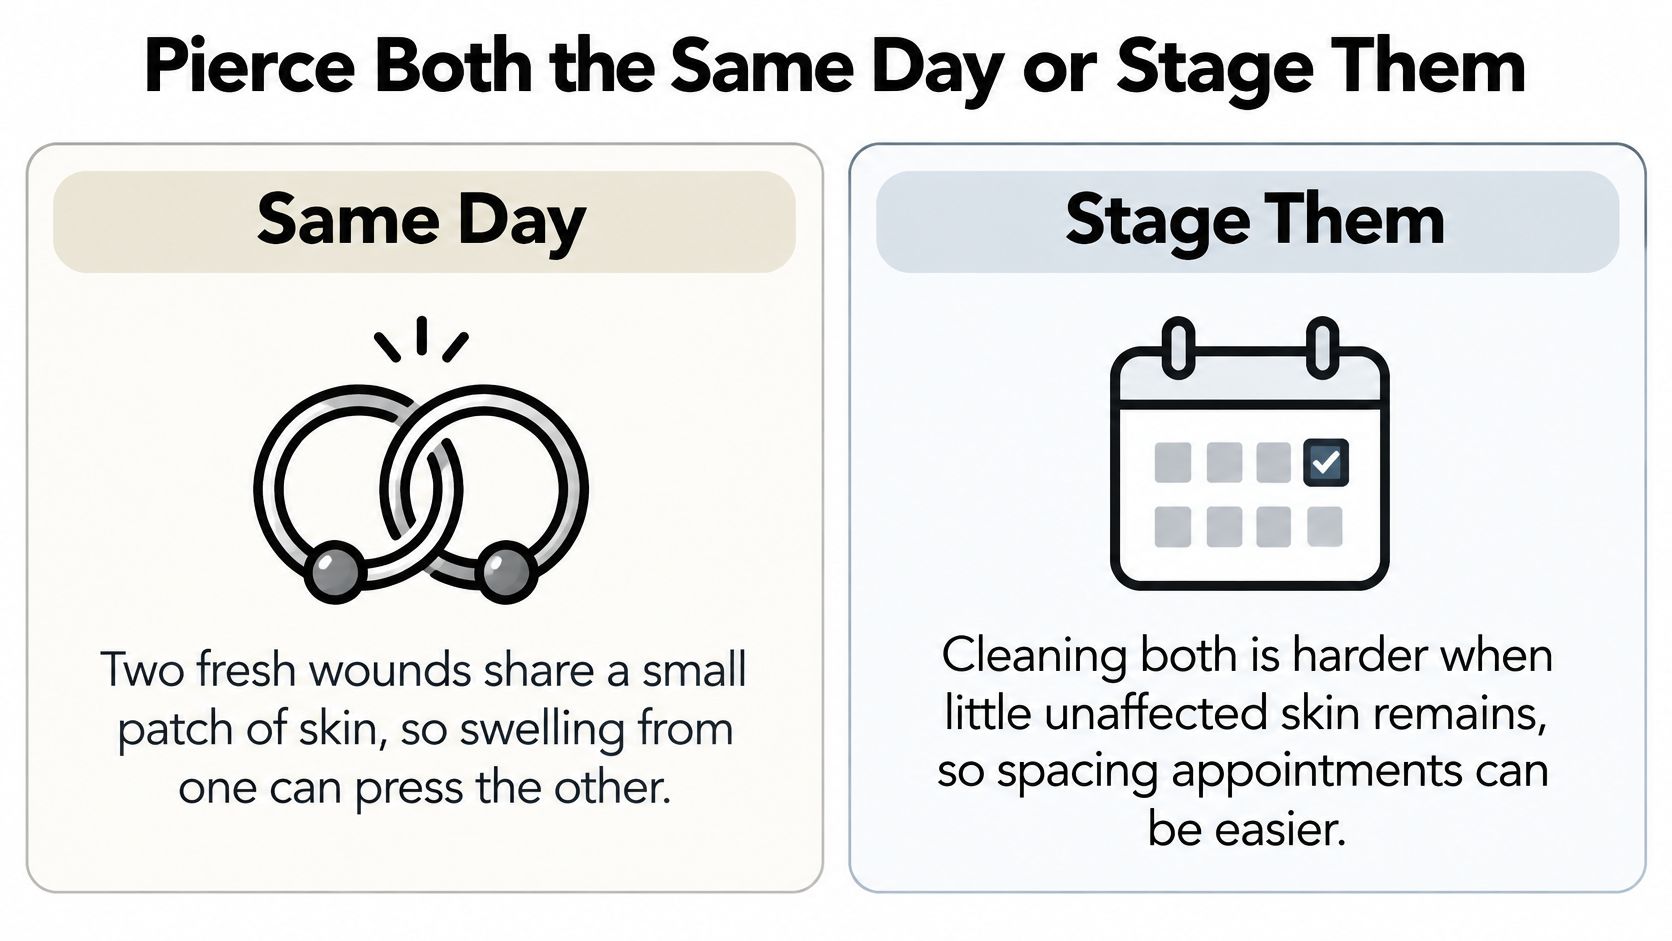
Same day sounds efficient. One appointment, one healing window, one big reveal. The catch is that two fresh wounds share a very small patch of skin, so swelling from one can press directly on the other.
Cleaning gets trickier too. When there's little unaffected tissue left around your navel, you've got less room to dry, protect, and check each site without bumping its neighbor. The look you want has to survive waistbands, desk chairs, seatbelts, and sleep, not just the drive home from the studio.
This side-by-side view lays out the healing and maintenance trade-offs before you commit to a timing plan:
When Same Day Can Make Sense
Same-day 2 belly button piercings are reasonable only when both ridges are thick and stable, the marks still line up after you sit in a relaxed posture, and neither bar gets crushed by your fold. You also need a realistic life for a long heal. That means you can skip pools, avoid clingy waistbands, and stay off your stomach at night for months.
Doing both at once doesn't shorten the clock. It means both wounds run on that same long clock together, with an extra snag point at your waistband and an extra spot where tight clothes can trap moisture.
When Staging Protects the Look
Stage them if this is your first navel piercing, one ridge is thinner than the other, or there's scar tissue in the fold. Sitting curled at a desk all day is another good reason to space them out, because a folded midsection can press two bars in different directions at once.
Bring two direct questions to your consult:
- Tissue check: Do both channels have enough stable tissue, with room between them after swelling?
- Friction check: Would healing them together create more friction and cleaning trouble than the matching timeline is worth?
Practical rule: If you have to talk your piercer into the second hole, stage it.
Anatomy first, photo inspiration second. A staged second piercing that heals straight will always look better than a same-day pair where one channel spends months angry, tilted, or slowly working its way out.
Jewelry for Fresh and Healed Double Navels
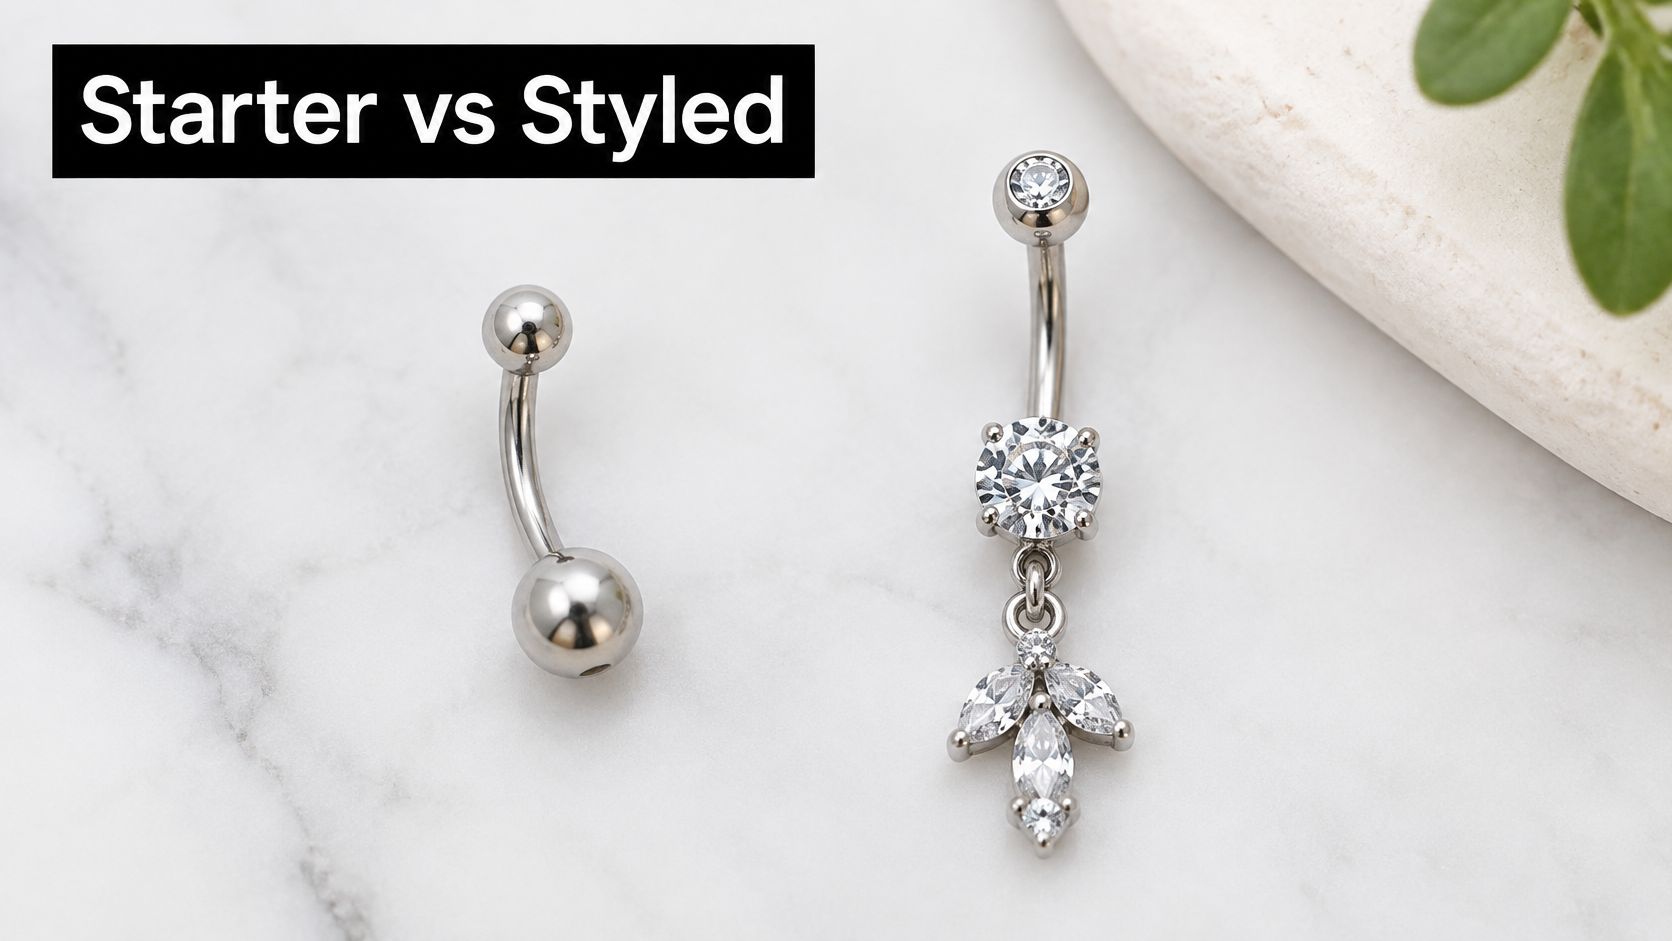
Starter jewelry and styled jewelry are two different jobs. Your first pair has to keep two fragile channels calm, clean, and open. The pretty pair comes later, after a piercer confirms both sides are stable.
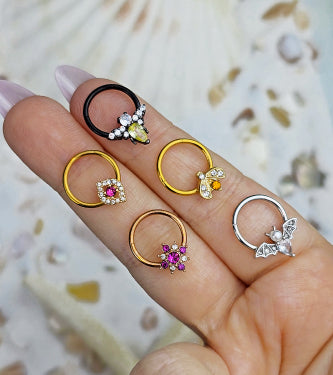
This close-up shows the difference between a plain starter piece and the kind of ornate, crystal-heavy style you'll save for later:
Leave Your Starters In
Keep the original piece in each channel for the whole healing period, including overnight, unless a piercer or clinician tells you the size, style, or material is causing the problem. The Mayo Clinic piercing guide notes that many piercings heal in about six weeks, but some take several months or longer, and jewelry should remain in place during that period, including overnight, to help keep the channel open.
With two sites, removing one piece early can let that hole tighten or close while the other stays open. Then you're not styling a double. You're asking a piercer whether a shrunken channel can be reopened safely, or whether it needs to heal and be repierced later.
If swelling, a trapped end, or a metal reaction makes a change necessary during healing, let a qualified piercer do it with sterile jewelry and tools. Don't trade a solvable sizing problem for a contaminated swap at your bathroom sink.
Choose Simple Bars First
Your starters should usually be simple curved barbells in implant-grade titanium or suitable solid gold, with internally threaded or threadless ends that pass smoothly through fresh tissue. Length matters in both directions. Too long catches on shirts and waistbands. Too short leaves no room for swelling and can start to embed.
Skip dangles, heavy gems, and hoops until both channels are stable. Two dangling ends can tangle with each other and yank the same fold from opposite sides. Nickel is also a poor gamble on two fresh wounds if your skin is reactive, so mystery metals don't belong in a starter plan.
Before you shop from photos, check your own gauge and wearable length with our crash course on navel ring styles, materials, and sizing. A bar that fits a deep, open navel can sit completely wrong in a shallow or collapsing one.
This video walks through how different navel styles sit and move, which makes the sizing choices easier to picture:
Style the Healed Pair on Purpose
Once both channels are confirmed healed, match the styling to your layout rather than buying two statement pieces that fight for space.
- Standard plus inverse: Try matched curved barbells when you want clean symmetry and an easy mirror-image effect.
- Stacked verticals: Pair one quiet top bar with one small dangle below, so the double reads clearly without two charms colliding.
- Floating top plus lower: Keep the flat disc on the collapsing top site and use a simple lower curve that clears your fold when you sit.
One hero piece and one supporting piece usually look more intentional than two large charms competing in the same tiny space.
Confirm the gauge and length on jewelry you already wear comfortably, or ask your piercer to measure you during a checkup. Don't copy dimensions from someone else's photo. Keep every dangle on hold until both channels are stable, even if one side feels ready much sooner.
How the Double Navel Appointment Should Go
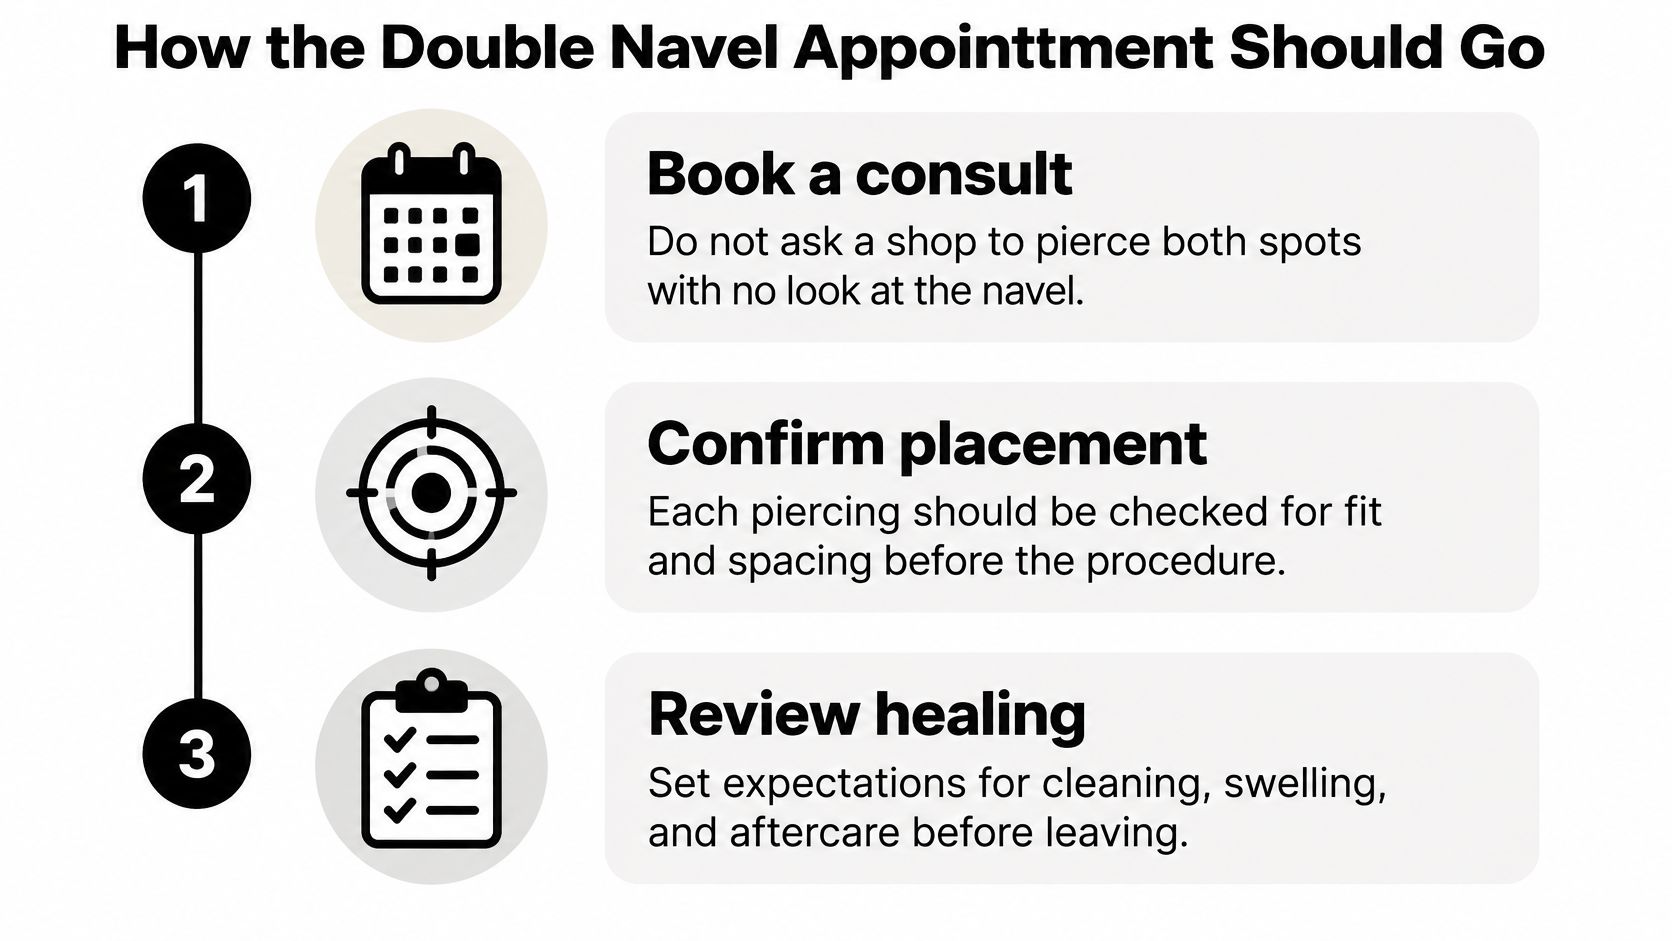
A good double navel appointment starts with a consult, not a needle. Your piercer needs to see your navel standing, sitting, and relaxed before anyone commits to two channels in one small fold.
The flow below shows the three-part rhythm of a careful visit, from booking the consult to reviewing healing before you leave:
Your Seven-Step Appointment
- Book a consult first: Don't ask a shop to pierce both spots without looking at your navel. Say which layout you're hoping for, and be ready to hear that a different row fits you better.
- Confirm sterile setup: Each piercing gets a new sterile single-use needle, sterile gloves, skin antisepsis, and individually sterilized jewelry and instruments. The Association of Professional Piercers FAQ supports an anatomy-first process using a new sterile single-use needle, sterile gloves, skin antisepsis, and individually sterilized jewelry and instruments for each piercing.
- Check the marks seated: Your piercer marks while you're standing, then rechecks once you sit relaxed, because a waist fold can shift or crush a channel that looked perfect upright.
- Name the exact layout: Agree on the row you're getting, which jewelry goes in each site, and which piercing happens first if you're staging. Don't leave placement to a vague top-and-bottom description.
- Fit for swelling: Expect a simple curved barbell with room to swell, long enough to be comfortable and short enough that it won't constantly hook a shirt. Initial pieces shouldn't be heavy dangles.
- Leave with written care: You need instructions for two separate wounds, plus a check-in plan if one side swells more, sits crooked, or starts pressing into the other. Ask when to return for a downsize assessment.
- Protect the first nights: Head home in a loose waist, keep pressure off both bars, and skip anything that folds, twists, or soaks your midsection while the tissue is brand new.
Signs That Need Medical Care
Don't treat spreading redness with heat, worsening pain, pus, fever, or a red streak as ordinary healing. Those changes deserve medical assessment, because a localized piercing infection needs attention before it becomes a bigger problem.
A careful shop will refuse to pierce a flat navel with no usable ridge just to match your reference photo.
That refusal isn't a lost sale or a lack of skill. It's the clearest sign your piercer is protecting you from a piercing that's likely to migrate, scar, or never settle. Walk in with a preferred layout, but let the anatomy check make the final call.
Healing Time for Two Navel Piercings
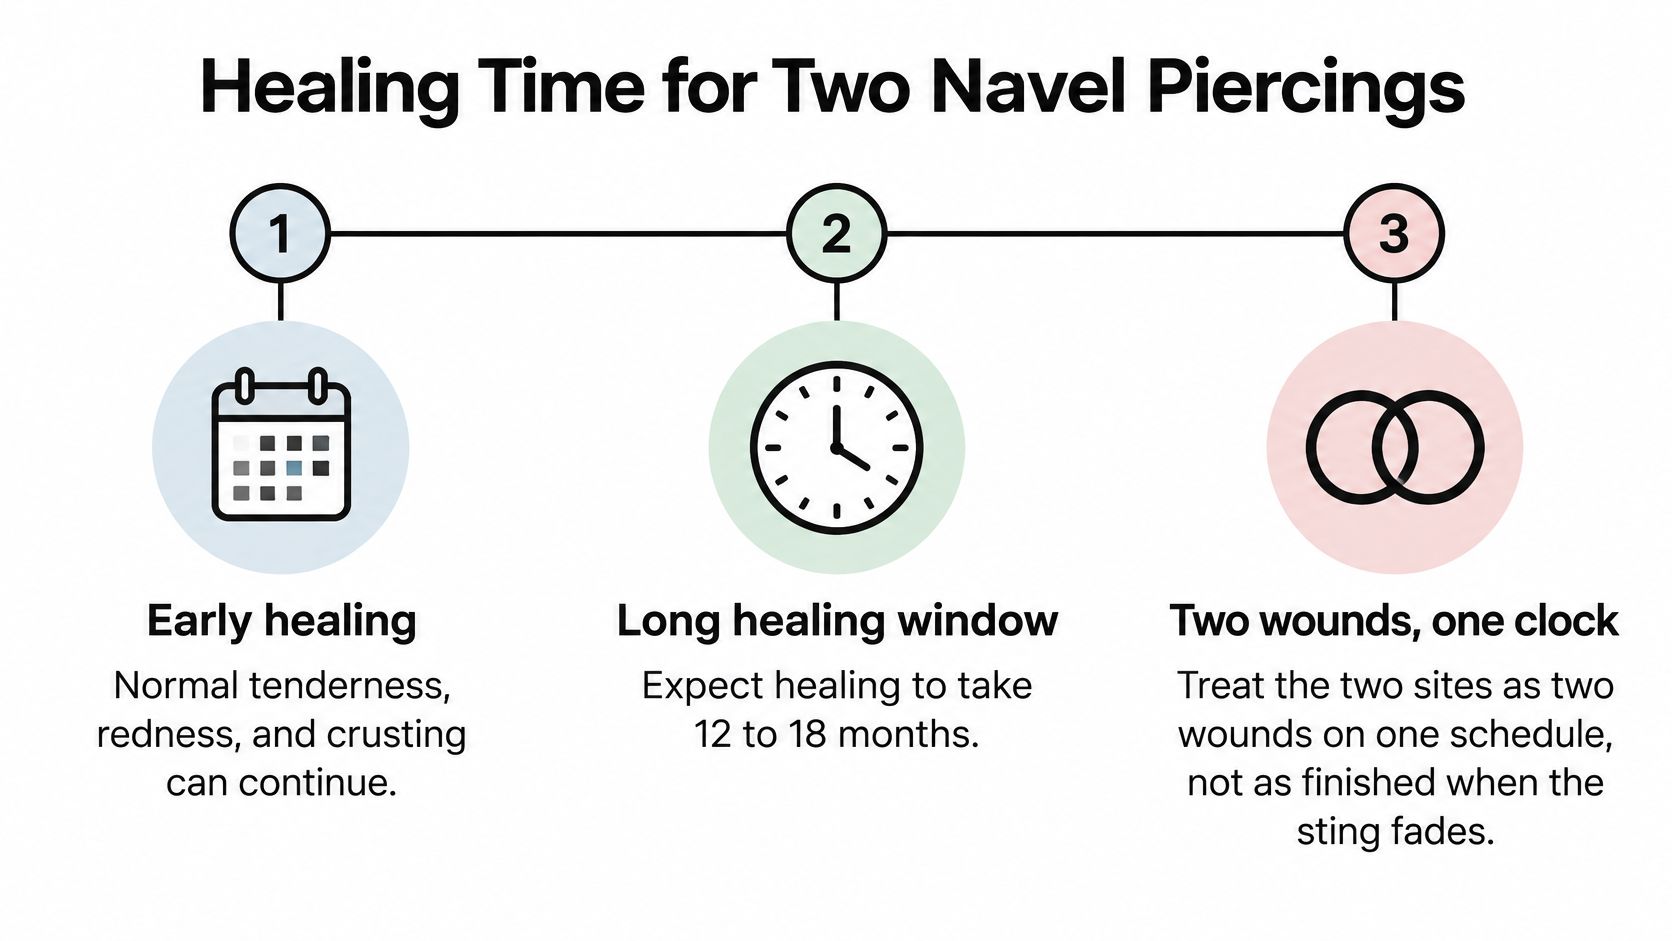
Treat your pair as two wounds on one clock, not as a finished look the moment the sting fades. One side may look calm weeks before the other, but that quieter piercing doesn't graduate the whole setup.
Cleveland Clinic guidance on infected belly button piercings reports that normal tenderness, redness, and crusting may continue for 12 to 18 months, and complete healing can take a year or longer. That timeline surprises people, which is exactly why so many navels get decorative jewelry far too early.
This timeline keeps that long window visible while you're deciding whether you're ready for the commitment:
Double Navel Healing Phases
| Phase | What you may feel | Daily focus | Get help if |
|---|---|---|---|
| Days 1 to 14 | Swelling, redness, pale or clear crust | Saline, clean hands, gentle drying, loose waist | Heavy bleeding, fever, or red streaks |
| Weeks 2 to 12 | Tenderness and crust on either or both sites | Keep both dry, no pools, no twisting | Pain or discharge that keeps worsening |
| Months 3 to 9 | Calmer skin that is still not healed | Avoid waistband friction and snags | Thinning skin or the jewelry shifting outward |
| Months 9 to 18 | Possible lingering tenderness, redness, or crust | Treat as healing until a piercer says otherwise | New warmth, pain, or discharge after a quiet stretch |
| After a year or more | Channels may finally be stable | Decorative jewelry only once healed | One side still angry while the other is quiet |
A Typical Healing Story
Say your top piercing settles quickly and barely crusts after the early weeks, while your lower one stays tender every time you sit. That's not proof the top is healed and the bottom is failing. It often just means your fold presses one channel more than the other during normal life.
In the first two weeks, clean with clean hands and sterile saline, then pat both sites dry. Keep waistbands loose and don't twist the jewelry to break up crust. Twisting drags debris through fragile tissue and gives you a fresh reason for soreness.
Through the middle months, the surface can look deceptively finished while the channel inside is still weak. High-rise waistbands, stomach sleeping, tight workout tops, and repeated snags are everyday delays because they press, rub, or yank tissue that's trying to seal around two bars. Tight clothing also holds warmth and moisture against both holes, which can keep irritation simmering.
Our overview of healing times for popular piercings helps you compare the navel's long timeline with faster-healing placements. Use the table to name the phase you're in before you change jewelry, book a pool day, or decide a quiet week means you're done.
Fix Snags Rejection and Irritation
Two healing wounds give irritation twice the places to start, so learn the difference between normal grumbling and a real problem early. Ordinary crust and dull tenderness can hang around for months. Symptoms that escalate, spread, or keep returning after you remove the cause need a different response.
Allergic reactions (especially to nickel), skin infection, keloids, and tearing when jewelry catches are the risks every pierced person should be able to name. With a double navel, watch both channels, because a problem in one says nothing about the other. If swelling, redness, or bleeding persists instead of easing, have a healthcare professional look at it.
Double Navel Problems and What to Do
| What you notice | Likely cause | What to do |
|---|---|---|
| Heat, pus-like fluid, or climbing pain | Possible infection | See a clinician and leave jewelry in unless they say to remove it |
| Itch or rash where metal touches | Nickel or another metal reaction | Have a piercer switch both pieces to implant-grade titanium or solid gold |
| Bar shifting outward or skin getting thin | Migration or rejection on a weak ridge | Stop styling and let a piercer decide whether to retire that channel |
| One hole tightening | Jewelry removed too early | Do not force it back in; ask a piercer before any reinsertion |
| Caught on a waistband or charm | Snag from length or a dangle | Protect the site and downsize only with a piercer after swelling drops |
| Sore, damp skin under both | Moisture trapped by tight clothes | Swap to loose, breathable clothing and let the skin dry fully |
One quiet side never clears an angry one.
Don't take jewelry out of a suspected infection unless a medical professional tells you to, because the channel can close over trapped fluid. A shrunken hole is the same kind of trap. Forcing it open at home tears fragile tissue and makes a professional reinsertion harder.
A bar that keeps catching is usually telling you something specific: it's too long for the current stage, too decorative for healing tissue, or sitting right where your waistband lands. Treat each snag as information. Protect the site, remove the friction source, and let your piercer judge downsizing once the swelling drops. Snags ignored for weeks are how a settled channel becomes a migrating one.
Check both piercings every day, even when one looks perfect. Early action gives you the best chance of saving whichever channel can still be saved, and a staged plan beats a retired piercing every time.
Book the Consult Then Plan the Pair
Your next step depends on which row fit your navel. If it was one now, second later, book one well-placed navel piercing and leave the second idea alone until that channel is stable. That isn't a failed double. It's a staged plan with a much better chance of becoming one.
If both ridges checked out, write down your layout and your same-day or staged choice before the consult. Tell your piercer which row you picked, ask for marks standing and sitting, and let them talk you out of it if the tissue says no.
Not ready for two needles yet? We sell fake belly rings, along with fake nose rings, fake septum rings, and fake plugs, so you can test the silhouette against your own waistband without opening two wounds. You'll learn quickly whether you like a visible lower charm, or whether it catches on everything you own.
When a professional confirms both channels are healed, shop with the same intention you used for placement. Our belly rings come in the standard 14G gauge, in styles from plain barbells to dangles, hoops, and solid 14k gold, with options including F136 titanium, 14k gold, rose gold, and handcrafted pieces.
Keep dangles for the healed pair, measure before you buy, and drop your layout questions in the comments if you're torn between two rows. Ready to plan the look? Book the consult first, then browse second-act jewelry once your piercer signs off on healing.
Ready to find your healed double's second act, from clean starter-simple barbells to matched curves, small dangles, hoops, and solid 14k gold belly rings? Visit BodyCandy to shop belly rings in standard 14G, including F136 titanium and handcrafted options, after your piercer confirms you're healed. Not pierced yet? Start with a fake belly ring to test your favorite layout today.