







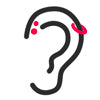
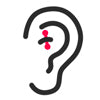
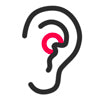




You're standing at the counter, thinking this is going to be simple. Pick a spot, get the piercing, post a selfie, done. But your first ear piercing is one of those tiny decisions that keeps paying you back, either with clean healing and easy styling or with months of annoyance because the placement was off, the jewelry was wrong, or the studio rushed you through it.
Ear piercing isn't some new trend that popped up with curated ears and stacked lobes. The oldest widely cited physical evidence comes from Ötzi the Iceman, whose remains were dated to about 3300 BCE, and his earlobes were pierced and stretched to about 7–11 mm (body piercing history). Archaeologists have also tied pierced ornaments to even older graves at Boncuklu Tarla in Turkey, described as early evidence of body piercing in context (ear piercing history). So no, you're not being dramatic for taking this seriously. People have been putting real thought into ear adornment for thousands of years.
The smart move is to think like someone who wants a good ear map later, not just a cute moment today. Your first piercing sets the tone for what you can stack, balance, and wear comfortably later. If you rush the placement, you can box yourself into jewelry that sits awkwardly or heals at a weird angle. That's the part most beginners miss.
Practical rule: Don't treat the first piercing as a throwaway. Choose the placement, jewelry, and studio as if you'll still care about them a year from now, because you probably will.
Why Your First Ear Piercing Deserves More Thought Than You Think
The easiest way to botch a first ear piercing is to treat it like a snack run. You walk in, point at the lobe, grab whatever jewelry they hand you, and leave without asking how it'll heal or what it'll look like with future piercings. That's how people end up with placements they can't easily work around later.
A better approach starts with one honest question, what do you want this ear to look like eventually? If you want a simple single stud, that's one answer. If you're already eyeing a curated ear, you need to think about spacing, symmetry, and how the first hole will anchor the rest of the setup. A first piercing isn't just jewelry, it's the first line in the design.
Start with the end goal, not the first impulse
Think about the ear from a styling angle. A center-ish lobe hole gives you room for doubles, huggies, and stacked layouts. A placement that's too high, too low, or slightly tilted can crowd future pieces and make everything feel off-balance.
That matters because healing and styling aren't separate problems. A piercing that heals in an awkward spot may limit what you can wear comfortably later, and that's hard to fix once the channel is set. If you're the kind of person who likes changing your look often, precision matters more than convenience.
Ancient ears prove this isn't a throwaway choice
The reason I'm bringing up Ötzi isn't trivia for trivia's sake. His pierced and stretched lobes show that ear modification has always been intentional, not accidental (body piercing history). Even the most ancient examples weren't random holes, they were part of a body plan.
That same logic applies now. You don't need to become a piercing nerd overnight, but you do need to know whether you want a clean starter lobe, a future stack, or an ear that can eventually hold more texture and shape. The first decision is small. The consequences aren't.
Choosing Your First Piercing Placement
Start with the ear you want to build for, not just the spot that feels easiest today. A first piercing sets the spacing for everything that comes after, and placement mistakes are hard to hide later. If you want a balanced stack, a clean second hole, or room for huggies and small studs, the first mark needs to be placed with that future layout in mind.
The lobe is still the most practical starting point. It usually hurts less than cartilage, and lobe piercings typically heal in about 6 to 8 weeks (Cleveland Clinic). Cartilage takes much longer to settle down, often up to 6 months or even a year to fully heal (Cleveland Clinic). If you want your first piercing to be easy to live with, the lobe gives you the cleanest path.
That said, lobe does not mean plain. Upper lobe and double lobe setups can create a more intentional look without throwing you into a long cartilage recovery. Some first-piercing guides also treat certain upper-lobe and beginner-friendly cartilage spots as workable starting points, but only if you are realistic about healing, jewelry selection, and daily care (Monica Vinader guide). The choice is simple. Do you want the easiest first healing experience, or do you want to start with a more styled ear and accept the extra upkeep?
Decide based on your actual lifestyle
Your daily habits matter more than trend photos. If you sleep on one side, wear over-ear headphones a lot, or use helmets or headgear for sports, a cartilage starter will get irritated fast. Lobes are easier to protect. Cartilage gets bumped, compressed, and twisted in ways that slow healing and make the whole process more annoying.
Use that to narrow the choice.
- Choose a lobe first if you want the most forgiving healing path and the easiest base for a future ear stack.
- Consider upper lobe if you want a more styled look but still want to stay in the easier-healing zone.
- Save cartilage for later if you do not want a long healing process hanging over your routine.
Get the placement angle right
Precision matters here. A lobe piercing should sit at about a 90-degree angle so the jewelry lies flat and the channel does not twist awkwardly (ear angle guidance). A crooked start can leave you with earrings that sit badly, feel irritating, or limit what shapes work in the hole.
That is why the mark matters so much. If the piercer rushes the dot, shifts the angle mid-pierce, or ignores your ear shape, the piercing can look fine on day one and feel off forever. Pressure from sleeping on it can also change how the healed piercing settles, especially if you keep lying on a fresh piercing (ear angle guidance).
For a clear checklist before you book, see this professional piercing checklist from BodyCandy.

Finding a Reputable Piercer and Avoiding Risky Options
A good piercer makes the process feel boring, and that's a compliment. They mark carefully, clean the skin, use sterile hollow needles, and insert the jewelry immediately after the hole is made (Healthline procedure guide). That's the workflow you want. Not a rushed jab, not a gun snap, not a vague “you'll be fine.”
Mall kiosks often lean on piercing guns because they look fast and easy. I wouldn't choose that for a first ear piercing. Clinical guidance frames needle-based piercing as the standard safer method, and the main problems in bad setups are poor marking, weak cleansing, and non-sterile tools (Healthline procedure guide). Fast doesn't matter if the angle is wrong or the equipment is sloppy.
What to check before you book
A reputable studio should be comfortable answering simple questions without acting annoyed. Ask whether they use single-use needles, what they do to sterilize tools, and what jewelry materials they stock. If they dodge those questions, keep walking.
Here's the clean version of the decision:
- Professional studio: sterile needle, better placement control, clearer aftercare, and a more predictable first experience.
- Mall kiosk: convenience first, usually less detail, and often a weaker setup for a first-time client.
- DIY: only for people who already know the risks and technique, and even then, I'd still call it the wrong move for most first-timers.
DIY has a few technical benchmarks, but that doesn't make it the better choice
If someone is set on self-piercing, expert-style DIY guides repeatedly emphasize a sterile piercing needle, a 90-degree insertion angle, and a firm backstop like a cork or eraser behind the lobe (DIY technique guide). They also stress a smooth, single pass without twisting or jerking, because sloppy movement can make the piercing worse and more painful (DIY technique guide).
That said, the presence of a technique online doesn't make it the right move for your first time. A pro piercer can correct for ear shape, mark placement with real anatomy in mind, and insert the jewelry right away without you trying to hold a mirror and a needle at the same time. That's not a small upgrade. That's the whole point.
Professional piercing checklist
Selecting the Right Initial Jewelry for Sensitive Skin
Starter jewelry should be simple, smooth, and boring in the best way. For a fresh first piercing, the jewelry is usually a stud or small hoop, and the post needs to go in immediately after the needle passes through so the channel doesn't start contracting before the jewelry is seated (Healthline procedure guide). That timing matters more than people realize.
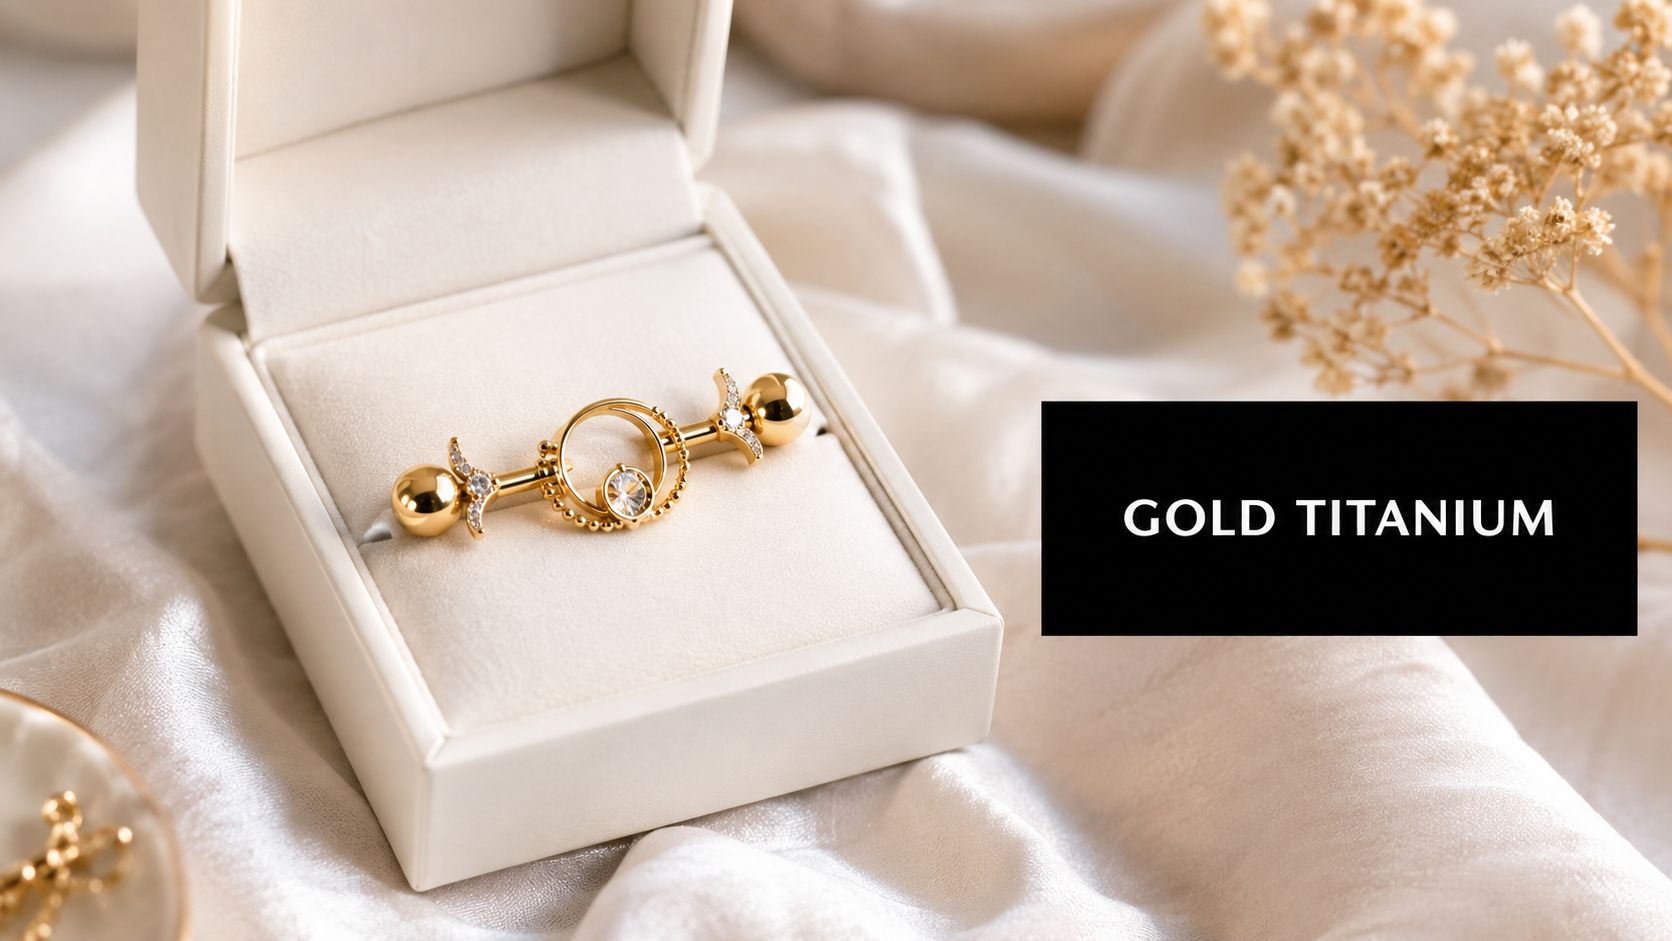
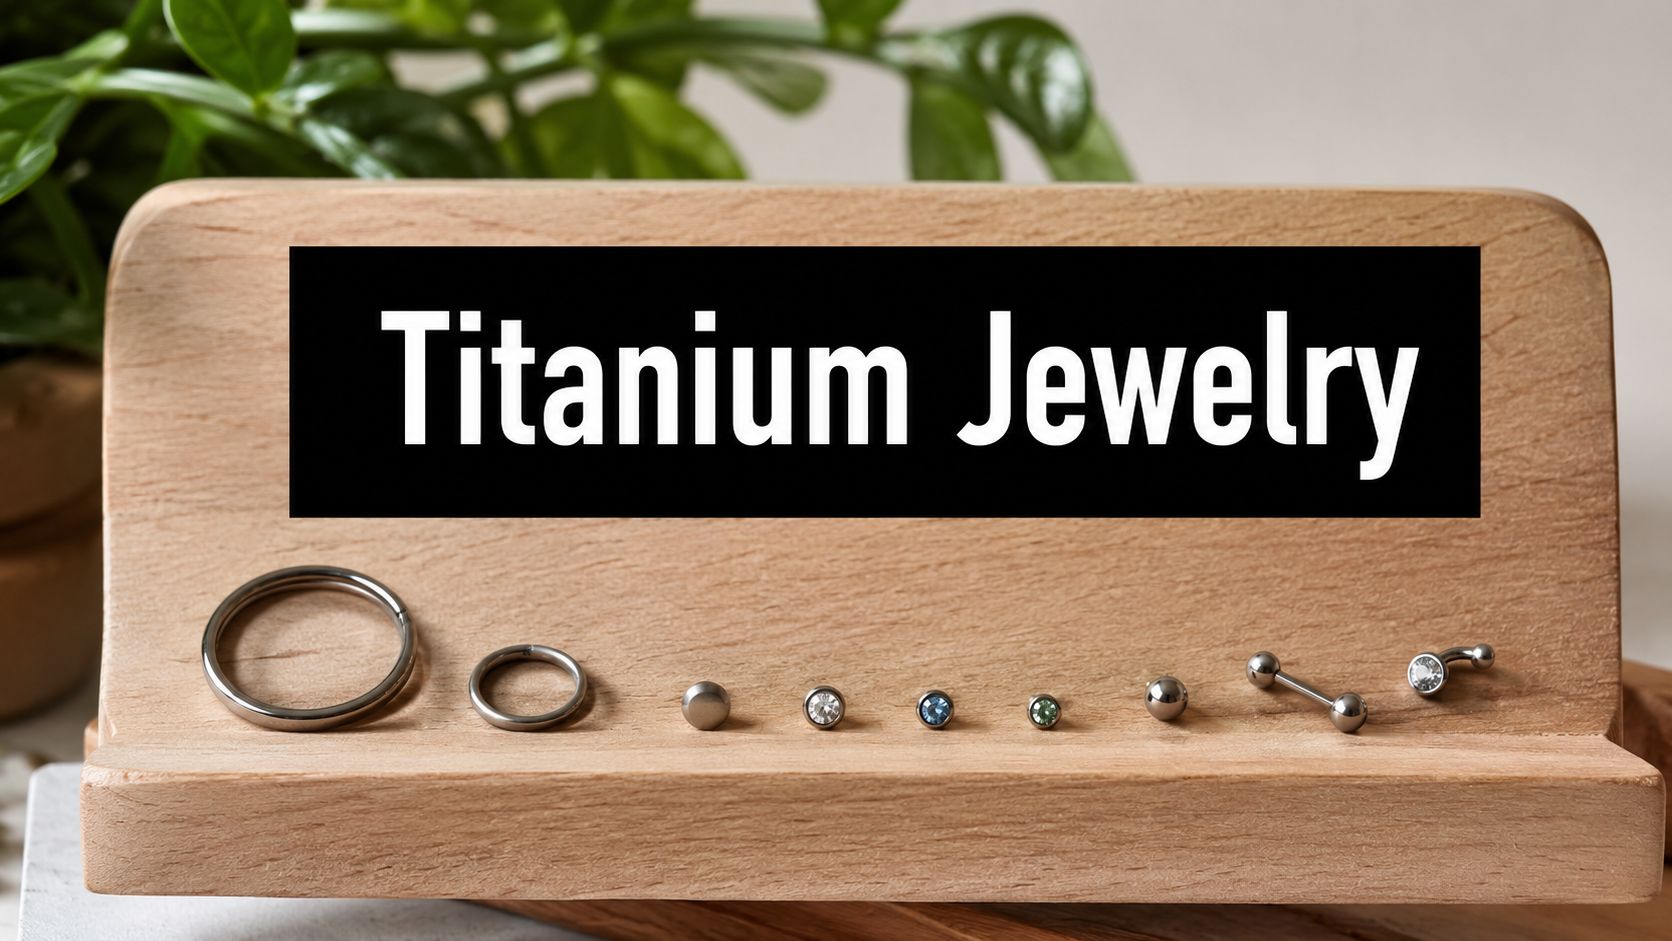
If your skin gets irritated easily, material choice matters even more. High-quality options like implant-grade titanium, niobium, and good surgical steel are the kinds of materials people usually look for in starter jewelry. The point is to reduce unnecessary irritation while the tissue is trying to settle.
Don't overcomplicate the first piece
You do not need a dramatic hoop for the first day. You need jewelry that's easy to clean around, sits securely, and leaves room for swelling. A tiny hoop can work in some cases, but a straight stud-style piece is usually the cleaner starter move because it sits stable while the piercing calms down.
Use this as your shopping filter:
- Choose smooth edges so the piercing isn't catching on a sharp seam or decorative detail.
- Pick a material you tolerate well if you already know you react to certain metals.
- Avoid heavy or oversized styles at the start because they can tug on a fresh channel.
Match the jewelry to the healing job
A first piercing is not the time to test out every style in the drawer. The starter piece's job is to stay in place, support swelling, and keep the channel open while the tissue recovers. That's why the insert-right-away step is such a big deal, the fresh hole begins changing quickly once the needle is out.
If you're shopping later for upgrades or want to compare starter-safe options with everyday pieces, BodyCandy's educational material on hypoallergenic jewelry for sensitive skin is a useful place to start, especially if you're trying to keep your look stylish without stirring up your ears (hypoallergenic jewelry guide).
Your Complete Aftercare Timeline and Daily Routine
You wash your hair, catch the piercing with a towel, sleep on it once, and suddenly the ear that looked fine at breakfast is red by dinner. That is normal early piercing behavior. The fix is boring, which is exactly what you want. Clean it on a schedule, leave it alone, and keep the starter jewelry in place until the channel is settled.
Clinical procedure guidance lays out the basic sequence clearly, clean, pierce, insert jewelry, then care for it consistently afterward, as outlined in the Healthline procedure guide. For day-to-day care, aftercare guidance recommends cleaning with antibacterial cleansing saline solution morning and night, then leaving the original jewelry in during healing so the hole does not close or get irritated by early swapping. If you want a more practical walkthrough of what that routine looks like at home, caring for a healing piercing is worth bookmarking.
A practical healing rhythm
- First days: Touch it only when you are cleaning it. Expect tenderness, mild redness, and a little swelling.
- First two weeks: Treat hair, hats, headphones, and sleepy side-lying like hazards. They are.
- Middle phase: The piercing can look calm before it is healed. Do not use that as a cue to change jewelry.
- Later phase: Swap pieces only when the tissue is stable and the channel feels fully settled, not because it has had a few good days.
What to avoid while it heals
Skip soap, creams, surgical spirits, and TCP on the piercing, because those products add irritation instead of helping it calm down (aftercare guidance). Stay out of the sea and chlorine water while it is still fresh, and keep your ear out of pools and hot tubs until the piercing is no longer tender and reactive. Do not sleep on the new piercing either. Pressure can inflame it, and over time it can push the angle off if you keep compressing the same side.
Placement precision matters during healing too, especially if you are planning a future stack, second lobe, or a cleaner ear curation later on. A piercing that sits slightly off now can throw off the whole look once you add more pieces. The safest habit is to protect the original angle, keep the area clean, and let the first hole settle without constant handling.
Use the image below as a quick reality check for what normal healing can look like versus the signs that need attention.

Recognizing Complications and When to Seek Help
A little redness does not automatically mean trouble. Mild itch, clear fluid, and some tenderness can all be part of normal healing. What matters is the point where the piercing stops acting like it is settling and starts acting like it is getting worse.
If the pain is increasing instead of easing, if swelling feels hot, if you see yellow pus, or if you feel feverish, stop trying to power through it and get help. Those are the moments to call your piercer or a healthcare provider. Do not keep cleaning harder and hoping the problem disappears.
The usual troublemakers
Irritation bumps are common when the piercing gets bumped, slept on, or over-cleaned. Keloids are a different issue and need a professional opinion, especially if you have had scar tissue problems before. Embedding happens when jewelry is too tight and the skin starts swallowing it, and that needs attention quickly.
Placement matters here too. A piercing that sits cleanly in the lobe is easier to live with, easier to style later, and less likely to invite repeated knocking from glasses, headphones, or an uneven sleep position. If the initial angle is off, the hole can heal in a way that makes a future second lobe or stack look awkward, so early precision is not just about healing, it is about the long-term ear plan.
Minors need a different level of planning too. Studios typically require parental involvement and documentation for consent, because a first piercing is still a body modification with real responsibility attached. If you are booking for a younger teen, do not treat the appointment like a casual accessory run.
If something looks worse day by day, do not wait for it to “settle.” Good healing gets better, bad healing gets louder.
When to back off and get help
Use common sense and watch the direction of travel. A piercing that is slightly red and then calmer is normal. A piercing that becomes more painful, more swollen, or starts leaking thick discharge needs human eyes on it.
One bad habit makes everything harder, and that is over-cleaning. If you scrub, twist, or panic-pick at every tiny crust, you keep the area irritated and make normal healing look like a bigger problem than it is. Clean it gently, leave it alone, and escalate when the signs are serious.
If the jewelry starts to feel tight, if the post disappears into the skin, or if the swelling is changing the fit, do not wait. Those are fit problems as much as healing problems, and they usually get worse when you try to handle them at home. A piercer can tell you whether the jewelry needs to be changed, and a healthcare provider should be involved if the tissue looks infected or you feel unwell.
Ready to shop your starter look and keep your piercing journey low-drama? Browse BodyCandy for body jewelry options, then use what you have learned here to choose a first piercing setup that fits your ear shape, your style, and your patience for healing.