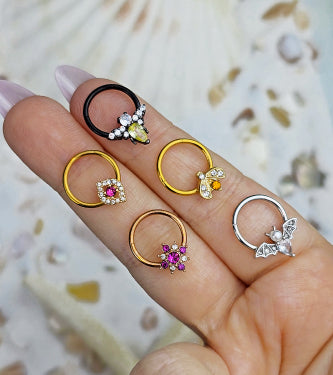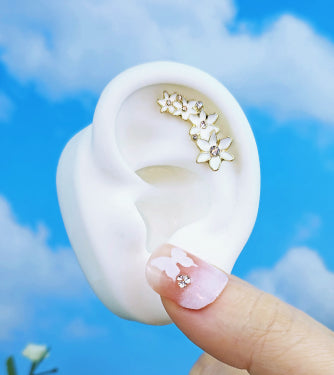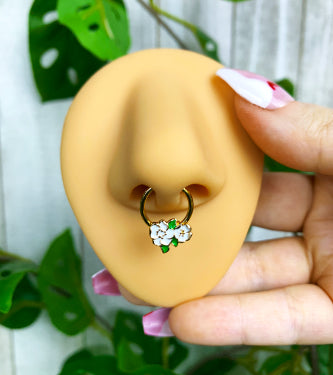
















You've found a nose stud you love, but the size menu might as well be a secret code. Your current jewelry is on the counter, your ruler is ready, and you're wondering whether to measure the post, the sparkle, or the whole thing.
The trick to learning how to measure in mm isn't counting tiny lines. It's knowing which dimension you're measuring. Gauge, wearable length, and ring diameter describe different parts of your jewelry, and mixing them up can turn a cute find into a fit problem.
Gauge-to-Millimeter Chart for Body Jewelry
Gauge to millimeter conversion chart
Gauge describes the thickness of the part that passes through your piercing. Use the chart to translate the gauge label into a nominal millimeter thickness, then confirm the product's stated thickness before buying.
| Gauge | Common Placements | Nominal Thickness |
|---|---|---|
| 24g | Nostril studs, cartilage pins | Approximately 0.51 mm |
| 22g | Fine nose studs | Approximately 0.64 mm |
| 20g | Standard nose studs, earlobes | Approximately 0.81 mm |
| 18g | Nostril jewelry, earlobes | Approximately 1.02 mm |
| 16g | Helix, tragus, lobes | Approximately 1.29 mm |
| 14g | Belly, nipple, cartilage | Approximately 1.63 mm |
| 12g | Belly, nipple | Approximately 2.05 mm |
| 10g | Earlobe tunnel starters, labret | Approximately 2.59 mm |
| 8g | Ear gauges | Approximately 3.26 mm |
| 6g | Ear tunnels and plugs | Approximately 4.11 mm |
| 4g | Ear gauges | Approximately 5.19 mm |
| 2g | Ear plugs | Approximately 6.54 mm |
| 0g | Large plugs | Approximately 8.25 mm |
| 00g | Large plugs and flesh tunnels | Approximately 9.5 mm |
Placement names give shopping context, not a fit recommendation. Jewelry sold for the same body part can have different thicknesses, and your anatomy and existing piercing determine what fits.
Read the gauge before the style name
Gauge numbers run backward: a higher gauge number means thinner jewelry. A fine nostril post may have a higher gauge number than a thick ear plug, so compare the number and millimeter value rather than judging by appearance.
Look for the gauge in the product specifications. Listings may also give thickness in millimeters, which makes it easier to compare pieces from different manufacturers or countries. Gauge is a nominal size, so manufacturing tolerances, coatings, and the maker's chosen metric equivalent can affect a caliper reading.
Counter advice: A placement name tells you where jewelry might be worn. It doesn't tell you whether that piece fits your piercing.
Keep thickness separate from fit
A standard nose stud is often sold in 20g or 22g, while many belly barbells are sold in 14g. Treat those as shopping context, not a reason to change your existing size.
Don't push a thicker post through because the decorative top looks right. If you don't know your current gauge, have a professional piercer identify it instead of testing sizes in your piercing.
This chart covers thickness only. It does not tell you a barbell's wearable length, how snugly a hoop sits, or how large its decorative end looks.
Gauge, Length and Diameter Explained
Gauge, length and diameter are three separate measurements. A barbell's decorative ends add to its overall length, a hoop's wire adds to its outer width, and a large gem tells you nothing about the post beneath it. Check which dimension a listing gives before comparing it with your jewelry.
The Association of Professional Piercers procedure manual defines gauge as wire thickness and ring diameter as the inside width. It also notes that U.S. piercers commonly use Brown & Sharpe gauge, while many other countries use millimeters.
Gauge, length and diameter at a glance
| Measurement | What It Describes | Where It Applies | Typical Range |
|---|---|---|---|
| Gauge | Thickness of the post or wire | Barbells, studs, hoops, plugs | Match your established piercing size and the listing's stated thickness |
| Post length | End-to-end length of the wearable section | Straight and curved barbells, labrets | Usually listed as the wearable section's length, excluding decorative ends |
| Inner diameter | Opening across a ring or hoop | Captive bead rings, seamless rings, hoops | Usually listed as the inside opening, measured across the ring |
| Outer diameter | Full width across a ring or hoop | Hoops, ear rings | Inner diameter plus twice the wire thickness for a circular ring of uniform wire |
| Ball size | Widest point of a decorative end | Barbells, labrets, captive rings | Usually listed as the ball's width across its widest point |
Find the wearable section
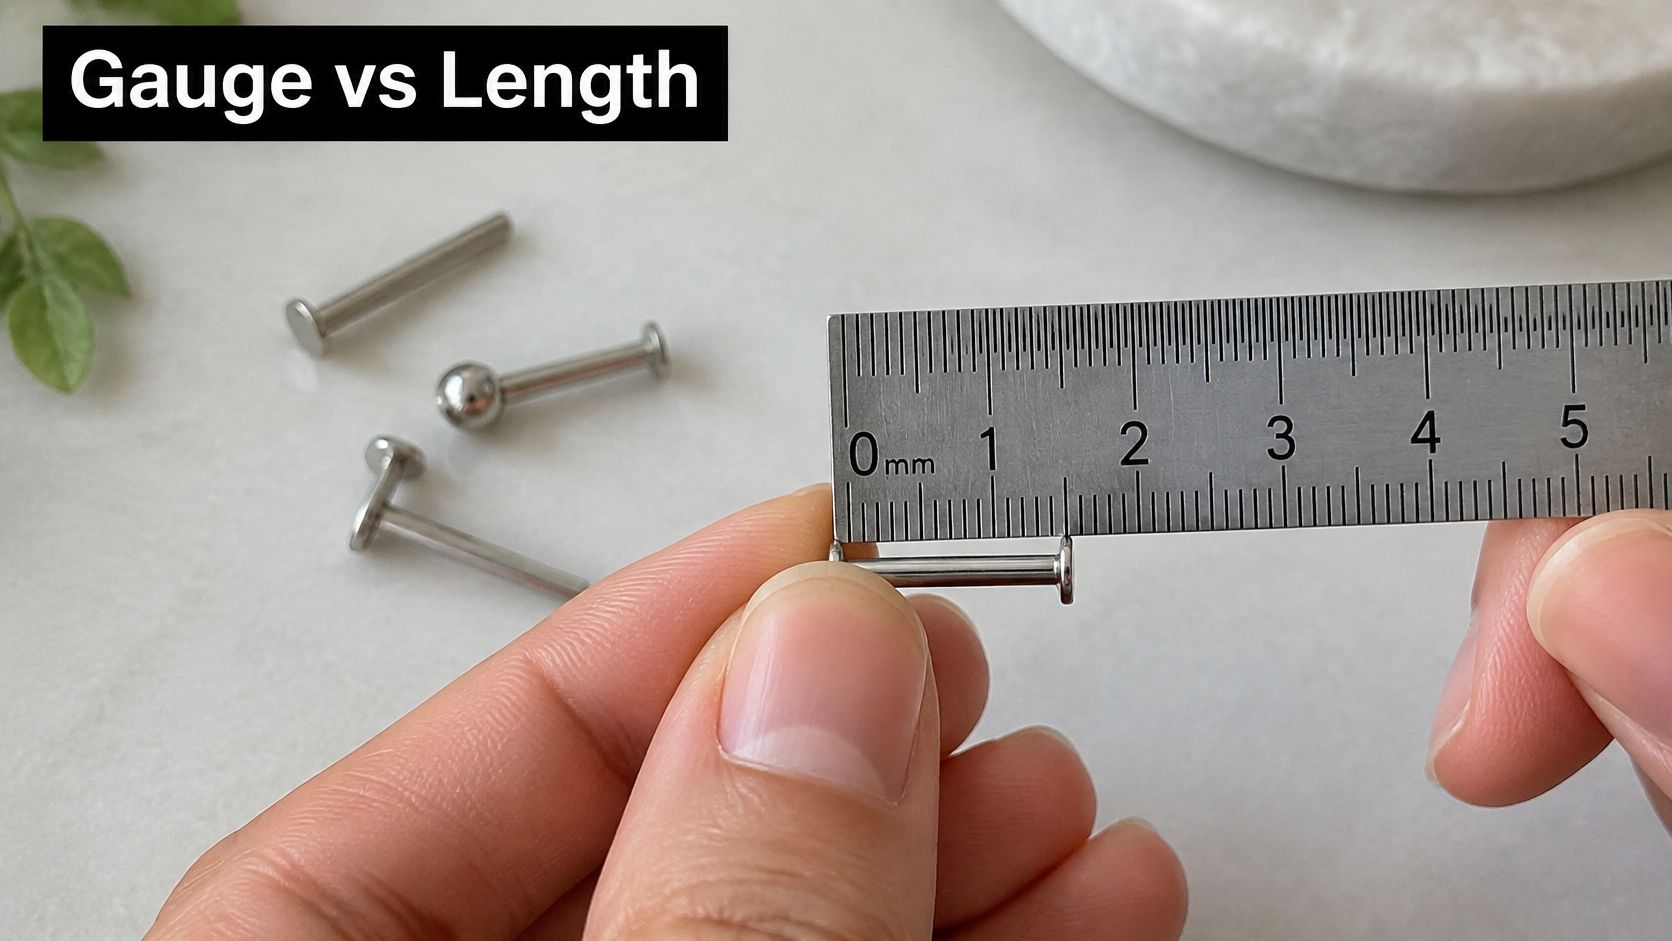
For a straight barbell, measure the exposed shaft between the inward-facing surfaces of the ends. Leave out the balls and any threading hidden inside an attached end.
For a labret or flat back, measure from the inside face of the backing disc to the underside of the decorative top. The disc's visible face-to-face width is its size, not the wearable post length.
Curved barbells need a closer look. Check the seller's sizing diagram to see how the measurement is taken. Straight endpoint distance and the distance along the curve are different, so use arc length only when the listing specifies it.
Use the ruler to check the post, not the jewelry's decorative outline.
Separate the opening from the decoration
For hoops and captive bead rings, identify whether the listing gives the inner or outer diameter. The bead is not part of the inner opening, and the hoop's full outside width cannot stand in for that measurement.
For plugs, measure the wearable body that sits in the piercing, not the wider flare that helps hold it in place. Flare width and wearable length are separate specifications, so check each one if it matters to your fit.
Measure a ball or decorative end across its widest point only when you need its decoration size. For a helix or tragus purchase, this cartilage piercing and jewelry sizing guide helps connect jewelry styles with their relevant dimensions.
These measurements describe the jewelry, not the tissue channel or how much room your piercing needs.
How to Measure Length and Diameter with a Ruler
A rigid metric ruler is a sensible starting tool for a barbell's wearable length or a hoop's opening. Set it on a hard, flat surface under good light, and use jewelry that's already safely removed.
Don't remove healing jewelry just to solve a shopping question. A piercer can check its size and fit without turning your measuring session into an irritation problem.
Set up a readable measurement
Choose a ruler with clear millimeter marks rather than a flexible sewing tape. Tape can bend around the jewelry, which is useful for some jobs but unhelpful when you need a straight distance.
The National Institute of Standards and Technology metric-ruler reference shows that 10 cm equals 100 mm; using that relationship, 0.5 cm equals 5 mm and 1.2 cm equals 12 mm.
Keep the setup simple and the measuring endpoints visible.
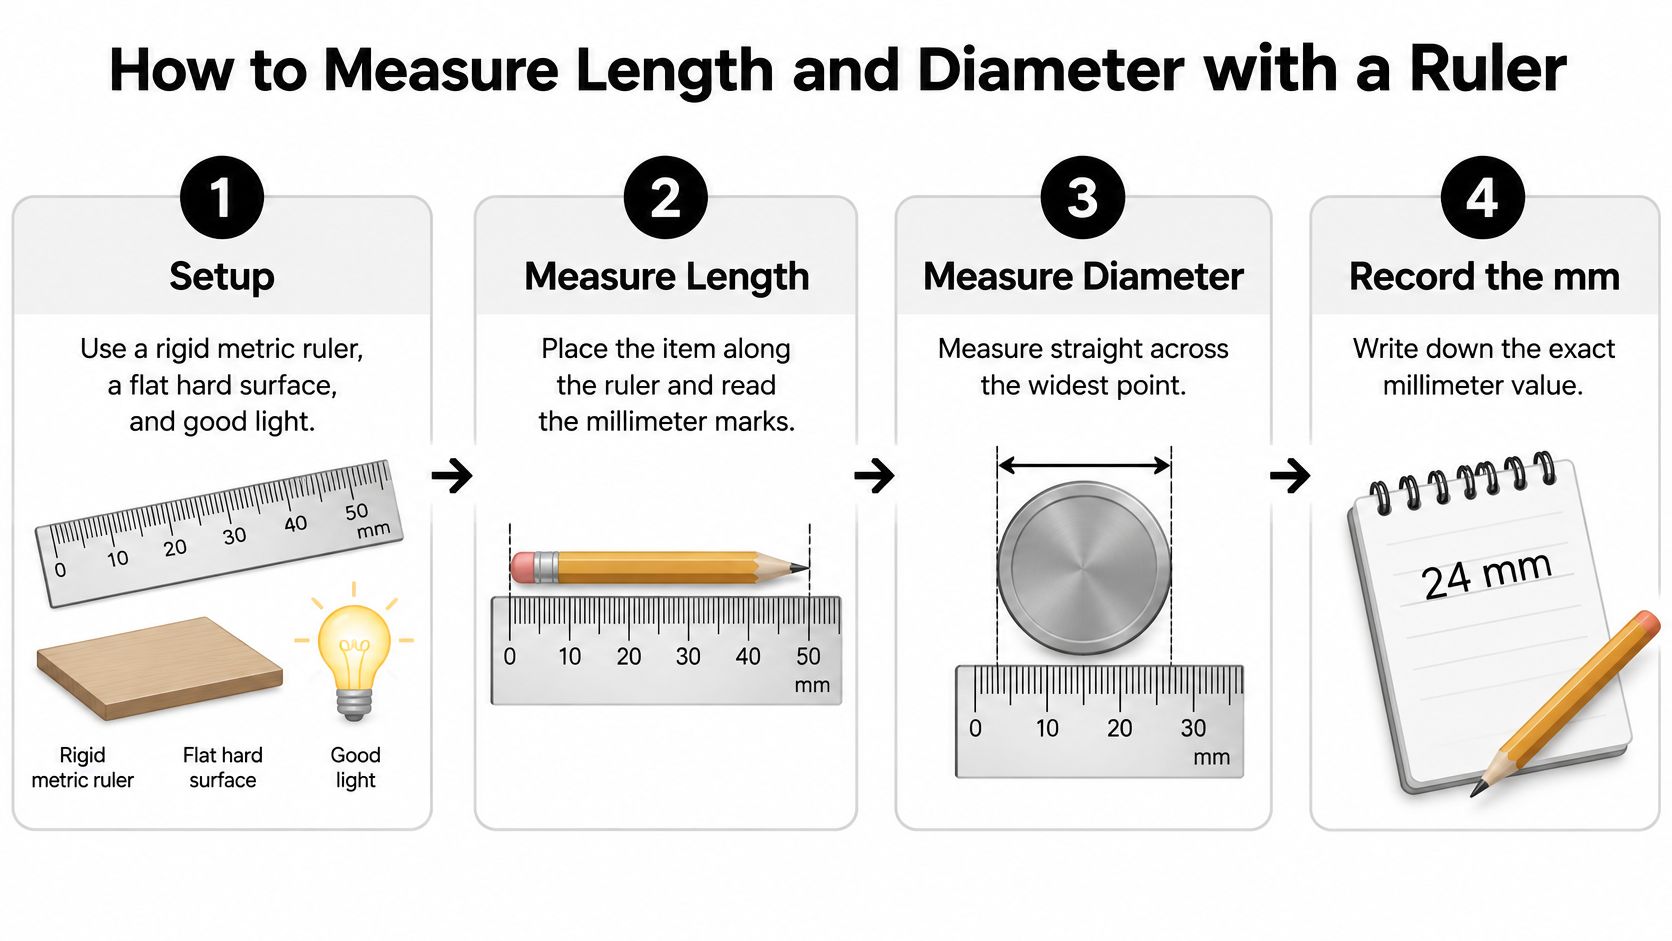
- Start at the zero line. Align the beginning of the wearable section with the printed zero mark, not the physical edge of the ruler. An edge can be worn or extend beyond the scale.
- Place the post parallel to the ruler's markings and read where the far end of the wearable section stops. Leave decorative ends out of the length measurement.
- Look directly down at the mark. Keep your eye aligned with the endpoint rather than viewing it from the side, which makes the jewelry appear shifted against the scale.
- For a ring, measure straight across the center of the opening at its widest point. A second straight edge can help locate the opposite inner boundary without including the wire.
- Repeat and compare. Lift and reposition the piece between readings so you're checking the setup, not just rereading the same alignment.
- Record the result with “mm” and the dimension name. Convert a centimeter reading before comparing it with a millimeter listing.
Make the endpoints easy to see
Small jewelry likes to roll. Work over a shallow tray or a clean, contrasting surface so a loose ball doesn't launch itself into another dimension.
If a decorative end obscures the post boundary, reposition the jewelry rather than guessing through it. Remove an end only if the jewelry is designed to come apart and you can do so without forcing the connection.
For a long straight piece, keeping the shaft parallel to the scale matters as much as choosing the correct endpoints. The industrial barbell sizing guide is useful when you're comparing a replacement bar with your current jewelry.
A ruler is useful when you can clearly see both endpoints. If you're estimating where the post begins under a gem, the setup needs changing.
Know when to put the ruler down
An ordinary ruler is much less useful for deciding between neighboring post thicknesses. Trying to judge a tiny cylindrical shaft against printed lines introduces too much guesswork.
Use calipers for gauge, small balls, or openings whose boundaries are hard to read. Don't round a fuzzy ruler estimate into a confident size just because the shopping menu requires an answer.
How to Measure with Calipers and Jaws
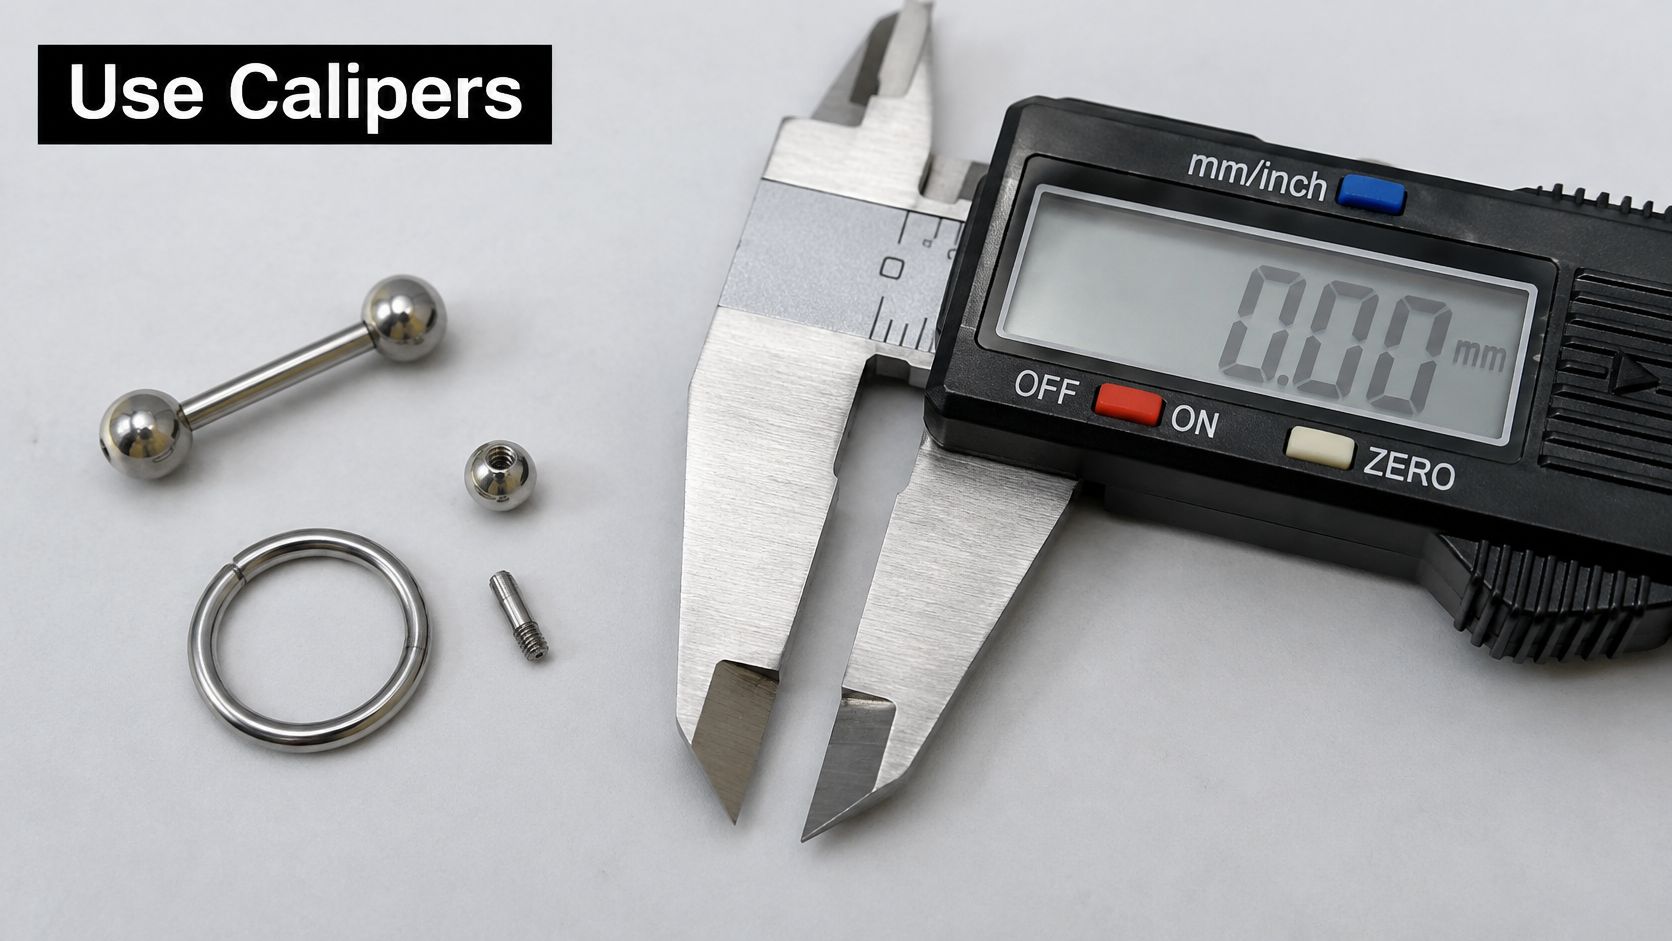
Skipping the zero check can make every measurement wrong before you even touch the jewelry. Digital calipers are helpful because they make small dimensions easier to read, but they still need a clean setup and a steady hand.
This is the tool layout you're looking for, with large and small jaws serving different jobs.
Prepare the tool before touching the post
Work with clean, removed jewelry and clean measuring faces. Calipers are measuring equipment, not sterile piercing tools, so don't put them into a piercing or clamp them against tissue.
The Southern Methodist University digital-caliper instructions describe a displayed resolution of 0.01 mm, but that display detail doesn't eliminate mistakes from poor alignment or a tool that wasn't zeroed.
- Close and zero. Bring the clean jaws together gently, confirm the display reads zero, and use the zero control if necessary.
- Switch the display to millimeters if it's showing inches. Check the unit indicator rather than relying on how the number looks.
- Clean the contact area. Wipe residue from the jewelry and dry it before measuring so you aren't including buildup in the result.
- To check gauge, bring the outside measuring faces lightly against opposite sides of the shaft. Avoid threads, bends, decorative collars, and the ball.
- Measure the opening separately. Position the inside measuring faces against opposite inner walls of a hoop, keeping their contact points centered across the opening.
- Keep the jewelry square to the tool, with the relevant diameter aligned across the measuring faces. Don't tilt the piece to make the display settle on a preferred number.
- Record a repeatable result. Reposition and measure again, then write down the dimension, the unit, and the jaw used alongside the result.
Match the feature to the job
The manufacturer's caliper safety instructions distinguish external, internal, depth, and step measurements and specify gentle, snug contact rather than squeezing the object.
Caliper jaws and their jewelry measurements
| Jaw or Feature | Measures | Jewelry Use | Watch Out For |
|---|---|---|---|
| Outside jaws (large) | External width or thickness | Post gauge, ball size, outer diameter | Squeezing hard can distort soft or coated components |
| Inside jaws (small) | Internal opening | Inner diameter of rings and hoops | Setting them on the edge instead of the inner wall |
| Depth rod | Depth of a hole or cavity | Plug recesses, tunnel depth | Rarely needed for standard listings |
| Stepped surfaces | Distance between offset edges | Accessible ball-to-post steps or threaded-end offsets | Reading the wrong step on a threaded piece |
A hoop is a good test of whether you've chosen the right measurement. Taking its external width and entering that as its opening gives you a different fit, even when your reading technique is otherwise tidy.
With very small hoops, the inside jaw tips may not reach the correct contact points cleanly. Don't wedge them in or spread an adjustable ring to accommodate the tool; ask a piercer to verify the size instead.
For a visual demonstration of handling the tool, watch the caliper technique below.
Write a useful size note
A bare number in your phone won't help much when you shop later. Label it as post thickness, wearable length, inner diameter, or decorative-end size.
For plugs and tunnels, include the part you measured, such as wearable body or flare. For threaded jewelry, remember that matching the external dimensions doesn't establish that separate ends have compatible threading.
You don't need an expensive workshop setup for routine jewelry checks. You do need measuring faces that meet cleanly, a stable reading, and enough access to touch the actual feature without forcing anything.
Measurement Errors That Skew Your Millimeter Reading
A display with more decimal places can look reassuring while giving you the wrong answer. Resolution is what the tool can display; accuracy is how close your result is to the dimension you meant to measure.
The Southern Methodist University vernier-caliper guide gives a reading error of 0.05 mm and instructs users to close the jaws lightly and align round objects correctly. That's a tool-specific reminder to allow for uncertainty, not a promise that every caliper has the same error.
Diagnose the symptom instead of chasing digits
Soft components can compress under the jaws, while a tilted ring can present a shorter span than its full diameter. Neither problem is solved by writing down more decimal places.
Measurement symptoms, causes and fixes
| Symptom | Likely Cause | Fix |
|---|---|---|
| Reading changes with each attempt | Pressure or shifting angle | Close the jaws lightly and repeat three times |
| Ring reads smaller than expected | Measuring a chord instead of the full width | Keep the ring perpendicular and measure at the widest point |
| Caliper reads slightly off | Tool error or unzeroed display | Zero before use and account for the instrument's stated uncertainty |
| Measurement does not match the listing | Measured the ball or decoration instead of the post | Measure only the specified wearable section |
| Gauge seems one size off | Treating a gauge label as an exact metric reading | Compare the nominal gauge with the seller's explicit mm thickness |
| Soft or coated post reads thin | Compression under the jaws | Close until snug and avoid squeezing |
A gauge mismatch isn't automatically a conversion problem. It can also mean you've measured threading, a tapered section, or a coating rather than the intended shaft.
Don't select a larger size just because a measurement falls between labels. First establish whether you have a reliable thickness reading and whether the product uses a nominal gauge or an explicit metric specification.
Keep uncertainty visible
If the reading wanders, don't average away a poor setup and call the result exact. Averages help with small random differences, but they won't correct a measurement taken consistently across the wrong feature.
For shopping notes, describe an uncertain result as approximate and retain the individual readings until you've resolved the mismatch. If those readings would lead you to different product sizes, a piercer's check is more useful than extra arithmetic.
The right endpoint and light contact matter more than an impressive-looking string of decimal places.
Before converting anything, confirm whether the listing shows gauge, millimeters, or inches. Alignment, pressure, and the feature you're measuring explain why a number changes with tool or angle, so control those before worrying about display resolution.
Confirm the Size Before You Order
A measurement should help you choose jewelry, not persuade you to tolerate a bad fit. Start with a comfortable, correctly fitted piece as your reference, and treat pinching, embedding, or persistent irritation as reasons for a professional assessment rather than another shopping experiment.
Use this final checklist before adding anything to your cart:
- Identify the specification. Confirm whether each size option describes gauge, wearable length, or diameter.
- Match the thickness. Compare your established gauge with the product's explicit millimeter thickness, not its appearance.
- Check the wearable part. Make sure your length or diameter measurement uses the same boundaries as the seller's diagram.
- Use the ring opening. Compare inner diameter with inner diameter, not the full external width.
- Ask when uncertain. Have a professional piercer confirm the gauge and fit appropriate for your anatomy.
A listing's explicit millimeter measurement takes precedence over a generic gauge conversion.
For captive styles, the captive-ring sizing guide can help you check the opening before choosing a replacement. Keep your confirmed measurements handy while browsing surgical steel barbells, captive bead rings, or plugs, and use the available size filters rather than relying on product photos.
Still unsure where your measurement should start or stop? Share your jewelry style and measuring question in the comments, but leave anatomy-specific fitting decisions to your piercer.
BodyCandy offers body jewelry including barbells, rings, and plugs, with different sizing options to compare against your measurements. Visit BodyCandy with your confirmed thickness and wearable length or inner diameter handy, then choose a style that fits your piercing and your look.