
Congrats on the new bling! Now comes the most important part: aftercare. If there's one single thing you can do to keep your new piercing happy and healthy, it's a simple, gentle salt soak. This method is the gold standard for a reason—it cleans, soothes, and helps your body heal faster without any harsh or irritating chemicals.
Why Salt Soaks Are Your Piercing's Best Friend
So, what's the big deal about a little salt and water? Think of it like a spa day for your fresh piercing. Your body is naturally a bit salty, and a good saline solution perfectly mimics that environment. This helps gently flush away bacteria, debris, and those little "crusties" (which is just dried lymph fluid) that form around your jewelry, all without messing with the delicate new tissue that's trying to heal.
Unlike aggressive soaps or alcohols that can seriously dry out and anger your skin, a proper salt soak is incredibly soothing. It helps calm down that initial redness and swelling that’s totally normal. By keeping the area clean and happy, you're setting the stage for your body to work its healing magic.
Let's break down why this is the go-to recommendation from piercers everywhere.
Salt Soak Benefits At A Glance
This quick table sums up why salt soaks are a non-negotiable part of your aftercare routine.
| Benefit | Why It Matters For Your Piercing |
|---|---|
| Gentle Cleansing | Flushes the area without stripping away the natural oils your skin needs to heal properly. |
| Reduced Irritation | The warm water boosts blood flow, which can ease discomfort and bring down swelling. |
| Infection Prevention | Keeping bacteria and debris out of the piercing is your best defense against a nasty infection. |
| Promotes Faster Healing | A clean, calm, and happy piercing is simply going to heal better and faster. It's that simple. |
This isn't just old-school advice; it's a proven method that truly works.
This whole approach really took off after 2001 when the first patented sea salt-based aftercare spray hit the market. It was a huge shift away from harsh cleaners. Soon after, the Association of Professional Piercers (APP) started endorsing sea salt soaks, and for good reason. They found that daily five-minute soaks could slash infection rates by up to 70% in new piercings.
You can learn more about how this simple practice became a piercing care essential on our Bodycandy blog.
The Science Behind The Soak
When you mix non-iodized sea salt with warm distilled water, you’re creating what's known as an isotonic solution. That’s just a fancy way of saying it has a similar salt concentration to your own body's fluids, like tears or blood.
This balance is the secret sauce. Because the solution is so similar to your own body, it doesn’t sting or cause damage to those fragile, healing cells.
The goal of a salt soak isn’t to sterilize the piercing—it’s to create a clean and hydrated environment. Your body is the real hero here; the soak just gives it the best possible support system to heal efficiently.
This process, called osmosis, also helps draw out any fluid that might be trapped inside the piercing channel. That's a huge help for reducing swelling and pressure. It’s a simple but incredibly powerful way to support your body's natural healing process from the outside in.
Crafting The Perfect Piercing Soak Recipe
Let's get into the nitty-gritty of mixing up your own piercing soak. Doing it yourself is super easy and saves you a few bucks, but you absolutely have to get the ratio right. This is one of those times where "close enough" isn't good enough.
Think of it like this: a solution that’s too salty (hypertonic) will just dry out and irritate your new piercing, slowing down the healing process. Too little salt won't be effective at all. We're aiming for a gentle, soothing environment that helps your body do its thing, not a harsh one that gets in the way.
The Piercer-Approved Recipe
This is the only recipe you'll ever need. It’s simple, it works, and it’s perfectly balanced to mimic your body's natural salinity.
- The Salt: Start with 1/4 teaspoon of fine-grain, non-iodized sea salt. I can't stress this enough: the salt needs to be pure. Regular table salt often contains iodine, anti-caking agents, and other additives that will seriously aggravate a fresh piercing.
- The Water: Dissolve that salt completely in one cup (8 ounces) of warm distilled or bottled water. Using distilled water is a pro-tip because it ensures there are no funky bacteria or minerals from your tap that could cause problems for a healing piercing.
And please, always mix a fresh batch for every single soak. I know it seems convenient to make a big jug for the week, but that container can quickly turn into a breeding ground for bacteria—the exact opposite of what we're trying to accomplish here!
Mastering The Soaking Technique
Okay, so you've mixed your perfect solution. Now what? The best way to actually get it on your piercing really depends on where your new bling is. Some spots are a breeze, while others need a bit more creativity.
If you’ve got a navel or nipple piercing, the "shot glass" method is your new best friend. Just fill a small, clean cup (a shot glass or a little dixie cup works great) with your warm saline solution. Lean forward, press the cup's rim firmly against your skin to create a good seal, and then carefully lie back. Let it soak for about five minutes. Easy.
For trickier spots like cartilage, nostril, or most ear piercings, a sterile gauze compress is the way to go.
- Dunk a sterile gauze pad in your warm saline solution until it’s fully saturated.
- Gently place the compress over your piercing. Make sure you're covering both the front and back holes.
- Hold it there for five to ten minutes. If it starts to feel cold, just swap it out for a fresh, warm one.
- When you're done, gently pat the area dry with a clean paper towel. Stay away from cloth towels—they can snag on jewelry and often harbor bacteria.
For those times when a full soak just isn't practical (like in the middle of a busy day), having a quality pre-made spray on hand can be a real lifesaver. You can learn more about ready-to-use aftercare options like H2Ocean that give you convenience without compromising on safety.
This infographic breaks down the core benefits of a proper salt soak into three simple steps.
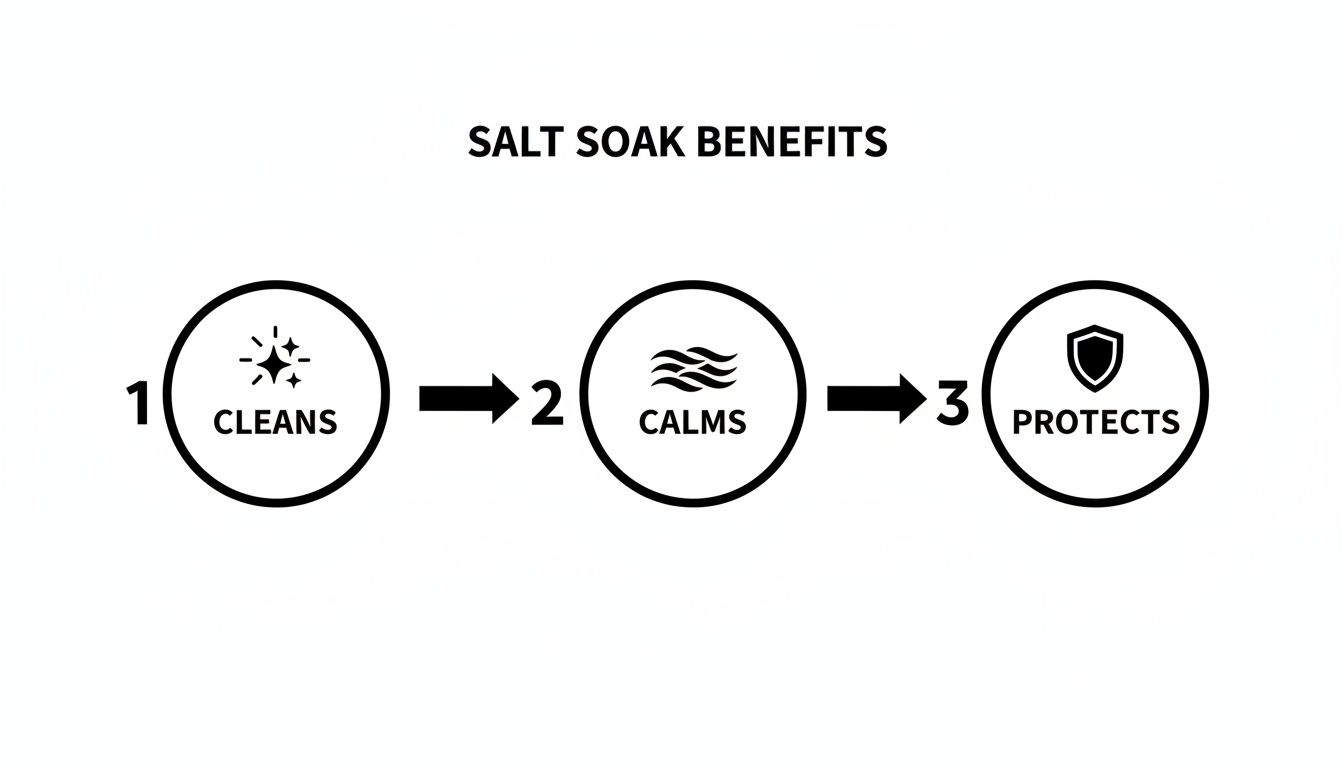 As you can see, a good soak is designed to gently cleanse away debris, calm down inflammation, and protect the healing tissue from unwanted bacteria.
Your Ideal Soaking Schedule For Fast Healing
So you've figured out the perfect saline recipe and have your technique down—awesome! But here's a question we get all the time: can you actually overdo it with salt soaks?
The answer is a huge yes. While it might seem like more is better, soaking too often or for too long can seriously backfire, leaving you with dry, irritated skin that just slows down the whole healing process.
Think of your skin like a delicate houseplant. A little water is essential, but flooding it will just drown the roots. It's all about finding that sweet spot to create the perfect environment for your body to work its magic.
Finding The Sweet Spot For Frequency
For a brand-new piercing, consistency without going overboard is the name of the game. Your piercer will give you specific instructions, but a solid rule of thumb is to do a salt soak twice a day.
Soaking once in the morning and once at night is usually the perfect rhythm. It’s frequent enough to keep the area clean and gently flush away any of those "crusties" that build up, but it also gives your skin plenty of time to breathe and recover in between.
More is definitely not better here. Soaking three, four, or even five times a day will strip your skin of its natural protective oils, which leads to excessive dryness and irritation. An angry piercing is a slow-healing piercing, so trust us and stick to the twice-a-day schedule.
Timing Your Soaks Perfectly
Just as important as how often you soak is how long you do it for. It might be tempting to binge a show while your navel piercing chills out in a saline bath, but keeping it submerged for too long can do more harm than good.
The ideal time for each soak is just five to ten minutes. That's the perfect window for the warm solution to loosen any debris, gently increase blood flow to the area, and provide some soothing relief. Any longer and you risk waterlogging the skin, which can make the tissue fragile and more susceptible to damage or even infection.
Your soaking schedule isn't just a suggestion—it's a critical part of the healing process. Consistency and timing are your two best tools for getting your piercing healed up beautifully and quickly.
Adjusting Your Routine As You Heal
As your piercing moves through its different healing stages, your aftercare needs are going to change. The first few weeks are the most intensive, but what happens after that?
- Initial Healing (First 2-4 Weeks): This is when you need to be strict. Stick to the twice-daily, five-minute soaks religiously. Your piercing is essentially an open wound at this point and is at its most vulnerable.
- Mid-Healing (After the first month): If everything is looking good—no major swelling, pain, or funky discharge—you can often cut back your soaks to just once a day. Some people even find it convenient to switch to a sterile saline spray at this stage. But always, always check with your piercer before you change up your routine!
Good aftercare makes a massive difference. Data from the Association of Professional Piercers (APP) shows that rinsing one to three times daily with a mild sea salt solution can shorten body piercing recovery by 20-35%. With 88% of piercing complications coming from poor aftercare, salt soaks have been shown to slash that risk down to just 12%.
You can explore more piercing troubleshooting tips from the experts at the APP's official site. For a deeper dive into what to expect for your specific piercing, check out our guide on the healing times for popular piercings.
Common Aftercare Mistakes To Avoid
Alright, let's get real for a second. Even when you've got the best intentions, it's surprisingly easy to veer off course with your aftercare. We've all been there, thinking "a little extra can't hurt," but when you're nursing a healing piercing, some common habits can seriously set you back.
Think of this as your "what not to do" list. Knowing these pitfalls is just as crucial as knowing the right way to do your salt soaks.
Ditching The Wrong Ingredients
First up, let’s talk salt. Raiding your kitchen cabinet for that big blue cylinder might seem convenient, but using iodized table salt is a huge no-go. It’s loaded with iodine and anti-caking agents that are way too aggressive for a fresh piercing and will only lead to a world of irritation. Always, always stick to non-iodized sea salt.
And what about the water? Tap water can be a wild card, carrying bacteria and minerals that aren’t exactly friendly to an open wound. Play it safe and use distilled or bottled water to keep your solution pure.
Overdoing It With The Soaks
More is not always better. Soaking for too long or too often is a classic rookie mistake that can do more harm than good. Exceeding five minutes twice a day causes dryness in about 65% of teens and young adults, which can tack weeks onto your healing time. Stick to a strict five-minute soak, twice a day. That's the sweet spot.
While you're at it, resist the urge to twist or turn your jewelry during a soak. That advice is totally outdated. Your body is trying to form a delicate healing channel (a fistula), and moving the jewelry just tears up that fragile new tissue and opens the door for bacteria.
The “no-twist” rule is your new best friend. Nipple piercings, which can take a notoriously long 9-12 months to heal, benefit the most from this hands-off approach. When combined with proper soaks, it can reduce discharge by up to 50%.
Bad Hygiene Habits
These might seem like common sense, but they happen all the time and are worth hammering home.
- Reusing Solution: Never, ever reuse your saline solution. Think of it as a single-use item. Every single soak needs a fresh batch to avoid reintroducing nasty bacteria to the piercing site.
- Dirty Hands: Always wash your hands thoroughly with soap and water before you even think about touching your piercing or mixing your solution. This is non-negotiable.
- Using Cotton Swabs: Ditch the Q-tips and cotton balls! Their tiny fibers can get snagged on your jewelry or, worse, left behind inside the piercing itself. This is a major infection risk, with research showing fibers can snag jewelry in 40% of uses. Instead, gently pat the area dry with a clean, disposable paper towel. You can discover more insights about these common aftercare issues and why using the right tools is so important.
By sidestepping these common blunders, you’re paving the way for a much smoother, faster healing journey. A little bit of diligence goes a long way in keeping your new bling happy and healthy.
Knowing When To See A Professional Piercer
While salt soaks are the undisputed superhero of piercing aftercare, they do have their limits—they’re not a magic cure-all for every little issue that might pop up. The most important thing you can do is listen to your body. It's absolutely key to know the difference between normal healing weirdness and a real red flag.
Mild redness, a bit of tenderness, and those little "crusties" (which are just dried lymph fluid) are all totally normal parts of the healing journey. Your body is basically building a brand-new tunnel of skin, so a little bit of fuss is expected. But when do these normal signs cross the line into "uh oh, I need some help" territory?
Spotting The Red Flags
It's time to put down the salt solution and pick up the phone if you notice any more serious symptoms. Ignoring them won't make them go away, and trying to self-treat a real issue can often make things much, much worse.
Keep an eye out for these tell-tale signs:
- Intense, Throbbing Pain: We're not talking about the initial soreness that comes with a new piercing. This is pain that gets worse instead of better, feels deep, and seems to throb constantly.
- Thick, Colored Discharge: Normal fluid is clearish or a light whitish-yellow and forms those familiar crusties. Funky, thick discharge that's bright yellow, green, or has a bad smell is a classic sign of infection.
- Excessive Swelling: A little puffiness is pretty standard, especially in the first few days. But if the area swells up so much that your jewelry feels uncomfortably tight or is being "swallowed" by your skin, that's a problem.
- Skin That's Hot to the Touch: If the skin immediately around the piercing feels significantly warmer than the surrounding area, it could mean your body is fighting off an infection.
Your health is always priority number one. While your piercer is an amazing resource, they aren't a doctor. If you suspect an infection, a visit to a medical professional is your best bet, but do not remove your jewelry unless they specifically instruct you to. Keeping the jewelry in allows the infection to drain properly.
Making The Right Call
So, who do you call first? If you're just feeling unsure or have a minor concern (like a pesky irritation bump), your piercer should be your first point of contact. Trust me, they have seen it all and can offer troubleshooting advice tailored to your specific piercing. You can learn more about the benefits of having a pro on your side by switching to a professional piercer.
However, if you're dealing with the more serious symptoms we listed above, it's time to see a doctor. An infection needs proper medical treatment, and only a doctor can officially diagnose it and prescribe antibiotics if they're necessary.
Remember, being proactive is the smartest way to care for your new bling and, more importantly, for yourself.
Got a few more questions rattling around in your head? You're definitely not alone. The world of piercing aftercare can feel like a lot at first, but we've got your back. Here’s a quick rundown of some of the most common questions we hear.
Can I Just Use A Pre-Made Saline Spray
Absolutely! Pre-made sterile saline sprays are a fantastic and super convenient alternative to mixing your own soaks. They come perfectly mixed, totally sterile, and are a lifesaver when you're on the go or trying to clean a piercing in a tricky spot.
The most important thing is to read the label. You're looking for a product that contains only two ingredients: 0.9% sodium chloride (salt) and purified water. Steer clear of any sprays that have added chemicals, preservatives, or weird antiseptics. Those extras can just lead to irritation. While a DIY soak is great, a quality saline spray is an excellent, piercer-approved option.
What If I Have Really Sensitive Skin
If your skin throws a fit over just about everything, it's smart to be a little cautious. The good news is that a correctly mixed saline solution is incredibly gentle—it’s made to mimic your body's own natural fluids, after all.
But if you still notice a lot of dryness or redness even with the right salt-to-water ratio, you might be overdoing it.
- Dial it back: Try cutting your soaks from twice a day down to just once.
- Check the salt: Make absolutely sure you're using pure, non-iodized sea salt with zero additives.
- Pat, don't rub: Be extra gentle when you dry the area. A soft, disposable paper towel is your best friend here.
If the irritation doesn't chill out after a day or two, it’s always a good idea to check in with your professional piercer. They can give you advice tailored to your skin.
How Do I Soak Tricky Piercings Like A Daith
Trying to soak an inner-ear piercing like a daith or an industrial can feel like a weird physics puzzle. Don't worry, you don't have to dunk your entire head into a bowl of saltwater! This is where the compress method really comes in handy.
First, mix up your fresh, warm saline solution in a clean cup.
Next, soak a sterile gauze pad in the solution. Pro tip: don't use cotton balls or Q-tips, because their little fibers can get snagged on your jewelry and cause a world of irritation.
Gently hold the saturated gauze against both the entrance and exit of your piercing. Keep it there for about five minutes, re-soaking the gauze if it starts to get cold.
This technique gets that soothing solution exactly where it needs to be without you having to turn into a contortionist. Honestly, for many people, a sterile saline spray is the easiest route for these spots—just spray the area directly, let it sit for a moment, and you're done.
Feeling like an aftercare pro and ready to show off some new bling? At BodyCandy, we've got thousands of styles to help you express yourself. Shop our full collection and find your next favorite piece today! https://bodycandy.com


