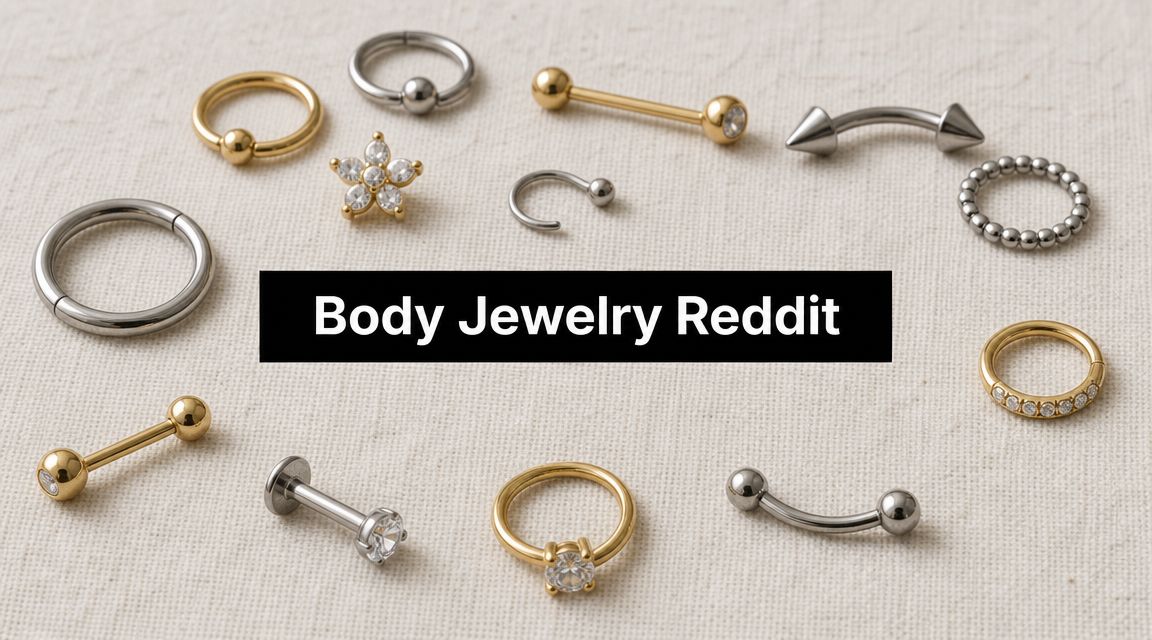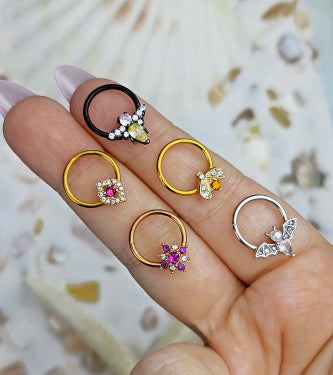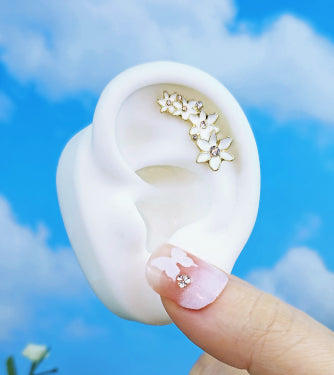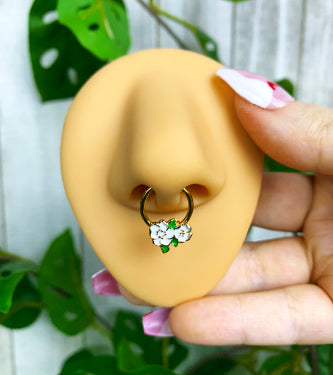

















Your jewelry might be amazing, but if it's piled in a dish, tangled in a drawer, or scattered across a counter, it won't look like the star of the show. That's the heartbreak. A good piercing jewelry display doesn't just store pieces. It helps people see shape, finish, size, and personality fast.
That matters more than ever because the body piercing jewelry market was valued at around USD 8.64 billion in 2025 and is projected to grow to over USD 13 billion by 2032, according to body piercing jewelry market analysis from Strategic Revenue Insights. When buyers compare jewelry online and in person, display becomes part styling, part education, and part trust signal.
Think of display like setting a table for your coolest dinner party. You don't throw every plate, glass, and candle into one heap and hope for the best. You choose a focal point, leave room between objects, and make it easy for people to understand what they're looking at. Piercing jewelry works the same way.
Your Guide to a Jaw-Dropping Piercing Jewelry Display
A strong piercing jewelry display starts with three basics. Hierarchy, lighting, and materials.
Hierarchy means deciding what gets the spotlight first. If you sell or wear a mix of septum clickers, barbells, labrets, and navel rings, not everything should compete for top billing. Put your most important pieces where eyes land first, then support them with organized groups underneath.
Lighting changes everything. A polished clicker under clean light looks sharp and expensive. The same piece under yellow, dim light can look flat. You want light that helps people read details, not fight shadows.
Materials set the mood. Velvet feels soft and luxe. Clear acrylic feels crisp and modern. Linen gives a handmade, boutique vibe. Even at home, the tray or stand you choose tells people whether your collection is romantic, minimal, edgy, or playful.
Practical rule: If someone can understand your collection in a few seconds, your display is working.
You don't need a giant budget. You need intention. A studio case, a market setup, a content shoot, and a dresser-top organizer all solve different problems. The trick is building the display for the moment it's meant to serve.
The Golden Rules of Any Great Jewelry Display
A great display acts like a silent salesperson. It answers questions before anyone asks them. It tells shoppers where to look, what matters most, and whether the pieces feel clean, premium, and worth their attention.
The fastest way to level up is to stop thinking flat. Jewelry looks better when your display has height, depth, and breathing room. According to this jewelry display visual merchandising guide, the optimal visual area sits about 20 cm above and 40 cm below eye level, with important items placed roughly 125–185 cm high. That's your prime zone.

Put your hero pieces where eyes naturally land
If you only remember one merchandising rule, make it this one. Your bestsellers, newest drops, or premium materials belong in the strongest visual band. Don't waste eye-level space on filler.
Try this simple layout:
- Top visual zone: New arrivals, high-polish clickers, standout gemstone pieces
- Middle support zone: Core staples like flat backs, continuous rings, curved barbells
- Lower zone: Backstock-adjacent options, color variations, or lower-priority add-ons
That structure works in a studio case, on a booth wall, or even on a vanity shelf.
Clutter makes jewelry look cheaper
Tiny jewelry needs space. If every post, ring, and barbell touches the next one, the whole setup reads as messy. People can't compare gauge, finish, or shape easily, and premium pieces lose their moment.
Use white space on purpose.
A little empty space says, “this piece matters.”
Clean spacing helps buyers notice the difference between a plain steel curve and a polished titanium piece without needing a sales pitch.
Backgrounds should support, not compete
Your display base matters more than people think. Busy prints, shiny scratched plastic, or random mixed colors can overpower small jewelry fast.
A quick cheat sheet:
| Display material | Best vibe | Watch out for |
|---|---|---|
| Clear acrylic | Modern, clean, easy to photograph | Shows fingerprints fast |
| Velvet | Soft, luxe, dramatic contrast | Can collect lint |
| Linen | Boutique, natural, understated | Can mute sparkle if too textured |
| Matte ceramic dishes | Cute for home or styled shoots | Not ideal for large assortments |
Labeling builds trust
A display shouldn't make people guess. If material matters, say it. If a tray contains titanium, gold, or plated pieces, label it clearly. That's not just helpful. It lowers hesitation.
Good labels are short and readable. Think “Implant-Grade Titanium,” “Gold Tone,” or “For Healed Piercings.” Clean wording beats clever wording every time.
Creating a Pro Display for Your Piercing Studio
In a studio, display isn't decoration. It's part of the client experience. People read your case before they read your policies. If the setup looks sloppy, touchable, or confusing, they'll feel it immediately.
The biggest rule is hygiene. The Association of Professional Piercers states that display jewelry should never be touched by customers, and teams should handle jewelry with gloves as part of a safer workflow, as outlined in the APP procedures manual. That means your display should function like non-contact merchandise, not a free-for-all accessory rack.

Build around a no-touch flow
Closed glass cases make sense for a reason. They protect jewelry, slow down casual handling, and make the whole space feel more professional.
A smart studio flow looks like this:
- Display stock stays protected behind glass or another easily sanitized barrier.
- Staff handle pieces with gloves or clean tools.
- Try-on examples or handling samples stay separate from display inventory.
- Returned handled items don't go right back into the main case.
This setup helps clients feel that cleanliness is built into the shopping experience, not tacked on at the end.
Organize by how clients shop
Customers don't walk in thinking in inventory language. They don't say, “I'd like to browse threaded curved barbells.” They think, “I want something cute for my helix,” or “I need a new nose ring.”
So organize your case in shopper logic:
- By piercing area: Nose, ear, navel, septum
- By jewelry type: Rings, flat backs, barbells, clickers
- By material: Titanium, surgical steel, gold, plated options
- By stage: Fresh piercing appropriate versus healed piercing styles
That last one prevents a lot of confusion.
Material labels matter for sensitive skin
One of the easiest trust-builders in a studio is clear material signage. If someone has a history of reactions, they shouldn't have to interrogate every tray.
Use small cards or etched signs with language like:
- Implant-grade titanium
- Surgical steel
- Gold
- Plated for healed piercings
- Nickel-aware shoppers, ask us about materials
That kind of display design feels thoughtful, not pushy.
A clean case tells clients you care about what goes in their body, not just what looks cute under the lights.
Don't forget security
Studios often carry small, high-value pieces. That means your display needs locks, stable trays, and a layout staff can access quickly without fumbling. Security should feel smooth, not dramatic.
If you also package jewelry for gifting or display after purchase, one option is a boxed presentation format like a windowed jewelry package that lets the piece stay visible while protected. Keep it practical. The packaging should support cleanliness and presentation, not create extra handling.
Winning the Crowd with Market and Pop-Up Displays
A market booth has one job at first. Get people to stop walking.
You don't have the calm of a studio. You've got noise, motion, weird overhead lighting, and customers who decide in seconds whether your table looks worth approaching. So your piercing jewelry display has to be quick to read from a few steps away.
Start with the booth people notice first
The strongest market setups usually have one bold visual move. Maybe it's a black tablecloth with bright metal jewelry. Maybe it's a clean pegboard wall with grouped rows of clickers and barbells. Maybe it's one mirror catching light so people can picture the look immediately.
What doesn't work is the “everything I own is on this table” method.
A better booth reads in layers:
- Far view: A clear sign, strong color contrast, one focal display
- Mid view: Grouped sections shoppers can recognize fast
- Close view: Pricing, material notes, size cues, and secure handling
Tell a tiny story with each zone
Treat your table like a set of mini collections instead of a giant pile of products. One area can feel sleek and silver-toned. Another can lean warm with gold finishes. Another can focus on simple everyday wear.
That makes browsing feel less chaotic and more intentional.
For example, a compact pop-up might use:
| Zone | What it shows | Why it works |
|---|---|---|
| Front corner | Easy impulse pieces | Gives shy shoppers a starting point |
| Center riser | Statement septum clickers or gem styles | Creates a focal point |
| Side tray | Material-sorted basics | Helps practical shoppers compare options |
| Mirror spot | One clean reflection area | Keeps traffic moving without crowding |
Keep it portable and sturdy
Markets are not gentle. Displays get bumped. Wind happens. Folding tables wobble. If a setup is precious, it's probably wrong for this job.
Choose gear that packs flat and survives the day:
- Collapsible risers for height without bulk
- Weighted trays that won't slide every time someone leans on the table
- Vertical boards or grids to save surface space
- Lidded cases for transport and quick lockup
Battery-powered accent lighting can help, but only if it makes details easier to see. If it turns the booth into a moody cave, skip it.
The best pop-up display is the one you can set up fast, restock without stress, and still make look polished by hour six.
Make buying feel easy
People hesitate when pricing is hard to find or categories are muddled. Use readable tags. Group similar pieces together. Keep your best conversational openers near the front, such as a tray of daily-wear nose rings or simple flat backs people can understand fast.
If you want to create a booth that photographs well for social later, keep one corner extra clean. That little “content spot” can pull double duty during the event and after it.
Styling a Photo-Ready Piercing Jewelry Display
Online, your display isn't just a display. It's the product page, the mood board, the scroll-stopper, and the trust signal all at once. That's why a camera-ready piercing jewelry display needs to do two things at the same time. It has to look good, and it has to make details easy to understand.
A lot of older display advice stops at trays and stands. That misses how people shop now. Current display thinking has a big gap around omnichannel use, and this overview of body jewelry displays and modern shopping behavior points to the need for setups that work for visual discovery, social content, and product education.
Build a set, not just a pile
A strong photo display starts with a clean base. Fabric, stone, matte paper, ceramic, or a lightly textured board can all work. The point is contrast. You want the metal and gems to stand out clearly.
Then style in layers:
- Base layer: Neutral texture like linen, matte card, or soft fabric
- Main pieces: Your stars, spaced so each shape reads clearly
- Support props: Small dishes, dried stems, crystals, or mirror fragments
- Info element: A tiny card, tag, or scannable code if the image is for selling
If the props are louder than the jewelry, pull them back.
Keep the display informative
Many instances of pretty content fall short. The shot looks dreamy, but the viewer still doesn't know what they're buying. Add discreet details that help.
That could mean:
- a small material card
- a visible label for healed-only plated styles
- a neat comparison setup showing similar shapes in different finishes
- a code that leads to a product page or collection
If you're shooting with your phone, BodyCandy has a helpful guide on using your phone to take a good picture of your jewelry, and it pairs nicely with a display setup that already has clean light and readable spacing.
Make movement part of the plan
Still images matter, but short video is where display ideas really come alive. A tray that's easy to rearrange, a backdrop without glare, and labels that stay legible on camera all make your content stronger.
A quick visual demo can help you think about flow and framing:
The best digital displays feel shop-ready and share-ready
That's the sweet spot. Your setup should be polished enough for a product page, relaxed enough for social, and organized enough that someone can tell what's what without reading a paragraph.
If you're styling at home, this same logic works on a dresser too. A display that looks good in your room and in your camera roll earns its keep.
Designing Your At-Home Jewelry Sanctuary
At home, your display should make your life easier and your space cuter. You're not building a retail case. You're building a spot that helps you see what you own, grab what you wear, and stop losing that one perfect clicker right when you need it.
The smartest home setups feel personal and practical at the same time.

Sort by what your skin can handle
This part deserves way more attention. Skin sensitivity is common, and the American Academy of Dermatology identifies nickel as one of the most common causes of allergic contact dermatitis, as noted in this guide discussing piercing display gaps for sensitive-skin shoppers. If you own a mix of materials, don't toss them all together.
Separate your jewelry in a way your future self will appreciate:
- Daily-safe favorites in the easiest-to-reach tray
- Titanium and other preferred materials grouped together
- Plated styles stored in their own section
- Statement pieces in a dish or shadow box where they won't get scratched
Tiny labels are not overkill. They're a kindness.
Choose a format that matches your habits
If you wear the same few pieces every day, a small tray on your dresser may be perfect. If you rotate constantly, you'll want more visibility. Shadow boxes, divided acrylic organizers, pin boards, and lidded dishes all solve different problems.
A simple match-up looks like this:
| If you tend to... | Try this |
|---|---|
| Wear a small core collection | One tray with compartments |
| Collect lots of small pieces | Clear divided organizer |
| Love decor as much as storage | Shadow box or tiered tray |
| Travel with favorites often | Compact case plus home catch-all dish |
For more DIY ideas, BodyCandy also has inspiration for DIY jewelry storage.
Use a tiny reset routine
Your display stays nice when you give it a simple rhythm. Mine is clear, clean, check.
- Clear: Put stray pieces back where they belong.
- Clean: Wipe the tray, dish, or glass surface.
- Check: Make sure your material groups still make sense and nothing scratchy or plated is rubbing against your everyday favorites.
Your home display should save you time in the morning, not create a mini treasure hunt.
A dresser-top setup can absolutely look decorative. Just keep function in charge. The prettiest jewelry organizer in the world is useless if you can't tell your titanium from your plated pieces.
Keeping Your Display Fresh and Fabulous
The easiest way to keep a piercing jewelry display looking sharp is to treat it like part of your routine, not a one-time project. Dust settles. Pieces migrate. Mirrors get fingerprints. Tiny messes add up fast.
A weekly refresh works well:
- Dust surfaces and wipe mirrors or acrylic
- Return wandering pieces to their proper group
- Rotate one small section so the setup feels new again
- Check for wear on trays, fabric, or holders that could scratch jewelry
If you wear some pieces more than others, move those front and center. If a seasonal style hasn't had attention in a while, give it a better spot. A display should feel alive.
For jewelry care beyond the setup itself, BodyCandy shares practical tips on making your jewelry and body jewelry last.
Ready to give your collection the glow-up it deserves? Browse BodyCandy for fresh body jewelry, styling inspiration, and pieces worth putting on display.