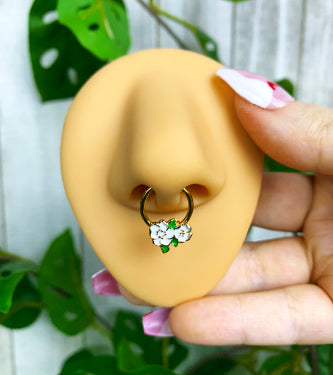
How To: Photograph Your Jewelry Like a Pro
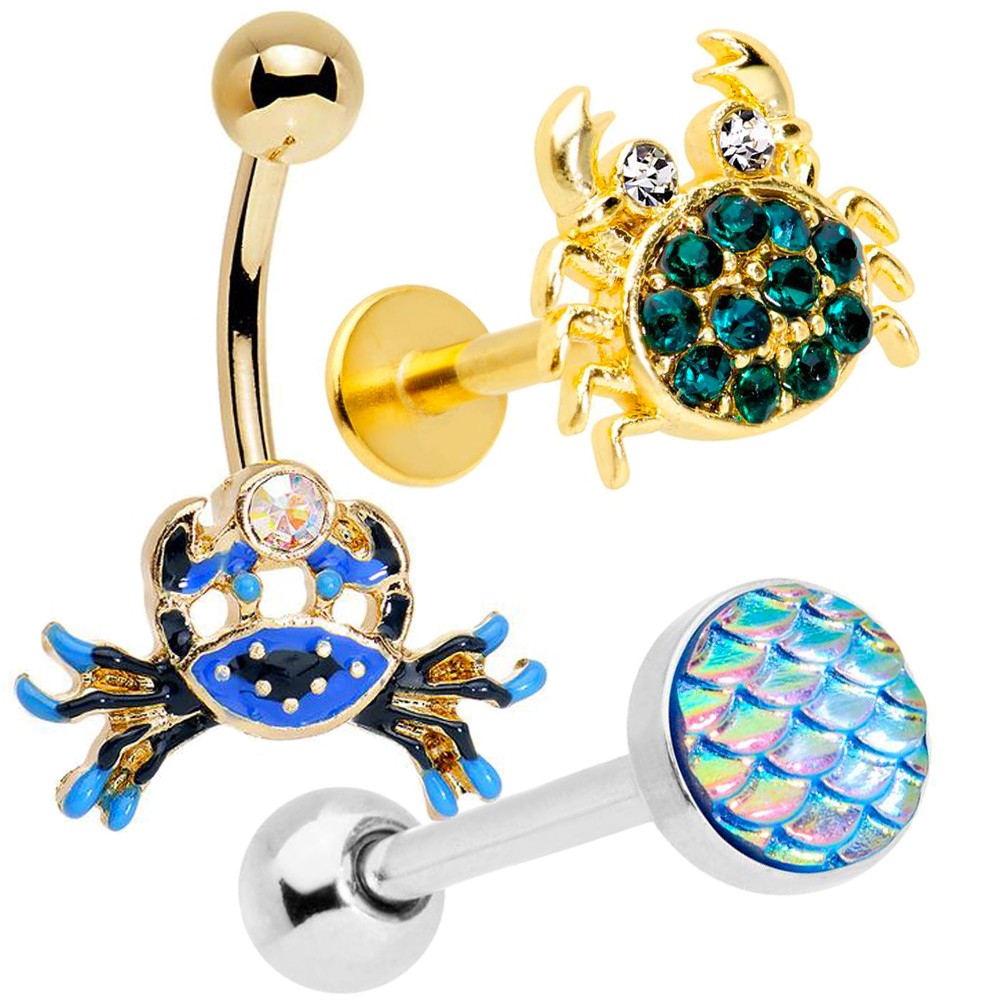
Body jewelry is beautiful to look at and is made to be eye-catching. Part of the fun of being a pierced or modified individual is showing off your cool new jewelry.
Have you ever noticed that jewelry is kind of hard to photograph? Whether they are in your piercings or you are just trying to take a nice pic of your new haul, it's too easy to take pics of your jewelry that are blurry, out of focus, or just lacking a little bit of sparkle.
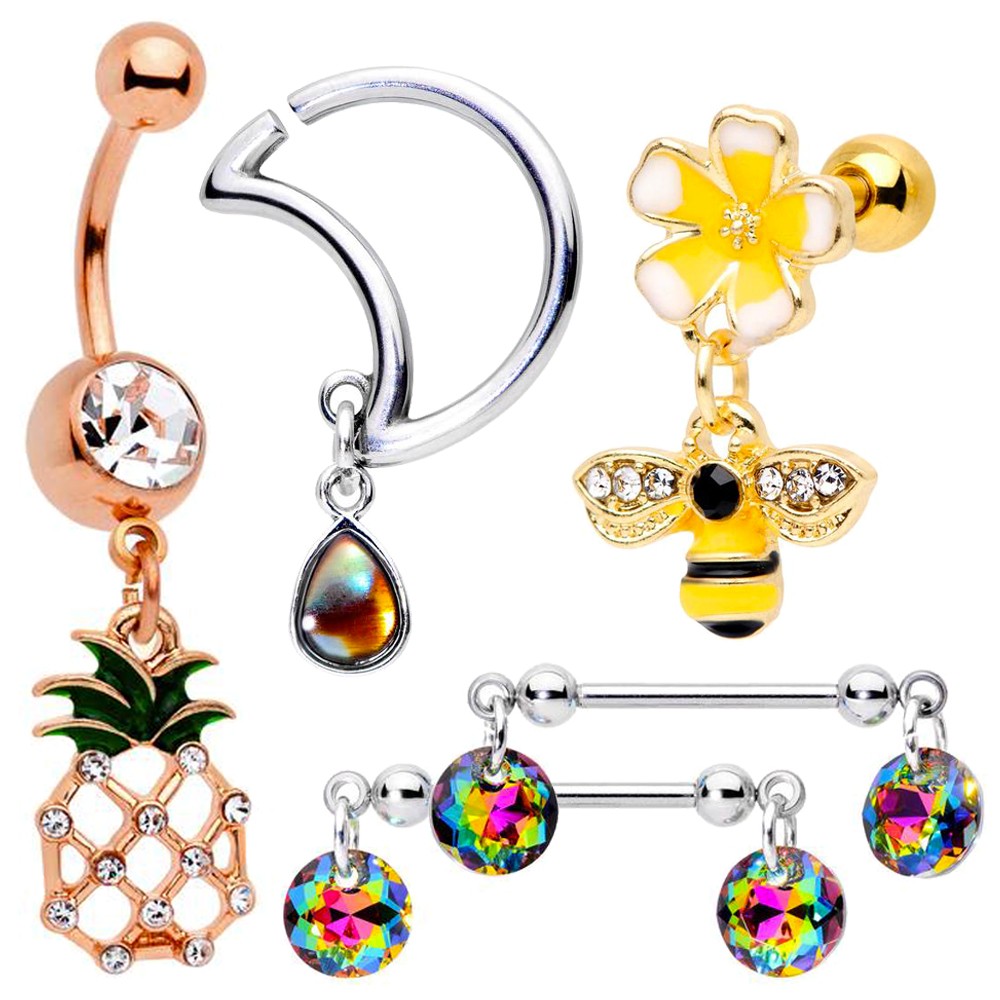
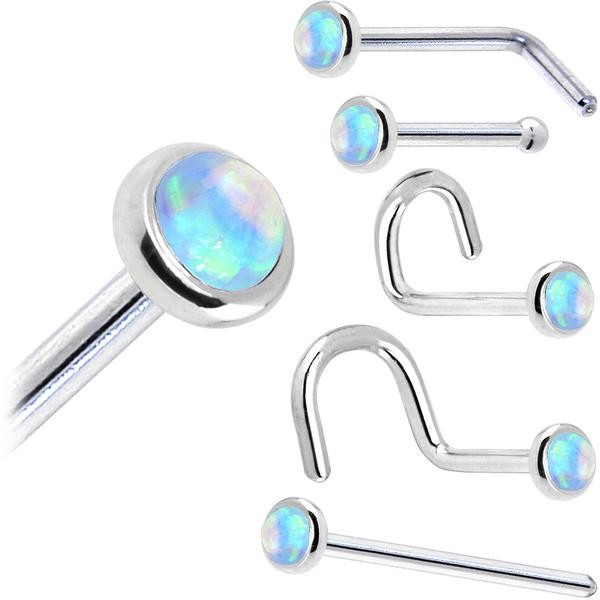
Let's be real though, we're not all professional photographers, and nowadays, most of us are utilizing our phones to take most of our pictures. We here at Body Candy know a thing or two about taking pictures of jewelry with your phone and we've learned a thing or two about working with what you have. Whether you're trying to snap a pic of shimmering opal-studded belly button rings or a pair of sparkly nipple bars, we've got some tips. Help us help you show off your Body Candy hauls with a few picture taking tips.
Before You Start:
These are a few simple, but often overlooked things that can take your picture from good to fantastic.
- Clean your jewelry and the area around it. This might seem like a no brainer, but dirt, crusty stuff, and smudges happen! Body jewelry has a tendency to be dainty, which means that any imperfection around it will be emphasized that much more. Take a second to wipe any smudges off of your jewelry and clean the area around your piercing. No picture has every been enhanced by crusty jewelry or skin flakes!
- Clean your phone. Most people have their phones in their hands all day long. It's easy to miss a smudge or fingerprint across the lens of the camera, which could significantly affect the way your phone captures an image. Take a clean cloth and wipe your lens clean, and then wipe off your phone's display. Having a clean display in the moment will allow you to see your picture as clearly as possible.
Go Outside!
We're from Buffalo, NY which means half the year it's either raining or snowing... But during the nice spring, summer, and autumn days when it's comfortable to stand outside, we always make use of the lovely Buffalo sun for our pictures. Whether jewelry is your subject matter or not, outdoor lighting is excellent for taking good photos.
The sun emits A LOT of light. When the sun is shining on your body jewelry, the light source is coming from a wider, all-encompassing source (as opposed to a more "directional" source like the flash from a camera or a lightbulb). In other words, when you can utilize it, the sun is always going to illuminate your subject matter more thoroughly and evenly, which should result in an overall better picture with minimal need for editing.
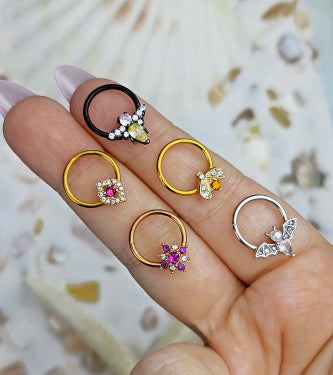
If you are taking a picture of your "loose" jewelry (like on a table or in your hand):
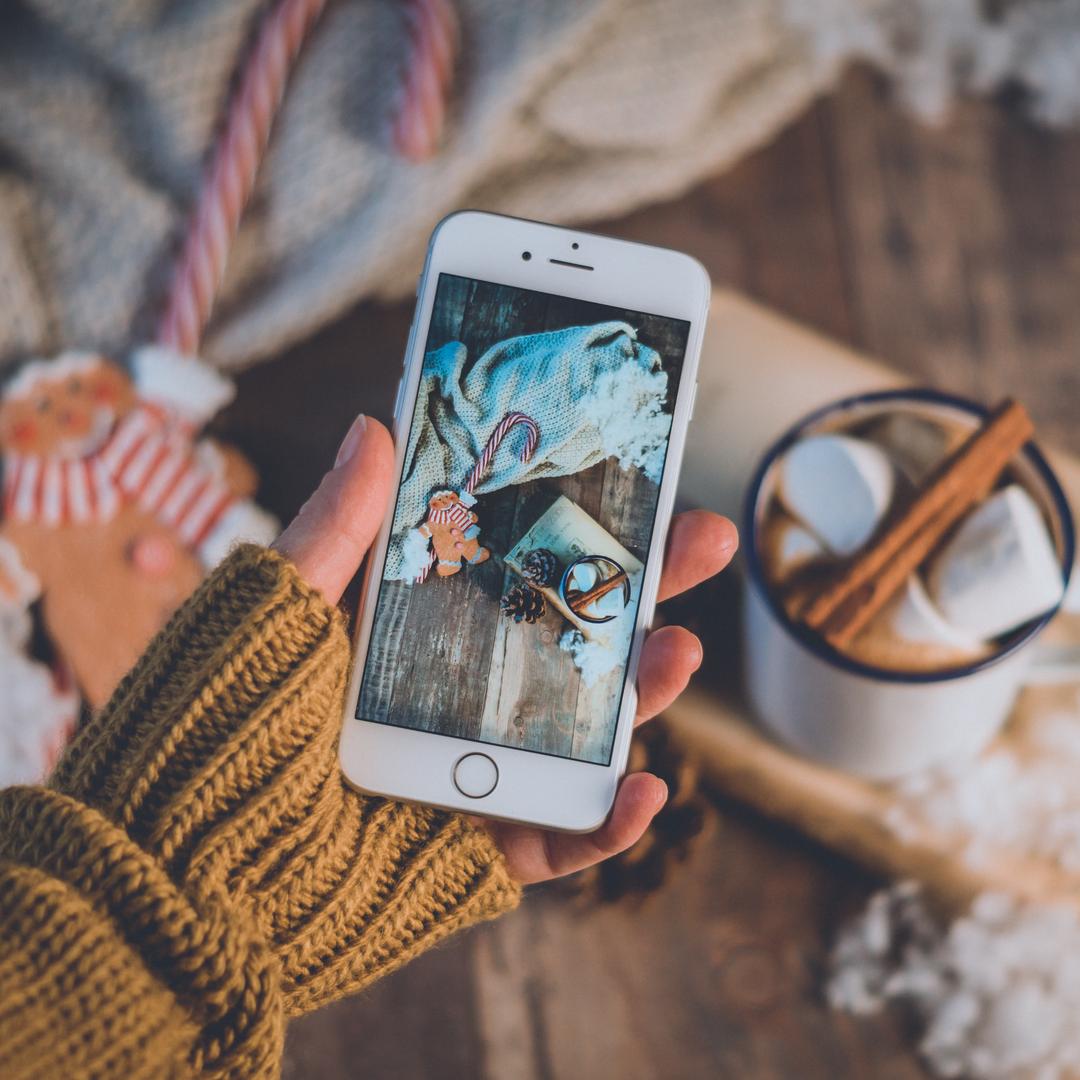
- Utilize the rear facing camera on your phone - it's usually of higher quality, especially in "portrait" mode
- Make sure the sun is behind you and aimed directly at your jewelry
- Don't zoom in! Zooming in on a picture kills the overall quality. It's always better to crop the picture later.
- Before you snap the pic, be sure to focus on the jewelry in your picture. For most camera phones, this is accomplished by simply tapping the jewelry where it appears on your screen.
- Take a few pictures - better to have too many options than too few!
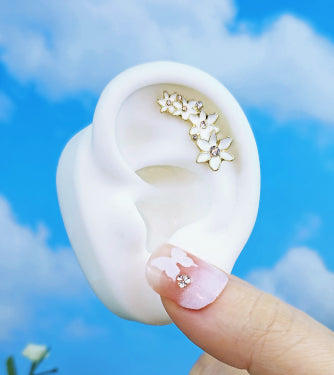
If you are taking a picture of your jewelry in your piercing:
- If you have a friend/significant other with you, have them snap a pic of the piece in question using your rear-facing camera... Make sure you make them follow the same steps above!
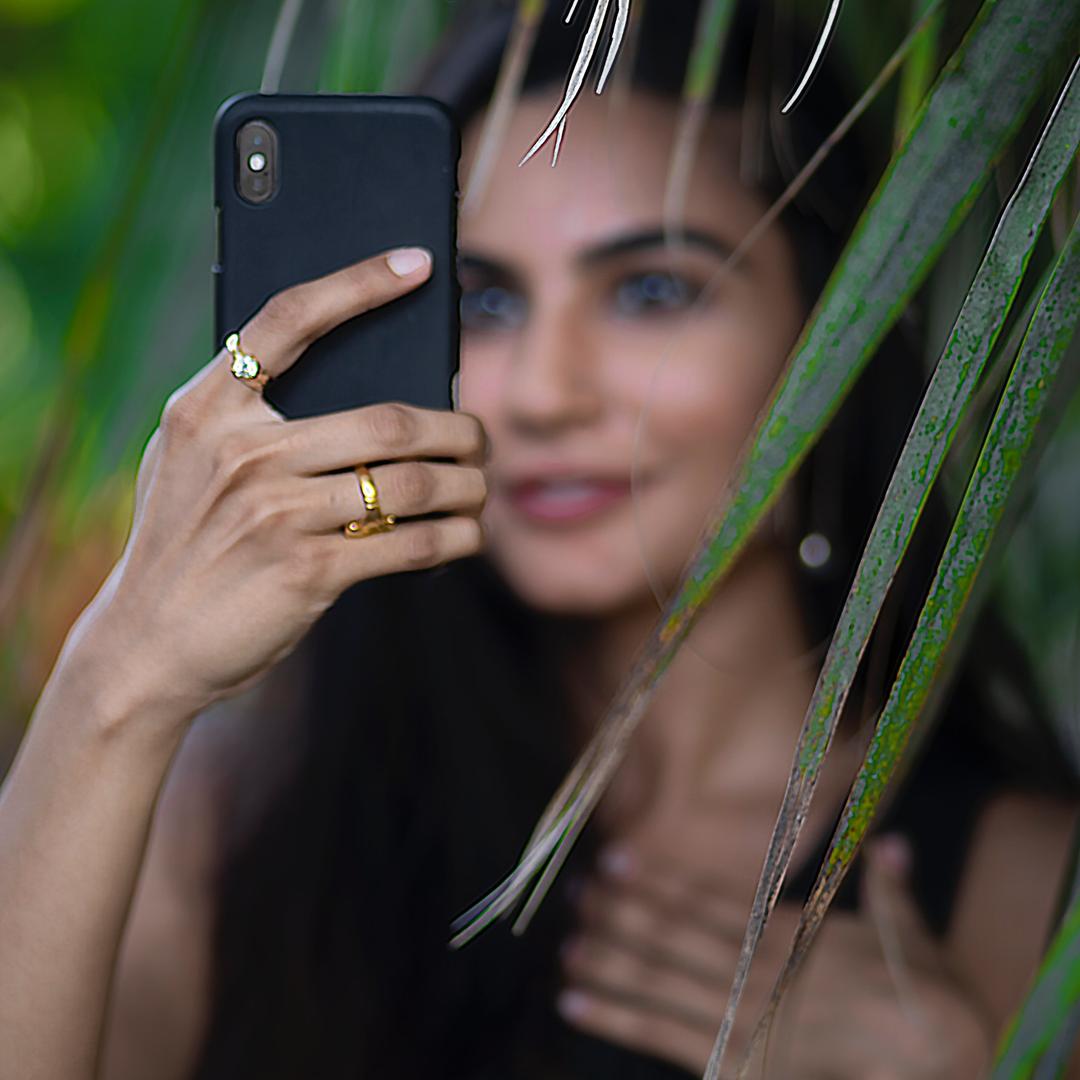
- If that's not an option, stand so that the sun is facing the body part in question. Switch to your front-facing camera and switch to portrait mode if available.
- Focus the camera on your jewelry by touching your phone where it appears on the screen.
- Take a bunch of shots. Don't be shy!
Indoor Lighting:
Although the lighting situation isn't always ideal, pictures that are taken indoors can be great too! Unless you take the proper precautions, pictures that are taken indoors tend to have a "reddish" tint to them.
But taking pictures indoors can also have plenty of perks!
- Inside, weather isn't an issue. Although there's no substitute for the sun, there's also no substitute for AC and controlled conditions! Indoor photo sessions will also have easy access to electrical outlets, chargers, comfortable seating, and privacy.
- Studio lighting can be customized to your needs. Even without professional studio lights or a photo studio, an umbrella light or a ring light can work wonders for pictures. Don't forget, you can also stand next to a window for some extra natural lighting.
Keep reading - continued below...
Editing and Posting Your Pics
Once you have taken a high-quality picture of your jewelry, it's time to edit!
Editing:
Before you filter your photos, try editing them a bit for clarity. A lot of pictures, especially indoor ones come out a little dark. If you're using Instagram, a good way to liven up your pictures is to up the "brightness" and then adjust the "contrast" and "structure" tabs until you're happy with the results.
Filters:
- While filters may seem tempting they can severely reduce the quality of your pictures or misrepresent the actual look of your jewelry - filter at your own risk!
- It may be tempting to cross post pictures from your Instagram to FB, but this process is another quality killer! It's better to upload to Facebook as a separate post, rather than try to do it all at once.
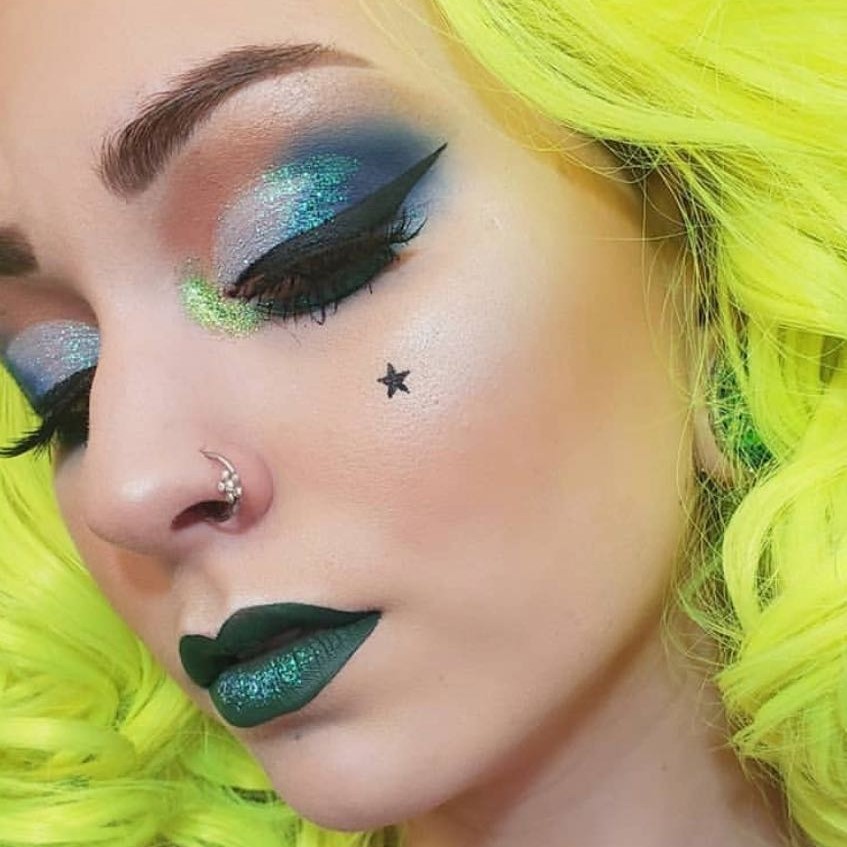
- On the other hand, filters can give your pictures a very cool aesthetic look. Apps like Instagram offer built-in filters, while apps like Huji offer an "exposed" aesthetic like something you might see on old film. This might be a better approach for a selfie, rather than a close-up picture of your jewelry.

/547897bad5c7488a9d6a889c4915bbdf/00000img_00000_burst20190625164431375_cover.jpg)
