Congrats on the new bling! That fresh nose piercing looks incredible, but now comes the most important part: locking down your perfect nose piercing aftercare routine. A happy piercing is all about simple, consistent care, and these first few weeks are absolutely critical for a smooth healing journey.
What to Expect with Your New Nose Piercing
You’ve just left the studio, feeling amazing with your new stud or ring. So, what happens now? It's completely normal to feel a bit of tenderness around the piercing. You'll likely see some slight redness and maybe even a little swelling, too.
This is just your body's way of saying, "Hey, there's something new here!" and it typically calms down within a few days. You're officially part of a huge club! Nose piercings are wildly popular, and for good reason.

The Golden Rule: Leave It Alone
If there is one piece of advice you take away from this guide, let it be this: do not touch your new piercing! Seriously, I can't stress this enough. Your hands are covered in bacteria, and every time you absentmindedly twist or fiddle with your new jewelry, you’re basically rolling out the welcome mat for germs.
This is the number one cause of those dreaded irritation bumps and infections. Your body is a healing machine, but it needs a clean, undisturbed space to do its job. Constantly moving the jewelry just re-injures the delicate new tissue (the fistula) that's trying to form inside the piercing.
Your Day One Aftercare Checklist
Getting started on the right foot is all about what you do—and what you don't do—in those first 24 hours. The first day really sets the tone for your entire healing process. If you want a full play-by-play of the piercing process itself, check out our guide on what to expect with your first-time piercing.
To get you through that initial period without a hitch, here’s a quick-reference checklist.
| What to Do | What to Avoid |
|---|---|
| Get Your Saline Ready: Have a sterile saline wound wash on hand for your first clean. | Sleeping On It: Try to sleep on your back or the opposite side to avoid pressure. |
| Be Gentle: Take extra care when washing your face or drying with a towel. Snags hurt! | Makeup & Lotions: Keep all cosmetics, creams, and oils away from the immediate area. |
| Stay Healthy: Drink plenty of water and eat well. A healthy body heals faster. | Twisting & Turning: Resist the urge to fiddle with the jewelry. Just let it be. |
This first phase is all about being mindful and letting your body take the lead. Think of your piercing as a tiny wound that needs respect to heal beautifully. By sidestepping these common mistakes right from the start, you're setting yourself up for success. Welcome to the piercing world—you’ve totally got this!
Mastering Your Daily Cleaning Routine
Okay, let's get into the most important part of healing that new nose piercing: the daily clean. Don't stress, this isn't some complex, ten-step ritual. It’s really just about being consistent and using the right stuff to keep your piercing happy and healing smoothly.
Your main goal here is pretty simple—keep the area clean without going overboard. A gentle touch is always the best approach. Your body is already doing the heavy lifting to heal itself; your job is just to give it a clean, calm environment to work its magic, free from pesky bacteria.
Choosing Your Cleaning Solution
First things first, what should you actually be cleaning it with? Forget the harsh stuff like alcohol or hydrogen peroxide. They're way too aggressive and can actually slow down healing by killing off the delicate new skin cells your body is trying to build.
You really have two fantastic, piercer-approved options:
-
Sterile Saline Spray: Honestly, this is the gold standard for a reason. It's perfectly mixed, sterile, and super convenient. You can't mess it up. Just make sure you grab a can that lists only water and sodium chloride as the ingredients—no weird additives. It’s the easiest, safest bet for totally foolproof aftercare.
-
DIY Sea Salt Soak: If you'd rather mix your own, you totally can. The trick is getting the ratio just right to mimic your body's natural salinity. You’ll want to mix 1/4 teaspoon of non-iodized sea salt into one cup (8 ounces) of warm, distilled or bottled water. Stir until every last grain is dissolved. If you make it any saltier, you risk drying out and irritating your piercing.
No matter which one you go with, consistency is what truly makes the difference.
The Perfect Cleaning Method
So you’ve got your solution—now what? You can either do a quick spray-and-pat or a more thorough soak. Soaks are especially great for the first few weeks or if you’ve got some of those stubborn "crusties" (that's just dried lymph fluid, totally normal!) that need softening up.
To do a soak, just drench a clean piece of non-woven gauze in your saline solution and hold it gently against your piercing for about 5 minutes. This helps loosen any buildup so you don't have to pick or scrub at it.
Using a spray is even easier. Just give the front and back of the piercing a good misting, let it sit for a minute, and then gently pat the whole area dry with a fresh piece of non-woven gauze or a paper towel. Ditch the cotton balls and Q-tips! They can leave behind tiny fuzzies that get tangled in your jewelry and cause a world of irritation.
How Often Should You Clean Your Piercing?
This is where a lot of people get mixed up. It's tempting to believe that cleaning more often will make it heal faster, but over-cleaning can strip the area of its natural moisture, leading to dryness and irritation. On the flip side, not cleaning enough lets bacteria have a party.
The sweet spot for most new nose piercings is cleaning twice a day. A quick clean in the morning and another before you go to bed is the perfect rhythm. It’s just enough to wash away the day's grime, sweat, and germs without overwhelming the healing tissue.
Building Your Foolproof Ritual
Think of your cleaning routine as a couple of minutes of self-care each day. You’re just dedicating a little time to making sure your awesome new piercing heals up beautifully.
Here’s a simple ritual that works wonders:
- Wash Your Hands: This is non-negotiable. Before you even think about touching your piercing, wash your hands thoroughly with antibacterial soap to avoid transferring any germs.
- Soak or Spray: Use your saline solution. Be gentle and just let it do its thing, especially with softening up any crusties. Never force them off!
- Pat Dry Gently: Use a clean paper towel or gauze to lightly pat the area until it’s completely dry. A damp piercing can be a breeding ground for bacteria, so don’t skip this part.
And that’s it! Stick to this simple plan and you’re setting your piercing up for a smooth, easy healing process. You're not just cleaning a piercing; you're nurturing it so it can become a permanent, fabulous part of your look.
What to Expect: The Nose Piercing Healing Timeline
Let's be real: healing a piercing is a marathon, not a sprint. This is especially true for your new nose stud. It's so tempting to think you're totally healed after a few weeks once the soreness disappears, but the real magic is happening under the surface. If you know what the full journey looks like, you'll have the patience to see it through without any hiccups.
The whole healing process for a nostril piercing can take anywhere from 4 to 6 months. Yep, you read that right! Even if it feels perfectly fine on the outside way sooner, that delicate tunnel of tissue on the inside (it's called a fistula) needs that full time to mature and get strong. Rushing things is the fastest way to wind up with an angry, irritated piercing.
The First Few Weeks
This is the most intense part of the journey, and it's where you'll see the biggest day-to-day changes. For the first week or two, you should expect some redness, a little bit of swelling, and some general tenderness. This is just your body's normal response kicking into gear.
You'll also get to know "crusties" pretty well. These are just the yellowish, crusty bits that form around your jewelry. Don't freak out—this is actually a great sign! It's just dried lymph fluid, which is a totally natural part of healing. Let your saline soaks soften them up and they'll rinse away on their own.
The Middle Months
After about a month, the initial tenderness and swelling should be a distant memory. Your piercing will look and feel so much better, which is exactly when a lot of people make a classic mistake: they assume it's healed and either stop their aftercare or try to change the jewelry way too soon.
During months two and three, your piercing is still really fragile. The fistula is forming, but it's not very tough yet. This is prime time for irritation bumps to pop up if you snag the jewelry or get lazy with your cleaning. Stick with those gentle, twice-daily saline soaks to keep everything happy.
Putting It All In Perspective
It helps to know that every piercing heals at its own pace. While a nostril piercing can take a while, some cartilage piercings in the ear can take up to a full year to mature. To see how they stack up, you can check out our guide on healing times for popular piercings.
This simple visual breaks down the daily cleaning routine that you'll follow through every stage of healing.
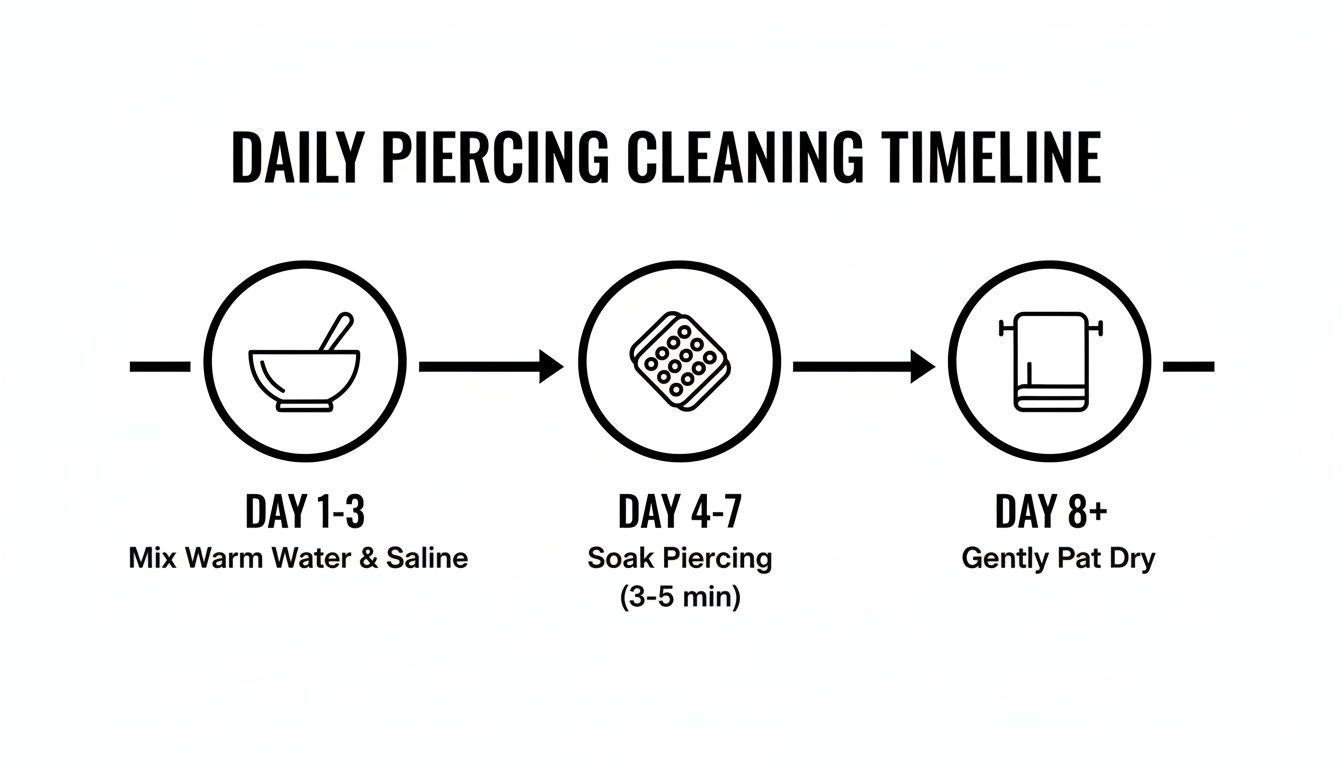
This basic routine—soak, rinse, and gently pat dry—is the foundation for a happy piercing, from day one to month six.
The Home Stretch
Once you hit the four-month mark, you're getting close! Your piercing should feel completely normal by now, with no soreness, weird discharge, or crusties. The fistula is getting strong and stable. Even so, it's best to wait until at least the 6-month mark before you even think about your first jewelry change.
When you know what to expect at each stage, you can sidestep the common mistakes and make sure your piercing heals up beautifully. Trust me, that awesome end result is more than worth the wait.
Common Aftercare Mistakes to Avoid
Alright, let's talk about some of the bumps in the road you might hit while your piercing is healing. Knowing the right way to care for your new nose stud is half the battle; knowing what not to do is the other, arguably more important, half.
Think of this as your field guide to dodging the common mistakes that can derail a perfectly happy healing process. We're talking about the everyday stuff, from putting on makeup to the dreaded sweater snag.

The Myth of Twisting Your Jewelry
First things first, let's bust the biggest, most stubborn myth out there: the idea that you need to twist or rotate your jewelry. This is some seriously outdated advice that causes way more problems than it solves. Please, don't do it!
Every time you fidget with or twist that stud, you’re basically ripping up the delicate new skin—called a fistula—that your body is trying so hard to build inside the piercing. This just leads to irritation, makes the healing process take forever, and can even cause nasty scar tissue. The only time your jewelry should move at all is when you’re gently cleaning it.
Navigating Daily Life With a New Piercing
Life doesn't pause for a new piercing. You've still got to wash your face, get dressed, and live your life. The trick is just learning to do it all with a bit more awareness of the new addition to your face.
Here’s how to handle some common daily hurdles:
- Applying Makeup: This is a big one. Keep your foundation, concealer, powders—all of it—far away from the piercing itself. Makeup can easily clog the piercing channel and trap bacteria, leading to those annoying irritation bumps or even a full-blown infection.
- Washing Your Face: Be extra careful here. Instead of just splashing your face, use your hands to gently clean around the piercing. When you're done, pat the area dry with a fresh paper towel. Why not your bath towel? Because it's a perfect breeding ground for bacteria and the little loops can snag your jewelry. Ouch.
- Getting Dressed: Shirts, scarves, and especially chunky-knit sweaters are now the enemy. Try to pull clothing over your head carefully, holding the fabric away from your face to avoid a painful snag that can set your healing back.
It takes a little getting used to, but after a week or two, you'll be a pro at working around your new bling without even thinking about it.
Aftercare Products to Use vs Ditch
When it's time to clean your piercing, it's tempting to reach for the strongest stuff you've got under the bathroom sink. But for a healing piercing, stronger is definitely not better. Those common household antiseptics are way too harsh and will just make things worse.
Let’s break down exactly what you should—and shouldn't—be putting on your new nose piercing.
| Product | Why It Works (Or Doesn't) | Verdict |
|---|---|---|
| Sterile Saline Solution | It's perfectly balanced to match your body's natural salinity. It cleans gently without any irritation. | USE IT! |
| Rubbing Alcohol | Far too harsh. It dries out the skin and kills the healthy new cells your body needs for healing. | DITCH IT! |
| Hydrogen Peroxide | This is way too aggressive. It destroys the fragile new tissue your body is working hard to create. | DITCH IT! |
| Antibiotic Ointments | These are thick and greasy, creating a seal that traps bacteria inside the piercing and stops it from breathing. | DITCH IT! |
The takeaway is simple: if it isn't a sterile saline wound wash, it doesn't belong anywhere near your piercing. Stick to what the pros recommend. Oh, and swimming is a huge no-go for the entire 4-6 month healing period. Pools, hot tubs, and oceans are basically giant tubs of bacteria just waiting to cause a nasty infection.
Troubleshooting Bumps, Infections, and Irritation
Okay, let's talk about the scary stuff. What happens when your piercing just isn't happy? It’s easy to spiral when you see a dreaded bump or some unexpected redness, but take a deep breath.
Most of the time, what you're seeing is just irritation, not a full-blown infection. Knowing how to tell the difference is the key to getting your healing journey back on track without freaking out. Think of your new piercing like a fussy baby—it’s sensitive and will let you know immediately when something is wrong.
Is It an Infection or Just Irritation?
This is the number one question we get, and for good reason. Differentiating between a genuinely infected piercing and one that's just temporarily angry is crucial because they require totally different approaches. An irritated piercing just needs you to remove the source of the problem. A true infection might need a doctor.
Here's how to spot the difference:
- Signs of Irritation: You’ll likely see some redness, minor swelling, and maybe a small bump right next to the piercing. The discharge will be clear or slightly whitish, often forming those familiar "crusties."
- Signs of Infection: This is a whole different level. An infection usually involves significant pain, intense redness that spreads, and a feeling of heat radiating from the area. The biggest red flag is the discharge—if it's thick, yellow, or green, that’s a clear sign of trouble. You might even feel unwell.
Poor aftercare is almost always the villain here. The American Academy of Dermatology has noted that infection odds can be as high as 20% for piercings. For more detailed clinical info, you can learn about piercing complications from NCBI StatPearls.
The Dreaded Irritation Bump
Ah, the infamous bump. It's the most common headache people face with a new nose piercing, and it almost always pops up for a reason. This little bubble of tissue—technically a pustule or granuloma—is just your body's over-the-top reaction to something bugging it.
The good news? It's not permanent! You just have to play detective and figure out what’s causing the irritation.
Common culprits for these bumps include:
- Physical Trauma: Accidentally snagging your piercing on a towel, sleeping on it, or fidgeting with the jewelry are the top offenders.
- Moisture: Not drying your piercing properly after cleaning can create a damp environment where irritation brews.
- Incorrect Aftercare: Using harsh chemicals like alcohol or peroxide will seriously anger your piercing.
- Low-Quality Jewelry: If your jewelry is made from some mystery metal, it could contain nickel or other alloys that your body is reacting to.
Once you identify and eliminate the source of the problem, the bump usually goes away on its own with continued, proper aftercare. Just get back to basics: gentle saline cleanses twice a day and a strict hands-off policy. Whatever you do, resist the urge to pop or squeeze the bump. This will only make it worse and could lead to permanent scarring.
When to See a Professional
So, how do you know when it's time to call for backup? If you’ve identified and removed the source of irritation but the bump isn’t improving after a week or so, it’s a good idea to check in with your piercer. They can assess the situation in person and offer personalized advice.
However, you should never wait if you suspect a genuine infection. If you have clear signs of infection—like thick, colored discharge, spreading redness, and excessive heat—it's time to act. Don't remove the jewelry, as this can trap the infection inside. Instead, contact a doctor right away.
When and How to Change Your Nose Jewelry
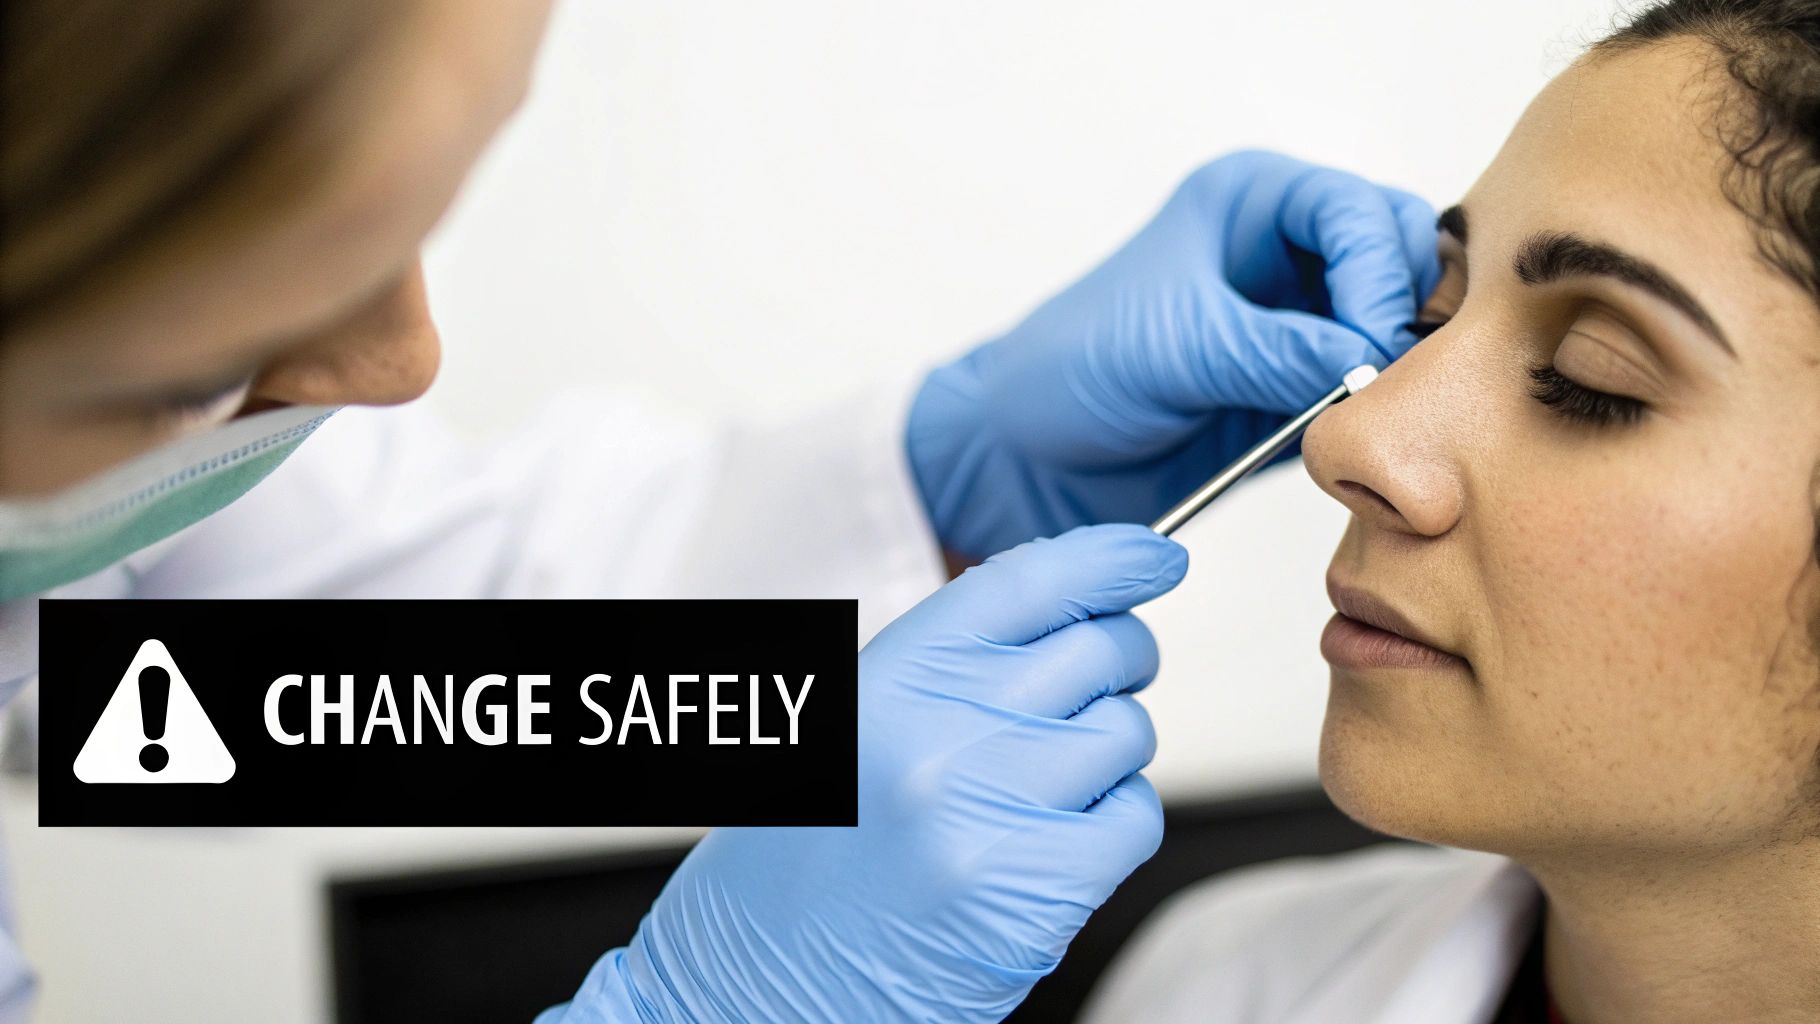
This is the moment you’ve been waiting for—swapping that plain starter stud for something that finally screams you. But before you get too excited, let's talk timing. Getting impatient and changing your jewelry too soon is one of the fastest ways to irritate a new piercing.
Even if the outside looks totally healed after a few months, the inside channel (called the fistula) is still super delicate. You absolutely need to wait until it's fully healed, which for a nostril piercing is a solid 4 to 6 months. Jump the gun, and you risk tearing that fragile new tissue, which can set your healing back for weeks.
Signs Your Piercing Is Ready
So, how do you really know you've crossed the healing finish line? Your body gives you some pretty clear signals when it's good to go. Look for these green lights:
- No More Tenderness: The area around your piercing should feel completely normal.
- The Crusties Are Gone: Those daily crusts you've been cleaning away should be a thing of the past.
- No Redness or Swelling: The skin should match your normal skin tone, with no lingering puffiness.
- The Jewelry Moves Freely: Your starter stud should glide easily within the piercing when you're cleaning it.
For that very first jewelry swap, we can't recommend this enough: go back to your professional piercer. They have the right tools and a sterile environment to make the change quick and painless.
Choosing the Right Materials
Once you're healed up and ready to start your collection, the material of your jewelry is everything. Seriously, this is where you can either keep your piercing happy for life or invite a whole world of irritation and problems. Stick with high-quality, body-safe materials.
Your best bets for a happy piercing will always be:
- Implant-Grade Titanium: This is the gold standard in the piercing world for a reason. It’s 100% nickel-free and super lightweight. If you want to get nerdy about it, you can learn everything you need to know about titanium body jewelry right here on our blog.
- 14k or 18k Gold: Always go for solid gold, not gold-plated. Plated jewelry has a thin layer of gold over some mystery base metal that can flake off and expose your skin to irritants.
- 316L Surgical Steel: This is a super common and affordable option. Just a heads-up, it does contain a tiny amount of nickel. If you have sensitive skin or known metal allergies, titanium or gold is a much safer choice.
Grabbing your new bling from a trusted source like Bodycandy means you know you're getting safe, quality materials. This simple step prevents so many issues down the line and lets you build an amazing collection of nose rings you can swap out whenever you want, completely worry-free.
Your Nose Piercing Aftercare Questions Answered
Got some of those nagging "what if" questions popping into your head during the healing process? We hear you. Let's tackle some of the most common curveballs that can come up with a new nose piercing.
What if My Jewelry Falls Out?
First things first: don't panic. But you do need to act fast! A brand-new piercing can start to close up in a matter of minutes.
If your piercing is still fresh, you can gently try to guide the jewelry back in. If it slides in easily without any force, you're probably in the clear. But if you feel any resistance at all, stop. Your best bet is to head straight back to your piercer, who can use a taper to safely re-open the hole and reinsert your jewelry.
Can I Get Pierced if I Have Allergies?
You absolutely can, but you'll need to be extra diligent with your aftercare, especially when your nose is runny. When you blow your nose, be as gentle as you can.
Afterward, make it a habit to give your piercing a quick clean with a sterile saline spray. This helps wash away any germs and prevents buildup. It’s also a great idea to start with high-quality, hypoallergenic jewelry from day one, like implant-grade titanium, to avoid any potential metal sensitivities on top of your allergies.
Ready to find your new look? Shop our full collection of nose rings today! We've got an amazing collection of high-quality, hypoallergenic styles that are perfect for when you're ready to make that first exciting swap. Explore all the styles and find your new favorite