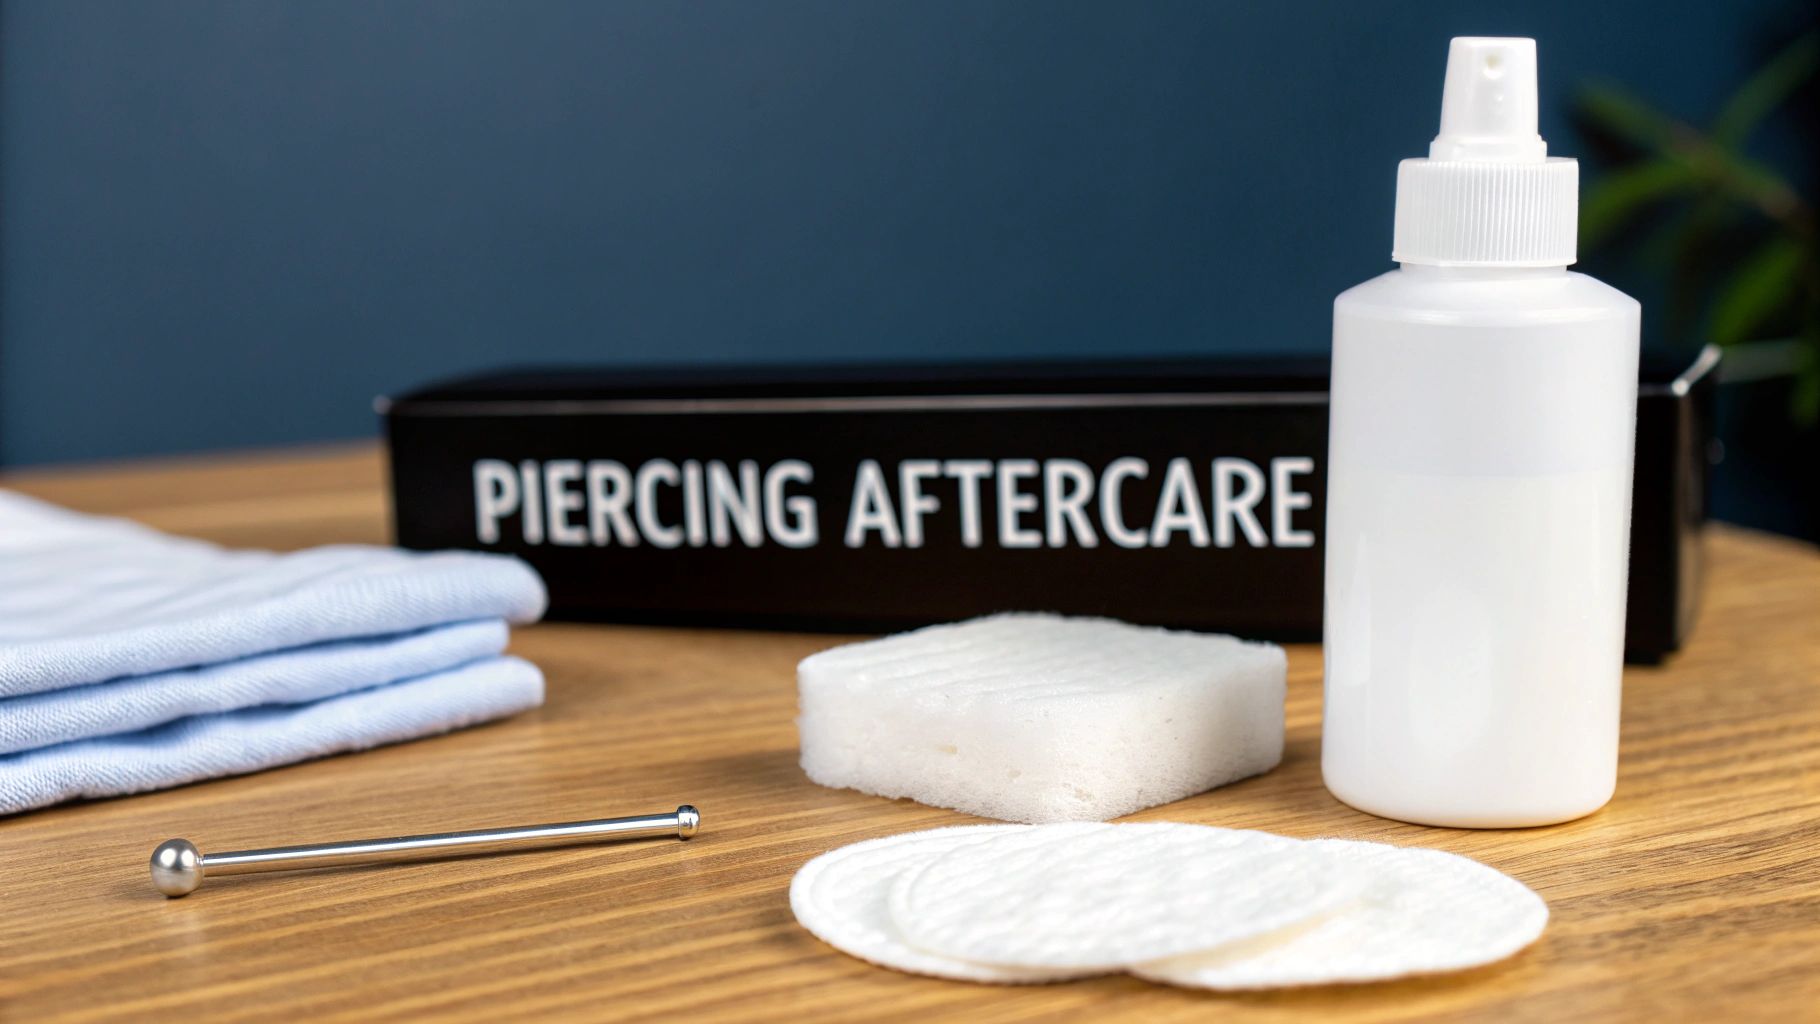
So, you did it! You got a brand new piercing, and it looks amazing. But let's be real: what you do next is what really counts. A killer aftercare routine is the secret to a happy, healthy piercing that heals up fast and lets you show off your new bling ASAP.
Using the right ear piercing cleaning solution is a total game-changer, and honestly, the best thing you can use is a simple sterile saline spray. It's gentle, it's effective, and it works with your body, not against it—which is exactly what a fresh piercing needs to heal perfectly.
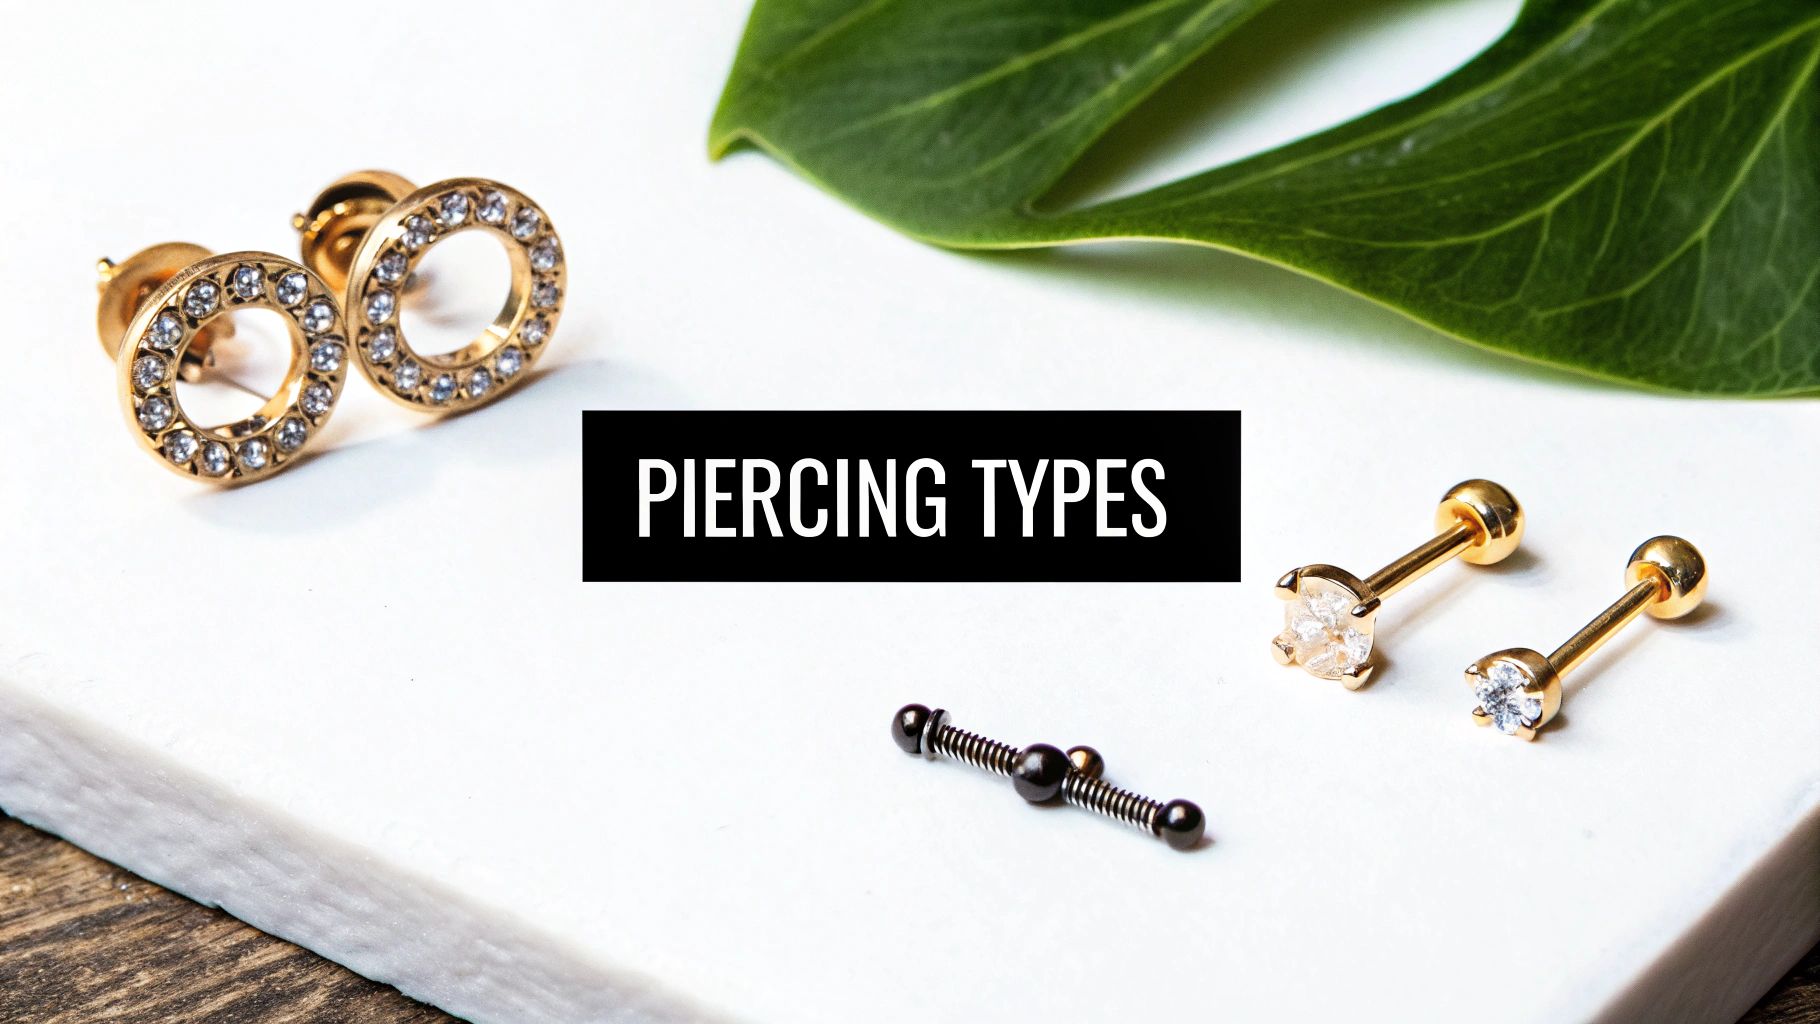
The Secret to a Happy Healing Piercing
Think of your aftercare as the ultimate act of self-care for your new piercing. A good routine isn't just about dodging disaster; it's about creating the perfect environment for your body to work its healing magic.
Get this right, and you’ll seriously cut down on healing time while sidestepping annoying issues like irritation bumps and gnarly swelling. It's the difference between showing off that new BodyCandy jewelry in a few months versus dealing with a problem piercing for what feels like forever.
Why Aftercare is Non-Negotiable
You wouldn't ignore the instructions for a new gadget, right? Your new piercing is no different. At the end of the day, it's an open wound that needs your attention to heal properly. Skipping this step can lead to some seriously gnarly problems.
In fact, some studies show that sloppy cleaning is linked to infections in up to 30% of new ear piercings. That number alone shows just how crucial a consistent routine is. The demand for proper aftercare is so high that the global market for these solutions was valued at a whopping USD 95.21 million in 2024. Clearly, people are getting the message!
This isn't just about splashing some solution on your ear and calling it a day. It’s a commitment to keeping bacteria out while letting your body's natural healing process do its thing without interruption.
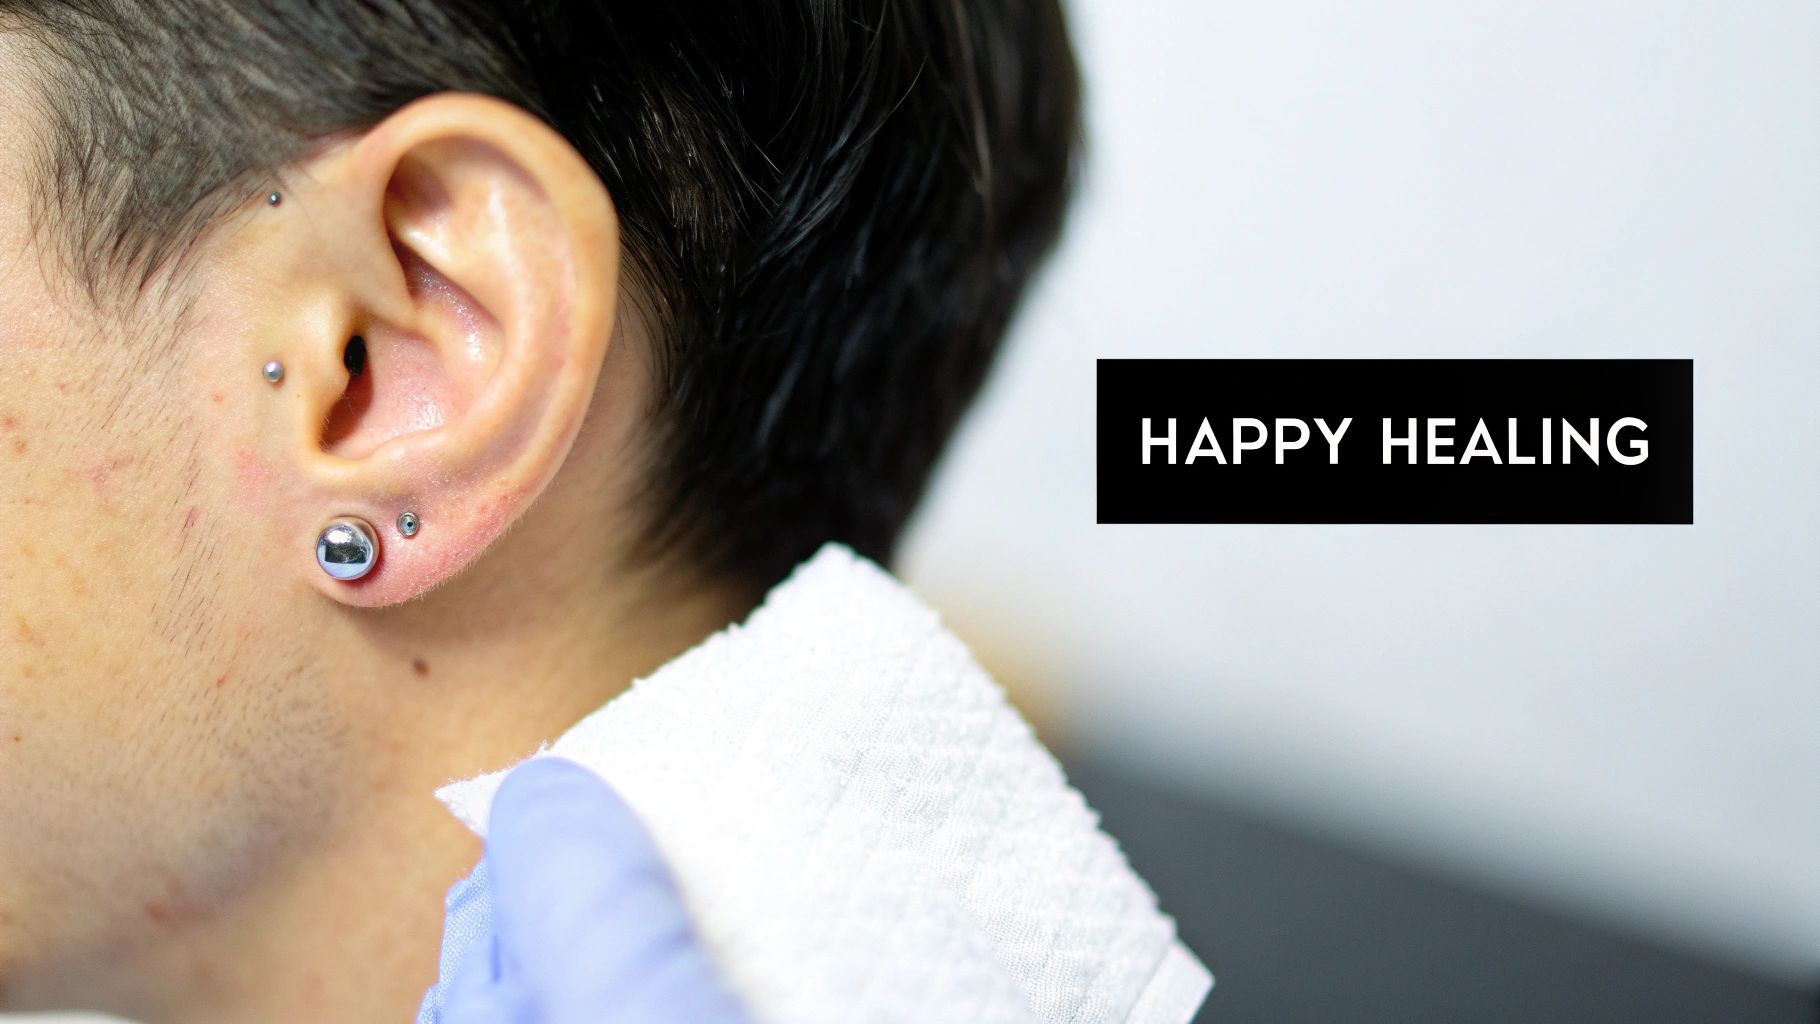
Key Takeaway: Consistent and correct aftercare isn't just a suggestion—it's the single most important factor in whether your piercing heals beautifully or becomes a total headache. Your future self will thank you for it!
Remember, different piercings also have their own timelines and quirks. Getting familiar with the average healing times for popular piercings will give you a realistic idea of how long you need to stay on top of your cleaning game. It’s a marathon, not a sprint—especially for those tricky cartilage piercings!
Choosing the Right Cleaning Solution for Your Piercing
Okay, let's talk about the most important tool in your aftercare kit: the ear piercing cleaning solution. Walking into a store, you're hit with a wall of options. Sprays, soaks, medicated formulas... it's a lot. But don't worry, we're here to cut through the noise and help you pick the perfect one.
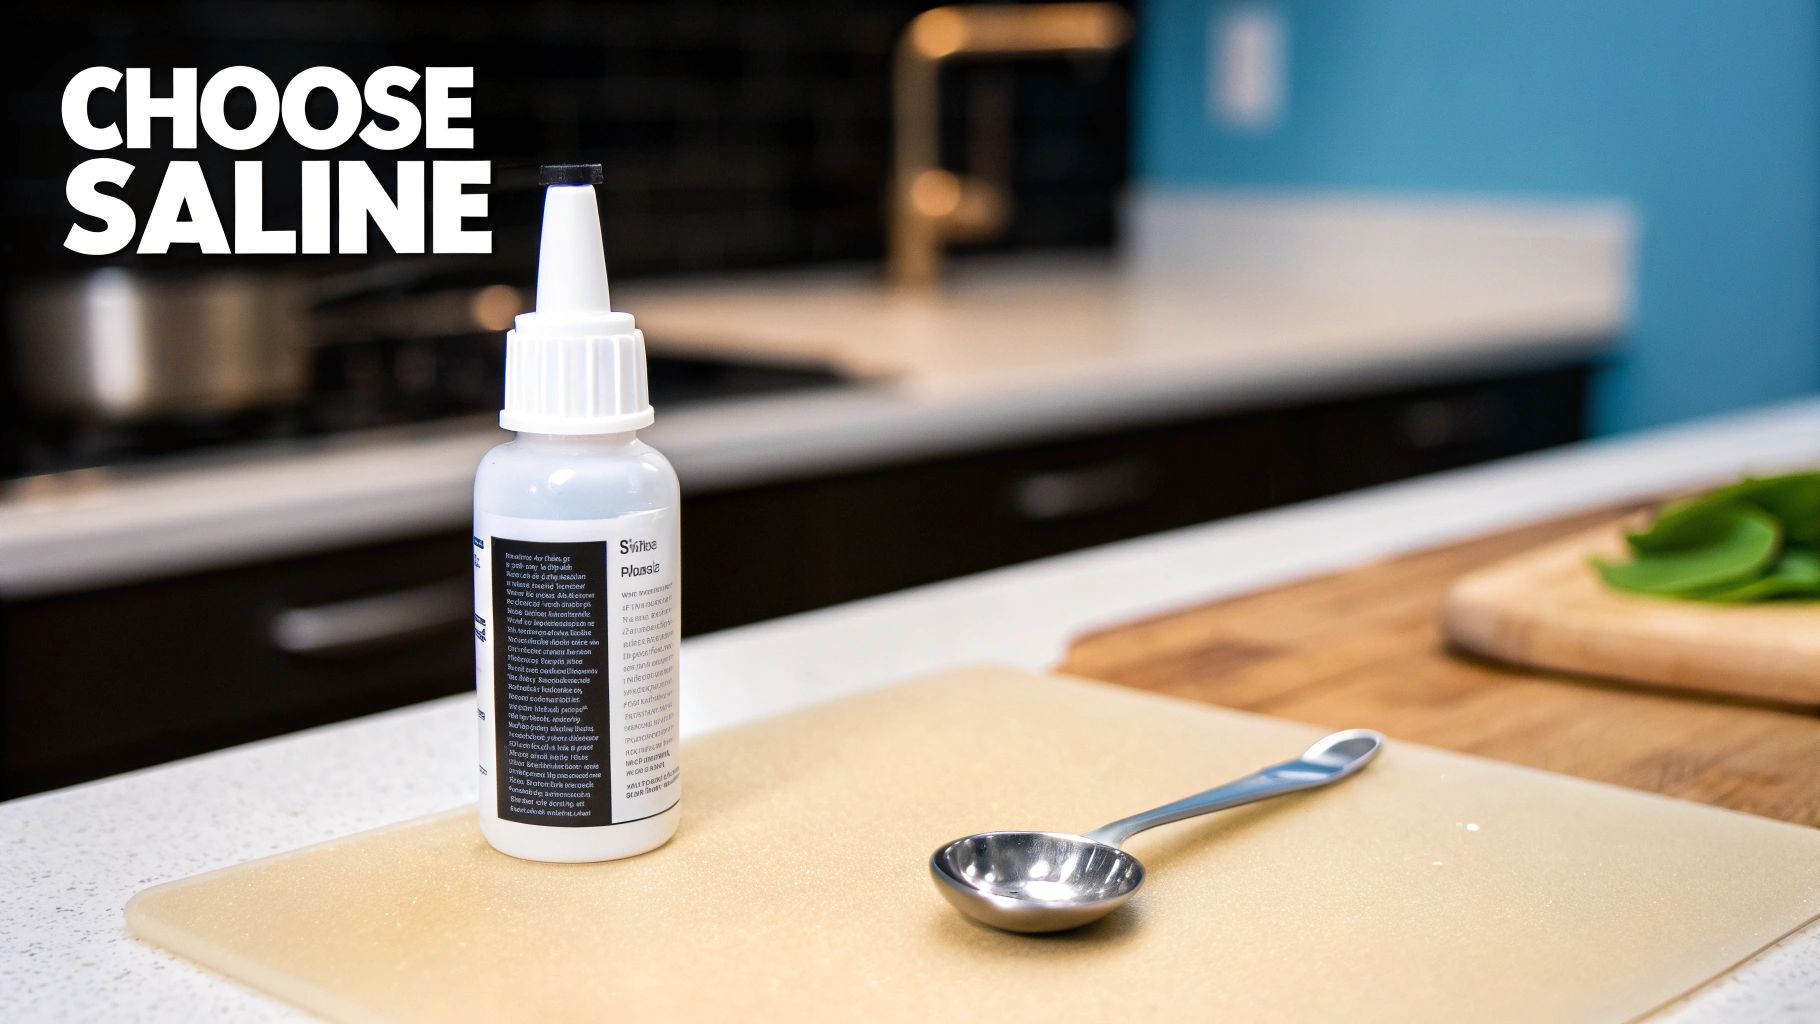
Honestly, the gold standard is simple and piercer-approved: sterile saline spray. It's gentle, effective, and mimics your body's natural salinity, which is exactly what your healing piercing needs.
The Sterile Saline Spray Advantage
Think of sterile saline as the MVP of aftercare. It cleanses the piercing site without causing any drama. Its main job is to gently flush away any crusties, debris, and bacteria that might hang around your new jewelry, creating an ideal environment for healing.
When you're shopping for one, look for a solution that contains only two ingredients: 0.9% sodium chloride (salt) and purified water. That's it. No extra perfumes, preservatives, or weird additives. The simpler, the better.
A pressurized, sterile saline spray is your best friend because it ensures the solution stays contaminant-free. Every spritz is as clean as the first, which you can't guarantee with a regular bottle you open and close.
Many piercers and enthusiasts love specific brands for their reliability. If you want to dive deeper into why certain formulas stand out, our guide on a popular aftercare product like H2Ocean can give you more insight. This can help you understand what makes a professional-grade solution different.
What About a DIY Salt Soak?
We get it—sometimes you're in a pinch or prefer the DIY route. A homemade sea salt soak can work, but you have to be extremely careful. Getting the salt-to-water ratio wrong can lead to serious irritation. Too much salt will dry out your skin, and too little won't be effective.
If you absolutely must go this route, here’s the only recipe you should use:
- Mix ¼ teaspoon of non-iodized sea salt into one cup (8 ounces) of warm distilled or bottled water.
- Stir until the salt is completely dissolved. Never, ever use table salt, as the iodine and anti-caking agents will anger your piercing.
The biggest risk with a DIY solution is contamination. Your cup, spoon, and water must be impeccably clean to avoid introducing new bacteria to your piercing. This is why a sterile, pre-packaged spray is always the safest bet.
Ingredients to Avoid Like the Plague
This part is critical. Your new piercing is a delicate wound, and some common "cleaning" agents are way too aggressive. They don’t just kill bad bacteria; they destroy the fragile new skin cells your body is working hard to build.
Steer clear of these at all costs:
- Alcohol: It stings for a reason! Alcohol is incredibly drying and will cause your skin to become flaky and irritated, which seriously delays healing.
- Hydrogen Peroxide: This is another harsh one. It can damage healthy tissue around the piercing, trapping bacteria and leading to those dreaded irritation bumps.
- Antibiotic Ointments (like Neosporin): These are thick and sticky. They create a barrier that traps moisture and bacteria, preventing the piercing from breathing and draining properly.
- Soaps with Dyes or Fragrances: Anything with strong scents or colors can cause an allergic reaction or irritation. Stick to gentle, plain products.
Ultimately, choosing the right ear piercing cleaning solution comes down to being kind to your body. A simple, sterile saline product supports your natural healing process without any harsh side effects. Treat your new piercing with care, and it will thank you by healing up beautifully.
Your Daily Piercing Cleaning Ritual
Ready to make cleaning your new piercing a quick and easy part of your daily routine? Good. A consistent aftercare plan is honestly the secret to a happy, healthy piercing. It doesn't have to be complicated, but getting it right from the start makes a huge difference in how well things heal up.
The whole process should only take a few minutes, twice a day. Think of it as a little self-care moment to check in on your piercing and give it the attention it deserves. Stick with it, and you'll keep most potential problems from ever starting.
Start with Squeaky Clean Hands
Before you even think about touching your new piercing, stop and wash your hands. I can't stress this enough—it's the single most important step. It's so easy to forget when you're in a hurry, but your hands are covered in germs, and you don't want any of that near a fresh piercing.
Scrub them well with antibacterial soap and warm water for at least 20 seconds. If soap and water aren't available, a good hand sanitizer is your next best bet, but nothing beats a proper hand washing.
How to Use Your Saline Solution
Alright, with clean hands, you're ready for the main event. Whether you've got a sterile saline spray or you're doing a soak, the goal is always to gently flush the area, not to scrub or blast it with pressure.
-
For Sprays: This is by far the easiest and most sterile method. Just hold the can a few inches away from your ear and give the front and back of the piercing a good spritz. That fine mist is perfect for loosening up any "crusties" (which is just dried lymph fluid and totally normal!) without having to touch anything.
-
For Soaks: If you're mixing your own saline, grab a clean piece of gauze or a sterile cotton pad and soak it in the warm solution. Gently press it against the front and back of the piercing for a couple of minutes. This helps soften up any debris and feels pretty soothing, too.
There's a reason these aftercare sprays are so popular—the market was valued at a massive USD 59.9 billion in 2023. With ear piercings making up 65% of all body piercing procedures, they are a huge driver of this trend. Why? Because research shows that frequent, accidental touching can increase the risk of infection by 25%, and a solid, hands-off cleaning routine helps cut that risk way down. You can discover more insights into the piercing aftercare market here.
The No-Twist Rule: Seriously, Don't Do It
Let's bust a huge, old-school piercing myth right now. You do not need to twist, turn, or rotate your jewelry while cleaning. This is outdated advice that actually causes more harm than good! Twisting the jewelry just irritates the healing tissue, drags in bacteria, and can seriously slow down the healing process.
Your body is working hard to form a delicate healing channel called a fistula. When you twist that new BodyCandy stud or hoop, you're tearing that fragile tissue. Let the saline solution do all the work and just leave the jewelry alone.
The saline will find its way into the piercing channel on its own. Your job is just to clean the entry and exit points and the visible parts of your jewelry.
Dry It The Right Way
After cleaning, the last step is to get the area completely dry. A damp piercing can become a breeding ground for bacteria, so don't skip this.
But whatever you do, don't reach for your regular bath towel! Cloth towels can hold bacteria and have tiny loops that are notorious for snagging on new jewelry—which is a truly painful experience you want to avoid. Instead, gently pat the area dry with a fresh, disposable paper towel or a piece of non-woven sterile gauze. For a totally hands-off approach, you can even use a hairdryer on the cool setting, held a safe distance away. A dry piercing is a happy piercing.
Troubleshooting Common Piercing Problems
Even when you follow your aftercare routine to the letter, sometimes a new piercing just decides to have a bad day. Don't panic!
A little bit of redness, some mild swelling, or even some clearish-white fluid are all totally normal parts of the healing process. That fluid, by the way, is just lymph fluid, not pus! It’s just a sign your body is working hard to heal itself.
What’s super important, though, is knowing the difference between normal healing weirdness and the first signs of a real problem. Paying close attention helps you catch issues early, getting your healing journey back on track without the stress. This is all about learning to listen to what your piercing is telling you.
Is It Irritation or an Infection?
This is the million-dollar question every new piercing owner asks. It's so easy to mistake one for the other, but they have some key differences that tell you how to react.
Normal Irritation is usually caused by something simple. Maybe you accidentally snagged your jewelry, slept on it funny, or your headphones rubbed against your new helix.
- What it looks like: You'll see mild redness right around the piercing, maybe some slight swelling that comes and goes, and a little tenderness. Any discharge will be clear or off-white and form those little "crusties" we all know and love.
- What to do: Just be extra gentle! Stick with your saline spray, and it should calm down in a day or two. The big thing is to figure out what's bugging it and stop doing it.
An Infection, on the other hand, is a bacterial issue and needs to be taken more seriously. While less common than simple irritation, you absolutely need to know the warning signs.
- What it looks like: Look for intense, spreading redness and significant swelling that feels hot. The piercing might have a persistent, throbbing pain. The biggest giveaway is thick, colored discharge—think yellow or green, which might even have an unpleasant smell. In more serious cases, you could even feel unwell or run a fever.
- What to do: Do not remove the jewelry! This is critical because it can trap the infection inside, making things much worse. Keep cleaning gently with your ear piercing cleaning solution and call your piercer or a doctor right away for advice.
Crucial Tip: Never try to self-diagnose a true infection. If you see yellow or green pus, the area feels hot to the touch, or the pain is getting worse instead of better, it’s time to get professional medical advice.
The Dreaded Piercing Bump
Ah, the piercing bump. It's the most common freak-out moment for anyone with a new cartilage piercing. These annoying little bumps can seem to pop up overnight, but they're almost always just a sign of irritation, not some permanent flaw.
The key to getting rid of them is playing detective and finding the cause. Are you touching your jewelry too much? Is the jewelry the wrong size or material? Are you using a harsh cleaner instead of a simple saline solution?
To help you visualize the core routine that prevents many of these issues, here's a look at the simple, three-step process.
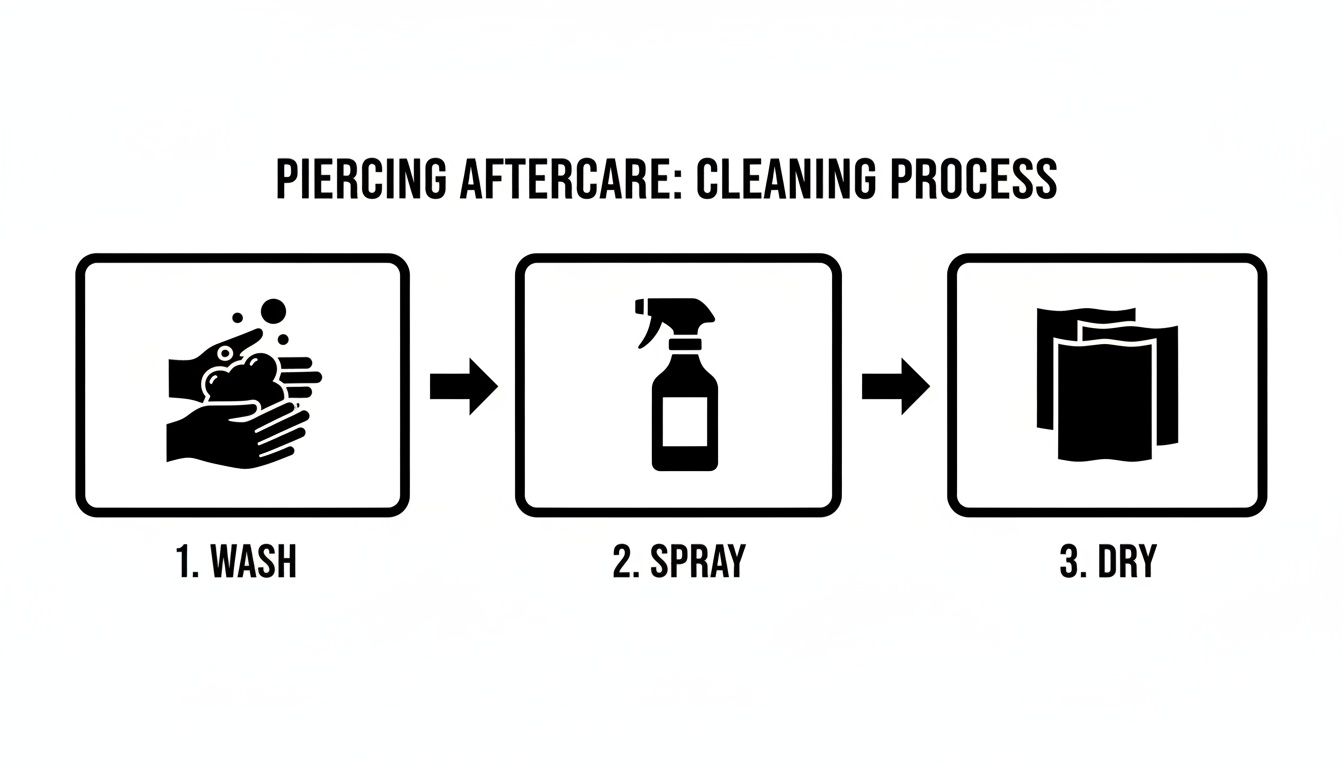
This really breaks it down. A successful aftercare routine is built on three simple pillars: always starting with clean hands, using a proper cleaning solution, and drying the area correctly to keep bacteria away. Master this basic process, and you can often stop irritation bumps from ever showing up.
If a bump does appear, stay calm and stick to your cleaning routine. Be extra diligent about not sleeping on that side and avoiding any pressure on the area. Most of the time, these bumps will slowly shrink and disappear once the source of the irritation is gone. Patience is your best friend here.
Aftercare for Different Types of Ear Piercings
So, you’ve got the basics down, but here’s a little secret from someone who's seen it all: not all ear piercings heal the same way. That simple lobe piercing you got on a whim has totally different needs than that cool industrial bar you’ve been dreaming about. Assuming every piercing heals identically is a fast track to irritation.
Let's break down the unique needs of different placements so you can give each piece of your ear party the VIP treatment it deserves. Tailoring your routine is the key to making sure every single piercing, from a classic lobe to a tricky cartilage setup, heals up perfectly.
Lobes: The Chill Cousins of the Piercing World
If you're new to this, you started in the right place. Lobe piercings are generally the most forgiving. Thanks to the great blood flow in that soft, fleshy tissue, they tend to heal the fastest—usually within 6 to 8 weeks.
Your standard twice-a-day cleaning with a sterile saline spray is typically all they need to stay happy. The main thing to watch for here is accidental snagging, especially if you love dangly earrings. And even though they heal quickly, don't slack on your cleaning routine! Consistency is what gets you to the finish line without any hiccups.
Cartilage Piercings: The High-Maintenance Divas
Now, let's talk about cartilage—your helix, conch, daith, and rook piercings. These are the ones that demand a little more patience and a lot more care. Because cartilage has less blood supply than the lobe, healing takes significantly longer, often anywhere from 6 to 12 months. Yes, you read that right.
This slower healing process also makes them more prone to those dreaded irritation bumps. They’re much less forgiving if you accidentally sleep on them or use the wrong cleaning solution. You really have to baby these ones.
Pro Tip: For cartilage, a fine mist saline spray is your best friend. It lets you clean the area thoroughly without physically touching or moving the jewelry, which is absolutely key to preventing irritation and letting that delicate tissue heal undisturbed.
Hard-to-Reach Spots and Special Cases
Some piercings are just plain awkward to clean. The tragus, for example, sits right at the entrance of your ear canal, and the rook is tucked away inside a fold of cartilage. You have to get a little creative.
-
Tragus and Rook Piercings: For these, precision is everything. Instead of trying to soak them, focus on targeted sprays. After spraying, use the very corner of a clean paper towel or a piece of non-woven gauze to gently dab around the jewelry and soak up any excess moisture.
-
Industrial Piercings: An industrial is basically two cartilage piercings connected by one long barbell. This means you have two separate holes to care for, and they both need to heal at the same pace. Be extra diligent about cleaning both the front and back of each piercing site and avoid any pressure on the bar. That means being super mindful when sleeping or talking on the phone.
Protecting these piercings from daily life is a huge part of the aftercare battle. Using a travel pillow to sleep can be a total game-changer, as it lets you rest your ear in the open space, preventing pressure. Also, be careful with headphones, hats, and even your hair—they can all snag on your new jewelry and set your healing back. It's all about creating a safe little bubble for your piercing while it heals.
Long-Term Care for Healed Piercings
Congrats, you made it through the healing phase! Your piercing is officially settled in, the crusties are a distant memory, and you’re ready to really start showing off your style. But hold on—just because it's healed doesn't mean you can totally forget about it. Think of it like a new tattoo; it’s a permanent part of you now and needs a little love to stay looking its best.
Long-term care is all about simple maintenance. It's way less intense than the initial healing stage but just as important for keeping that piercing channel healthy and your jewelry sparkling. This is the fun part where you get to build your BodyCandy collection and truly make your piercings your own.
The Big Jewelry Swap
Waiting until your piercing is 100% healed before changing your jewelry for the first time is non-negotiable. Seriously, don't rush this. Swapping it out too early can re-traumatize that delicate new tissue, potentially leading to nasty irritation bumps or even setting you right back to square one on healing. Patience is everything!
When you're finally ready to switch things up, make sure you do it right:
- Wash Your Hands: This is a golden rule. Always start with clean hands to avoid introducing any unwanted bacteria into the piercing channel.
- Clean the New Jewelry: Before you even think about putting it in, give your new piece of BodyCandy jewelry a quick clean with some gentle, antibacterial soap and water. Rinse it thoroughly to get all the soap off.
- Be Gentle: Even a healed piercing channel can be a bit tight when you're introducing new jewelry. A tiny dab of water-based lubricant on the post can make all the difference, helping it glide through smoothly without any fuss.
Keeping Your Jewelry and Piercing Fresh
Over time, even fully healed piercings can get a little funky. It happens! A buildup of dead skin cells, natural oils, and product residue can cause some irritation or a weird smell. You don’t need to go back to your full-on saline soak routine, but a little upkeep goes a long way.
A simple cleaning a few times a week while you're in the shower is usually perfect. Just let some warm water run over the piercing and gently lather a bit of mild, fragrance-free soap around the area. Rinse it well, and you're good to go. This keeps both the piercing and your jewelry clean without overdoing it.
For a deeper jewelry clean, especially if you have intricate pieces or different materials, it’s a smart move to take them out occasionally for a proper scrub. Different materials need different care, especially plated or coated pieces. To keep your whole collection in top shape, you'll want to check out our guide on the proper aftercare of coated and plated body jewelry for specific, material-safe tips.
Your Piercing Aftercare Questions Answered
Still have a few questions buzzing in your head? We've got you. Let's tackle some of the most common things people ask about their ear piercing aftercare routine. Think of this as your personal piercing FAQ!
How Often Should I Clean My New Ear Piercing?
For a brand-new piercing, the magic number is twice a day. A quick clean in the morning and another at night creates the perfect rhythm to keep things happy without going overboard.
It’s tempting to clean it more, especially if you're worried about infection, but trust us—over-cleaning can seriously irritate your skin and dry out the piercing. On the flip side, under-cleaning lets bacteria hang out. A consistent, twice-daily routine is the sweet spot for the entire healing period your piercer recommends.
Can I Use Alcohol Or Hydrogen Peroxide On My Piercing?
That’s going to be a huge, absolute no! While you might think of them as the ultimate germ-killers, alcohol and hydrogen peroxide are way too harsh for a delicate, healing piercing.
Using them can damage the fragile new tissue your body is working so hard to build. This not only dries everything out but can dramatically delay your healing, leading to more irritation in the long run. Always, always stick to a gentle, sterile saline solution. Your piercing will thank you.
When Can I Stop Using Ear Piercing Cleaning Solution?
You'll want to keep up your dedicated cleaning routine for the full healing time your piercer gave you. This is usually around 6-8 weeks for lobes, but can stretch all the way up to 6-12 months for cartilage piercings.
Even when a piercing looks healed on the outside, the tissue deep inside is still mending. Once you’re officially and completely healed, you can ease up on the twice-daily saline spray. That said, cleaning your piercing and jewelry in the shower a few times a week is a great habit to keep everything fresh and prevent buildup.
Ready to keep your piercings happy and healthy for the long haul? BodyCandy has everything you need, from aftercare solutions to the highest quality jewelry for your healed collection. Check out our amazing selection today!