Congrats on the new bling! That fresh eyebrow piercing looks amazing, but the next couple of days are super important for getting your healing journey started on the right foot.
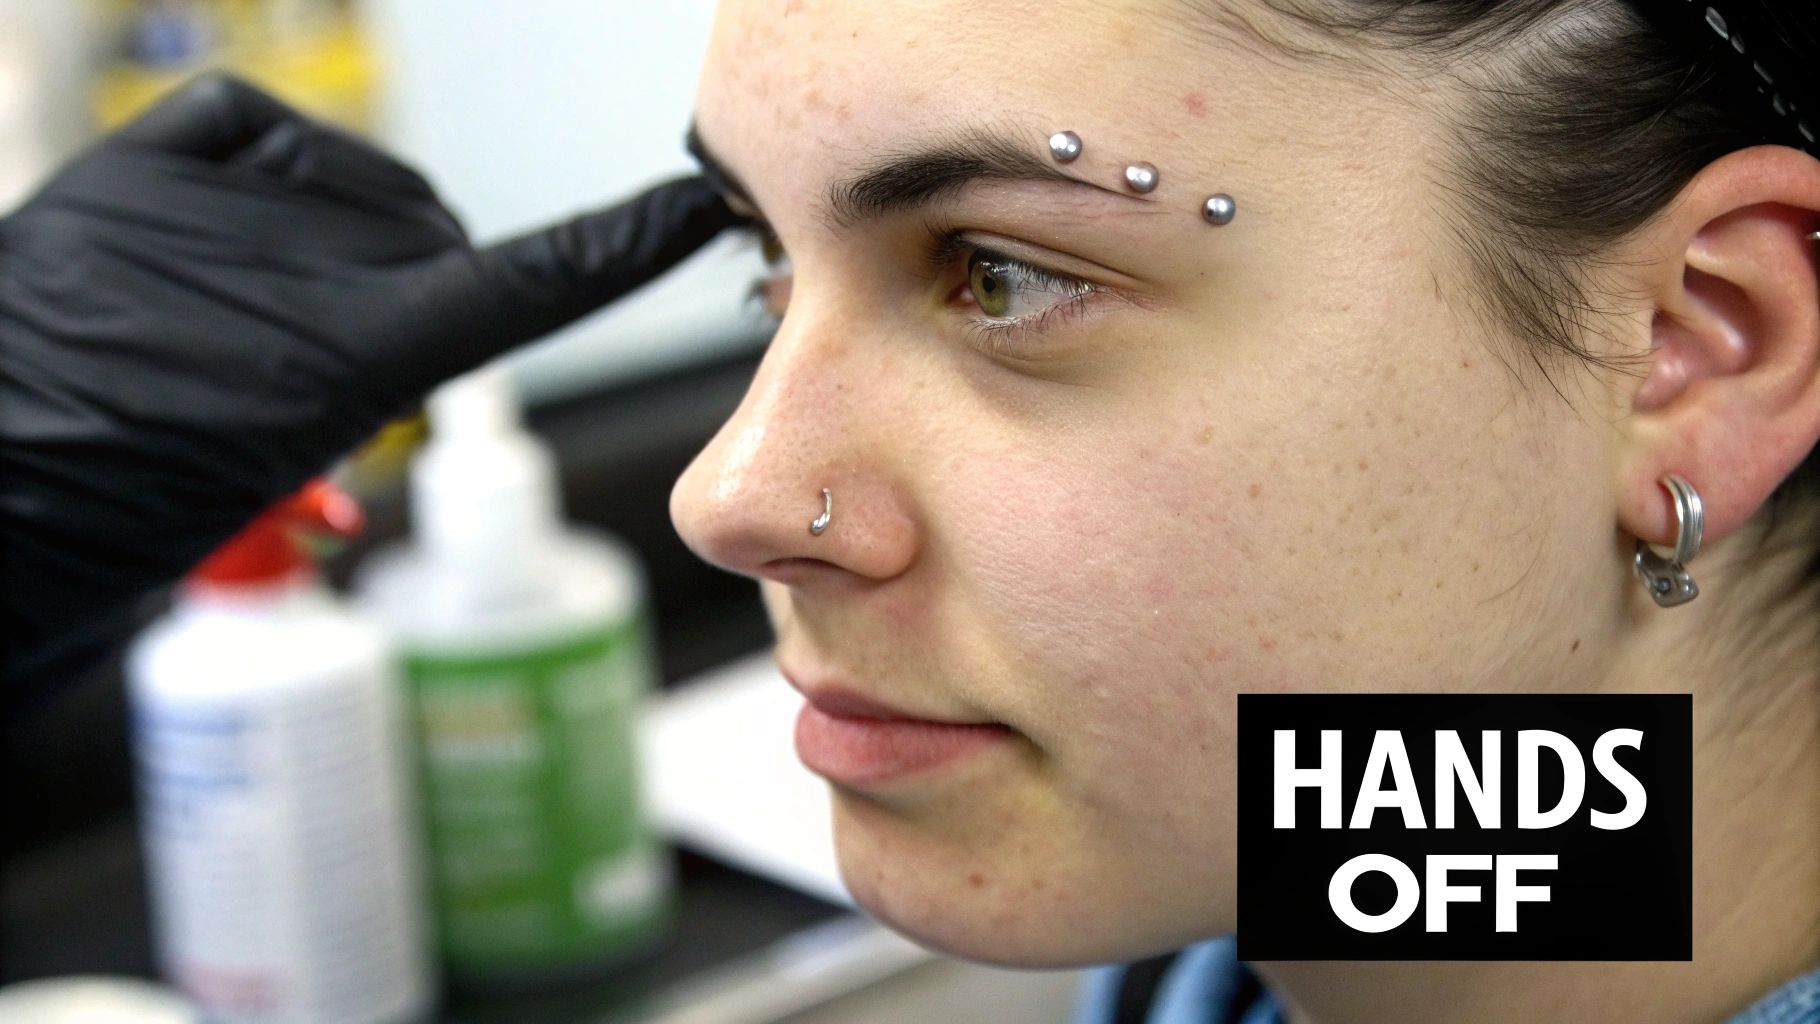
Your biggest job right now? Manage the initial swelling and tenderness (which is totally normal!) and adopt a strict hands-off policy. Seriously, resisting the urge to touch, poke, or fiddle with your new jewelry is the number one rule for success.
Your First 48 Hours With A New Eyebrow Piercing
Alright, you just walked out of the piercing studio feeling awesome. Let's keep that vibe going! These first two days are all about letting your body kickstart the healing process without any interruptions. Think of it as putting a "do not disturb" sign right on your face.
Your piercer gave you a list of instructions for a reason—they're the expert! Following their advice to the letter is the single best thing you can do for your new piercing. This initial period really sets the tone for the entire healing process, which can take anywhere from 6 to 12 weeks.
Setting Yourself Up For Success
A massive part of a successful healing journey starts with the jewelry itself. When you begin with high-quality, hypoallergenic materials, you're already slashing the risk of irritation from day one. This is exactly why professional piercers always recommend implant-grade titanium for fresh piercings; it's lightweight, completely nickel-free, and the kind of metal your body is happy to accept.
Starting with the right metal and a solid aftercare plan is your secret weapon. After all, one UK survey found that while 31% of piercings led to complications, most of those issues could have been avoided with simple, consistent cleaning routines. Opting for anti-allergenic materials like titanium can even help you heal in that sweet 6-12 week window, compared to over 3 months with cheaper, mystery metals. You can discover more insights about these piercing statistics and see just how much proper care matters.
For a quick cheat sheet, here's a simple breakdown of what to do (and what to definitely not do) in the first 48 hours.
Immediate Aftercare Dos and Don'ts
| Do | Don't |
|---|---|
| Keep it clean: Gently dab with a sterile saline solution 2-3 times a day. | Touch it: Keep your hands, hair, and dirty clothes away. |
| Stay hydrated: Drink plenty of water to help your body heal. | Sleep on it: Try to sleep on your back or the opposite side. |
| Be mindful of clothing: Watch out for sweaters and hats that can snag. | Use harsh chemicals: No alcohol, peroxide, or ointments. |
| Listen to your piercer: Follow their specific instructions perfectly. | Twist or turn the jewelry: This just irritates the fresh wound. |
Sticking to these simple guidelines will give your new piercing the peaceful environment it needs to start healing properly.
The most important rule for the first 48 hours? Leave it alone! No touching, twisting, or poking. Your body knows what to do, and your job is to simply keep the area clean and protected from bumps and snags.
Mastering Your Daily Piercing Cleaning Ritual
Consistency is everything when it comes to a happy, healing piercing. We're going to build your perfect daily cleaning ritual, which is all about gentle, effective care—not scrubbing it with harsh chemicals. Think of it as a little spa moment for your new favorite accessory.
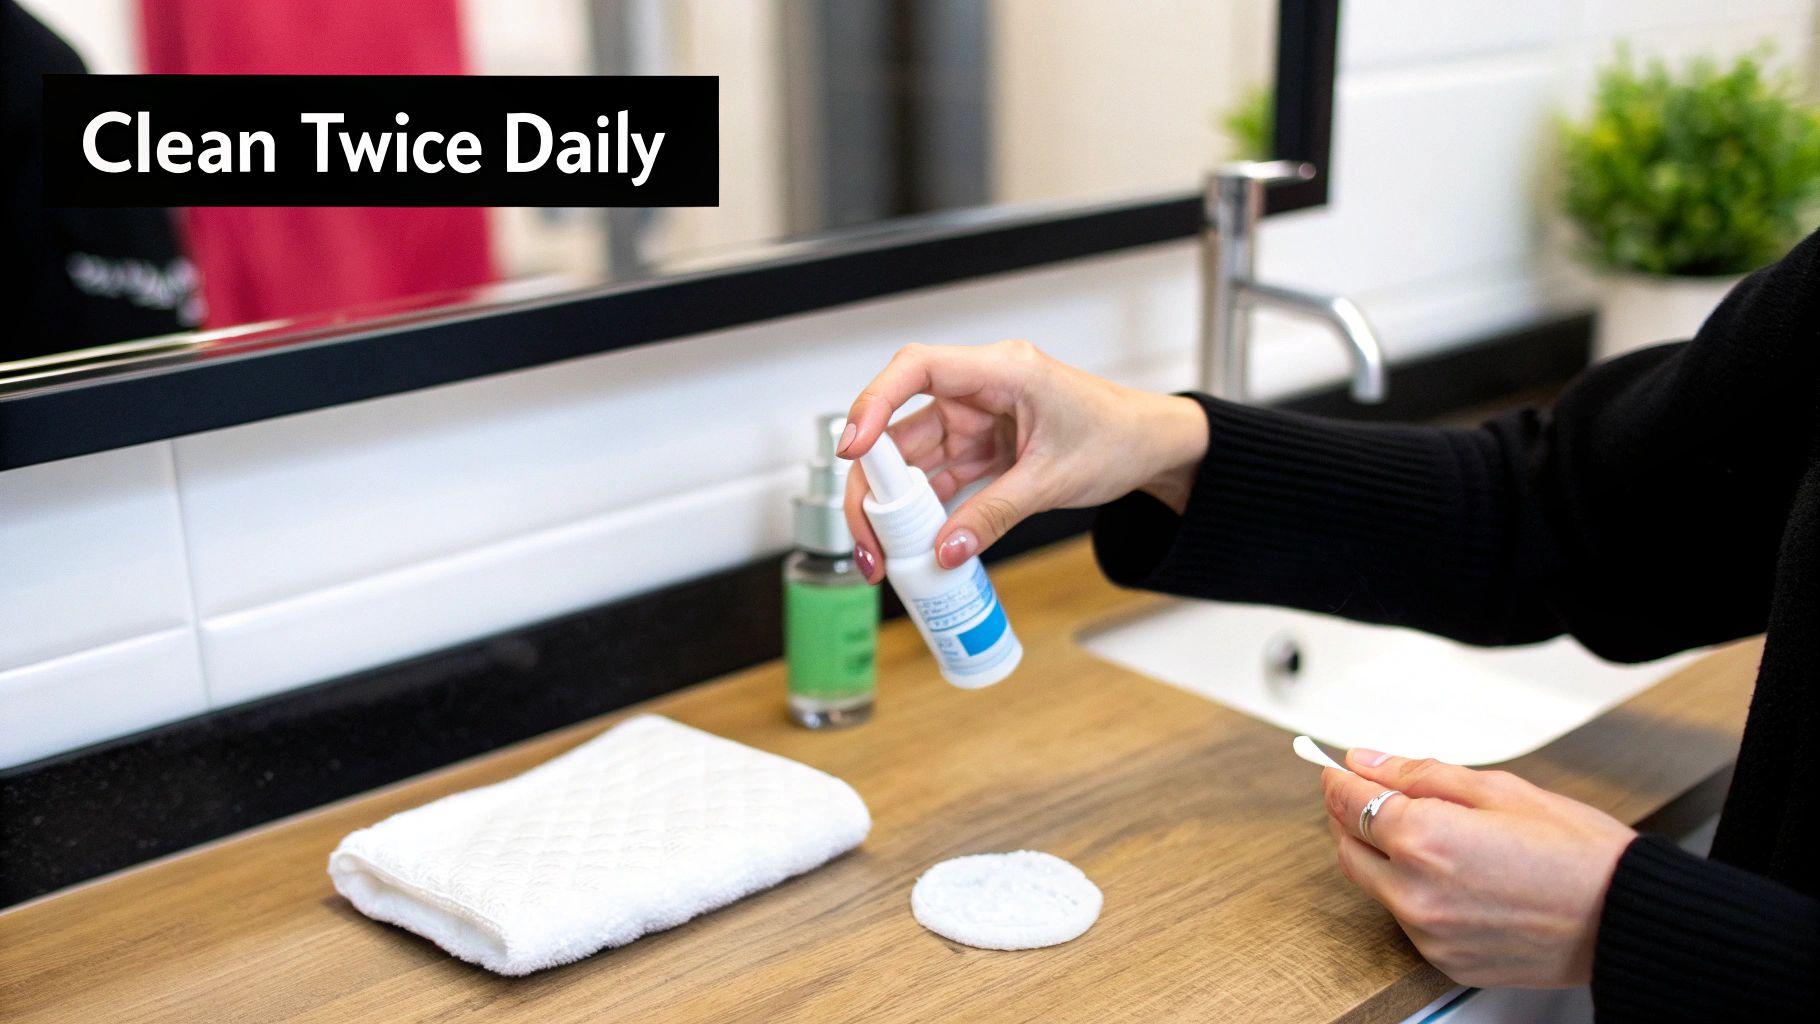
The absolute gold standard for aftercare is a sterile saline solution. This is basically just purified salt water that mimics your body's own natural fluids, making it the perfect gentle cleanser for a fresh wound.
You can buy pre-made sterile saline sprays from just about any pharmacy or your piercer. They're super convenient and, most importantly, guarantee you’re using a product with the right, sterile salt-to-water ratio.
The Right Way to Clean
Your main goal is to clean the piercing twice a day—once in the morning and once at night is usually perfect. Believe it or not, over-cleaning can be just as irritating as not cleaning enough, so stick to that magic number.
The process is really simple. Just generously spray the saline solution directly onto the front and back of your piercing. Let it sit and soak for a minute or so to soften up any "crusties" that have formed. (That's just dried lymph fluid, by the way, and a totally normal part of healing).
After soaking, gently pat the area dry with a clean, disposable paper towel or a non-woven gauze pad. A word of warning: try to avoid using cloth towels. They can harbor bacteria and have tiny loops that love to snag on new jewelry.
Pro Tip: Whatever you do, don't use your fingers to pick off crusties! This is a surefire way to introduce bacteria and can damage the delicate healing tissue. A gentle saline spray and a light pat-dry are all you need.
What to Avoid at All Costs
There are a ton of persistent myths out there about piercing aftercare, and following bad advice can seriously derail your healing process. It's just as important to know what not to put on your piercing.
Here are the biggest offenders to keep far, far away from your eyebrow:
- Rubbing Alcohol & Hydrogen Peroxide: These are way too harsh for a healing piercing. They kill off the new, healthy cells your body is working hard to create, which just leads to irritation, dryness, and a much longer healing time.
- Ointments (like Neosporin or Bacitracin): These are thick and suffocating. They block oxygen from reaching the piercing—which is essential for healing—and can trap moisture and debris, creating a perfect breeding ground for bacteria.
- Soaps and Harsh Cleansers: Fragrances, dyes, and other strong chemicals found in most soaps can be incredibly irritating to a fresh piercing. Just stick to your saline solution.
- Twisting or Turning the Jewelry: This is an old myth that really needs to go away. Turning your jewelry doesn't help it heal faster; it just tears the delicate tissue inside the piercing channel, causing trauma and setting your healing back.
By keeping your routine simple and sticking to saline, you're giving your piercing the best possible environment to heal up beautifully. For more on why specific products like H2Ocean are piercer-approved, you can learn more about saline-based aftercare sprays and how they support a healthy healing process. Your piercing will thank you for it!
Understanding the Eyebrow Piercing Healing Stages
Healing any piercing is a marathon, not a sprint. Your new eyebrow piercing will go through a few distinct stages, and knowing what to expect along the way will keep you from stressing over what’s perfectly normal. Let's break down the typical 6 to 12 week healing timeline.
Think of the healing process like your body building a tiny, reinforced tunnel for your jewelry. It’s a delicate construction project that needs patience and good aftercare. Rushing things or ignoring what your body is telling you can definitely cause setbacks.
The Initial Phase: Swelling and Settling
For the first couple of weeks, expect your piercing to be a bit of a drama queen. It's totally normal to see some redness, feel some tenderness, and deal with a bit of swelling. This is just your body sending extra blood and healing agents to the site to start the repair process.
During this time, you might also notice some clear or whitish fluid. That's just lymph fluid, and it's actually a good sign that your immune system is on the job. This fluid is what dries into those little "crusties" you'll find on your jewelry.
Crucial Tip: Whatever you do, don't pick at the crusties! Picking them off rips at the delicate, new skin underneath, which can cause irritation, scarring, and even invite infection. Let your saline soaks soften them up so they fall away on their own.
The Middle Stage: Strengthening and Solidifying
Once the initial swelling calms down, you'll enter the longest phase of healing. From the outside, your piercing might start to look pretty good! The redness will fade, and it won't feel nearly as tender—though you should still be keeping your hands off it as much as possible.
This is the sneaky part of the healing process. While it looks calm on the surface, your body is working hard internally to build and strengthen the fistula—that's the skin tunnel your jewelry sits in. The key here is consistency. A PMC study found that while 91.4% of people wore piercings for over 5 years without major issues, infections were common in those who slacked on daily hygiene. Sticking to your cleaning routine is your best defense against complications. You can check out the full details in the piercing safety research.
The Final Stretch: Fully Healed and Ready for New Jewelry
So, how do you know when you’ve finally crossed the finish line? A fully healed eyebrow piercing will have a few clear signs:
- No More Discharge: The fistula is completely sealed, so there's no more lymph fluid or crusties.
- No Pain or Tenderness: You can gently touch the skin around the piercing without any soreness.
- Normal Skin Color: The entry and exit points look like your normal skin tone, with no lingering redness.
- Jewelry Moves Freely: The jewelry can be moved gently during cleaning without any resistance or discomfort.
Even when it seems healed, it's smart to wait the full recommended time before swapping out your initial jewelry. Remember, the healing timeline can be different for everyone. If you're curious how this stacks up against other piercings, take a look at our guide on healing times for popular piercings.
Once your piercer gives you the all-clear, you're finally ready to explore all the awesome eyebrow rings Bodycandy has to offer!
Lifestyle Habits to Protect Your Piercing
Your new piercing is now a part of your daily life, and a few small adjustments can make a massive difference in how it heals. Honestly, it’s all about learning how to navigate everyday activities without accidentally snagging, bumping, or irritating your new bling.
Think of these simple habit changes as your secret weapon for a smooth, drama-free healing journey.
Sleep Smarter, Not Harder
One of the biggest early challenges is figuring out how to sleep without putting pressure on your piercing. Rolling onto your new eyebrow jewelry in the middle of the night is a surefire way to wake up to swelling, irritation, and even migration—where the piercing starts to shift from its original spot. Nobody wants that.
If you’re a side sleeper, this can be tricky. Your new best friend is a travel pillow! Seriously. By resting your head so your ear is in the donut hole, you create a perfect little protective pocket. This keeps your piercing from getting squished and rubbed against your pillow all night long.
Navigating Your Beauty Routine
Your face is a busy place, and everything from makeup to skincare needs a little extra thought while you're healing. The main goal is to keep all products away from the piercing itself until it's fully healed.
- Makeup & Foundation: When you're applying foundation, concealer, or powder, create a small, product-free circle around your piercing. Makeup can easily clog the piercing channel (the fistula) and introduce bacteria, leading to some nasty complications.
- Skincare & Face Wash: Be extra gentle when washing your face. Instead of splashing water everywhere, use your hands or a soft cloth to carefully cleanse around the piercing, avoiding direct contact.
- Hair Products: Hairspray, gels, and mousses are major irritants. When you're using them, try shielding your piercing with your hand to block any overspray from landing on it.
The chart below shows the typical stages your piercing will go through as it heals, which really drives home why these habits are so crucial in the early weeks.
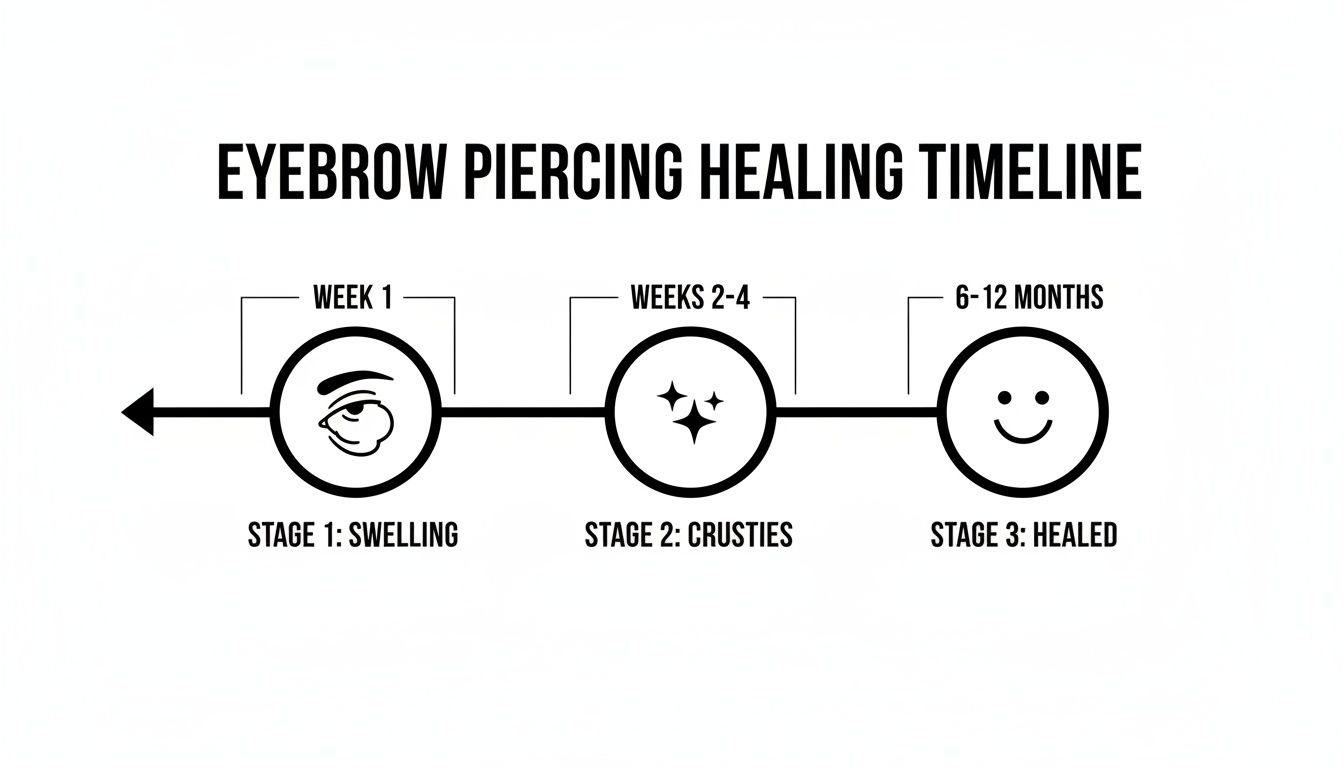
As you can see, that first month is the most sensitive period. Avoiding irritation from your daily habits is absolutely key to preventing setbacks and getting to the fully-healed stage.
Handling Everyday Challenges
Life doesn't stop just because you got a new piercing, but you can definitely outsmart potential problems. A little bit of mindfulness goes a long, long way.
Pro Tip: When you're pulling a shirt or sweater over your head, slow down! Place a hand flat over your piercing to create a protective barrier, preventing it from getting snagged on the fabric. This one simple move can save you from a world of pain.
Wearing glasses or sunglasses can also be tricky. Just be mindful when putting them on or taking them off to avoid bumping the jewelry. If you find your frames are constantly hitting the piercing, you might need to temporarily switch to a different pair or wear contacts if that's an option for you.
Similarly, be careful when washing your hair to keep shampoo from running into the piercing, and always give the area a good rinse with fresh water afterward. For more tips on keeping things fresh, you might be interested in our guide on piercing deodorant aftercare solutions that can help manage irritation.
Navigating Common Piercing Problems
Even when you follow your aftercare routine to the letter, healing can sometimes hit a few bumps—literally. Don't panic! Most issues are pretty minor and totally manageable once you know what you're looking for.
Think of this as your field guide to getting your piercing back on the right track. The first step is learning to tell the difference between your body's normal healing process and a genuine problem. Your body is doing a ton of work, so a little bit of fussiness is actually a good sign.
Is It Irritation or an Infection?
It's completely normal for new piercings to be a little red, swollen, and tender. You'll probably also see some clear or whitish fluid that dries into "crusties." This is all part of the healing playbook. It’s just your body sending in the cleanup crew.
An infection, though, is a whole different beast. The signs are way more intense and definitely shouldn't be ignored. Knowing how to spot the difference is crucial for a happy, healthy piercing.
What Normal Healing Irritation Looks Like:
- Redness: A pinkish or slightly reddish hue right around the piercing site.
- Swelling: Some minor puffiness that should start to go down after the first week or so.
- Discharge: Clear or off-white fluid (that's lymph!) that forms crusts when it dries.
- Tenderness: The area might be sore to the touch, especially in the early days.
Warning Signs of a Potential Infection:
- Intense Pain: Pain that gets worse over time or feels like it's throbbing.
- Hot to the Touch: The skin around the piercing feels noticeably warmer than the rest of your skin.
- Thick Discharge: Yellow, green, or dark-colored pus, which might also have a funky smell.
- Spreading Redness: Redness that expands far beyond the piercing, sometimes in a streak.
If you're seeing signs of a potential infection, do not take your jewelry out. It's a common mistake, but removing the jewelry can allow the piercing to close, trapping the infection inside. This can lead to a much bigger problem, like an abscess. It's time to see a doctor for a proper diagnosis and, likely, a course of antibiotics.
What’s the Deal With Piercing Bumps?
Ah, the dreaded piercing bump. These little pimple-like bumps that can pop up next to your piercing are almost always caused by simple irritation, not infection. They're your piercing's way of waving a red flag and telling you something is bothering it.
The usual suspects include:
- Snagging the jewelry on your clothes, hair, or a towel
- Sleeping directly on the piercing
- Using harsh cleaners like alcohol or peroxide
- Touching it with unwashed hands
- Wearing low-quality or poorly fitted jewelry
Luckily, the fix is usually pretty straightforward: find the source of irritation and get rid of it. Go back to basics with your sterile saline soaks twice a day, be hyper-aware of not bumping it, and double-check that your jewelry is high-quality, implant-grade titanium. Most of these irritation bumps will slowly disappear once the cause is gone.
If the bump just won't go away or you’re stumped on what’s causing it, your professional piercer is your best friend. They can take a look, suggest tweaks to your routine, and make sure your jewelry is the right size and shape for a smooth healing journey.
Your Eyebrow Piercing Questions Answered
Got some questions buzzing around in your head? You're not the only one. Getting a new piercing is a huge thrill, but it’s totally normal for a few “what ifs” to pop up once you get home.
Don't worry, we've got you covered. This section dives right into the most common things people wonder about after getting their eyebrow pierced. From jewelry swaps to long-term care, we're here to help you feel confident and in-the-know.
When Can I Safely Change My Eyebrow Jewelry?
Patience is everything here. You absolutely have to wait until your piercing is 100% fully healed before even thinking about swapping out that initial barbell. This usually takes somewhere between 6 to 12 weeks, but everyone's body is different, so it can sometimes take a bit longer.
Trying to change your jewelry too soon is a major mistake. It can trigger some serious irritation, invite in a ton of bacteria, and basically reset all the healing progress you've made. That first piece of jewelry is a little longer to give swelling some room, so it's critical to leave it in for the whole healing journey.
Once you’re past the 3-month mark and have zero soreness, weird discharge, or redness, it's a great idea to pop back in to see your piercer. They can give it a professional look, confirm it’s good to go, and help you with that very first jewelry change to make sure it's done safely. After that, the fun of picking new styles can really begin!
What Jewelry Material Is Best For a New Piercing?
For a fresh piercing that's still healing, there's one clear winner: implant-grade titanium (ASTM F-136). Just think of it as the gold standard for body jewelry. It’s completely hypoallergenic, free of nickel, and super lightweight, which seriously cuts down on the chances of irritation and helps your body heal up faster.
Other body-safe options include solid 14k or 18k gold—and we mean solid, not plated! You’ll want to be careful with surgical steel, especially if you have sensitive skin. It often contains trace amounts of nickel which can cause a nasty reaction for some people.
Bottom line: Kicking off your piercing journey with a top-shelf material like titanium gives you the best possible shot at a smooth, easy heal. It’s a small investment in your piercing’s long-term health and happiness.
Should I Use Alcohol or Peroxide to Clean My Piercing?
This is a huge, absolute no. Honestly, this is one of the most persistent and damaging piercing myths out there, and it can do a real number on a healing piercing.
Harsh stuff like rubbing alcohol and hydrogen peroxide are way too aggressive for the delicate new tissue. They don't just kill the bad bacteria; they wipe out all the new, healthy cells your body is working so hard to build. Using them can lead to some gnarly irritation, chemical burns, and a much, much longer healing time.
Just stick to a gentle, sterile saline solution. It's the only thing you need to keep your piercing clean and happy without causing any extra drama.
What Do I Do If My Piercing Gets Infected?
First thing's first: do not take the jewelry out. This is a classic rookie mistake. Removing the jewelry allows the piercing holes to start closing up, which can trap the infection inside your skin. This can lead to a painful abscess, which is a much bigger problem you don't want to deal with.
The signs of a true infection are pretty hard to miss. We're talking thick, yellow or green pus (not the normal clearish fluid), skin that feels hot to the touch, intense or throbbing pain, and redness that spreads way beyond the piercing site itself.
If you even suspect you have an infection, it's time to see a doctor. While your piercer is your go-to for aftercare advice, only a medical professional can properly diagnose an infection and get you the antibiotics you’ll need to clear it up.
Ready to show off your healed piercing in style? Bodycandy has an incredible collection of eyebrow rings to help you express yourself. Shop our full collection of eyebrow jewelry today and find your new favorite look.