
So you got a new piercing? Awesome! Now comes the most important part: keeping it clean so it heals up beautifully without any drama. Let's cut through all the conflicting advice out there and get straight to the piercer-approved methods for how to clean piercings. Getting this right from day one is the key to a happy, healthy piercing that you'll love for years.
Your Piercing Aftercare Starts Now
That amazing feeling of walking out of the studio with a fresh piercing is just the beginning. Proper aftercare isn't just a suggestion; it’s literally the most important factor in how well your new body art heals. Think of it as a team effort between you and your piercing—give it the care it needs, and it'll reward you with a smooth, hassle-free healing process.
If you slack on aftercare, you're rolling the dice on some seriously annoying complications. We're talking about everything from painfully long healing times and irritation bumps to nasty infections. This is especially true for cartilage piercings, which are notorious for being a bit more temperamental due to less blood flow in the area.
Why Cleaning Matters So Much
The reason piercers are so obsessed with aftercare comes down to simple science. A new piercing is essentially an open wound, and your body's number one job is to heal it. Your job is to create the perfect, clean environment for that to happen.
A solid cleaning routine does a few critical things:
- Washes Away Debris: It gently clears away dried lymph (those dreaded "crusties"), dead skin cells, and any bacteria trying to set up camp.
- Prevents Infection: Regular, gentle cleaning is your best defense against harmful bacteria that can cause a painful infection.
- Calms Irritation: A clean piercing is a happy piercing. Good aftercare helps minimize redness, swelling, and general soreness.
Infections are no joke. In fact, clinical reviews suggest that up to 20% of new ear piercings get a minor infection when aftercare isn't taken seriously. When you follow a good cleaning routine, you associate your new jewelry with a positive, pain-free process. You can actually read more about the body piercing service industry and see why aftercare is such a massive focus for professionals.
To make things super simple, here's a quick cheat sheet of what to do—and what not to do.
The Golden Rules of Piercing Cleaning
Sticking to the basics is your best bet. A lot of people accidentally make things worse by overdoing it or using the wrong products. This table breaks down the essentials.
| Do This: The Right Way | Avoid This: The Wrong Way |
|---|---|
| Use sterile saline solution. It's gentle, isotonic, and perfect for piercings. | Using alcohol or hydrogen peroxide. These are way too harsh and kill healthy cells. |
| Wash your hands thoroughly with soap and water before touching your piercing. | Twisting or turning your jewelry. This just re-opens the wound and invites bacteria. |
| Gently pat the area dry with clean, disposable paper towels. | Using cotton balls or Q-tips. They can leave behind tiny fibers that get trapped. |
| Clean 1-2 times daily. Consistency is key, but don't overdo it. | Submerging your piercing in pools, hot tubs, or baths until it's fully healed. |
| Be patient. Healing takes time, and every body is different. | Changing jewelry too soon. Wait until your piercer gives you the green light. |
Remember, the goal is to work with your body's natural healing ability, not against it.
The Golden Rule: Be gentle and consistent. Over-cleaning or using harsh products can be just as damaging as not cleaning at all. The goal is to support your body's natural healing process, not disrupt it.
Choosing the Right Cleaning Solution
Walking into the first-aid aisle can feel like a pop quiz you didn't study for. With so many bottles of antiseptics and solutions staring back at you, what's actually safe to use on your brand-new piercing? Let's cut through the confusion and get you the right stuff.
Your new piercing is a delicate, healing wound—not a dirty countertop. The goal isn't to blast it with harsh chemicals but to gently help your body do its thing. This is where the right solution becomes your piercing’s best friend.
The Gold Standard: Sterile Saline Solution
If there’s one thing every professional piercer agrees on, it’s this: sterile saline solution is the top choice for cleaning piercings. It’s gentle, it's effective, and it perfectly mimics your body's own natural fluids, which means it cleans without causing a bit of irritation.
So, what makes it so great?
- It's Isotonic: This just means it has a salt concentration similar to your own body. It won't dry out your skin or damage that delicate new tissue.
- It's Sterile: A pre-packaged saline spray is guaranteed to be free of any nasty bacteria, which is absolutely crucial for an open wound.
- It's Convenient: A fine mist spray makes application a total breeze. No mixing, no mess—just a quick, gentle spritz.
You really can't go wrong with a product designed specifically for piercing aftercare. They're formulated to be gentle and effective, taking all the guesswork out of your routine. If you're looking for a piercer-recommended option, check out our guide to H2Ocean aftercare products, which are a long-time favorite in the community.
What to Absolutely Avoid
This is where a lot of well-meaning people go wrong. The old-school advice to use harsh antiseptics is seriously outdated and can do way more harm than good. Our rule of thumb? If it stings, it's probably too strong for your piercing.
Here are the top offenders to keep far, far away from your new jewelry:
- Hydrogen Peroxide: It's way too aggressive and actually kills off the healthy new cells your body is working so hard to build.
- Rubbing Alcohol: This is a major no-no. It's incredibly drying, causes serious irritation, and can set your healing back by weeks.
- Antibacterial Soaps (like Dial) & Ointments: These often contain harsh chemicals and fragrances that don't belong in a fresh wound. Ointments are even worse because they can trap bacteria against the skin, creating the perfect environment for an infection.
Thankfully, the approach to piercing care has evolved. The market for specialized piercing saline sprays alone hit about $410 million in 2024, which just shows the massive shift toward safer, science-backed aftercare. People are happy to invest in products that work with their bodies, not against them. You can learn more about piercing solution trends to see just how much things have improved.
Your piercing isn’t dirty—it's healing. Harsh chemicals disrupt this process by killing the good cells along with the bad. Stick to gentle saline and let your body do its thing.
The DIY Salt Soak Option
So, can you make your own saline solution at home? Yes, but it comes with a major disclaimer: you have to do it perfectly. A homemade soak is an okay option if you’re in a pinch, but a sterile spray is always the safest bet. If you do go the DIY route, precision is key.
How to Mix a Safe DIY Soak
- Add 1/4 teaspoon of non-iodized sea salt to one cup (8 ounces) of warm, distilled or bottled water.
- Stir until the salt is completely dissolved.
Too much salt will irritate your piercing, and too little won't be effective. And never use table salt—the iodine and anti-caking agents can cause major irritation. Just remember, this mixture is not sterile, so use it immediately and toss out any leftovers.
How to Clean Different Types of Piercings
Alright, theory is great, but let's get down to the practical side of things. You know what solution to use, so now let’s talk about the how. Every piercing has its own little quirks, and learning the right way to clean each one is the key to a happy, healthy healing journey.
We’ll break it down by area, giving you the inside scoop on how to handle each one like a pro.
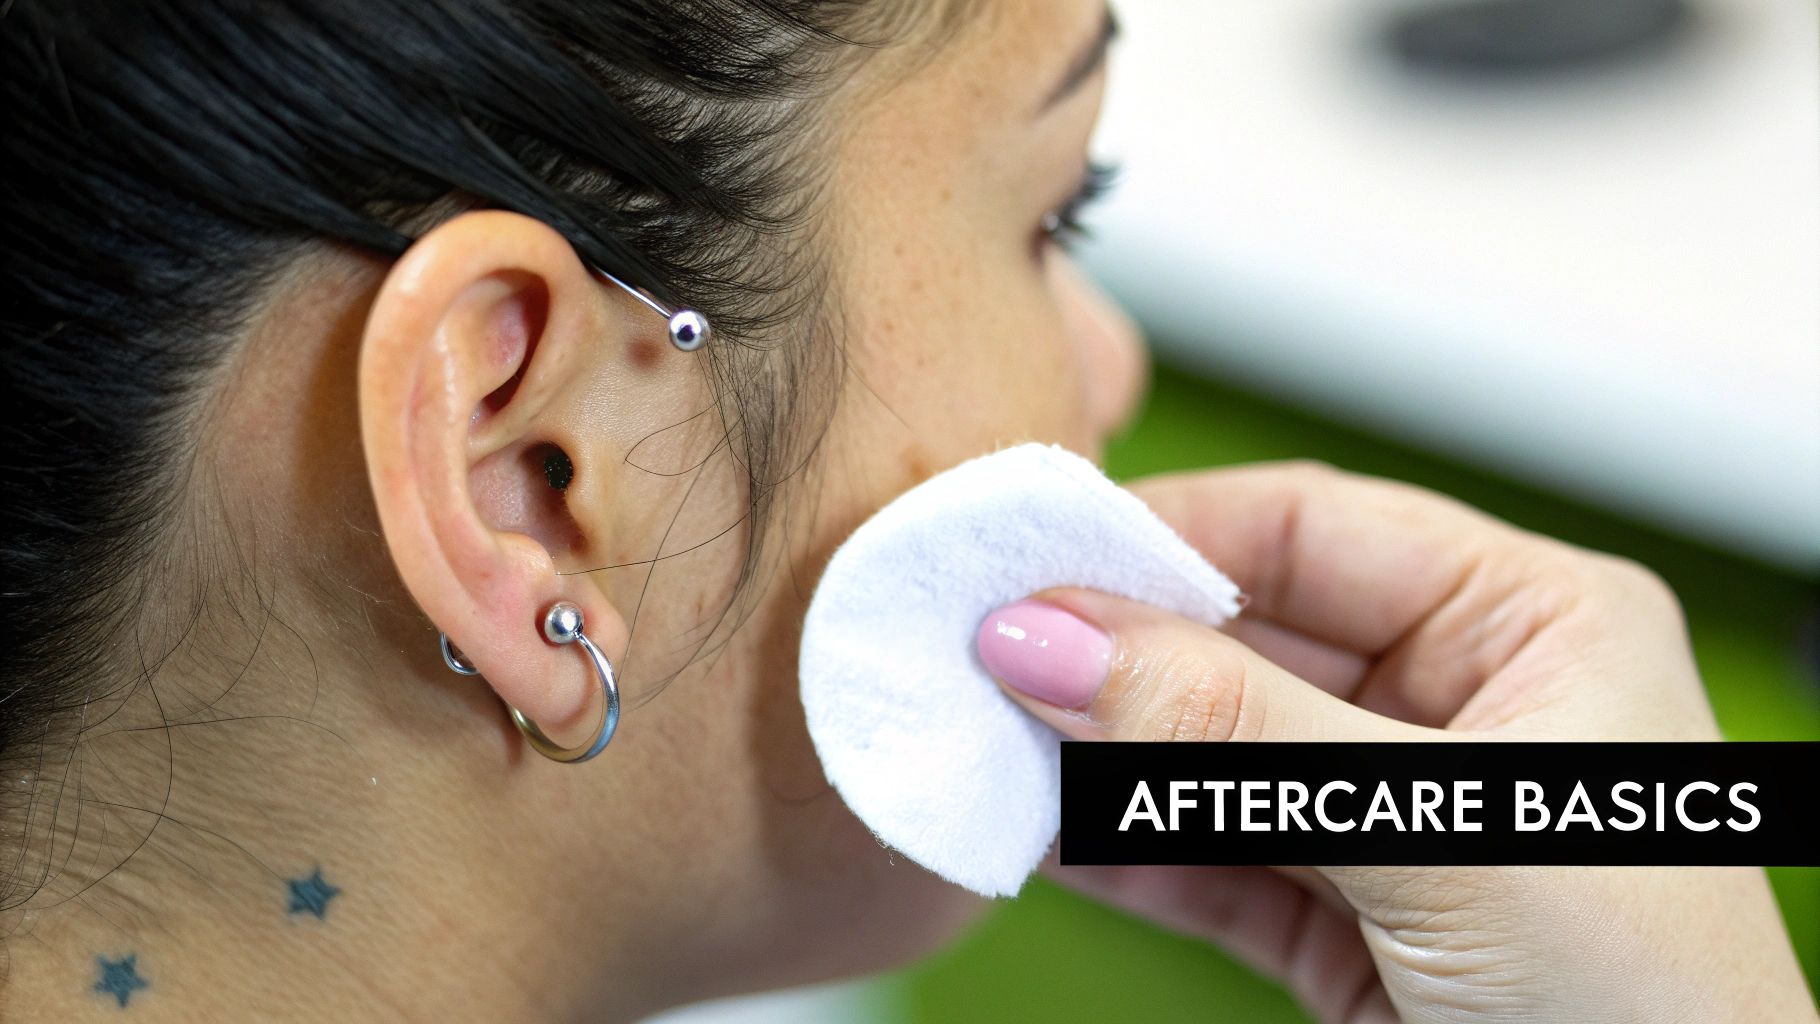
Mastering Ear and Facial Piercings
Ear and facial piercings are some of the most common, but they come with their own unique challenges—think hair getting tangled, makeup migrating, or glasses bumping your new jewelry. The goal here is a gentle but thorough clean that doesn't snag or irritate anything.
For ear piercings like your lobes, helix, or tragus, the process is pretty straightforward.
First things first, always wash your hands with soap and water before you even think about touching your piercing. Grab your sterile saline spray and give the front and back of the piercing a generous misting. Don't be shy with it! Let the solution sit for about a minute. This will soften up any of those pesky "crusties" (which are just dried lymph fluid—totally normal!). Finally, gently pat the area dry with a clean, disposable paper towel or a non-woven gauze pad. A big no-no is using cloth towels, which can harbor bacteria and snag on your jewelry. Ouch.
For facial piercings like a nostril or septum, you'll follow a similar process, but you need to be extra mindful of all the nooks and crannies. A nostril piercing, for example, needs to be cleaned on both the inside and the outside. A gentle spray up the nostril and another on the outer surface does the trick.
Piercer's Pro Tip: "Crusties" are a sign of healing, not a problem to be scrubbed away. Never, ever pick at them with your fingers! Let the saline soak do its job. If any stubborn bits remain after soaking, you can gently wipe them away with clean gauze once they're soft. Forcing them off can tear the delicate, healing tissue underneath.
Oral Piercings and What to Expect
Oral piercings—think tongue, lip, or labret—play by a different set of rules because they're healing both inside and outside your mouth. This means you’re pulling double duty on aftercare.
For the inside of your mouth, the key is keeping things clean without nuking the natural, healthy balance of your oral microbiome.
- Rinse with an alcohol-free mouthwash or a sea salt solution for 30-60 seconds after every meal, snack, or drink that isn't plain water.
- Make this part of your morning and nightly routine, too.
- Avoid any mouthwash that contains alcohol. It's way too harsh and will cause some major irritation.
For the outside of a lip piercing, you'll treat it just like a facial piercing. A quick spritz with your sterile saline spray once or twice a day, followed by a gentle pat dry, is all you need. It’s a two-part process, but staying on top of it will make a world of difference in your healing.
Keeping up with oral hygiene is absolutely crucial. For an even deeper dive, check out our guide on the tooth of the matter with oral piercing care.
Navigating Body Piercings Like Navel and Nipple
Body piercings like your navel (belly button) or nipples are often tucked away under clothing. This can trap moisture and create friction—two things that healing piercings absolutely despise. The cleaning process itself is simple, but your daily habits are what really count here.
Just like with your ears, a sterile saline spray applied directly to the piercing once or twice a day is perfect. Let the solution soak in to soften any crusties, then pat the area completely dry. We can't stress this enough: moisture is the enemy of these piercings, so making sure they are bone-dry is your top priority.
Here are a few extra tips for these spots:
- Stick to clean, loose-fitting clothing made from breathable fabrics like cotton to let air circulate.
- Be mindful of things like high-waisted pants or tight bras that can rub against the jewelry and cause irritation.
- During your daily shower, it's fine to let warm water run over the piercing, but don't aim the showerhead directly at it. Try to keep soap away, and if some does get in there, rinse it out thoroughly.
This flow chart breaks down your best cleaning options, showing the go-to solutions versus the stuff you should definitely avoid.
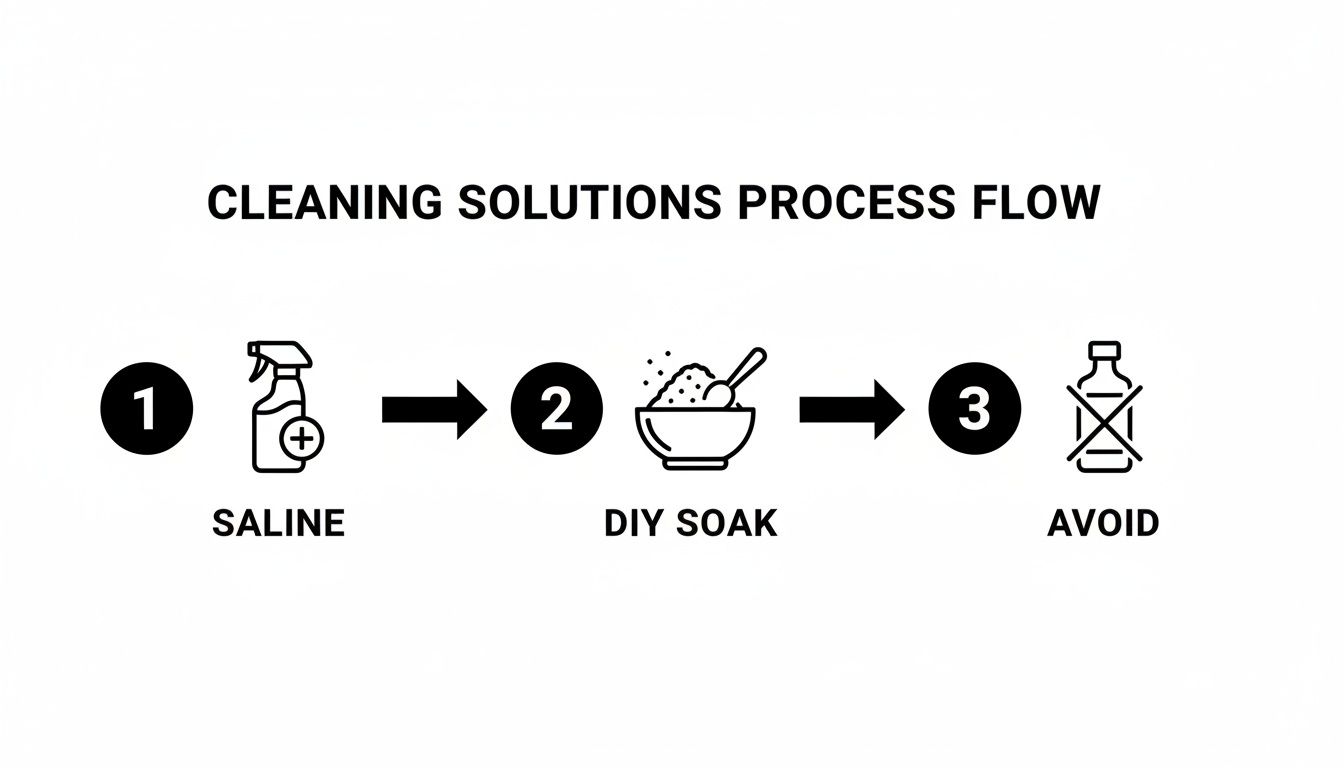
As you can see, sterile saline is your top choice. A properly mixed DIY soak is a decent backup, while harsh chemicals like alcohol and peroxide are firmly in the "do not use" category.
How Often Should You Be Cleaning?
Consistency is your best friend, but believe it or not, it's totally possible to over-clean a piercing. Cleaning too often can strip the area of its natural oils, leading to dryness, irritation, and a very unhappy piercing. For most new piercings, the sweet spot is once or twice a day.
A good routine is to clean in the morning and again before bed. If you've been sweating a lot or the piercing got a bit dirty, an extra rinse with saline is a good idea. Otherwise, just stick to your schedule and let your body handle the rest of the healing magic.
Every piercing and every person heals differently. The table below gives you a general idea of what to expect, but always listen to your body and your piercer.
Piercing Cleaning Frequency and Healing Timelines
| Piercing Type | Cleaning Frequency | Average Healing Time |
|---|---|---|
| Earlobe | 1-2 times daily | 6-8 weeks |
| Ear Cartilage | 1-2 times daily | 6-12 months |
| Nostril | 1-2 times daily | 4-6 months |
| Septum | 1-2 times daily | 2-3 months |
| Lip/Labret | 1-2 times daily (outside), rinse after eating (inside) | 2-3 months |
| Tongue | Rinse after eating/drinking | 4-6 weeks |
| Nipple | 1-2 times daily | 6-12 months |
| Navel | 1-2 times daily | 9-12 months |
Remember that these are just averages. Some piercings, like lobes, might feel great in a few months, while cartilage or navel piercings can take up to a year or even longer to fully mature. Patience really is a virtue in the piercing world.
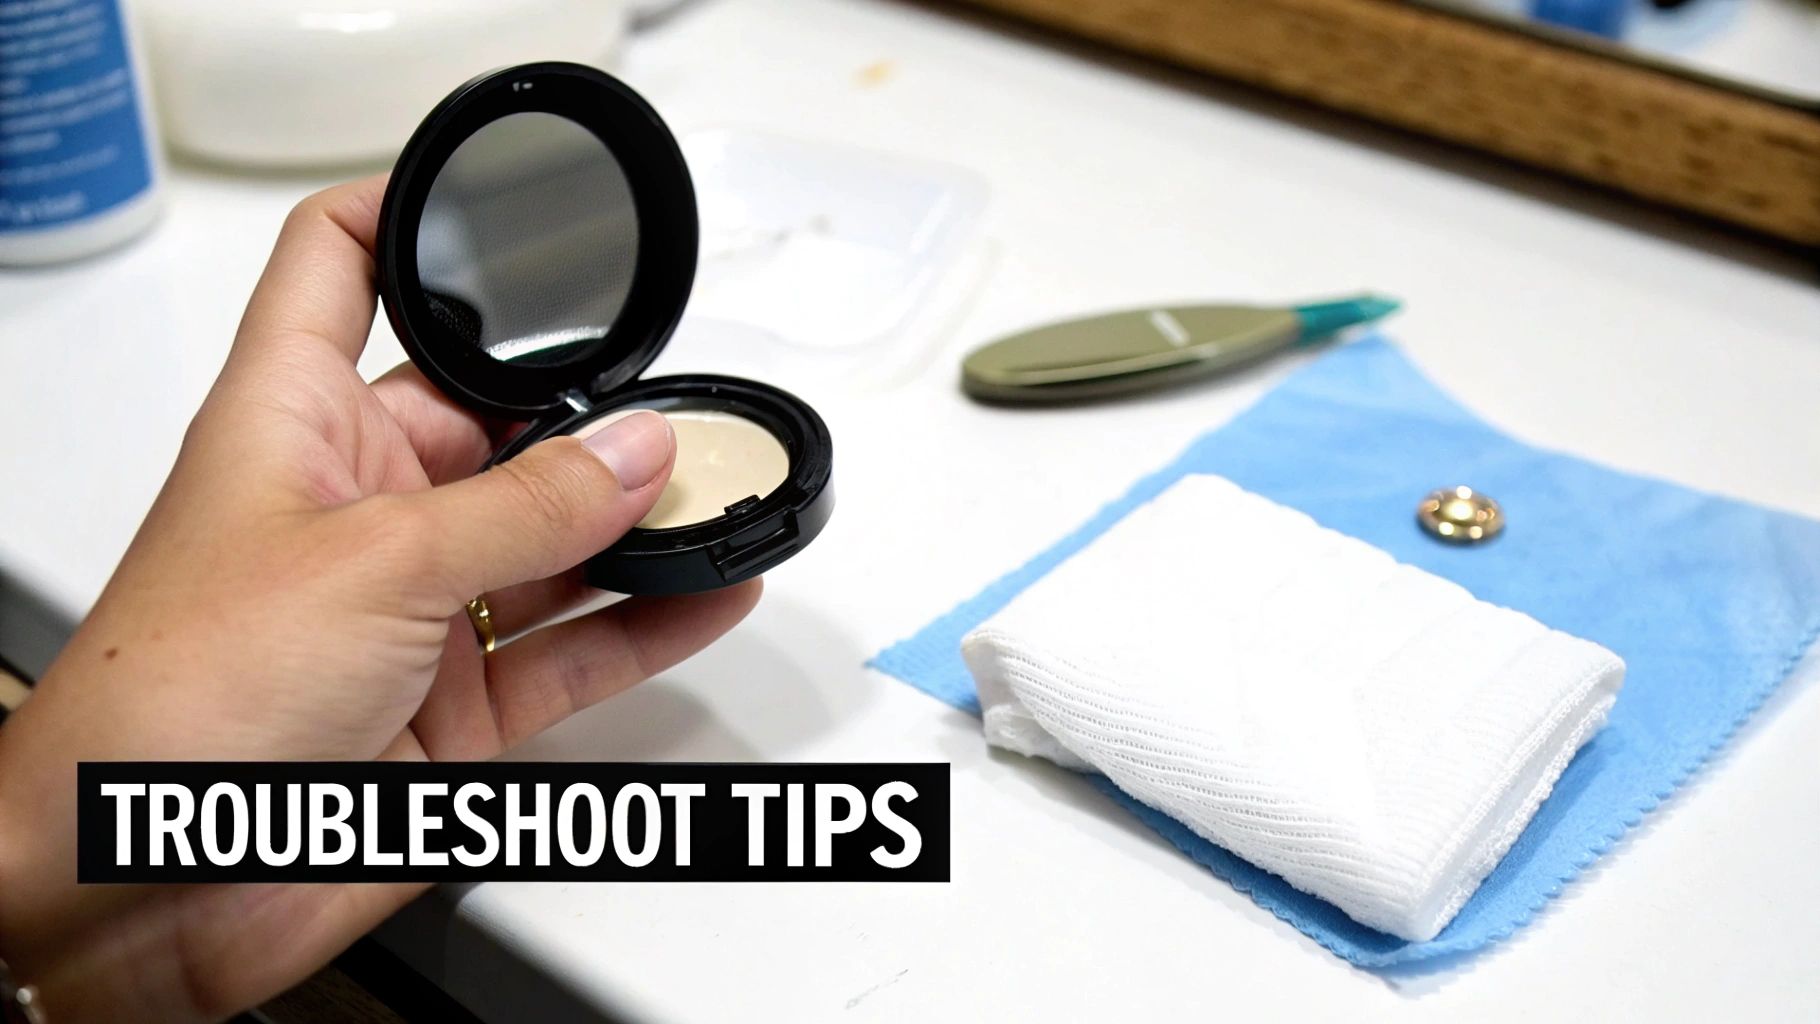
Troubleshooting Common Healing Problems
Even with the most perfect aftercare routine, piercings can have a mind of their own. It’s totally normal for things to get a little fussy, but you need to know the difference between a minor hiccup and a real problem. Don't panic! Let's walk through what your piercing might be trying to tell you.
Most of the time, when a piercing gets angry, there’s a clear reason why. Maybe you snagged it on a towel, slept on it wrong, or got a bit too enthusiastic with your cleaning. The real key is catching it early and knowing how to respond calmly.
Irritation vs. Infection: What's the Difference?
This is the big one. It's so easy to mistake normal healing weirdness for a full-blown infection, but they have very different signs. Figuring out which is which will save you a ton of stress.
An irritated piercing is basically just grumpy. It might be a little red, slightly swollen, and maybe tender. You'll probably see some clear or whitish fluid (that’s lymph) which dries into those little "crusties" we all know and love. This is almost always caused by something physical—a snag, pressure from sleeping, or using the wrong cleaning solution.
An infected piercing, however, is a whole other beast. This is a bacterial issue, and the signs are much more severe.
You might be dealing with an infection if you notice:
- Intense, Throbbing Pain: We're talking about a deep, persistent ache, not just surface-level soreness.
- Thick, Colored Discharge: Look for yellow, green, or brownish pus, which often comes with an unpleasant smell.
- Extreme Redness and Swelling: The redness can spread far beyond the immediate piercing site.
- Hot to the Touch: The area around the piercing will feel noticeably warmer than the rest of your skin.
If your symptoms are pointing to an infection, it's time to see a doctor. Do not remove the jewelry! This can trap the infection inside and lead to a nasty abscess. A doctor can prescribe the right antibiotics to clear things up safely.
The Dreaded Piercing Bump
Ah, the infamous piercing bump. It's probably the most common headache in the piercing world. People tend to jump to the worst conclusion, but nine times out of ten, it’s not what you think.
- Irritation Bumps: These are, by far, the most common culprits. They look like little fluid-filled pimples right next to the piercing. They are your body's dramatic reaction to being annoyed, usually from snags, pressure, or low-quality jewelry. The good news? Get rid of the source of irritation, and the bump will go away.
- Keloids: True keloids are much, much rarer. They are a type of raised scar tissue that grows well beyond the original wound. It’s a genetic condition, so if you're prone to them, you probably already know it from past cuts or scars. Unlike irritation bumps, keloids require medical treatment to remove.
Key Takeaway: If a bump appears, don't immediately assume it's a keloid. Over 90% of the time, it’s a simple irritation bump. Your first mission is to play detective, figure out what's bugging your piercing, and fix it.
What to Do About Common Problems
So, your piercing is throwing a fit. Here’s a quick guide for tackling the most frequent issues.
Help! I Snagged My Jewelry!
It happens to everyone. You catch your helix on a hairbrush or your navel ring on your jeans. First, take a deep breath. Gently clean the area with your sterile saline solution to flush out any bacteria that might have been introduced. For the next few days, treat it like it’s brand new again—be extra careful not to bump or sleep on it. It’ll likely be sore for a day or two but should calm right back down.
My Piercing Is Really Swollen
A bit of swelling is totally normal, especially in the first week. But if you get a sudden bout of major swelling later on, it's a definite sign of irritation. A gentle, cool compress can work wonders. Just soak a clean paper towel in cool water and hold it lightly against the area for a few minutes. If the swelling gets so bad that the jewelry looks like it's sinking into your skin, you need to see your piercer immediately for a longer bar.
I Think I'm Having an Allergic Reaction
If you're dealing with intense itching, a rash, or clear, weeping fluid long after the initial healing period, you could be allergic to your jewelry. This is a classic reaction to nickel, an alloy often found in lower-quality mystery metals. The fix is usually simple: have your piercer switch the jewelry to a high-quality, implant-grade material like titanium, niobium, or 14k gold. These are biocompatible and extremely unlikely to cause a reaction.
When in doubt, your professional piercer is your best friend. If you're ever unsure what's going on, just give them a call or stop by the studio. They've seen it all and can give you the best advice for your unique situation.
Long-Term Care and Changing Your Jewelry
You’ve been so patient, following your aftercare routine to the letter, and now the big moment is finally on the horizon. Switching out that initial starter jewelry for a piece you've been dreaming of is one of the most exciting parts of getting a new piercing!
But the journey doesn't end the day your piercing is officially "healed." In reality, it just enters a new, more fun phase. Think of it like this: the healing period was about building a solid foundation. Now, it's time to decorate and enjoy the space you’ve created, making sure it stays healthy and happy for a lifetime.
When Is It Actually Healed?
Okay, let's get real for a second. "Healed" can be a tricky word. A piercing might look and feel totally fine on the outside long before the fistula (the tube of skin inside the piercing) is fully mature and stable. Changing your jewelry too soon is one of the biggest mistakes you can make, as it can easily tear that delicate new tissue and set your healing right back to square one.
So, how do you know for sure? Here are the signs to look for:
- No More Tenderness: The area around the piercing should feel completely normal, with zero soreness when you gently touch it.
- Zero Discharge: You shouldn't see any more crusties, fluid, or discharge of any kind. Clean as a whistle.
- Normal Color: Any initial redness should have completely vanished, and the skin around the entry and exit holes should match your natural skin tone.
- Jewelry Moves Freely: During cleaning, the jewelry should be able to move a bit without any sticking or discomfort.
It's not just about how it looks; it's about how it feels. The most reliable way to know if you're ready for a change is to swing by your professional piercer's shop. They can properly assess the piercing and give you the official green light.
Changing Your Jewelry for the First Time
That first jewelry swap is a huge milestone! Doing it right ensures you don't irritate the brand-new fistula you worked so hard to heal. The key is to be clean, calm, and prepared.
Your First Swap Checklist:
- Wash Your Hands: Start with squeaky-clean hands. Seriously, this is non-negotiable. You don't want to introduce any nasty bacteria.
- Clean the Area: Gently clean your piercing and your new piece of jewelry. A quick spritz of saline on the piercing and a gentle wash for the new jewelry is perfect.
- Use a Lubricant: A tiny drop of water-based lubricant on the new jewelry can make insertion so much smoother. Never, ever force it!
- Work Quickly but Gently: Have your new piece ready to go. As soon as you remove the old jewelry, insert the new piece immediately—sometimes using it to "follow" the old one out helps guide it through the channel.
If you're nervous or it feels like a struggle, just stop and visit your piercer. They can change it for you in seconds and show you the ropes. This is especially true for tricky pieces like captive bead rings. If you need a little extra help with those, check out our guide on how to change a captive ring for some pro tips.
Keeping It Clean for the Long Haul
Once your piercing is fully established, you can finally relax your intense cleaning routine. You don't need to be married to your saline spray twice a day forever. Instead, just make cleaning it a normal part of your daily hygiene.
Letting warm water run over it in the shower is usually enough to keep it happy day-to-day. Every so often, it's a good idea to remove the jewelry (if it's easy to do so) and give both the jewelry and the piercing a gentle clean with a mild, fragrance-free soap. This helps remove any buildup of skin cells and keeps everything fresh.
The global body piercing jewelry market is booming, especially online, making it easier than ever to find both high-quality jewelry and the right aftercare products. This is great for people like you with sensitive skin, who are more likely to seek out hypoallergenic metals like titanium and stick to meticulous cleaning routines with gentle saline solutions.
Your Piercing Aftercare Questions Answered
Still have some questions swirling around? Perfect. You're definitely not the only one. Even with the best guides, specific situations pop up that can leave you wondering if you’re doing things right.
Let's tackle some of the most common questions we get about how to clean piercings. Think of this as your personal FAQ to give you that extra boost of confidence in your aftercare game.
Can I Swim with a New Piercing?
This is probably one of the top questions we hear, especially when summer rolls around. The short answer is: you really need to wait. Bodies of water like pools, hot tubs, lakes, and oceans are basically giant petri dishes of bacteria that can easily lead to a nasty infection.
And no, the chlorine in pools doesn't make it safe. It doesn't kill everything, and it's also a harsh chemical that can seriously irritate a healing wound. Your best bet is to avoid completely submerging your new piercing until your piercer gives you the all-clear. This usually means waiting until the initial healing phase is over—anywhere from 6-8 weeks for a lobe to several months for cartilage or a navel piercing.
If you absolutely must take a dip or you get accidentally splashed:
- Keep your sterile saline spray handy.
- The moment you get out of the water, rinse the piercing thoroughly with fresh, clean water.
- Immediately follow up with a generous spritz of your saline solution to flush the area.
- Carefully pat it completely dry with a fresh paper towel.
The Bottom Line: Waiting is always the safest option. An infection is a surefire way to ruin your summer vibes, so protecting your piercing for a few months is a small price to pay for a healthy, happy piercing in the long run.
Is It Okay to Wear Makeup Around a New Piercing?
We get it—you want to look your best while showing off that new sparkle. But when it comes to makeup and fresh piercings, they are not friends. Makeup, foundations, powders, and even some skincare products are full of ingredients and potential bacteria that should never go near an open wound.
Applying makeup too close can clog the healing channel (the fistula), trap bacteria, and lead to those dreaded irritation bumps or a full-blown infection. For any facial piercing—nostril, septum, eyebrow—you need to create a makeup-free zone. A good rule of thumb is to leave at least a dime-sized circle of clean skin around the piercing site.
This rule also applies before you even get pierced. It's best to show up to your appointment with a clean, makeup-free face in the area you're getting done. Your piercer needs a sterile surface to work on, and scrubbing off foundation right before the needle goes through can just irritate the skin.
What If I Accidentally Touch or Bump My Piercing?
Life happens! You’re going to bump your piercing at some point. Maybe you snagged your helix on a sweater or your dog got a little too excited and headbutted your new nose ring. First thing: don't panic.
The first thing to do is wash your hands thoroughly with soap and water. Then, give the piercing a gentle but complete cleaning with your saline spray to flush out any germs that might have been introduced. It might be a little extra tender or swollen for a day or two, but as long as you treat it with some extra TLC, it should calm down quickly.
The real key here is to avoid making a habit of touching it. Your hands are covered in bacteria, and fiddling with your jewelry is one of the fastest ways to introduce those germs right into a healing wound. Keep your hands off, and let it do its thing in peace.
Can I Use a Different Cleaning Product if I Run Out of Saline?
It can be so tempting to reach for whatever you have in the medicine cabinet when you run out of saline spray, but please, resist the urge! Products like rubbing alcohol, hydrogen peroxide, antibacterial soaps, or ointments are all way too harsh for a healing piercing.
These harsh products can actually kill off the healthy new cells your body is working hard to build. This just leads to irritation, delayed healing, and a very, very angry piercing. If you’re in a pinch and can't get more saline right away, your safest bet is to gently rinse the piercing with warm, running water in the shower. A properly mixed DIY sea salt soak can work as a temporary substitute, but a sterile, pre-packaged solution is always the best and safest choice for your aftercare routine.
Ready to find the perfect piece to show off once your piercing is beautifully healed? Body Candy has an incredible selection of high-quality jewelry for every style. Shop our full collection and find your new favorite look today at https://bodycandy.com


