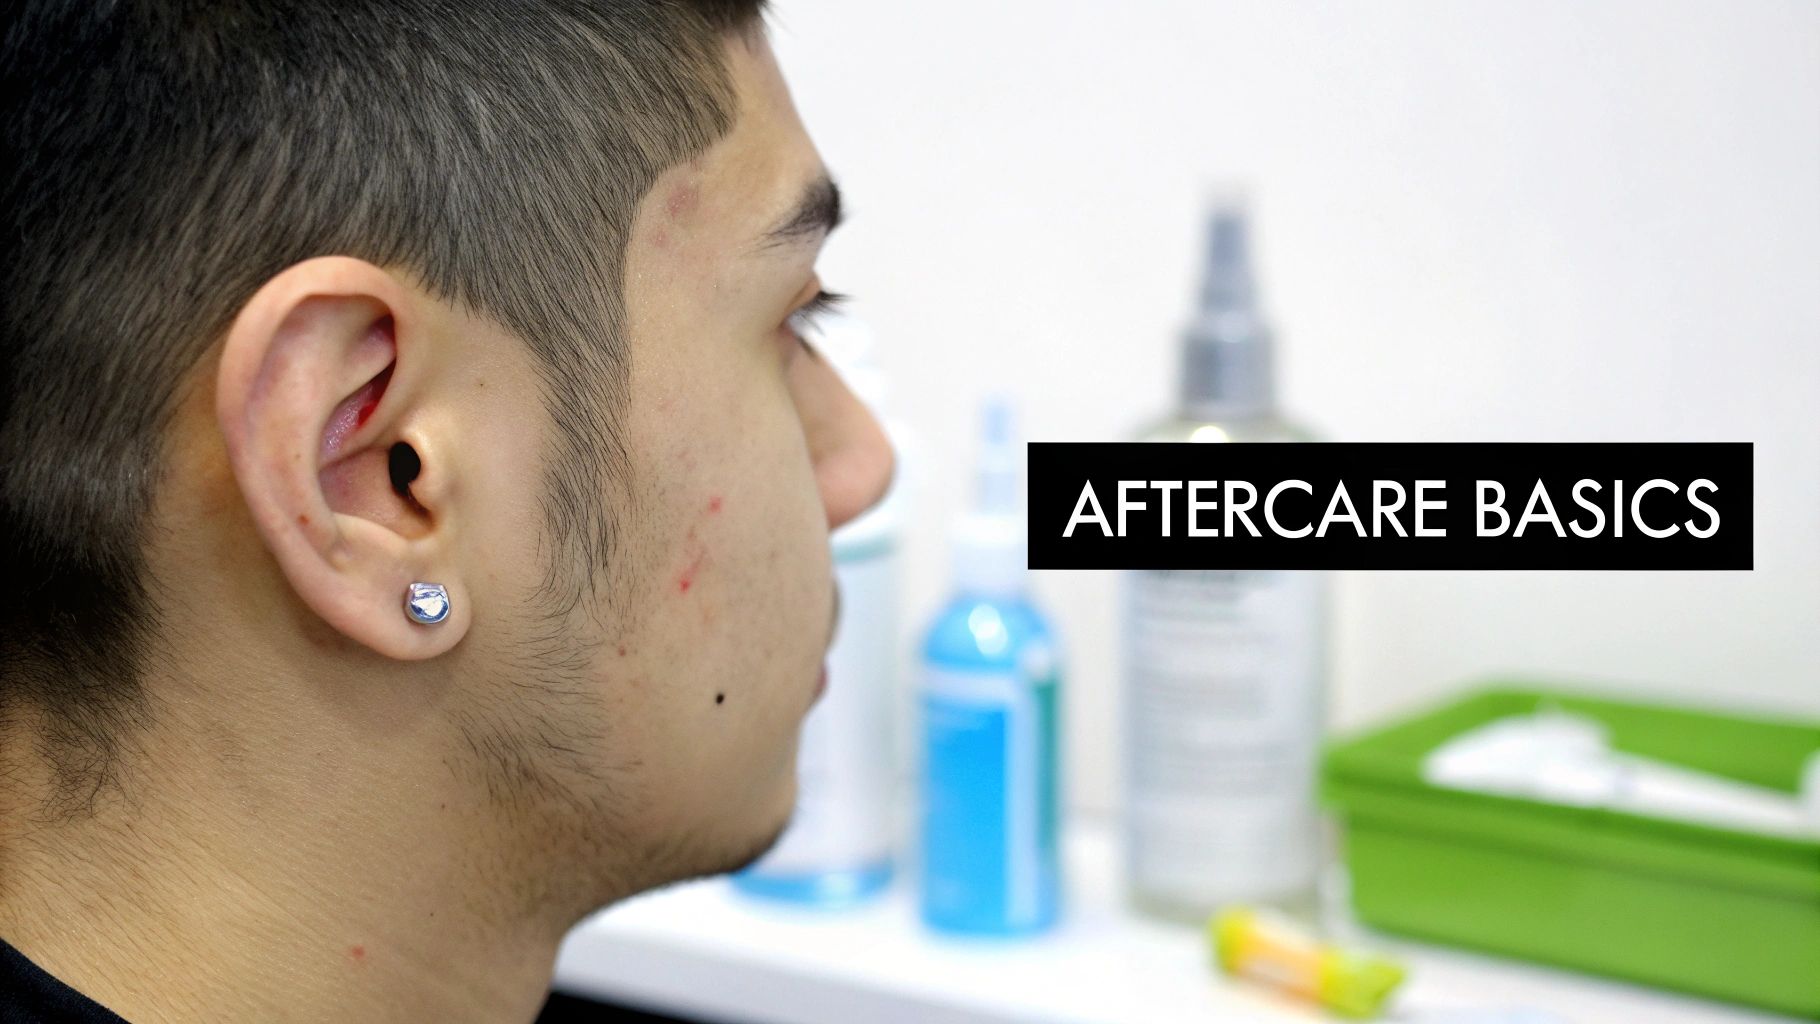
Caring for your new tragus piercing is all about a consistent, gentle routine. The secret to a happy piercing is cleaning it twice daily with a sterile saline solution, avoiding any twisting or turning of the jewelry, and keeping it as dry as possible after cleaning. Stick to these basics, and you'll be on the fast track to a perfectly healed piercing.
Your Essential Tragus Piercing Aftercare Routine
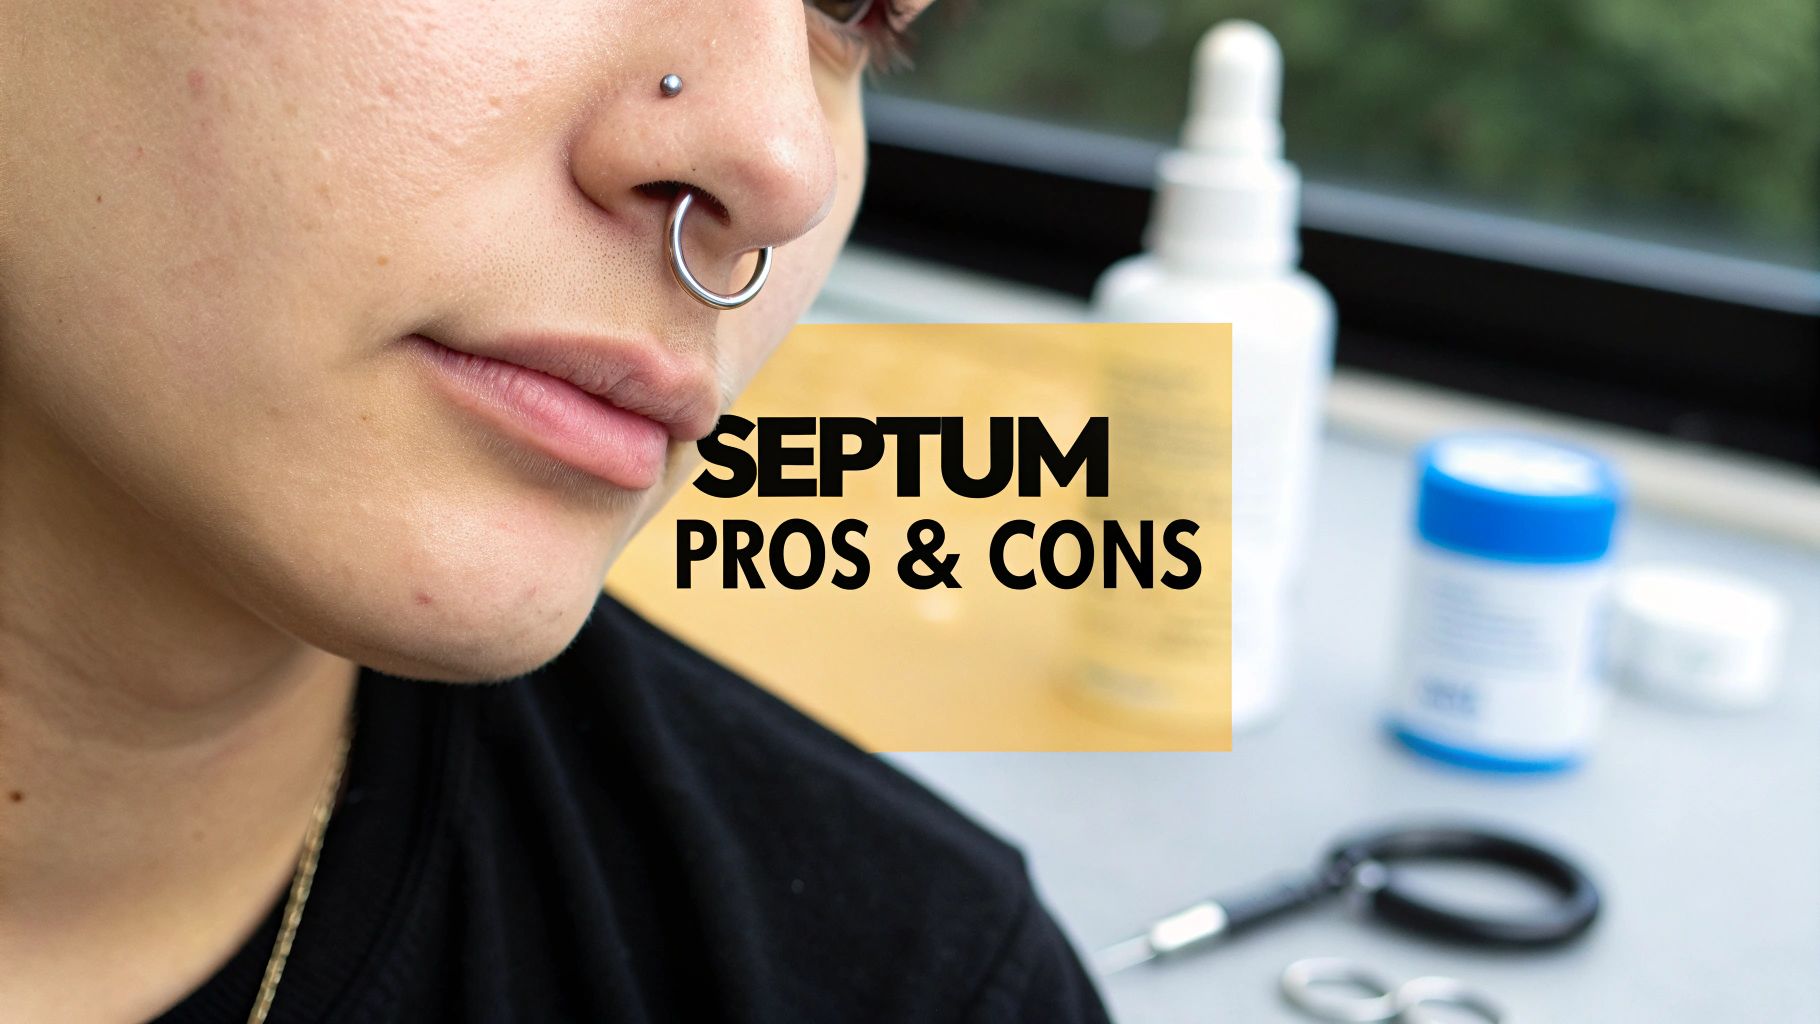
So, you did it! Welcome to the tragus piercing club. Now that you've got this awesome piece of cartilage bling, let's talk about the most crucial part of the journey: the aftercare. Getting the piercing is the easy part; healing it correctly is what makes all the difference.
Think of the next few months as a partnership between you and your new piercing—give it the right care, and it will heal beautifully.
The good news? The process is refreshingly simple. There's no need for complicated potions or rituals. Your new best friend is a sterile saline solution. This is the gold standard for a reason: it’s gentle, effective, and works with your body's natural healing process to keep the area clean without causing irritation.
First Things First: The Healing Timeline
Patience is your number one accessory here. Cartilage piercings are a marathon, not a sprint, and your tragus is no exception. A tragus piercing typically takes anywhere from six to eighteen months to fully heal, with most people landing closer to a year.
Throughout this entire period, you need to be cleaning the piercing twice daily. No skipping! Consistency is everything. If you want to learn more about what to expect, check out this great overview on tragus piercings from piercing experts.
Let's break down the core aftercare steps into a quick-reference table so you know exactly what to do.
Tragus Piercing Aftercare At a Glance
Here’s a snapshot of your daily routine. Sticking to this simple plan is the best way to ensure a smooth and happy healing process.
| Action | Frequency | Why It's Important |
|---|---|---|
| Saline Spray | 2x per day | Gently flushes away crusties and bacteria without harsh chemicals. |
| Rinse | After cleaning | Removes any leftover saline to prevent skin from drying out. |
| Pat Dry | After cleaning & showering | Moisture is a breeding ground for bacteria; keeping it dry is key. |
| Hands Off! | Always | Avoids introducing bacteria and irritating the delicate healing tissue. |
Think of this table as your daily checklist. It really is that straightforward—no need to overcomplicate things.
Why the Right Jewelry Matters
You probably noticed your piercer used a flat-back labret stud instead of that cute little hoop you had your eye on. There’s a very good reason for that!
A labret stud is designed to minimize movement and is far less likely to get snagged on hair, clothes, or your pillowcase. This stability is absolutely critical during the initial healing phase. Less movement means less irritation and a lower risk of developing those dreaded piercing bumps.
A stable, high-quality initial piece of jewelry is non-negotiable. It sets the stage for a smooth healing process by preventing unnecessary trauma to the delicate fistula (the healing tunnel of tissue).
For your daily routine, a quality saline spray makes all the difference. We actually did a full breakdown of one of the most popular options in our guide to H2Ocean piercing aftercare spray. Having a reliable product on hand takes all the guesswork out of cleaning.
Remember, the goal is to keep the area pristine without overdoing it. A light spray, a gentle rinse with water, and a careful pat dry are all you need for a happy, healthy tragus.
Mastering the Perfect Cleaning Method
Alright, let's get into the nitty-gritty of keeping your new tragus piercing sparkling clean and happy. Don't worry, this will become second nature faster than you can pick out your next piece of jewelry. The goal here is a super simple, effective routine that keeps bacteria at bay without upsetting your healing skin.
First rule of the piercing club: always wash your hands thoroughly with soap and water before you even think about touching your ear. Your hands are magnets for germs, and you definitely don't want to introduce any unwanted party crashers to your fresh piercing. Honestly, this is the single most important step you can take to prevent infections.
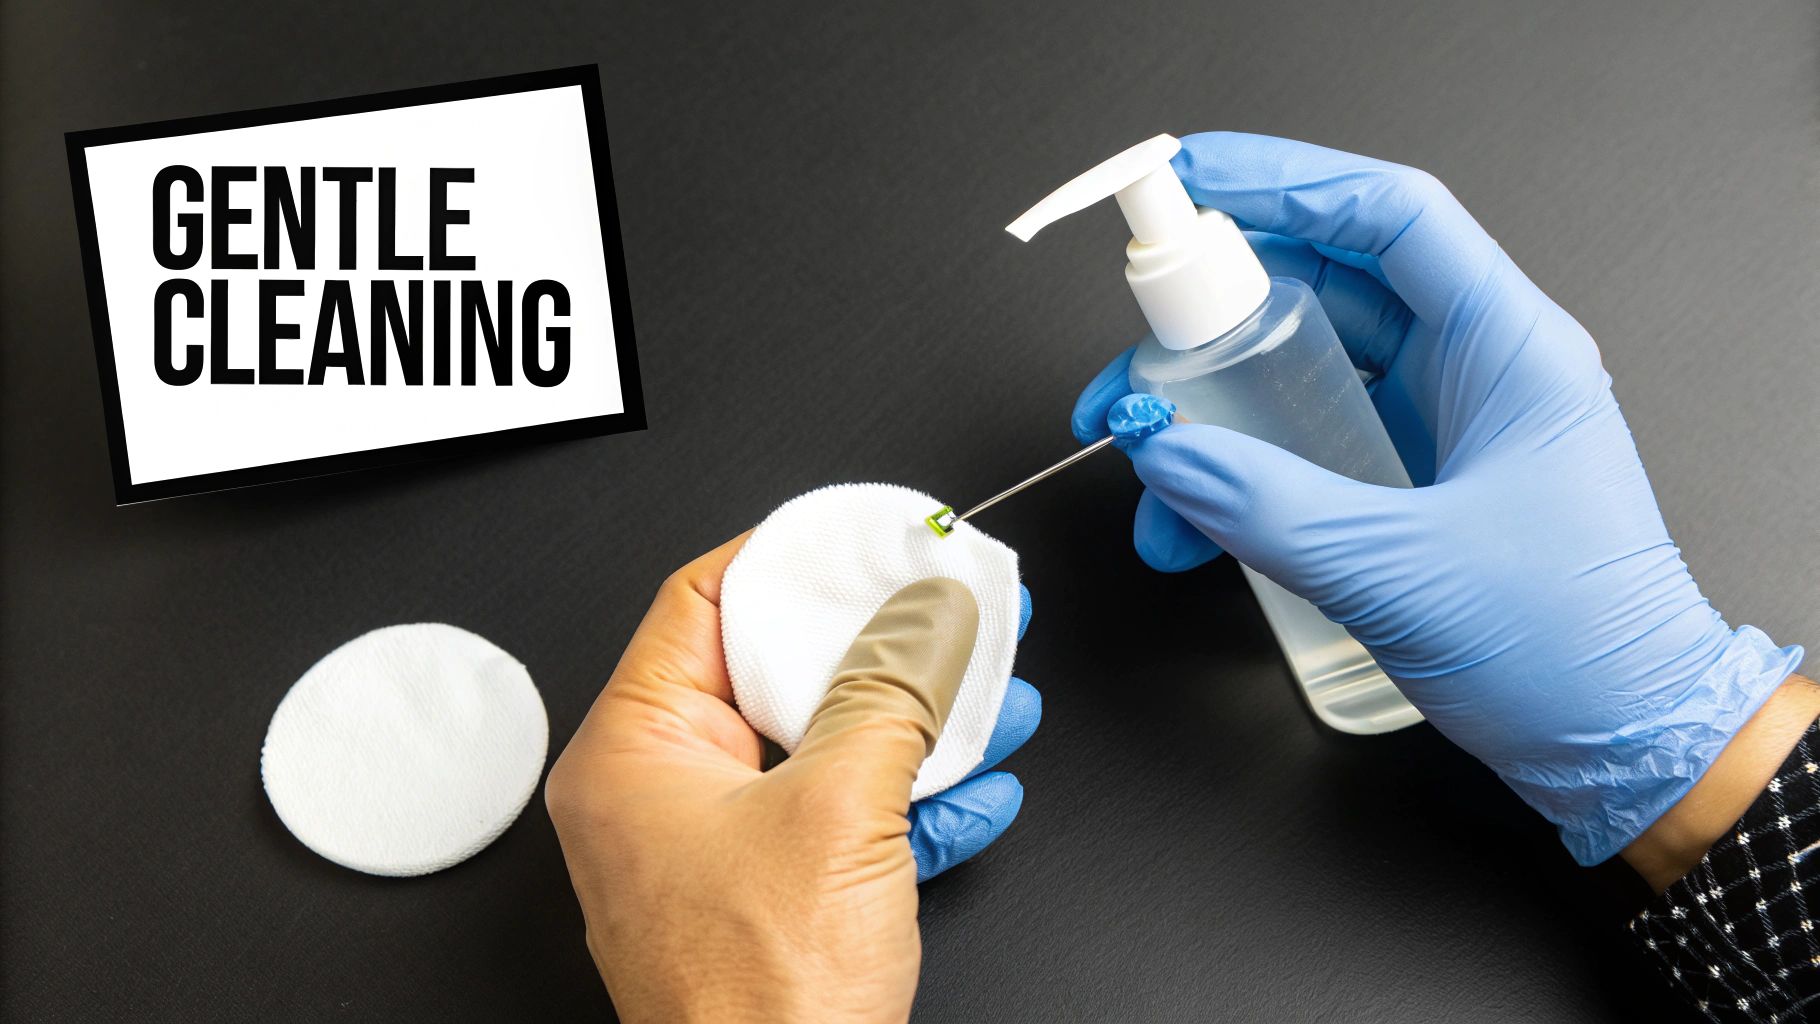
Your Go-To Cleaning Solution
When it comes to cleaning products, less is definitely more. The only thing you truly need is a sterile saline solution. You can grab a pre-made sterile saline wound wash from any pharmacy—it’s the easiest and safest option because the spray nozzle keeps the contents completely sterile.
Just give the front and back of your tragus piercing a quick, gentle spritz. Let the solution sit for about a minute to do its magic and soften any "crusties" that have formed (more on those later).
After spritzing, you can gently rinse the area with clean, running water in the shower. This washes away any excess saline and loosened debris. Medical resources back this up, recommending a saline rinse two to three times a day as the standard for aftercare. This simple routine is perfect for removing discharge that can trap bacteria. You can find more info on the best piercing aftercare practices on Healthline.
The Don'ts of Tragus Piercing Care
Now for the fun part: myth-busting! You might hear some old-school advice about using harsh chemicals, but please, for the love of all that is shiny, put them down!
- No Alcohol or Hydrogen Peroxide: These are way too harsh for a healing wound. They kill not only the bad bacteria but also the new, healthy cells your body is working so hard to create. Using them will seriously delay your healing time.
- Avoid Antibacterial Soaps and Ointments: Soaps can leave a residue and dry out your skin. Thick ointments are even worse—they can trap moisture and bacteria right against the piercing, creating the perfect breeding ground for an infection.
- Never Twist or Turn Your Jewelry: Your body is building a delicate tunnel of tissue (called a fistula) around the jewelry. Rotating the post just tears up that new tissue, causing irritation and making the healing process take way longer.
The golden rule of aftercare is simple: If you wouldn't put it in your eye, don't put it on your healing piercing. Stick to gentle, sterile saline.
Dealing with Crusties and Drying
You're going to notice some yellowish-white crust forming around your jewelry. Don't panic! This is totally normal. It’s just dried lymph fluid, which is actually a sign your body is healing properly.
Resist the urge to pick at it with your fingers. Instead, let the saline spray or the warm water from your shower soften it until it rinses away on its own. If a stubborn piece remains after a good soak, you can use a fresh piece of non-woven gauze to gently wipe it away.
Finally, drying your piercing is just as important as cleaning it. After your shower or saline rinse, gently pat the area completely dry with a clean paper towel. A hairdryer on the cool setting works wonders, too. Remember: a dry piercing is a happy piercing, as lingering moisture can lead to nasty irritation bumps.
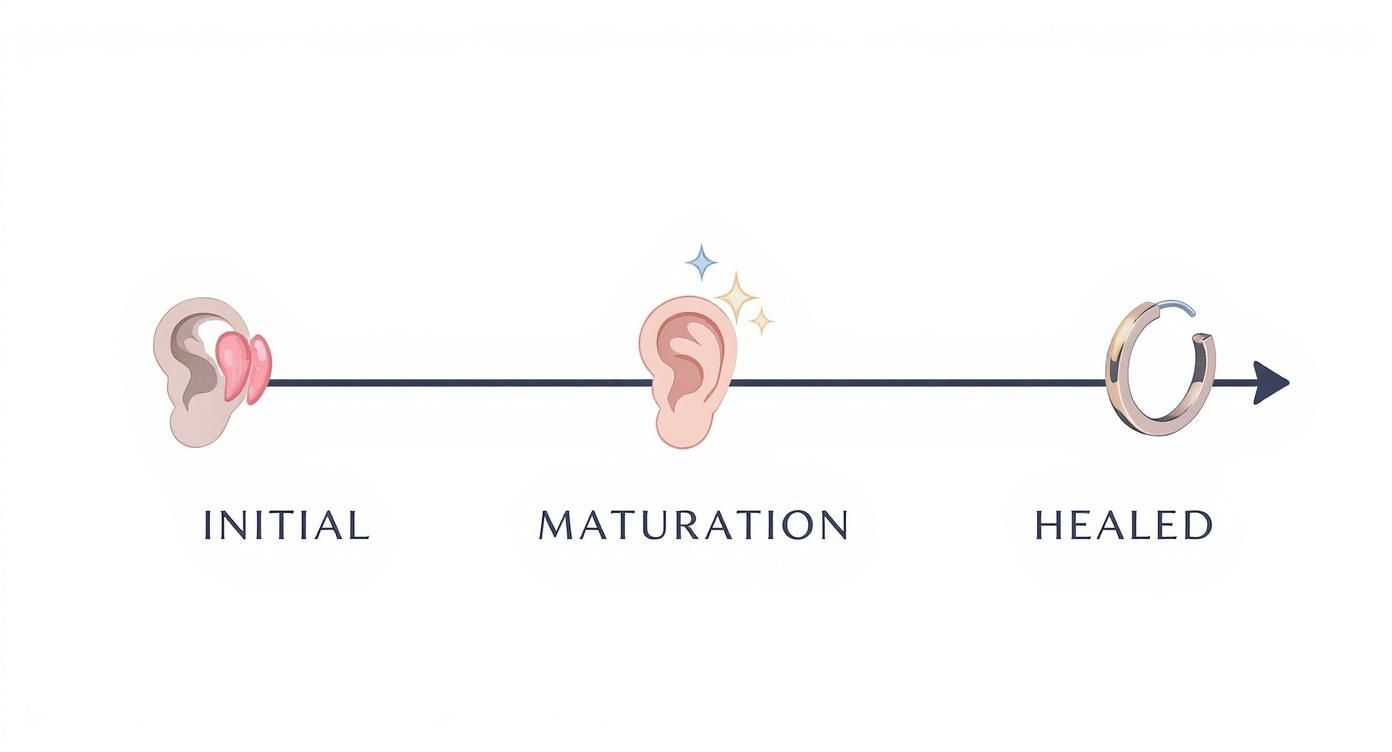
Navigating the Tragus Healing Timeline
Healing a tragus piercing is definitely a marathon, not a sprint. Because this piercing goes through a thick piece of cartilage, it takes its sweet time to become fully strong and happy. Getting a handle on what to expect during each phase makes the entire process way less stressful and helps you spot when something isn't quite right.
Your body goes through three main stages to heal any puncture wound, including a piercing: the inflammatory phase, the proliferative phase, and finally, the remodeling phase. Knowing a bit about each one helps you appreciate just how much work is happening inside that tiny piercing tunnel.
The First Few Weeks: The Inflammatory Phase
Right after you leave the piercing studio, your body kicks into high gear. This is the inflammatory phase, and it typically lasts for the first week or two. Don't be surprised if you experience:
- Redness and Swelling: This is totally normal as your body sends blood and healing agents to the site to start repairs.
- Warmth and Tenderness: The area might feel warm to the touch and be quite sensitive, especially if you accidentally bump it.
- Clear or Yellowish Discharge: You'll likely see some fluid that dries into "crusties." This is just lymph fluid, and it's a perfectly normal sign that your body is healing.
During this stage, your job is simple: be gentle. Clean your piercing twice a day with a sterile saline spray and avoid touching it at all costs. Think of it as a fragile new project that needs to be left alone to set properly.
The Next Few Months: The Proliferative Phase
After the initial swelling and drama calms down, you enter the proliferative phase. This is the longest part of the journey, often lasting for several months. Your body is busy building new tissue (called a fistula) through the piercing tunnel, starting from the outside and working its way in.
This is where things can get tricky. Your piercing might look and feel mostly healed on the outside, but it's still very delicate on the inside. You might notice the tenderness is gone, and the redness has faded completely. It's so tempting to think you're in the clear!
However, it's crucial to continue your aftercare routine and avoid changing your jewelry or sleeping on that side. Bumping it or introducing bacteria now can easily cause an irritation bump to pop up and set you back.
Remember, a piercing heals from the outside in. Just because the entrance and exit points look calm doesn't mean the tunnel connecting them is fully mature. Patience is your best friend during this stage.
The Final Stretch: The Remodeling Phase
The last stage is the remodeling phase, which can take your piercing from the six-month mark all the way up to a year or more. During this time, the new tissue inside the fistula gets stronger, denser, and more robust. The edges of the piercing hole will start to look smooth and even.
You'll know your tragus is fully healed when there's absolutely no pain, discharge, or tenderness—even when the jewelry is moved slightly. This is also when the tissue tightens around the jewelry, making it feel secure. Only after this phase is complete should you even consider swapping out your starter jewelry.
To give you a clearer picture, here’s a quick breakdown of what to expect at each point in the healing process.
Healing Stages: What to Expect
| Healing Stage | Typical Duration | Common Signs |
|---|---|---|
| Inflammatory | 1 - 2 weeks | Redness, swelling, mild tenderness, warmth, and clear or yellowish "crusties." |
| Proliferative | 2 weeks - 6 months | Piercing looks and feels better, but is still fragile internally. Redness and tenderness fade. Irritation bumps are common if disturbed. |
| Remodeling | 6 months - 1 year+ | The fistula (piercing channel) strengthens and matures. The piercing hole becomes smooth. No pain, swelling, or discharge. |
Every body is different, so your personal timeline might vary a bit. If you want to see how this compares to other piercings, you can explore the typical healing times for popular piercings in our detailed guide.
Troubleshooting Common Piercing Problems
Even with the most perfect aftercare routine, your new tragus piercing might hit a few bumps in the road—sometimes literally. Don't panic! Most issues that pop up are minor and totally fixable with a little know-how. Let's walk through some of the most common hiccups you might run into and get your healing journey back on track.
One of the biggest worries we see is the appearance of a small, angry-looking bump right next to the piercing. This is almost always an irritation bump, not something more sinister. Cartilage piercings are notorious for them, and they're usually just your body's way of saying, "Hey, something is bothering me!"
Identifying the Culprit
So, what causes these pesky bumps? The list of potential culprits is pretty straightforward, and most come down to either physical irritation or too much moisture.
- Physical Trauma: Accidentally snagging your piercing on your hair, a towel, or the strap of your face mask is a major trigger.
- Pressure: This is the big one. Sleeping directly on your new piercing is the number one offender. That constant pressure can seriously delay healing and cause significant swelling.
- Moisture: Not drying your piercing thoroughly after cleaning or showering can create a damp environment where bacteria love to hang out.
- Improper Jewelry: Low-quality metal, starting with a hoop instead of a stud, or wearing a post that’s too short can all irritate the piercing channel.
The key to making an irritation bump disappear is to find the source of the problem and eliminate it. Once you remove the irritant and stay consistent with your saline cleaning, the bump will typically go away on its own.
Irritation Bumps vs. Keloids
It's easy to jump to the worst-case scenario, but it’s really important to know the difference between a common irritation bump and a much rarer keloid.
An irritation bump usually looks like a small, fluid-filled, pimple-like bump right at the piercing site. A keloid, on the other hand, is a serious overgrowth of scar tissue that extends far beyond the original piercing. Keloids are related to a genetic predisposition, and frankly, they are very uncommon. For the vast majority of people, that little bump is just a sign of simple irritation.
Sometimes, though, the problem isn't a bump but a reaction to the jewelry itself. If you're dealing with persistent itchiness, redness, and irritation that just won't quit, you might be having an allergic reaction. You can learn more about identifying the signs in our detailed guide on allergic reactions and piercing irritation.
When to See Your Piercer
While most issues are minor, there are definite red flags that signal a more serious problem. A critical part of aftercare is knowing how to spot the signs of a potential infection. Look out for intense redness, heat radiating from the piercing site, or thick, green, or yellow pus. It's also vital to avoid constant pressure from things like headphones or your sleeping position, which can stall the healing process entirely.
This infographic gives you a great visual timeline, showing how your piercing progresses from the initial swollen stage to a fully healed state.
Understanding these stages helps you recognize that even when your piercing looks good on the outside, it's still working hard to strengthen and mature on the inside.
Bottom Line: Don't try to self-diagnose a serious problem. If you suspect an infection—we're talking severe pain, fever, or colored pus—see a doctor immediately. For anything else that has you worried, your professional piercer should always be your first call. They've seen it all and are your best resource.
Lifestyle Tips for a Happy Tragus
Proper aftercare is way more than just a spritz of saline here and there. The truth is, your daily habits have a massive impact on how well (and how quickly) your new tragus piercing is going to heal.
You'll need to make a few small but crucial adjustments to protect your piercing from the chaos of everyday life. These little changes might seem like no big deal, but they're the secret to preventing irritation, avoiding painful snags, and keeping your healing journey on the right track.
Sleep Smarter, Not Harder
Let's be real: figuring out how to sleep is probably the biggest headache with a new ear piercing. Putting constant pressure on your tragus all night long is the #1 cause of irritation bumps and healing delays. So, how do you protect it while you're catching some Zs?
Your new best friend is a travel pillow! Seriously, this is a total game-changer. Just sleep with your ear nestled in the pillow's hole. This way, you can lie on your side without putting any direct pressure on the piercing. If you don't have a travel pillow, just roll up a clean t-shirt to create a little donut for your ear to rest in.
Pro-Tip: Get into the habit of changing your pillowcase often—at least once a week. A clean sleep surface is critical for keeping nasty bacteria away from your healing piercing.
Navigate Your Tech and Toiletries
Your daily routine is suddenly full of little landmines for a fresh tragus piercing. Things you never thought about before, like headphones, hair products, and even your phone, can cause major setbacks if you aren't paying attention.
Headphones and Phone Calls
- Earbuds Are a No-Go: Those in-ear earbuds that sit right on or near your tragus are completely off-limits while you heal. They apply direct pressure and trap moisture, which is a recipe for disaster.
- Over-Ear is Better: If you absolutely need your music, switch to over-ear headphones that cup your ear without actually touching the piercing itself.
- Rethink Your Phone Habits: When you take a call, try using your non-pierced ear or just pop it on speaker. Pressing your phone against a new piercing can introduce germs and cause a ton of irritation.
Hair and Beauty Products
Hairspray, dry shampoo, and makeup can be incredibly irritating to a healing wound. When you're getting ready, just cover your piercing with a clean hand before you spray any products. Be super mindful when applying skincare or foundation, too, and leave a clear buffer zone around your tragus. These products have chemicals that absolutely do not belong in an open wound.
Know When to Change Your Jewelry
I get it. You're probably dying to swap out that plain initial stud for something new and sparkly from Bodycandy's collection. But trust me on this: patience is everything.
Changing your jewelry too early can tear the delicate healing tissue, introduce bacteria, and set your healing time back by months. You absolutely must wait until your tragus is 100% fully healed, which can take anywhere from six to twelve months—sometimes even longer.
The first jewelry change should always, always be done by your professional piercer. They have the right tools, and more importantly, they can properly assess if your piercing is truly ready for the switch. This ensures your new piece is inserted safely without causing any trauma to the area.
Your Tragus Piercing Questions Answered
Alright, even with the most detailed aftercare plan, questions are going to pop up. It's totally normal! Think of this as your go-to FAQ for all things tragus piercing. We're tackling the most common questions we hear from customers so you can feel totally confident while your awesome new piercing heals up.
Let's get right into the questions that are probably on your mind.
When Can I Finally Change My Tragus Jewelry?
This is the big one, isn't it? The question everyone asks. The key here is patience, and lots of it. You absolutely must wait until your tragus is 100% fully healed before you even think about swapping out your initial jewelry. For cartilage, that's a minimum of six to twelve months, and sometimes even longer depending on your body.
Trying to change the jewelry too early is a major mistake. It can introduce nasty bacteria into a still-open wound, cause some serious irritation, and even tear the delicate healing tissue (called a fistula). Doing this can set your healing time back by months.
For the very first jewelry change, you should always go back to your professional piercer. They have the experience and sterile tools to know if it's truly ready and can insert the new piece safely without causing trauma. After they've given you the green light and done that first swap, you can start dreaming about all the cool new looks you want to try!
Can I Use Headphones or Earbuds?
This is a tricky one in our modern world of constant connection. For the entire initial healing period, any in-ear earbuds that sit directly on or press against your tragus are a definite no-go.
Why? They put direct pressure on the piercing, which is a huge source of irritation. They also trap moisture and can introduce a ton of bacteria right where you don't want them. This is basically a perfect recipe for creating those dreaded irritation bumps and inviting a potential infection.
If you need your audio fix, over-ear headphones that completely cup your ear without touching the tragus are a much safer bet. And if you absolutely have to use an earbud in the other, non-pierced ear, just be extra careful not to snag the cord on your new jewelry.
What Is the Difference Between an Irritation Bump and a Keloid?
Seeing a bump form on your new piercing can be pretty scary, but don't panic! This is a super common concern, and thankfully, in most cases, it's just a simple issue.
-
An irritation bump is a small, fluid-filled bump that pops up right next to the piercing site. It's your body's way of saying something is bothering it. This is usually caused by physical trauma (like snagging it on a towel), pressure (like sleeping on it), or excess moisture. The good news? They're very treatable. Just find and remove the source of irritation, and they typically go away on their own.
-
A keloid, on the other hand, is a specific type of excessive scar tissue that grows well beyond the original wound. Keloids are a genetic condition, are much rarer than simple irritation bumps, and require professional medical intervention to treat.
Odds are, that little bump on your tragus is just an irritation bump that's asking for a little extra TLC.
Is It Normal for My Tragus to Swell for a Long Time?
Yes, some initial swelling is completely normal and to be expected. It can often last for a couple of weeks, especially with cartilage piercings, which are notorious for puffing up a bit.
However, if the swelling seems excessive, is extremely painful, is accompanied by thick green or yellow pus, or doesn't start to calm down after the first few weeks, it could be a sign of a problem. A good piercer will have used initial jewelry that's long enough to accommodate this swelling. If you're concerned at all, it's always best to play it safe and check in with your professional piercer for an assessment.
Now that you know how to care for your tragus and troubleshoot any little issues that might pop up, the fun part can begin! Once you're fully healed, it's time to explore all the amazing styles that will make your piercing truly yours. At Bodycandy, we have an incredible collection of flat-back labrets and hoops perfect for your healed tragus.
Ready to find your new favorite look? Shop our full collection of tragus jewelry today!