Ever wondered what ‘gauge’ actually means when you’re shopping for new body jewelry? Don't worry, you're not alone! Put simply, a gauge size is just the standard way we measure how thick the jewelry's post or barbell is.
Using a proper gauge size chart is your secret weapon for keeping your piercing healthy and happy. It guarantees you get that perfect, irritation-free fit every single time you treat yourself to something new.
Decoding Piercing Gauge Sizes
So, what's the deal with all those numbers? The most important thing to remember about the gauge system is that it works in reverse: the higher the gauge number, the thinner the piece of jewelry. For instance, a delicate 20g nose ring is way thinner than a standard 14g belly button ring.
This might seem a little backward, but it actually has historical roots in the 19th-century wire industry. A higher number meant the wire had been pulled through a thinning die more times. This old-school manufacturing method eventually became the standard we all use for our body jewelry today.
Getting this simple rule down is your first step to becoming a pro at picking out jewelry. It’s a game-changer because it helps you:
- Avoid Irritation: Trying to force in a gauge that’s too big can seriously stretch or even damage your piercing. Ouch.
- Prevent Shrinking: On the flip side, wearing a gauge that’s too small for too long can cause your piercing to shrink, making it tough to get your favorite pieces back in later.
- Shop with Confidence: When you know your size, you can grab that perfect industrial barbell or septum clicker without a second thought. No more guesswork!
Ready to go a bit deeper? For a full breakdown, check out our guide on the standards of gauge sizing for body jewelry.
The Complete Gauge to Millimeter Conversion Chart
Ready to finally make sense of all those numbers? This is your go-to reference for instantly translating piercing gauge sizes into millimeters and inches. Think of it as your personal cheat sheet for body jewelry—a must-have for confirming the size of that cute new septum ring or planning your next lobe stretch.
Having a reliable gauge size chart on hand takes all the guesswork out of shopping. No more accidental purchases of jewelry that's too thick or too thin. Just find your gauge number in the first column to see its exact measurement in a unit you're more familiar with.
Your Quick Reference Conversion Guide
We’ve laid out the most common sizes, from the super delicate 22g often used for nostril piercings to the larger 00g you’ll see in stretched ears. Use this chart to ensure every piece you buy from Bodycandy.com is the perfect fit.
This infographic is a great visual aid. It shows how a higher gauge number (like 20g) actually means a thinner piece of jewelry, while a lower gauge number (like 14g) means it's thicker. It's a little backward, but this graphic makes it easy to remember.
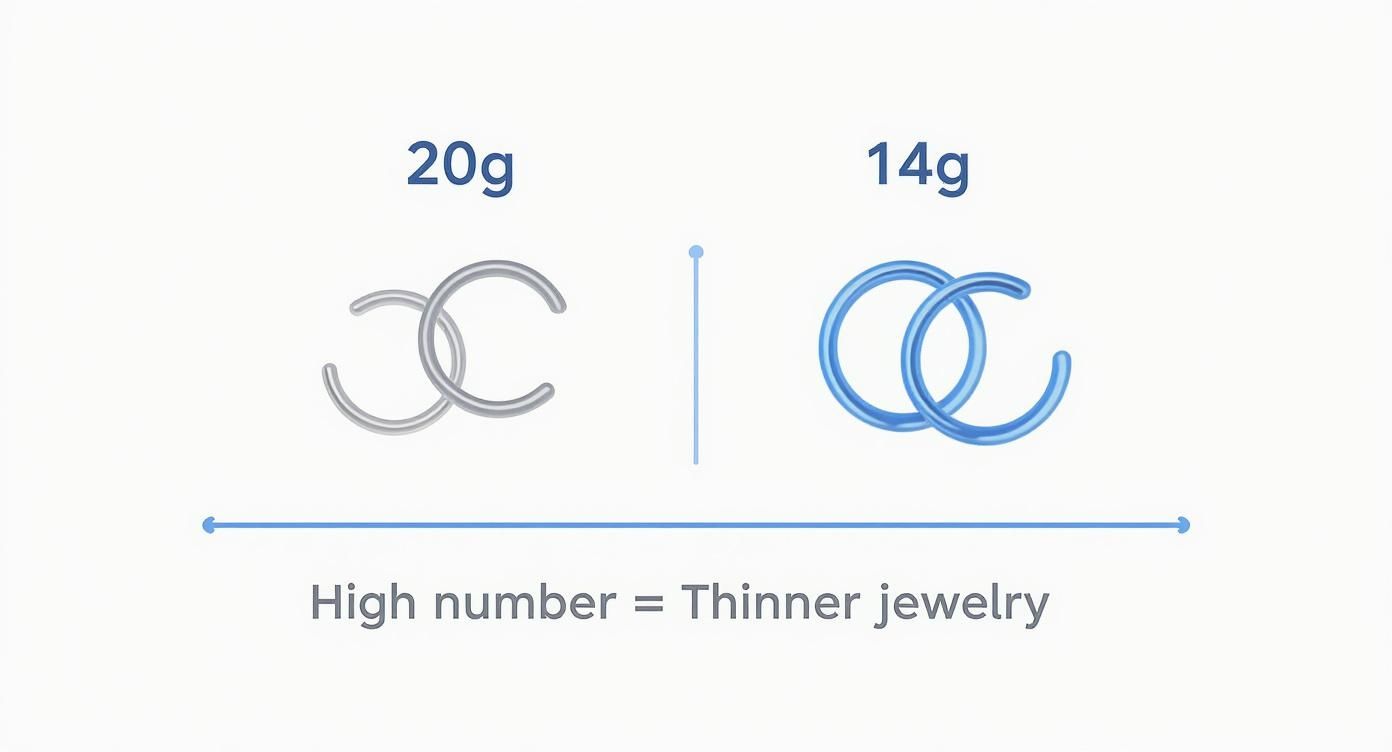
It’s a handy reminder of that "backward" rule of gauge sizing, which definitely helps when you're browsing for new pieces.
Pro Tip: Bookmark this page! You’ll be surprised how often you come back to this chart. It’s the easiest way to double-check a size before you click "add to cart," saving you time and ensuring your new jewelry fits perfectly right out of the package.
Body Jewelry Gauge Conversion Chart
For a more detailed breakdown, here is the full conversion table. This chart converts standard gauge sizes into both millimeters (mm) and inches (in) for easy reference, covering everything from the thinnest nostril studs to larger gauge sizes for stretched piercings.
| Gauge (g) | Millimeters (mm) | Inches (in) |
|---|---|---|
| 22g | 0.64 mm | 0.025" |
| 20g | 0.81 mm | 0.032" |
| 18g | 1.0 mm | 0.040" |
| 16g | 1.2 mm | 0.050" |
| 14g | 1.6 mm | 0.064" |
| 12g | 2.0 mm | 0.081" |
| 10g | 2.4 mm | 0.102" |
| 8g | 3.2 mm | 0.125" |
| 6g | 4.0 mm | 0.162" |
| 4g | 5.0 mm | 0.204" |
| 2g | 6.0 mm | 0.250" |
| 0g | 8.0 mm | 0.312" |
| 00g | 10.0 mm | 0.375" |
Keep this table handy whenever you're shopping for new body jewelry. It's the simplest way to make sure you're getting the exact size you need for a comfortable and secure fit.
Common Gauge Sizes for Popular Piercings
Feeling a bit lost trying to figure out what gauge size you need for a piercing? Don't sweat it! It's a common question, and thankfully, there's a pretty standard system that most professional piercers stick to.
While every body is unique, piercers use specific initial gauge sizes for certain placements. Knowing these starting points will make shopping for new jewelry on Bodycandy.com an absolute breeze.
Think of these standard sizes as your baseline. Your piercer chooses a particular thickness for a good reason—it gives your piercing the best possible chance to heal up properly without extra irritation. If a bar is too thin, it can move around and cause what's infamously known as the "cheese-cutter effect." Too thick, and it can put unnecessary pressure on the fresh fistula.
This whole measurement system, while it feels a bit weird at first, has a long history. Early steel gauge charts actually came out of the Industrial Revolution, where metal thickness was based on how many times it had been rolled. You can learn more about the history of the standard gauge system on balsteelpipe.com.
Standard Sizes for Your Favorite Piercings
So, what should you be looking for? Here’s a quick-reference guide to the most common initial piercing gauges out there. Just remember, your own anatomy might need something a little different, so always listen to what your piercer recommends!
-
Earlobe & Cartilage (Helix, Tragus): Most standard ear piercings, from your lobes to your helix, typically start at 18g or 16g. These sizes hit the sweet spot—they offer great stability for healing and open up a huge variety of jewelry styles to choose from later on.
-
Nose (Nostril) & Septum: Nostril piercings are usually done at 20g or 18g, perfect for those delicate studs and hoops. Your septum, on the other hand, is generally pierced at a slightly thicker 16g to properly support awesome clickers and circular barbells.
-
Lip (Labret, Monroe): The go-to for most lip piercings is 16g. This gauge is nice and sturdy, which helps prevent migration and works perfectly with the popular flat back labret studs.
-
Navel (Belly Button): That classic belly button ring is almost always pierced at 14g. This thickness provides the durability needed for an area that sees a lot of movement.
-
Nipple: Just like navels, nipple piercings are typically done at 14g. This ensures they heal well and can comfortably support a wide range of barbell and ring styles down the line.
Knowing these common sizes makes you a more informed client when you're in the studio and a much smarter shopper online. You can confidently browse for that perfect 14g belly ring or a cute new 18g nose stud, knowing you’re getting the right fit for your piercing.
How to Measure Your Current Jewelry Gauge
Have a favorite piece of jewelry but have no clue what size it is? You're not alone. Figuring out the gauge of a barbell or ring you already own is the key to buying new pieces that fit just right. Luckily, you don’t need a fancy lab to get it right.
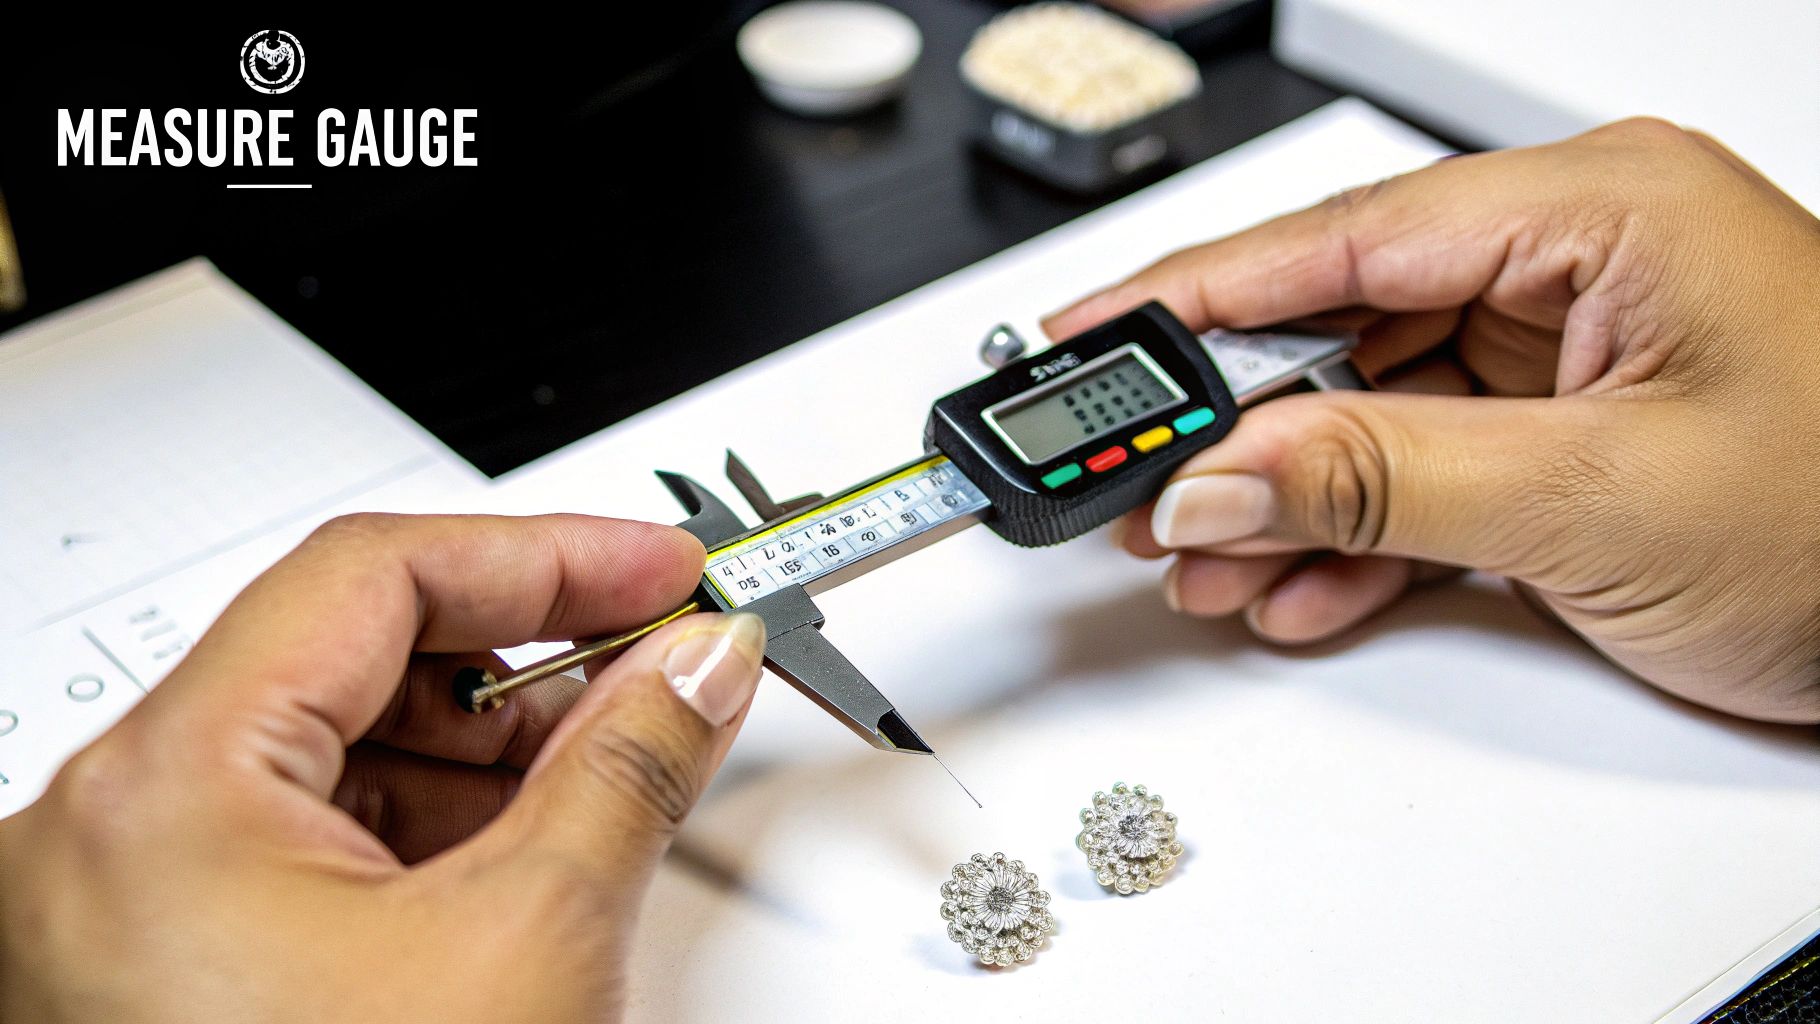
There are a couple of super easy methods you can use right at home. One way is to visually compare your jewelry against a printable gauge size chart. The other, much more precise method involves using a digital caliper—a must-have tool for any serious body jewelry collector!
Your At-Home Measurement Methods
Getting an accurate reading is simple with the right approach. These steps will help you nail down the size without accidentally damaging your precious jewelry.
- Print a Gauge Chart: Find a reliable, to-scale gauge chart online. Place your jewelry directly over the lines on the chart until you find the one that perfectly matches its thickness. This is a great quick-and-dirty method.
- Use a Digital Caliper: For a foolproof measurement, a digital caliper is your best friend. Gently close the jaws on the thickest part of the jewelry's post or ring. The digital screen will give you a precise reading in millimeters, which you can then convert using our gauge size chart.
Quick Tip: When using a caliper, be gentle! You only need to close it until it just touches the jewelry. Applying too much pressure can scratch softer materials like acrylic or give you an inaccurate reading.
Once you know your size, you can shop for new styles with confidence. For a deeper dive into all things measurement-related, check out our complete guide on measuring up body jewelry sizing basics.
A Guide to Ear Stretching and Larger Gauges
So, you've mastered the standard piercing sizes and you're ready for something more. Welcome to the awesome world of ear stretching! This is where your journey into larger gauges like 8g, 2g, 0g, and the iconic 00g begins. It's all about slowly and safely sizing up your lobes to rock some seriously cool plugs and tunnels.
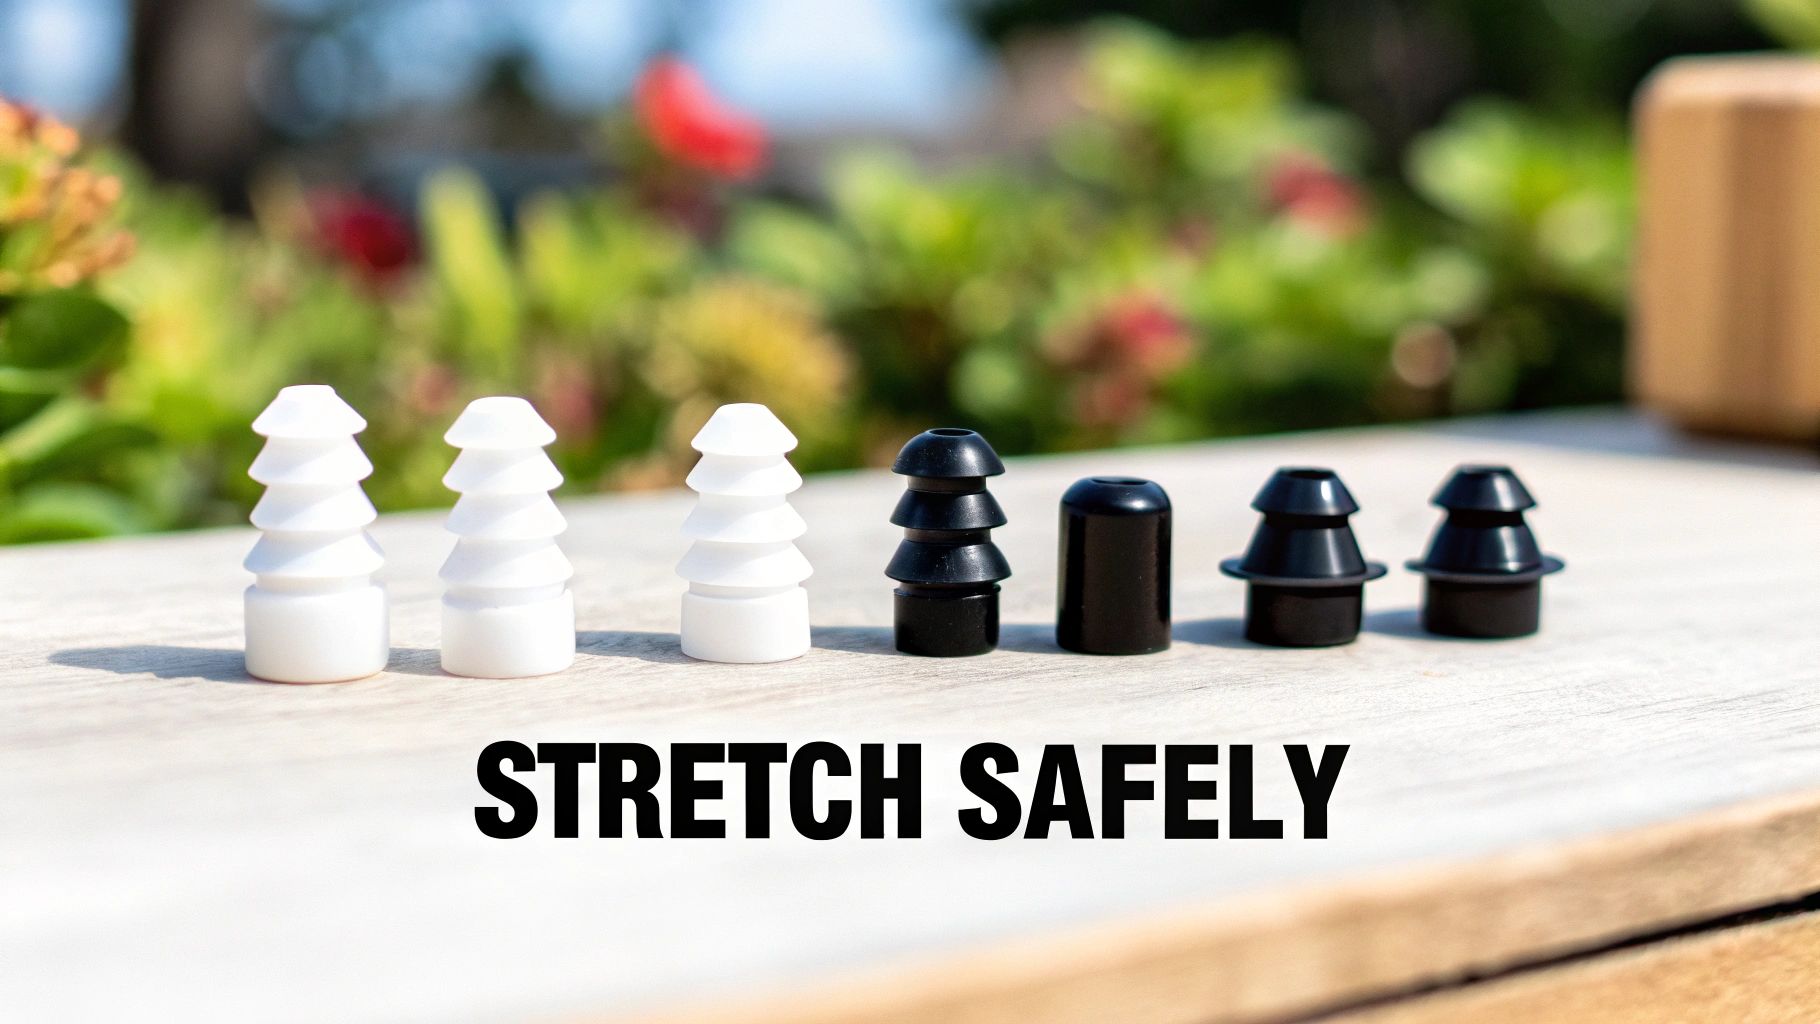
The real key to healthy, happy stretched lobes is patience. Think of it as a marathon, not a sprint. Using high-quality, non-porous materials is non-negotiable for a safe stretching experience. Things like surgical steel tapers or single-flare glass plugs are your best friends here because their smooth surfaces help prevent irritation and micro-tears.
Understanding the Process
A common question we get is about the "point of no return"—that size where your lobes might not shrink back down to fit standard earrings. This point is different for everyone, but it's generally thought to be somewhere around 2g to 0g. Sizing up slowly and carefully is the best way to keep your skin elastic and healthy, giving it the best possible chance to shrink back if you ever decide to downsize.
Interestingly, the whole gauge sizing system has its roots in the American Wire Gauge (AWG) standard from 1857. In that system, a higher number meant the wire was drawn through a die more times, making it thinner. That's why a 16g is smaller than a 14g.
Once you get past 00g (which is roughly 10mm), the gauge system is pretty much abandoned. From that point on, sizing switches to a much more straightforward measurement in either millimeters or fractions of an inch, like 1/2" (12.7mm). This makes tracking your progress a whole lot simpler as you move into even larger sizes.
Crucial Tip: Whatever you do, never skip sizes! Trying to jump from a 10g to a 6g, for instance, is just asking for trouble like blowouts or tearing. You should only ever go up one size at a time, and always wait until your ears are completely healed before even thinking about the next stretch. For a full, detailed walkthrough, definitely check out our guide on how to properly stretch your lobes.
Got Questions About Gauge Sizes? We've Got Answers.
Still have a few questions floating around about piercing gauges? You're not alone! Getting the hang of the gauge size chart is a journey, and we've got the answers to the most common questions right here.
What Happens If I Wear the Wrong Gauge Size?
This is a big one, because wearing the wrong size can definitely cause problems. If you put in jewelry that’s too thin (a higher gauge number), your piercing can actually start to shrink down to that new size. It might make it tough, or even impossible, to go back to your original gauge later without re-stretching.
On the flip side, forcing in jewelry that’s too thick (a lower gauge number) is a recipe for disaster. You could stretch, tear, or seriously irritate your piercing, which leads to pain and a much longer healing time. It's always best to stick with your piercing's correct size unless you're intentionally and safely stretching under a piercer's guidance.
Can I Use the Same Gauge for All My Piercings?
Probably not, and here’s why: different parts of your body heal best with different jewelry thicknesses. For example, a standard navel piercing is a sturdy 14g, while a delicate nostril piercing is often done with a much thinner 20g or 18g.
Each piercing has a standard gauge that’s proven to work best for that specific spot on the body. If you’re ever unsure what size you need, your professional piercer is the best person to ask. They'll know exactly what your piercing needs to be happy and healthy.
How Do I Know When to Downsize My Jewelry?
"Downsizing" is a term that often trips people up. It’s not about changing the gauge (the thickness), but about switching to a shorter post or barbell after the initial swelling goes down. Think of it as getting a better-fitting pair of shoes after your feet are back to normal.
This is usually done about 4-8 weeks after you get pierced, especially for piercings like a helix, conch, or lip. A shorter bar is crucial because it prevents snagging and reduces irritation once the piercing has settled. Your piercer will tell you the perfect time to come back in for a downsize.
How Are Gauges Measured After 00g?
Once you get past 0g and 00g, the whole system changes. At this point, the gauge numbers disappear, and larger stretched piercings are measured directly in fractions of an inch (like 1/2") or in millimeters (like 12mm). This switch actually makes measuring the big sizes much more straightforward and universal.
Ready to find your new look with confidence? Bodycandy has an incredible selection of jewelry in every size you could ever need. Shop our full collection today at https://bodycandy.com.