Ever wonder why a tiny 20g nose stud is somehow smaller than a 16g labret bar? Trust us, you're not the only one. The world of piercing gauge sizes can feel totally backward at first, but it's actually super simple once you get the logic behind it.
Here’s the one thing you need to remember: the smaller the gauge number, the thicker the jewelry. That means a 14g bar used for a navel piercing is much thicker than a delicate 18g stud. Easy, right?
Decoding Piercing Gauge Sizes
So, where did this weird, inverted sizing system come from? It's all thanks to a standard called the American Wire Gauge (AWG), which was originally created for, you guessed it, electrical wires. The number tells you how many times a wire was pulled through a drawing die to make it thinner. The more pulls, the higher the number and the skinnier the wire. Body jewelry just adopted the same system!
This inverse relationship isn't unique to piercings. You see the same logic in medicine with hypodermic needles—a 25-gauge needle is much finer than an 18-gauge one. It’s an old-school standard that stuck around because it works. If you're curious, you can learn more about the history of the needle gauge system and its modern uses.
To make it easy, just think of it like this:
- Small Gauge Numbers (e.g., 14g, 12g): These are your chunkier, thicker pieces. They’re perfect for piercings like your navel, nipple, or an industrial bar.
- Large Gauge Numbers (e.g., 20g, 18g): These are the dainty, thinner pieces you’d typically see in most nose piercings and some delicate cartilage piercings.
Getting this one concept down is your first big step. Once you've got it, you'll be shopping for jewelry like a pro and picking out the perfect pieces with total confidence.
For a quick and easy comparison, here’s a handy chart that breaks down the most common gauge sizes, their millimeter equivalents, and where you'll typically see them used.
Quick Reference Gauge Size Chart
| Gauge Size (g) | Millimeters (mm) | Common Piercings |
|---|---|---|
| 20g | 0.8mm | Standard nostril piercings, some earlobe piercings. |
| 18g | 1.0mm | Nostril, cartilage (helix, tragus), earlobes. |
| 16g | 1.2mm | Most common for cartilage, septum, lip (labret), eyebrow, initial earlobe. |
| 14g | 1.6mm | Navel (belly button), tongue, nipple, industrial, some cartilage and lip. |
| 12g | 2.0mm | Nipple, tongue, septum, genital piercings, initial stages of stretching. |
| 10g | 2.4mm | Stretched piercings (septum, lobes), larger genital piercings. |
| 8g | 3.2mm | Common size for stretched earlobes and septums. |
| 6g | 4.0mm | Stretched earlobes, conch, septum. |
| 4g | 5.0mm | Stretched earlobes, cartilage, septum. |
| 2g | 6.0mm | Stretched earlobes, often a goal size for many. |
| 0g | 8.0mm | Significant stretching for earlobes. |
| 00g | 10.0mm | The last standard "gauge" size before measurements switch to fractions of an inch. |
Keep this chart bookmarked! It’s a lifesaver when you’re browsing online and need to quickly double-check that you're grabbing the right size for your piercing.
What Exactly Is a Piercing Gauge?
Let's get right into it. A gauge (you'll usually see it shortened to just 'g') is the universal measurement for the thickness of your body jewelry. Think of it like a shoe size, but for your piercing—it tells you how thick the post or ring is, not the length or overall size.
This quirky, old-school standard was adopted from the wire industry. The gauge number told you how many times a wire was pulled through a sizing machine to make it thinner. The more pulls it took, the higher the gauge number and the skinnier the wire. For a deeper dive, you can learn more about the standards of gauge sizing for body jewelry in our detailed guide.
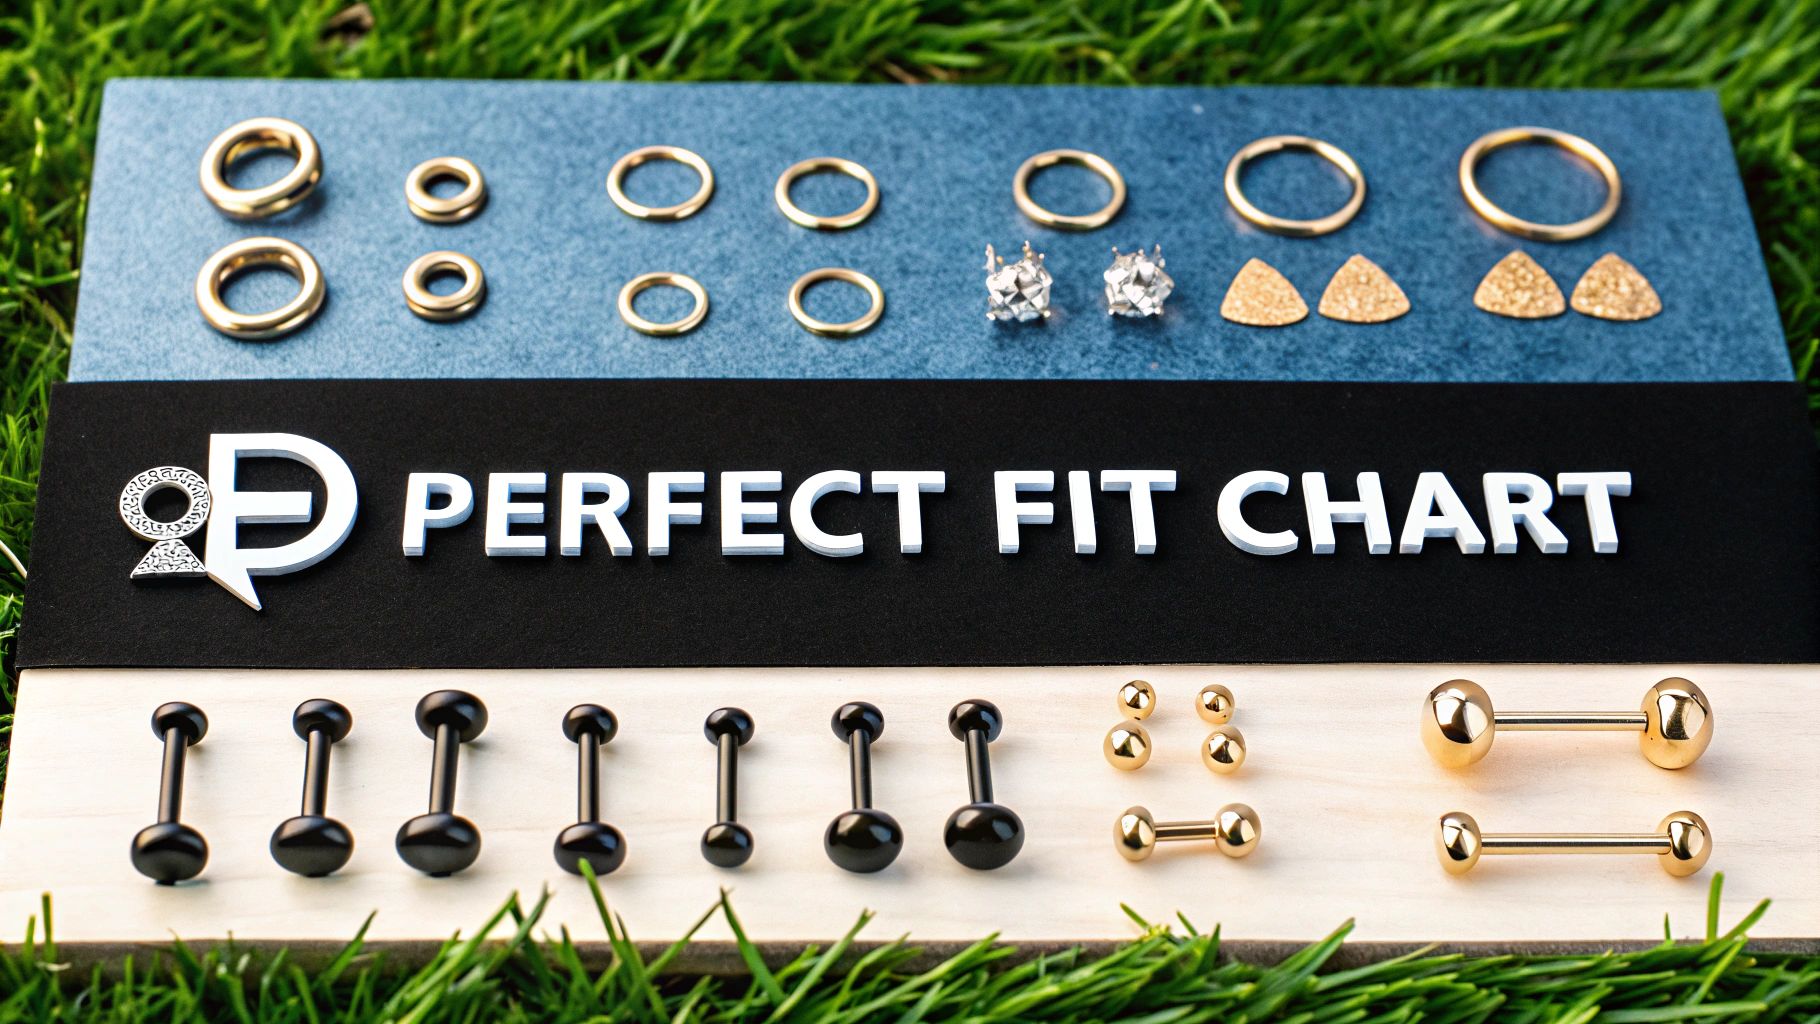
Gauge vs. Length and Diameter
Getting these terms straight is super important when you're shopping for new jewelry. It's the key to finding that perfect, comfortable fit that feels as good as it looks. Let's break down the big three:
-
Gauge (g): This is all about the thickness of the jewelry post or ring. It's the number that tells you if a piece will actually fit through your piercing hole without being too loose or painfully tight. For example, a 16g labret stud is thicker than an 18g one.
-
Length: This measurement is for straight or curved barbells. It measures the wearable part of the bar—from the base of one end to the base of the other, not including the decorative screw-on ends themselves.
-
Diameter: We use this for any circular jewelry, like hoops, captive bead rings, and clickers. It's the inside width of the ring measured at its widest point.
Nailing all three of these measurements means you'll get jewelry that not only looks incredible but feels like it was made just for you.
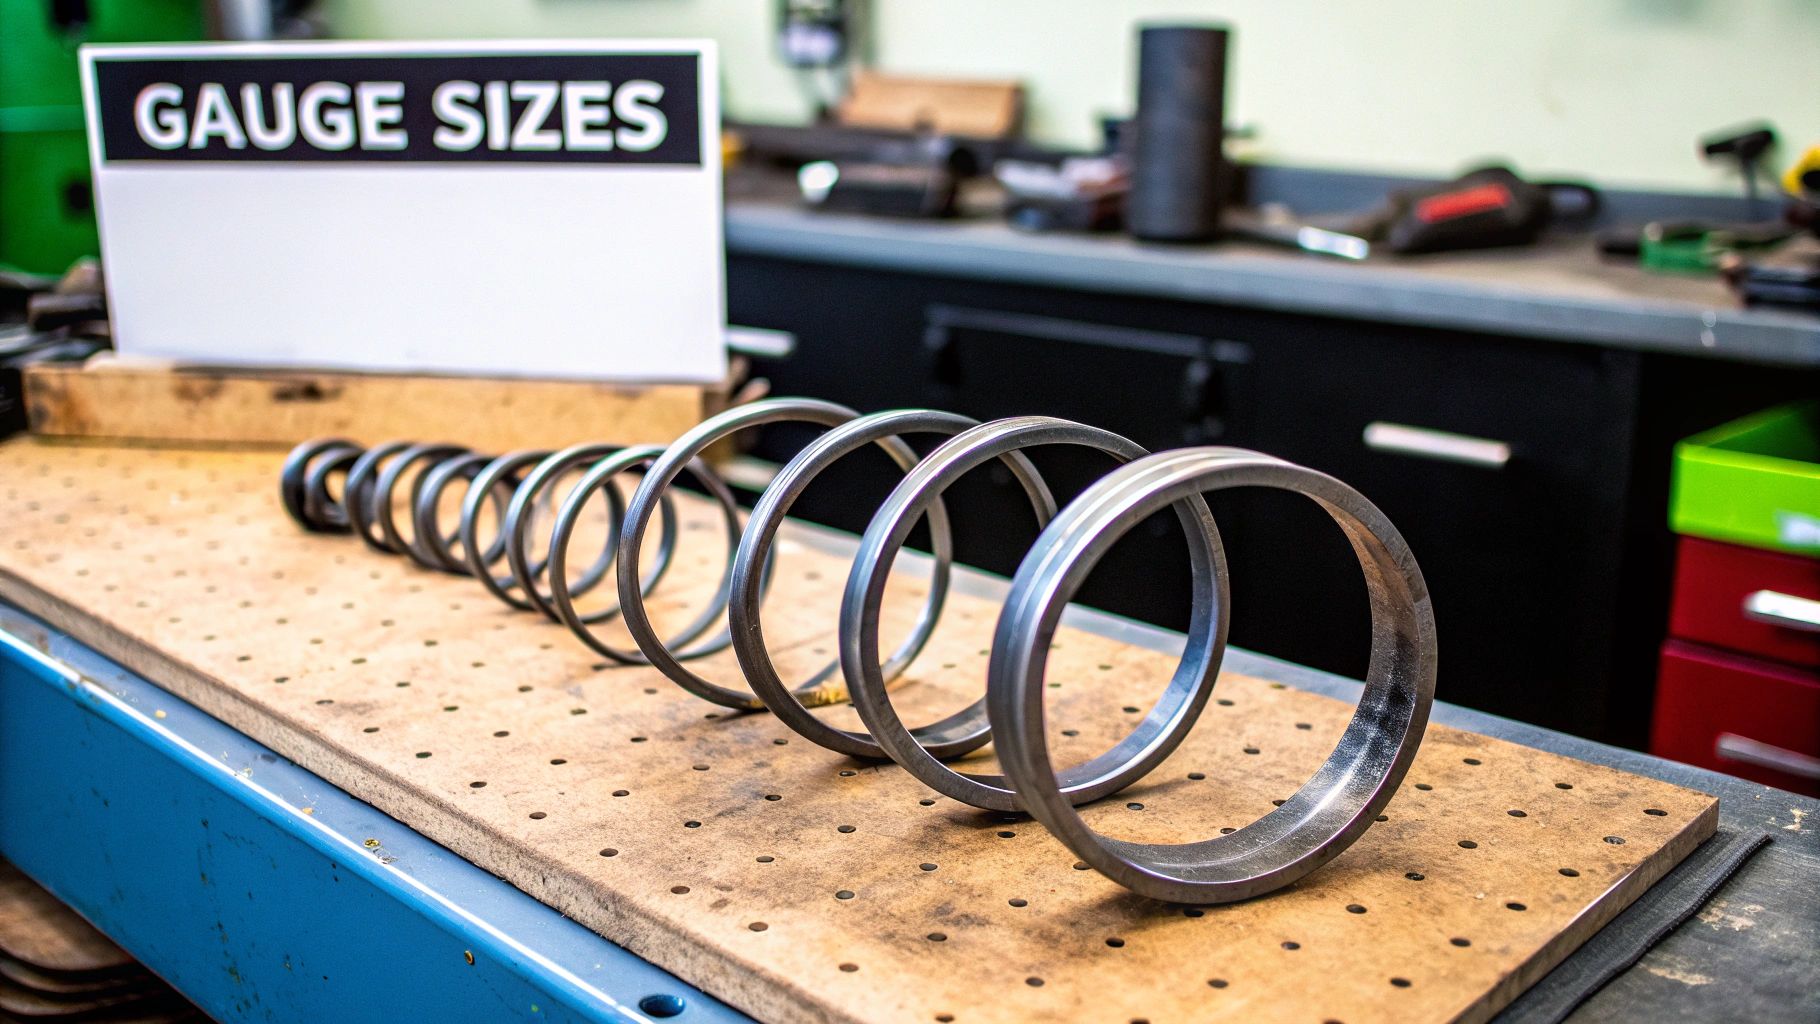
The Complete Gauge Sizes in Order Chart
Ready to get into the nitty-gritty of piercing sizes? This is your ultimate cheat sheet for all the major gauge sizes in order, from the most delicate and thin to the boldest and thickest. Think of this as your go-to reference when you're browsing online or in a shop for that perfect piece of jewelry.
Below, you'll find a detailed chart that does more than just list the gauge number. It breaks down the exact measurement in both millimeters (mm) and inches, giving you a real sense of the jewelry's thickness. Even better, we've included examples of which piercings are most commonly associated with each size. This helps connect the technical numbers to real-life jewelry you know and love.
From Dainty to Bold: A Piercing Size Breakdown
Whether you're looking for a delicate 20g nose stud or a statement-making 14g industrial bar, this chart lays it all out. It's designed to be a quick, scannable guide that will help you shop with total confidence, ensuring you always grab the perfect fit for your piercing.
This chart really shows how drastically the thickness can change, even between sizes that sound close together.
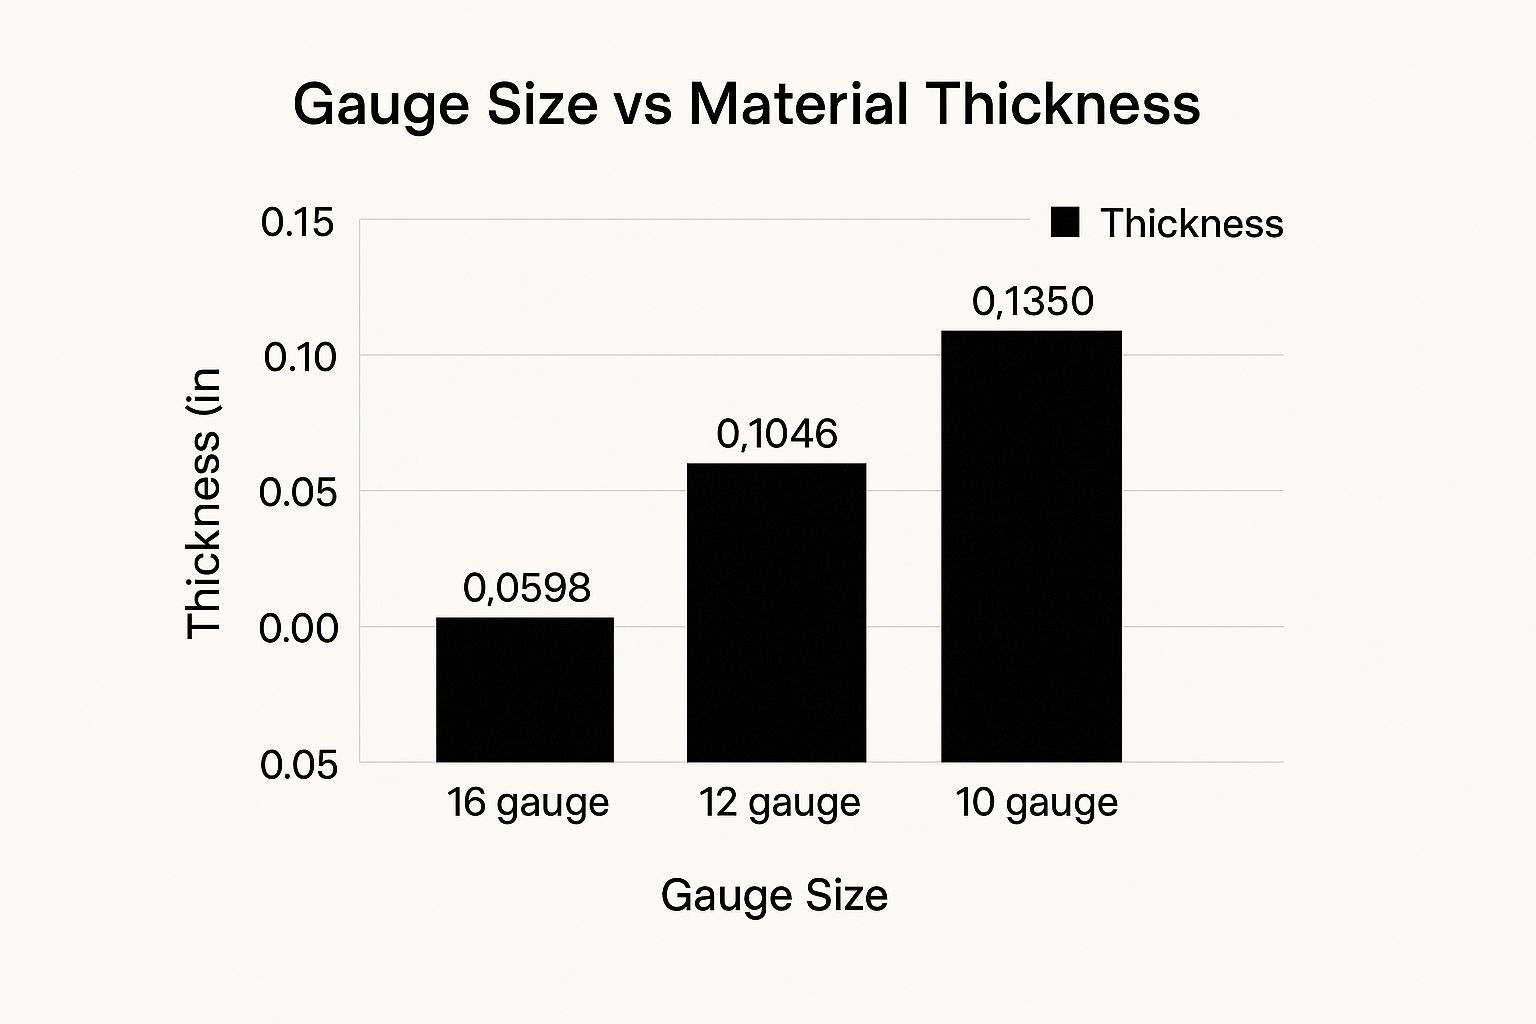
As you can see, jumping from a 16 gauge to a 10 gauge more than doubles the material's thickness. This is why knowing your size is so important!
Pro Tip: When in doubt, always stick with the gauge your professional piercer used for the initial piercing. They chose that specific size for optimal healing and to best suit your unique anatomy.
Comprehensive Piercing Gauge Conversion Chart
Here's the full breakdown of gauge sizes, their conversions to millimeters and inches, and what piercings they're typically perfect for. Keep this handy, and you'll never have to guess again.
| Gauge Size | Millimeters (mm) | Inches (") | Typically Used For |
|---|---|---|---|
| 22g | 0.64mm | 0.025" | Some very delicate nostril piercings. |
| 20g | 0.81mm | 0.032" | Most common size for nostril studs and hoops. |
| 18g | 1.0mm | 0.040" | Nostril, earlobes, and some cartilage (helix, tragus). |
| 16g | 1.2mm | 0.050" | The standard for most cartilage, septum, labret, and initial earlobe piercings. |
| 14g | 1.6mm | 0.064" | The go-to size for navel, nipple, tongue, and industrial piercings. |
| 12g | 2.0mm | 0.081" | Larger nipple and tongue jewelry, initial stretching stages. |
| 10g | 2.4mm | 0.102" | Commonly used for stretched lobes, septums, and larger genital piercings. |
| 8g | 3.2mm | 0.128" | A popular early goal size for ear stretching. |
| 6g | 4.0mm | 0.162" | Stretched lobes, conch, and septum piercings. |
| 4g | 5.0mm | 0.204" | Further stretching for earlobes. |
| 2g | 6.0mm | 0.258" | A common milestone in ear stretching journeys. |
| 0g | 8.0mm | 0.325" | Significant lobe stretching, requiring care and patience. |
| 00g | 10.0mm | 0.394" | Often the last "gauge" size before measurements switch to inches (e.g., 7/16"). |
Having this chart handy means you can easily cross-reference the jewelry you're eyeing with the size you need, making sure every piece you buy is a perfect match for your piercing.
How to Find Your Correct Gauge Size
Alright, so you’ve got the charts down, but how do you figure out the actual gauge size you need? Let's take the guesswork out of it so you can shop for new jewelry with total confidence. Finding your correct size is easier than you might think, and it’s the key to keeping your piercing happy and comfortable.

Honestly, the easiest way is to just ask the pros! Your professional piercer is your best resource here. They know your anatomy and can tell you exactly what size jewelry they used for your piercing. Don’t be shy about giving them a call or checking any paperwork you might have from your visit.
Simple Ways to Measure at Home
If you can’t get in touch with your piercer, no worries. You’ve got a couple of solid options for figuring it out right at home.
-
Check Your Current Jewelry: Grab a piece of jewelry that you know fits perfectly. If it was the original piece your piercer gave you, even better! You can compare it visually to a gauge chart or use it as a solid reference point.
-
Use a Caliper: For a super-precise measurement, a digital or vernier caliper is your best friend. Just gently clamp it on the post of your jewelry—not the decorative ends—to get an exact reading in millimeters. From there, you can match it up with our gauge chart.
Knowing your size is so empowering! It means you can browse for new pieces online without that nagging worry of, "Will this even fit?"
This is especially crucial for piercings that have been stretched, like earlobes or a septum, where keeping track of your current size is part of the journey.
A Beginner's Guide to Stretching Your Piercings
So, you're ready to go bigger? Stretching, also known as "gauging," is an awesome way to customize your look, but there’s no room for shortcuts. Doing it safely is absolutely non-negotiable, and this is your starting point for getting it right.

The number one rule of stretching is patience! Seriously, you should only ever stretch up one gauge size at a time. For example, you’d move from a healed 16g piercing to a 14g, and no further. Rushing the process by skipping sizes is a surefire way to cause tearing, blowouts, and permanent damage to your piercing.
Essential Tools and Materials
Before you even think about sizing up, you need the right gear. Using the wrong stuff can easily lead to irritation, infection, or a stalled journey, so let’s get it right from the very beginning.
- Best Materials: Your lobes will thank you for using high-quality, non-porous materials for a fresh stretch. Single-flare glass plugs or implant-grade stainless steel tunnels are the gold standard here. Stay away from acrylic and silicone for new stretches, as they are porous and can harbor bacteria.
- Stretching Tools: Tapers are the conical tools that help guide larger jewelry into the piercing. It's important to remember they are just that—a tool. Use them to gently insert the jewelry, but don't wear them as jewelry themselves.
- Lubricant: Never, ever stretch a dry piercing! A good quality, water-based lubricant or a natural oil (like jojoba oil) is absolutely essential for a smooth and comfortable transition to the next size.
A crucial reminder: your piercing must be 100% healed before you even attempt to stretch it. This typically means waiting at least 4-6 weeks after your last stretch. But ultimately, listening to your body is key—if it’s sore at all, wait longer.
Ready for a more in-depth look? Our complete guide on how to properly stretch your lobes covers every single step of the process in detail.
Common Gauge Size Mistakes to Avoid
We’ve all been there—scrolling online, finding the perfect piece of jewelry, and hitting "buy now" only for it to show up in the wrong size. It's a bummer, but let's make sure that never happens to you again by dodging the most common slip-ups people make with their gauge sizes.
The absolute biggest mistake? Trying to force jewelry that’s too thick into your piercing. This is a massive no-no and can lead to some serious problems like tearing, major irritation, or even a nasty infection. Your body is the ultimate authority here; if you feel sharp pain or serious resistance, stop immediately. It's just not worth damaging a piercing you've worked so hard to heal.
Why Size Consistency Matters
On the flip side, wearing a gauge that's too thin for your piercing over a long period can cause its own headaches. If your piercing was originally done with a 16g needle but you've only been wearing 18g jewelry, the piercing channel can actually start to shrink down to fit the smaller post.
The most dreaded outcome of wearing jewelry that’s too thin for too long, especially in certain piercings, is the "cheese-cutter effect." It's as unpleasant as it sounds—this happens when thin jewelry under pressure starts to migrate through your tissue.
Here are a few simple tips to keep your piercing happy and healthy:
- Always Double-Check: Before you complete your purchase, take a second to compare the jewelry's listed gauge size with the size you know you need.
- Listen to Your Body: This is the golden rule of body piercing. If something feels painful, tight, or just plain wrong, it probably is.
- Consult a Pro: When in doubt, your piercer is your best resource. They can confirm your size in seconds and save you a lot of trouble.
Your Top Gauge Size Questions Answered
Got a few more questions rattling around in your head about gauge sizes? Perfect, you're in the right spot. Let's clear up some of the most common points of confusion so you can feel totally confident about your jewelry choices.
What Happens if I Put a Smaller Gauge in My Piercing?
This is a classic question! Popping smaller jewelry into your piercing (say, an 18g stud in a 16g hole) isn't going to cause any immediate harm. Over time, though, your body's natural healing instincts will kick in, and the piercing channel, or fistula, will begin to shrink to fit the smaller post.
If you leave it in long enough, you might find it difficult—or even impossible—to go back to your original, thicker gauge without having to gently re-stretch the piercing.
Can I Switch Between 18g and 20g Jewelry?
For a piercing that’s fully healed, swapping between super-close sizes like 18g (1.0mm) and 20g (0.8mm) is usually no big deal. The size difference is tiny, just 0.2mm, so most people can switch back and forth without any trouble at all.
The golden rule is to listen to your body. If you feel any pinching, resistance, or discomfort, it's best to stick with your current size for a while longer.
What’s the Difference Between Gauge and Length?
Getting this right is crucial for a perfect fit! Think of it this way: gauge is only about the thickness of the jewelry's post or ring—nothing else.
On the other hand, length measures the wearable surface of a straight or curved barbell. For hoops and rings, you'd measure the internal diameter. Nailing all these measurements is the secret to finding jewelry that not only looks great but feels comfortable, too.
Ready to show off your gauge expertise? Bodycandy has an amazing selection of body jewelry for pretty much any piercing and gauge size you can think of.