So you did it! You got the daith piercing you've been dreaming of, and it looks amazing. Now comes the important part: aftercare. Don't worry, it's easier than you think. Proper daith piercing aftercare comes down to two simple things: gentle, consistent cleaning and leaving it alone.
The goal is to use a sterile saline solution twice a day and avoid touching, twisting, or sleeping on your new piercing. Get that right, and you're on your way to a super smooth healing process.
What To Expect With Your New Daith Piercing
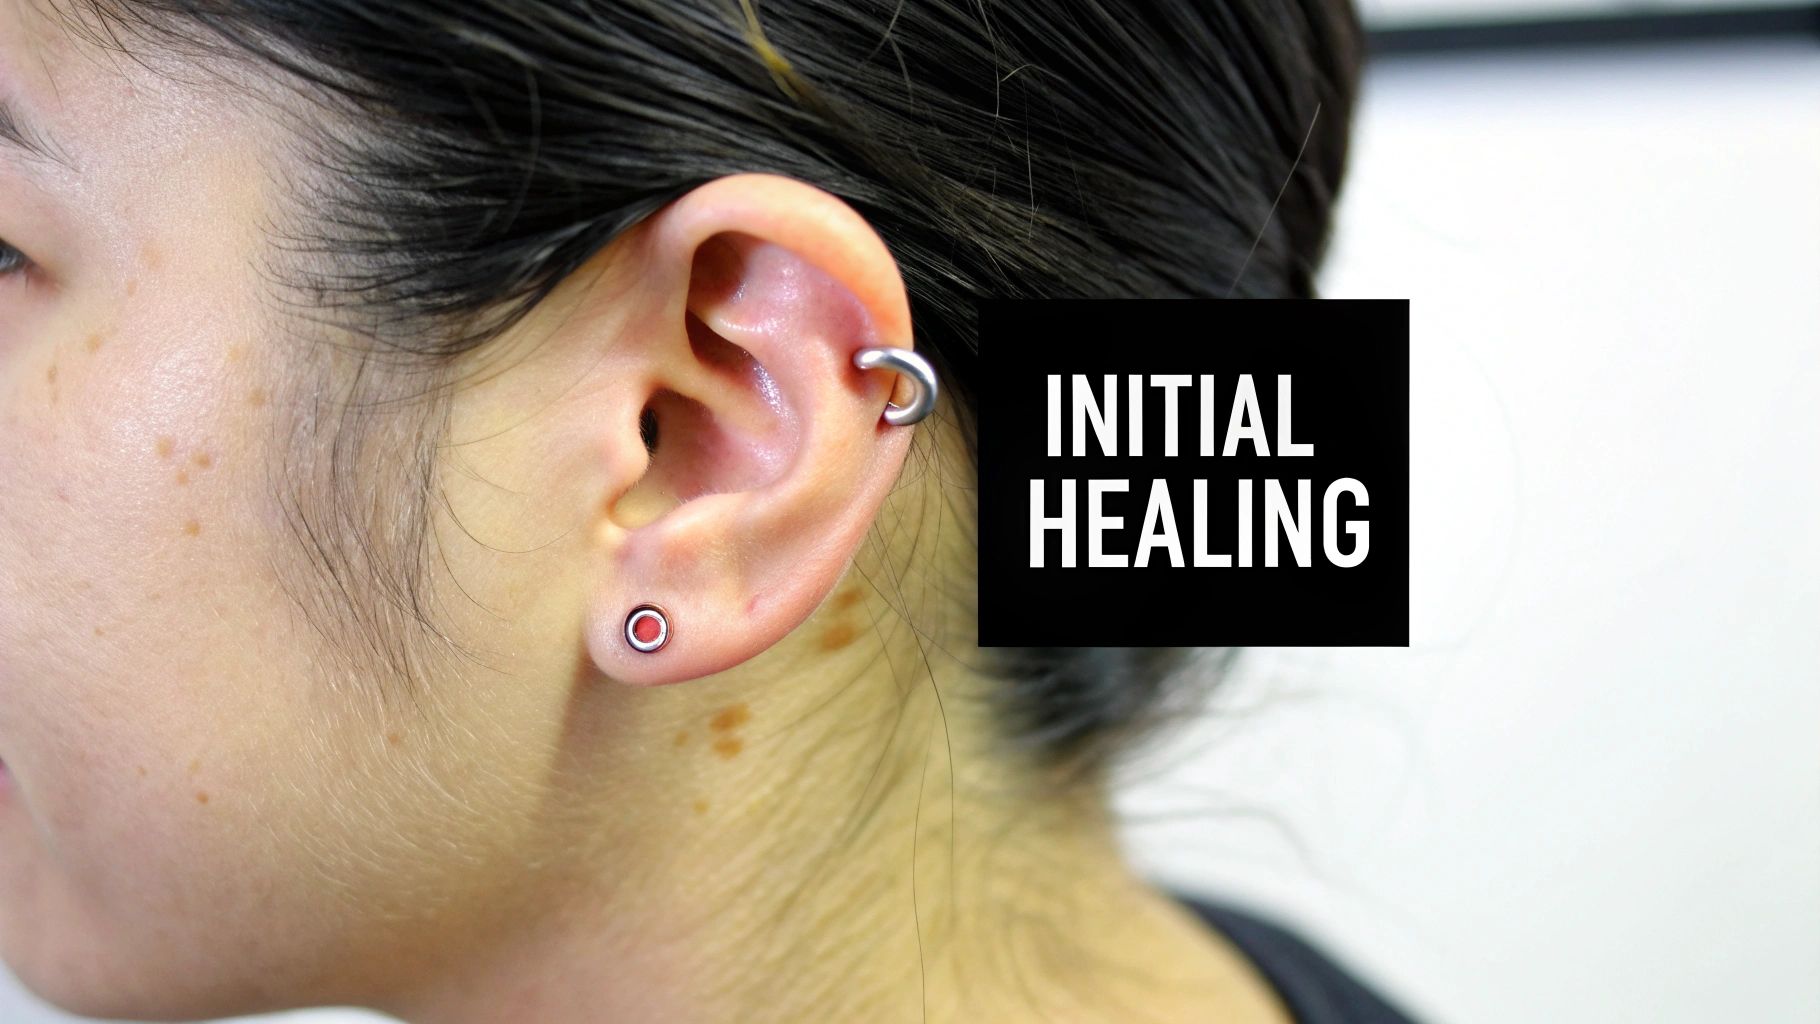
Welcome to the daith piercing club! That awesome new addition to your ear is going to look incredible, but first, we need to get through the initial healing phase. Think of these first few weeks as the most critical part of your journey. Your body is busy doing its thing, and your job is to create the best possible environment for it to work its magic.
So, what’s normal right now? Definitely expect some redness, swelling, and a bit of tenderness around the piercing. This isn't a sign of trouble; it's just your body's natural "whoa, what's this?" response. You might also feel a dull ache or a slight throb, especially for the first couple of days. This is all totally normal and should start to calm down within a week or two.
Your First Few Days
The first 48 to 72 hours are usually when you'll see the most swelling. Don't panic if your ear feels a little puffy! Your piercer knew this would happen and chose your initial jewelry with this in mind, using a slightly larger ring or barbell to give it some room to breathe.
If it's feeling a little sore, you can try a cold compress—but do it the right way. Wrap an ice pack in a clean paper towel and hold it gently near the piercing for a few minutes at a time. Don't press it directly on the jewelry. This can help take some of the heat out without introducing any unwanted moisture or germs.
And now for the golden rule: keep your hands off! We can't stress this enough. Your fingers are covered in oils and bacteria that have no business being near a fresh wound. The temptation to touch, twist, or check on it is real, but fighting that urge is one of the most important things you can do to prevent irritation and infection.
If you're curious about how it all went down, you can get a behind-the-scenes peek by checking out our video of Jen’s daith ear cartilage piercing to see a pro in action.
Why Your Starter Jewelry Matters
That piece of jewelry you left the studio with isn't just for looks—it plays a huge role in how well you heal. A professional piercer will always start you off with high-quality, hypoallergenic materials, and there's a good reason for that.
Here’s why it's a non-negotiable:
- Biocompatibility: Materials like implant-grade titanium or surgical steel are designed to exist peacefully with your body. This seriously cuts down the risk of allergic reactions and irritation.
- No Tarnishing: Cheaper metals can tarnish or corrode over time, which can leach nasty stuff into a healing piercing. No thanks.
- Proper Sizing: Your starter jewelry is specifically sized to prevent the piercing from closing up while still leaving enough room for that initial swelling.
Think of your starter jewelry as a healing tool, not just a fashion statement. Sticking with the high-quality piece your piercer chose gives your daith piercing the best possible head start. Once you're fully healed, then you can go wild with Bodycandy's amazing collection!
Mastering Your Daily Cleaning Routine
Alright, let's get into the most critical part of your daith piercing journey: the daily cleaning routine. Honestly, getting this down to a simple, twice-a-day habit is the secret sauce for a happy, healthy piercing. Think of it less like a chore and more like a little self-care ritual that guarantees your new bling heals up perfectly.
Your mission, should you choose to accept it, is to keep the area clean without causing any extra drama for your ear. Your body is already putting in the hard work to heal; your job is just to be its helpful sidekick. A gentle, consistent approach is your best defense against irritation, infection, and those annoying piercing bumps we all want to avoid.
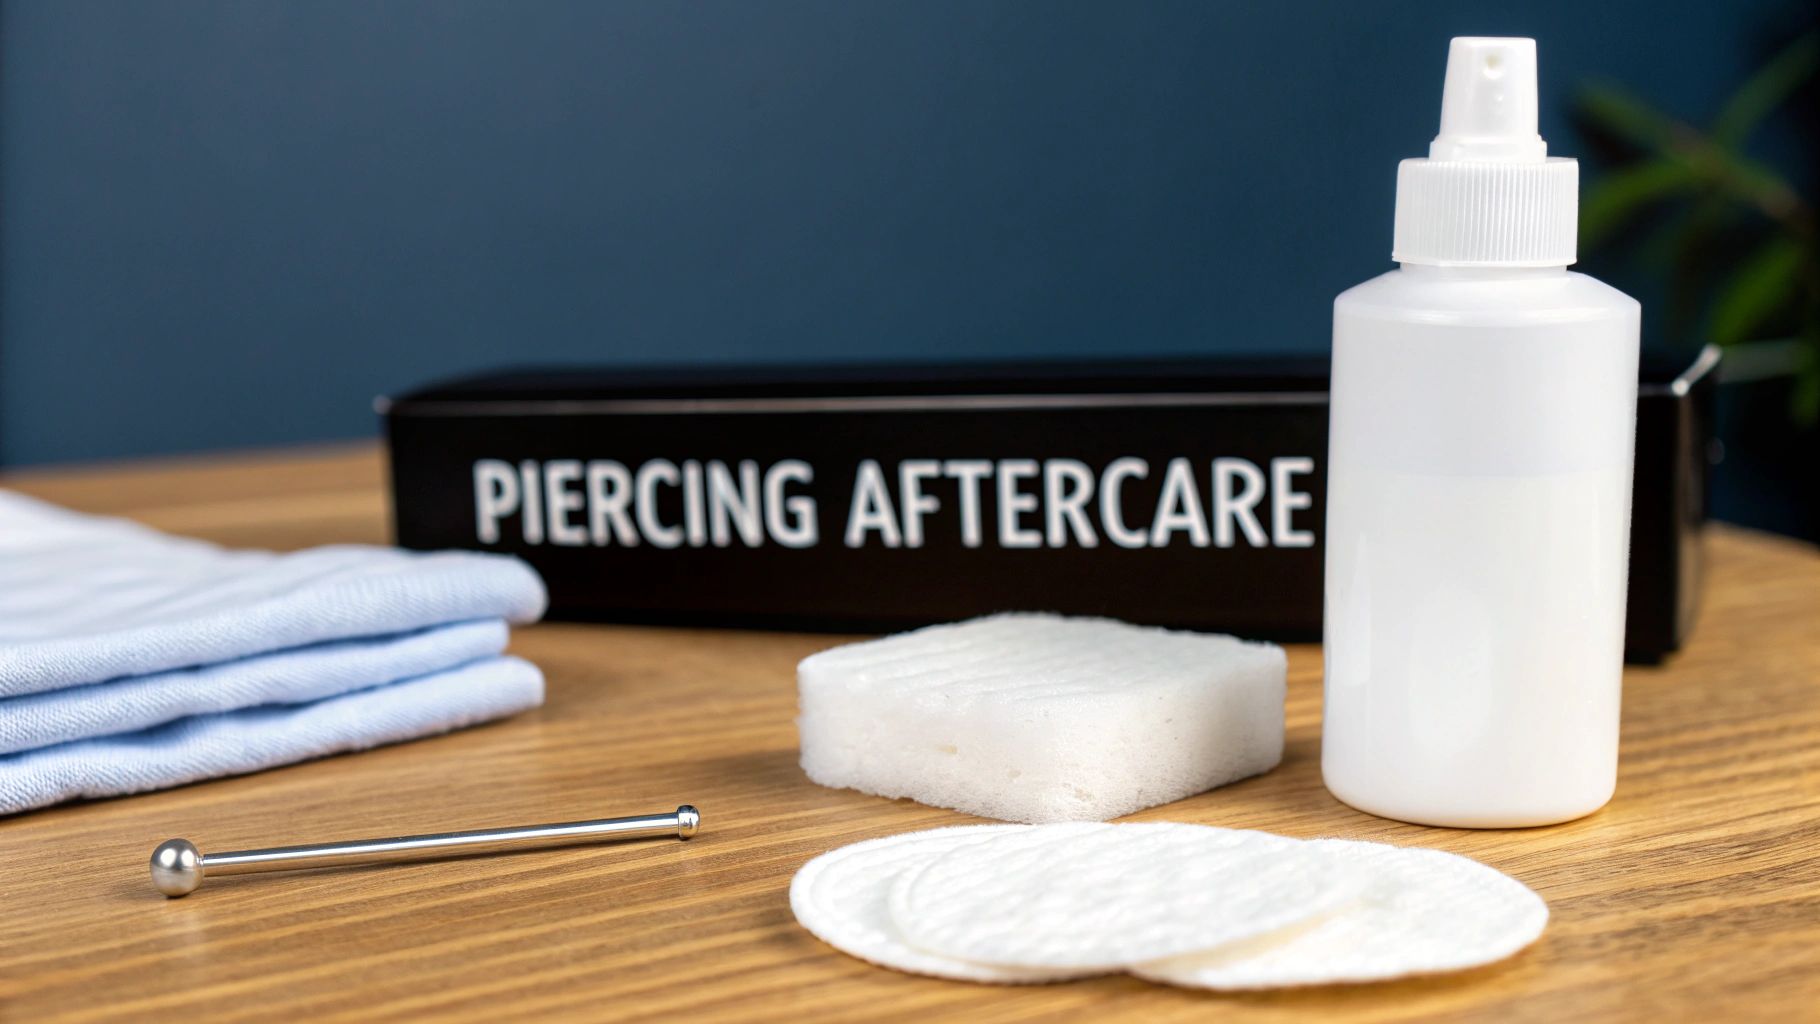
The Only Tool You Need: Sterile Saline Solution
First things first, forget everything you've heard about using harsh chemicals. Your brand-new daith piercing is a delicate healing wound, not a chemistry experiment. The only product that should ever come near it is a sterile saline solution.
So, why is saline the undisputed champion of aftercare? It's isotonic, which is a fancy way of saying it has the same salt concentration as your body's own fluids. This means it can clean the area effectively without drying out your skin or messing with the fragile new tissue that’s trying to form. Stuff like alcohol and hydrogen peroxide? Way too aggressive. They can actually delay healing by wiping out the good cells your body needs to recover.
When you're shopping for a solution, look for one that contains only two ingredients: sterile water and sodium chloride. Pre-made sterile saline sprays designed for piercings are incredibly convenient and ensure everything stays hygienic. For a deeper dive, check out our guide on why H2Ocean aftercare is a piercer favorite to help you pick the right product.
Your Step-By-Step Cleaning Playbook
Ready to make this super simple? You'll be doing this routine twice a day—once in the morning and once before bed. It's tempting to clean more often, but over-cleaning can be just as irritating as not cleaning enough, so stick to the plan.
-
Hands Off! (Until They're Clean): Before you even think about touching your ear, wash your hands thoroughly with soap and warm water. This is non-negotiable. You’ve got to get rid of any bacteria that could cause trouble.
-
Spray It Down: Generously spray the saline solution directly onto the front and back of your daith piercing. Let it soak for about a minute. This little soak is great for softening up and loosening any "crusties" (which is just dried lymph fluid—totally normal!).
-
Gently Clear Debris: If you still see some crusties hanging on, you can take a clean piece of non-woven gauze soaked in more saline and gently wipe them away. Stay away from cotton balls or Q-tips; their tiny fibers can get tangled in your jewelry and cause a world of irritation.
-
Pat, Don't Rub: This step is crucial. Gently pat the entire area completely dry with a fresh, clean paper towel. Leaving moisture behind creates a perfect environment for bacteria to party, which can lead to those dreaded irritation bumps. A bath towel is a no-go, as it can harbor bacteria and snag your jewelry.
Pro Tip: Whatever you do, never pick at the crusties with your fingers! They're a normal part of the healing process. Forcibly removing them can tear the delicate new skin and set your healing back big time. Let the saline do all the work.
Just to make it even easier, here's a quick cheat sheet for your daily routine.
Your Daily Daith Aftercare Checklist
| Do | Don't |
|---|---|
| Wash hands with soap before touching the area. | Touch or twist your jewelry. |
| Use sterile saline solution twice daily. | Use alcohol, peroxide, or harsh soaps. |
| Gently remove crusties with soaked gauze. | Pick at crusties with your fingernails. |
| Pat the area dry with a clean paper towel. | Use a shared bath towel to dry the piercing. |
| Keep hair and bedding clean to avoid bacteria. | Submerge your piercing in pools or hot tubs. |
Following these simple rules is your best bet for a smooth, problem-free healing process.
Why Consistency Is Everything
Daith piercings, which blew up in popularity around 2015 partly for their rumored migraine benefits, demand real dedication when it comes to aftercare. A study that looked at YouTube videos of piercing experiences found that infections happened in about 8.5% of cases—a risk that drops dramatically with proper hygiene. Meticulous aftercare, like your daily saline cleanings and avoiding harsh products, is your best defense. You can read more about the study's findings here.
Sticking to your twice-daily cleaning routine for the first few months is how you stay on the right side of those statistics. It’s a tiny time commitment that pays off in a huge way, leaving you with a beautifully healed piercing you’ll love for years.
Navigating The Complete Healing Timeline
So you've gotten your daith piercing. Awesome! Now for the hard part: the healing. Healing a daith piercing is a marathon, not a sprint. We get it—you're so excited to show it off, but patience is your absolute best friend on this journey. Because it’s a cartilage piercing tucked away inside your ear, the process is a bit more complex than a simple lobe piercing.
Think of it in phases. Each stage has its own quirks and milestones, and knowing what to expect will help you stay cool, calm, and confident. The full timeline can stretch anywhere from six months to a year, and sometimes even a little longer. This isn't a sign that something is wrong; it's just how cartilage works.
The First Few Weeks: The Inflammatory Phase
Right after you leave the studio, your body kicks into high gear. This initial stage is all about inflammation, and believe it or not, it’s a good thing! You'll notice some redness, swelling, and tenderness. These are all signs that your immune system is on the job, sending healing cells right where they need to go.
During this time, your main job is to be extremely gentle. Seriously, treat it like the delicate flower it is. Stick to your twice-daily saline soaks, avoid sleeping on that ear at all costs (your new best friend is a travel pillow!), and keep headphones and earbuds far away. It's an open wound, and your goal is to protect it from irritation and bacteria while your body does the heavy lifting.
Months 1-4: The Settling-In Period
After the initial drama subsides, you’ll enter what many people call the "settling in" phase. The swelling and tenderness will have gone down significantly, and you'll start to see fewer of those little "crusties." At this point, you might be tempted to think you're fully healed.
This is the most common mistake people make!
Underneath the surface, your body is still busy building new tissue (a tunnel called a fistula) through the piercing channel. While it may look calm on the outside, it's still very fragile. Changing your jewelry too soon or slacking on your aftercare now can easily cause irritation bumps and set your healing back by weeks or even months. Keep up with your cleaning routine and resist the urge to switch out that starter ring.
This timeline visualizes the simple but essential steps for your daily daith cleaning ritual.
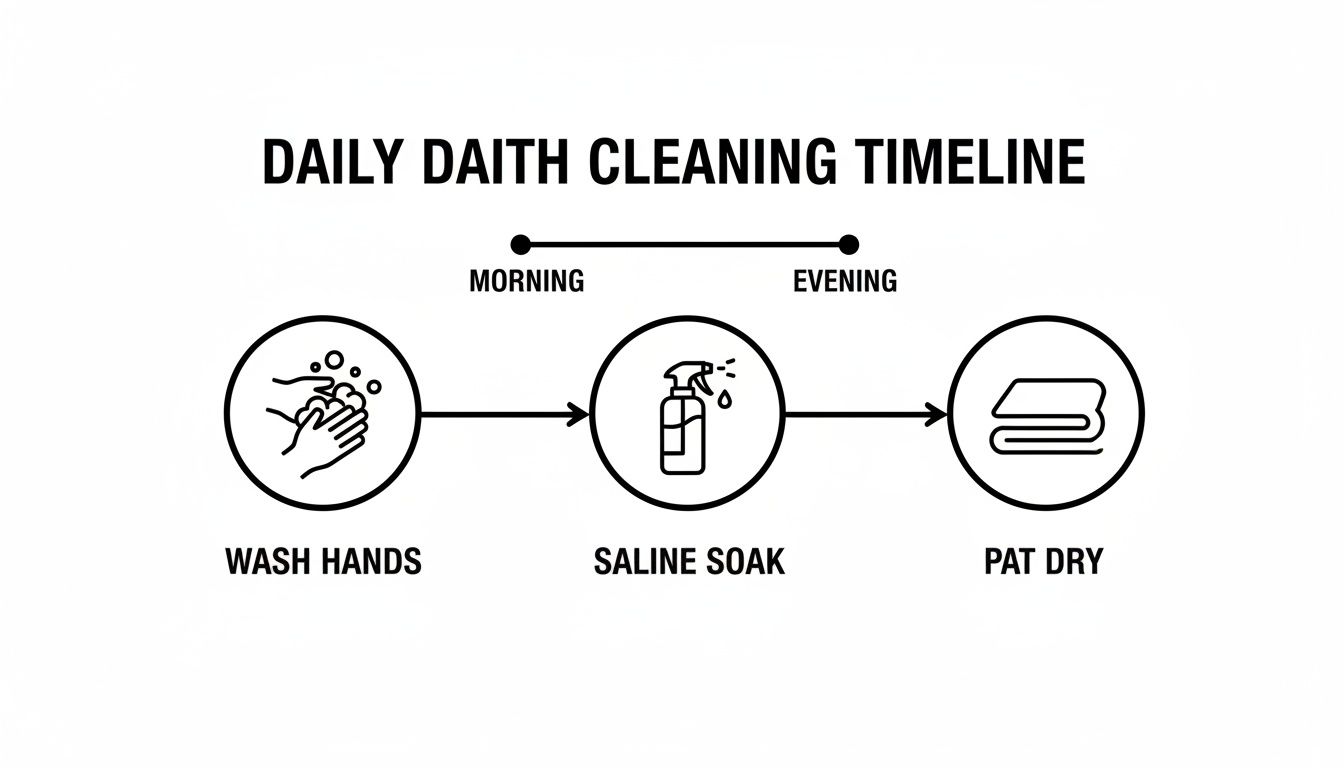
Mastering this three-step process is the key to moving smoothly through each healing phase.
Months 5-12: The Maturation Stage
Welcome to the final stretch! During this last phase, the new tissue inside your piercing channel strengthens and matures. The piercing will feel much more stable, and you shouldn't have any pain or discharge. This is when your daith truly becomes a permanent part of you.
Don't rush to swap your jewelry the second you hit the six-month mark. A good rule of thumb is to wait until you can gently move the jewelry without any discomfort and there’s been no crusting or tenderness for at least a month.
Proper aftercare is the backbone of success, and it's even linked to the high satisfaction rates reported for migraine relief. A 2017 survey showed that 75% of 1,262 patients reported positive results, but only when the piercing healed properly. Given that cartilage has poor blood flow and a median healing time of 20 weeks, cutting corners is a recipe for complications. Find out more about how healing times for popular piercings vary in our detailed guide.
One survey of daith piercing experiences flagged infections in 8.5% of cases, often due to things like jumping in a swimming pool too soon or using earbuds before the piercing was ready. Sticking to the rules is so important for a flawless heal. Once you're certain it's fully healed, you can finally—and safely—start exploring Bodycandy's incredible collection of daith rings.
Troubleshooting Common Piercing Problems
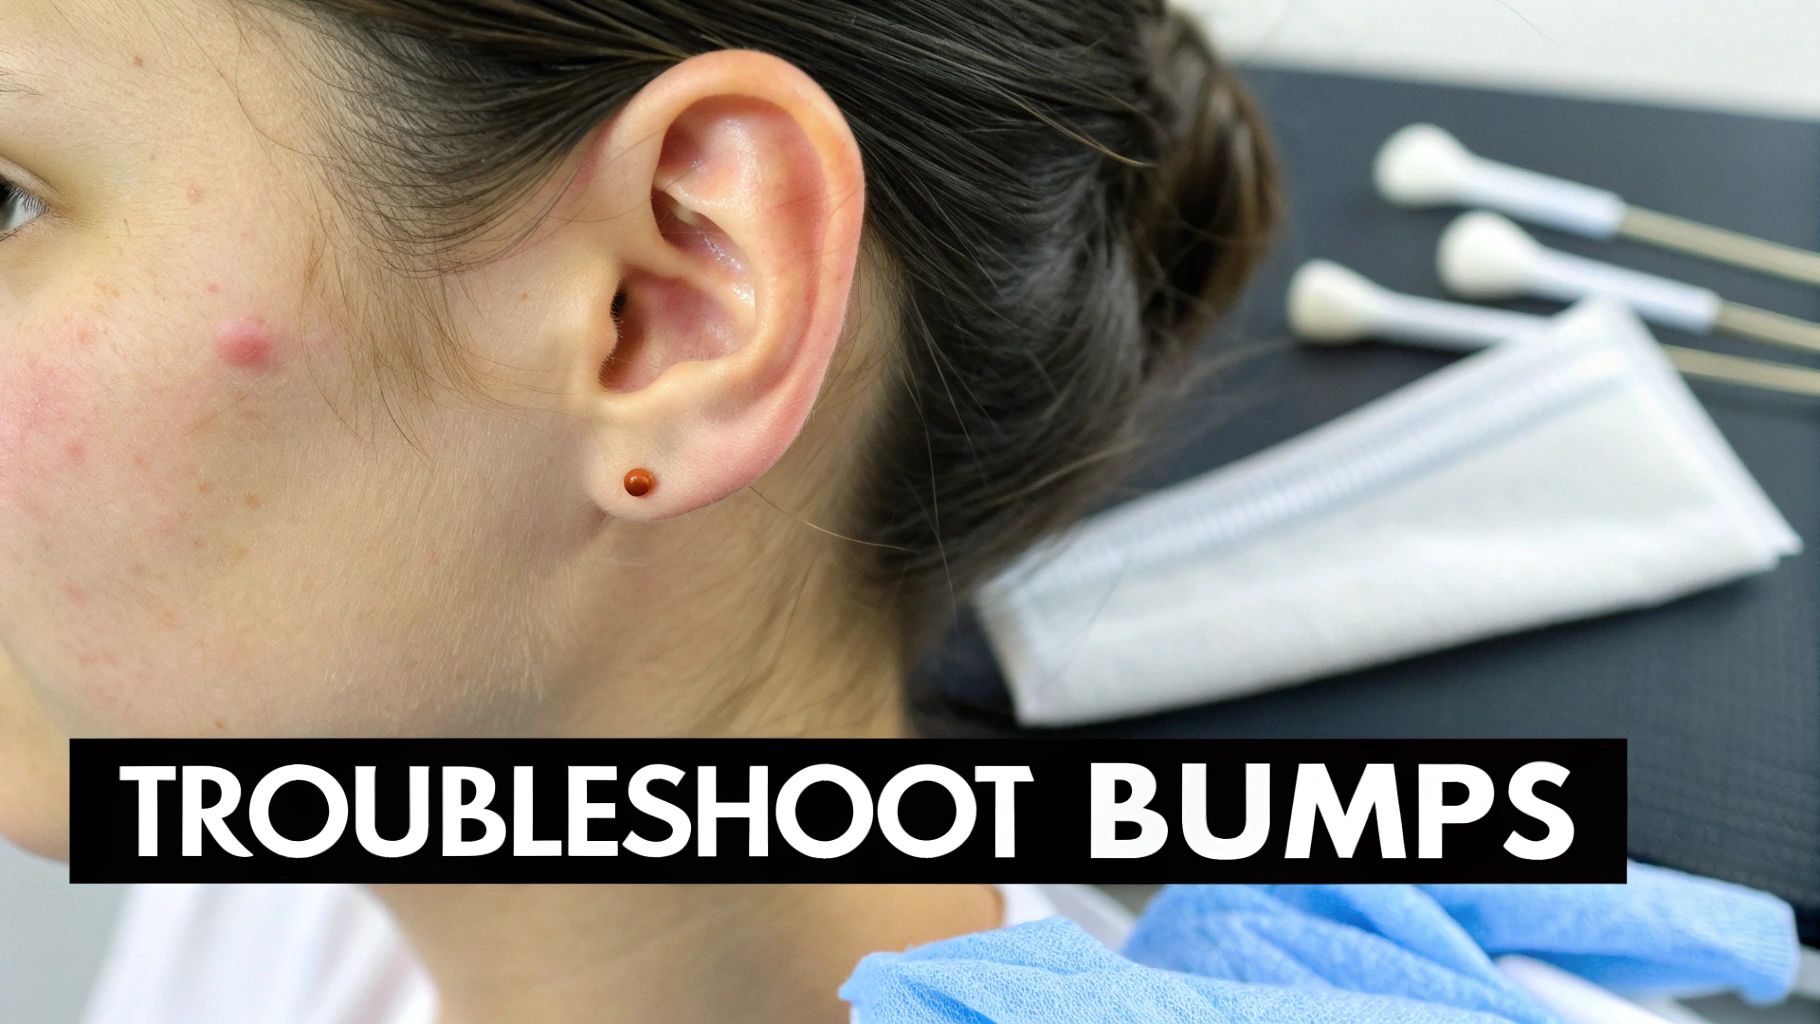
Even when you follow your daith piercing aftercare instructions perfectly, things can hit a snag. Seeing a bump or some extra swelling can be stressful, but don't panic! Most of the time, these issues are just minor speed bumps on the road to a healed piercing, not full-blown emergencies.
The key is learning to read the signs your body is giving you. Knowing the difference between a simple irritation bump and an actual infection will help you figure out what to do next. Let's walk through how to troubleshoot with confidence and get your healing journey back on track.
The Dreaded Piercing Bump
Let's talk about the most common frustration: the piercing bump. These little bumps, technically a form of hypertrophic scarring, are usually a sign that your piercing is irritated by something. They’re not typically painful, but they are annoying and can be surprisingly persistent.
So, what’s making your piercing so angry? It almost always comes down to one of three things: pressure, moisture, or movement.
Think about it—have you been sleeping on that side? Did your headphones rub against the jewelry? Maybe you got a little lazy with drying it after a shower? Your daith is tucked into a tight spot, making it extra sensitive to these little disturbances.
The good news is that irritation bumps are reversible! Once you find and remove the source of the irritation, the bump will almost always go away on its own. Patience and a return to strict aftercare are your best weapons here.
Don't be tempted to use harsh home remedies like tea tree oil or aspirin paste. These so-called "fixes" often do more harm than good by drying out the skin and causing even more irritation. Stick to your sterile saline solution and focus on figuring out what's causing the problem in the first place.
When To Worry About Infection
While irritation bumps are super common, a true infection is a much more serious issue that requires prompt attention. An infected piercing isn't just annoyed—it's fighting off a bacterial invasion. This is where knowing the difference between normal healing and a red flag becomes crucial.
An infection will feel very different. The area won't just be a little sore; it will likely be intensely painful, maybe even throbbing or radiating out into your ear. You'll also notice significant swelling that doesn't go down and a distinct feeling of heat coming from the piercing site.
The most tell-tale sign of an infection is the discharge. While clear or whitish "crusties" are normal, an infection produces thick, opaque pus that is often yellow or green. This is a clear signal that your body is in battle mode and you need to take action.
Irritation Bump vs Infection: What's The Difference?
Sometimes the lines can feel a bit blurry, especially when you're worried. Let’s break it down side-by-side so you can figure out what’s going on with your daith piercing.
| Symptom | Irritation Bump | Infection |
|---|---|---|
| Pain | Minimal to none, usually just tender. | Moderate to severe, often throbbing or sharp. |
| Appearance | A small, localized bump right next to the piercing hole. | Widespread redness and significant swelling. |
| Discharge | Clear or slightly whitish fluid ("crusties"). | Thick, opaque yellow or green pus. |
| Feeling | Itchy or slightly uncomfortable. | Hot to the touch, with radiating heat. |
Remember, if you have any signs of an infection, do not remove the jewelry! Taking the ring out is the worst thing you can do. It could allow the piercing hole to close up, trapping the infection inside and potentially leading to a painful abscess.
Instead, your first call should be to your professional piercer or a doctor. They can properly assess the situation and guide you on the next steps, which may include a course of antibiotics.
Sometimes, the root cause of ongoing irritation is the jewelry itself. Sneaky metal allergies are a complication in up to 10-15% of piercings. Upgrading to high-quality, body-safe materials like those in BodyCandy's hypoallergenic titanium or surgical steel daith jewelry can often be the simple fix your piercing needs to finally calm down and heal beautifully. You can learn more about piercing complications from medical studies to better understand the risks.
Lifestyle Tips For A Flawless Heal
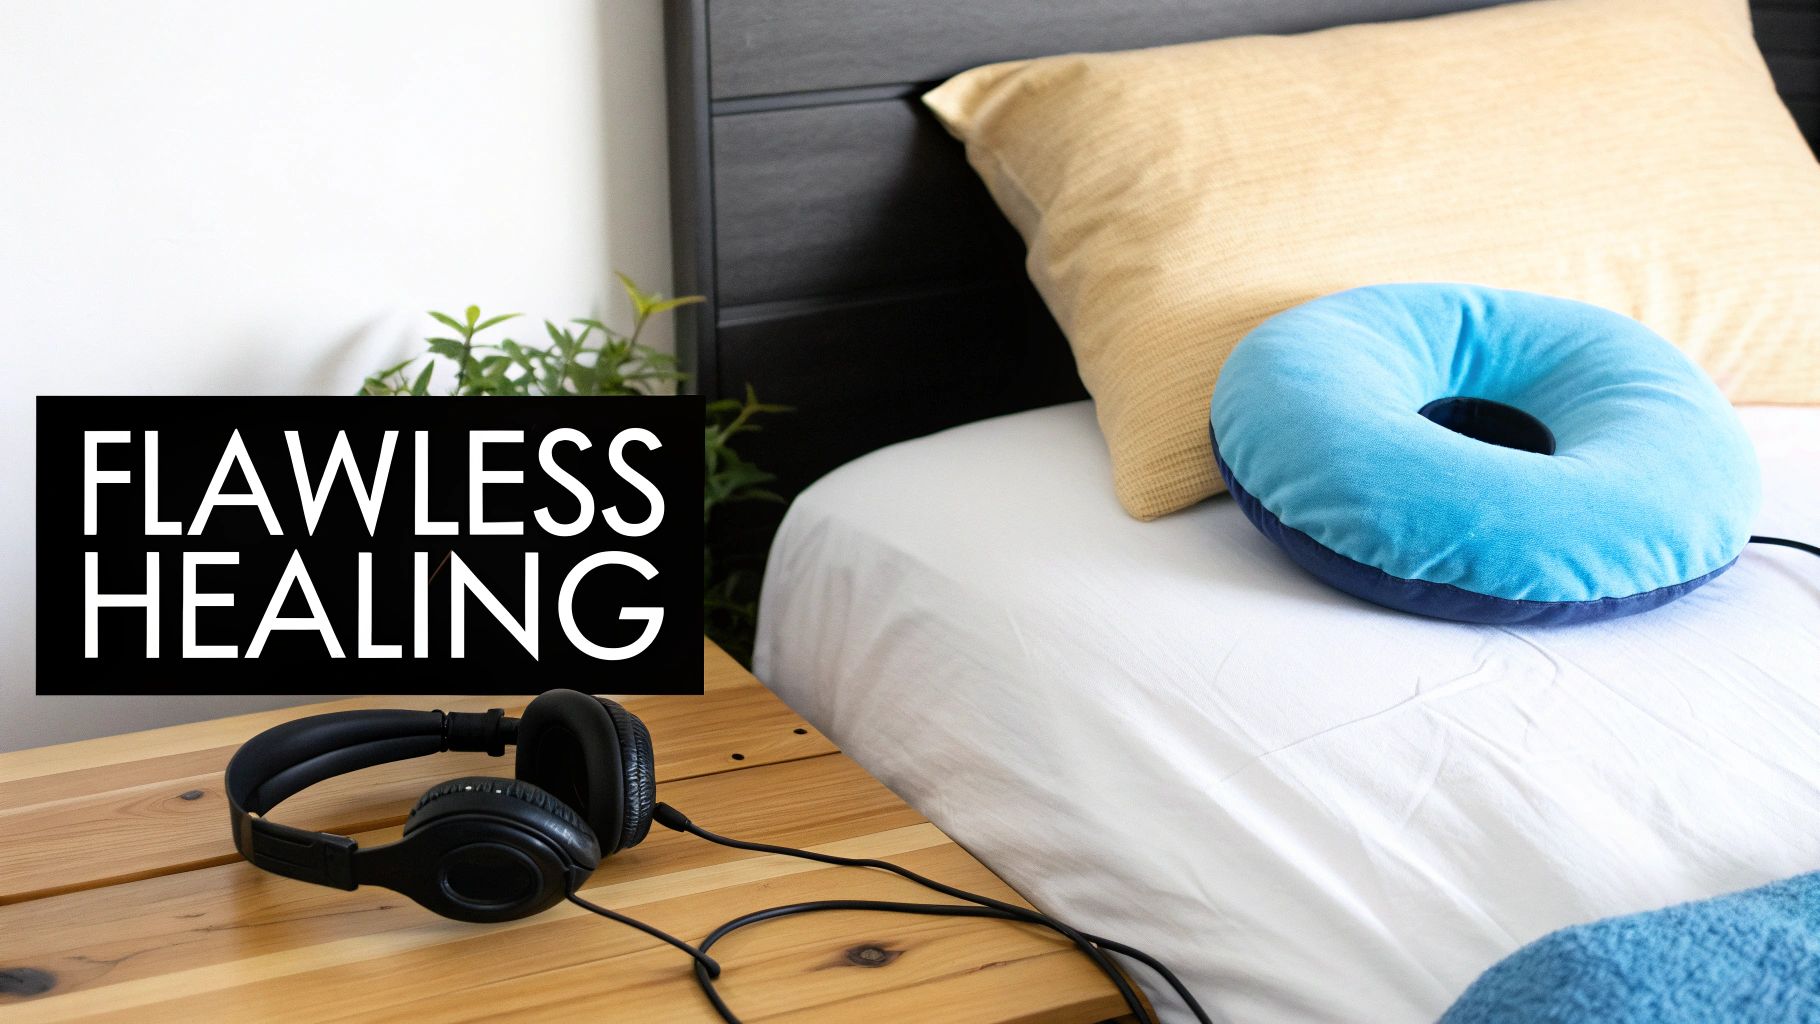
So, you've got the daily cleaning routine down pat. Awesome. But what you do between those saline soaks is just as important for a happy, healthy daith piercing. Think of these lifestyle tweaks as the insider secrets that take a good healing journey and make it a great one.
These aren't complicated rules, just simple habits that protect your new piercing from the little daily threats you might not even consider. From how you sleep to what you wear, a few small adjustments can make a world of difference in preventing irritation and helping your body heal up faster.
Protect Your Piercing While You Sleep
Let's be real: you spend about eight hours a night with your head smashed into a pillow. For a new daith, that's a recipe for disaster. Sleeping directly on your piercing is one of the fastest ways to invite swelling, angry irritation bumps, and some serious next-day soreness.
The ultimate pro-tip? A travel pillow. You know, the U-shaped kind. By placing your ear in the open space, you can sleep on your favorite side without putting a single ounce of pressure on your new jewelry. It's a total game-changer for healing cartilage.
Also, give your bedding some thought. Pillowcases can become a breeding ground for bacteria pretty quickly. Get into the habit of swapping yours out every couple of days to keep things fresh and minimize infection risks.
Be Mindful of Everyday Irritants
Your daith sits in a prime spot to get snagged, bumped, and generally bothered by stuff you use every single day. Just being aware of these potential culprits is half the battle.
Here are the main offenders to keep on your radar:
- Headphones and Earbuds: This one's a biggie. Anything that sits in or on your ear is a no-go for the first few months. Stick to over-the-ear headphones on your other side, or just give them a break entirely. Shoving an earbud in can introduce bacteria and put nasty pressure on the piercing.
- Hair and Hair Products: Long hair loves to wrap itself around fresh jewelry, leading to painful snags. Try to keep your hair tied back, especially when you sleep. When you're using hairspray or dry shampoo, shield your piercing with a clean hand to keep those products from gunking it up.
- Hats and Hoodies: That cozy beanie or your favorite hoodie can rub against your daith, causing friction and irritation. Be gentle when putting them on and taking them off. Looser styles that don't press on your ear are your best friend right now.
A huge part of daith aftercare is simply playing defense. If you can anticipate the potential snags and bumps, you can avoid them altogether. That's the key to a smooth, drama-free heal.
Keep It Dry and Away From Contaminated Water
This is a non-negotiable rule for the first few months: your daith piercing needs to stay far away from pools, hot tubs, lakes, and oceans. These are basically giant tubs of chlorine and bacteria that can lead to a seriously nasty infection.
Even your own bathtub isn't 100% safe. Showering is fine, of course, but try not to let your piercing soak in bathwater. After every shower, gently pat the area completely dry with a clean paper towel. Trapped moisture is not your friend.
The Importance of the Downsize
Once all that initial swelling has chilled out—usually after a few months—it's time for a crucial visit back to your piercer. They'll likely recommend downsizing your jewelry, which just means swapping the initial, longer post for a perfectly snug one.
This isn't just about aesthetics; it's a vital step for long-term healing. A bar that’s too long is way more likely to catch on things, causing movement that can lead to those dreaded irritation bumps. For anyone shopping with us, grabbing ASTM-F136 titanium daith bars is a smart move for biocompatibility, especially since the poor blood supply in cartilage can slow things down. You can discover more insights about piercing materials and healing on this medical study.
A proper downsize makes your piercing more comfortable, more secure, and sets you up for a lifetime of happy wear.
Your Daith Piercing Questions Answered
We know you've got questions, and we've got the answers. The world of piercing aftercare is absolutely flooded with myths and bad advice, but don't worry—we're here to set the record straight. Think of this FAQ as your cheat sheet for taking care of your new daith piercing like you've been doing it for years.
Let's jump into some of the questions we hear all the time.
Can I Use Tea Tree Oil On A Piercing Bump?
This is probably the number one question we see, and the answer is a firm, absolute no. While tea tree oil has some antiseptic properties, it's way too harsh for a delicate, healing piercing.
Putting it on your skin can cause severe dryness and irritation, which often makes the dreaded piercing bump even worse. In some cases, it can even lead to a chemical burn. Yikes.
Stick with what works: sterile saline solution. It’s gentle, it’s effective, and it won’t create a whole new set of problems. If you have a stubborn bump, the culprit is almost always irritation—usually from pressure, moisture, or movement—not from a lack of harsh chemicals.
When Is It Actually Safe To Change My Jewelry?
Patience is everything here. We get it, you're probably dying to swap out that plain starter ring for a cute clicker from Bodycandy. But changing your jewelry too soon is one of the fastest ways to completely derail your healing process.
A daith piercing can take anywhere from six months to a full year to be stable enough for a jewelry change. Don't just watch the calendar, though. A good rule of thumb is to wait until your piercing has felt totally normal—no soreness, no random discharge, no "crusties"—for at least a month straight.
When in doubt, pop into your piercer's studio for a quick check-up. They'll be able to tell you if you're truly ready for that new bling.
What Should I Do If I Have Sensitive Skin?
If you know you have sensitive skin, your jewelry material is non-negotiable. Allergic reactions to cheap, mystery metals are a super common cause of chronic irritation, bumps, and healing that seems to take forever. Your best bet is to stick with high-quality, hypoallergenic materials from the get-go.
Here's what you should be looking for:
- Implant-Grade Titanium (ASTM-F136): This is the gold standard for body jewelry. It's the exact same material used for medical implants, and it's completely nickel-free and biocompatible.
- Surgical Steel (316L): While this metal does contain a small amount of nickel, it's generally considered safe for most people once a piercing is fully healed. For an initial piercing, titanium is always the safer choice.
- Solid 14k or 18k Gold: Make sure it's both nickel-free and solid, not just plated. Plated jewelry can wear away over time, exposing the base metal underneath and triggering a nasty reaction.
Starting with the right material gives your sensitive skin the best possible chance to heal without any drama.
Does The Daith Piercing Really Help With Migraines?
Ah, the myth that put the daith on the map! While you'll find countless personal stories from people who swear it cured their migraines, there is currently no solid scientific evidence to prove it works.
The theory is that the piercing hits a specific acupuncture pressure point, but this is largely considered a placebo effect by the medical community.
Interestingly, any success seems to be tied to how well the piercing heals. A 2017 study found that while 52% of patients initially reported a drop in migraine frequency, these benefits often faded if healing complications popped up. The big takeaway here? Proper daith piercing aftercare is essential for any potential positive outcome. To see the full report, you can explore the 2017 Daith Survey here.
Bottom line: Get a daith piercing because you love the way it looks. If you happen to experience migraine relief, consider it an awesome bonus! Don't go into it thinking it's a guaranteed medical treatment.
Ready to find the perfect piece for your healed daith? At BodyCandy, we have an incredible collection of high-quality, body-safe jewelry to help you express your unique style. Shop our full collection today at https://bodycandy.com and give your piercing the upgrade it deserves