So, you're ready to start stretching your ears? Awesome! It's a killer look, but jumping in can feel like you're trying to learn a whole new language. You'll hear words like "gauge," "plugs," and "tapers" getting tossed around, and it can be a little overwhelming at first.
The most common point of confusion? The sizes of ear gauges. It's a bit backward because, in this world, smaller numbers actually mean bigger jewelry. Think about it like this: a 16 gauge (16g) piece is way smaller than a 14 gauge (14g), and both are tiny compared to something like a 2 gauge (2g).
Don't worry, you'll get the hang of it fast. This guide is your new best friend for understanding the entire system, from your very first stretch to your goal size.
Decoding Your First Stretch
So, what exactly is a "gauge" when we talk about body jewelry? It's just the unit of measurement that tells you how thick a piece of jewelry is. If you got your ears pierced with a needle at a professional shop, you likely started with an 18g (1.0mm) or 20g (0.8mm) post. That's your starting line.
Getting this counterintuitive sizing system down is the first—and most important—step to a safe and successful stretching journey. It’s not like buying shoes where a bigger number means a bigger size. Here, as the gauge number gets smaller, the jewelry gets thicker. This continues all the way down to 0g and then 00g, after which everyone just switches to measuring in millimeters or inches to keep things simple.
The key takeaway is simple: to size up your piercing, you need to go down in gauge number. For example, your first stretch will probably be from an 18g piercing to a 16g plug.
This system might seem a little weird at first, but it’s a standard in the body mod world that you'll pick up in no time. The most common sizes you'll work with run from 20 gauge (0.81 mm) all the way up to 00 gauge (10 mm). While the gauge system is super common in the U.S., you'll see millimeters and inches used everywhere, especially once you get into the larger sizes.
Quick Reference Ear Gauge Size Chart
To help you visualize your first few steps, here's a quick-reference chart. Think of it as your cheat sheet for translating gauge numbers into real-world measurements. We'll get into the full size range later, but this is all you need to get started.
| Gauge (g) | Millimeters (mm) | Inches (") |
|---|---|---|
| 20g | 0.8mm | 1/32" |
| 18g | 1.0mm | 5/128" |
| 16g | 1.2mm | 3/64" |
| 14g | 1.6mm | 1/16" |
| 12g | 2.0mm | 5/64" |
This chart makes it easy to see the small, incremental jumps you'll be making as you begin.
Understanding this foundation is everything. If you rush the process or try to skip sizes, you're asking for trouble in the form of irritation, ugly scarring, or even a dreaded blowout. But by taking the time to learn how the sizes of ear gauges work, you’re setting yourself up for a healthy, stylish, and awesome stretching experience from day one. Want to go even deeper? You can learn more about the standards of gauge sizing for body jewelry to become a true expert.
The Complete Gauge to Millimeter Conversion Chart
Ready to go beyond the basics and really start speaking the language of ear stretching? Good. This is where we get into the nitty-gritty of the numbers so you can see exactly how each size relates to the next. Let's clear up the confusion and map out your entire stretching journey.
The first thing you need to wrap your head around is how backward the gauge system feels. A smaller number means a bigger hole. It's weird, I know. Think of it like a race where 1st place is a much bigger deal than 10th place. The same logic applies here—a 2g plug is way larger than a 12g plug.
This system is called the American Wire Gauge (AWG), and it was originally invented for measuring electrical wire. The more times a wire was pulled through a machine to make it thinner, the higher its gauge number became. That’s exactly why a higher gauge number means a thinner, smaller piece of jewelry!
Decoding the Numbers
So, when you start your journey, you begin with a high number like 20g (the size of a standard earring) and work your way down. Your goal is to decrease the gauge number with each stretch, moving from 18g to 16g, then 14g, and so on.
Each step down in gauge represents a specific increase in millimeters, but the jumps get bigger as you go. For example, the difference between 16g (1.2mm) and 14g (1.6mm) is just 0.4mm. But the jump from 2g (6.5mm) to 0g (8.25mm) is a much more serious 1.75mm. You have to respect these bigger jumps later on!
The Big Switch: From Gauge to Inches
One of the most important milestones you'll hit is right after 0g (8.25mm). The very next size up is 00g, which is typically 10mm (though it can vary a bit, from 9mm to 10mm).
Once you get past 00g, the gauge system is officially retired. From this point on, all larger sizes are measured in either millimeters (mm) or inches ("). This switch to a universal measurement makes things a whole lot simpler as you get into bigger jewelry.
For instance, instead of trying to find a "000g," you'll be looking for an 11mm or 7/16" plug. Honestly, tracking your size in millimeters is the most reliable way to go, especially since inch fractions can get a little confusing. If you're ever curious about regional differences, our guide on plug sizing in the US and UK has some great info.
Comprehensive Ear Gauge Size Conversion Chart
Alright, let's put it all together. This chart is your new best friend for converting every standard gauge size into both millimeters and inches. Go ahead and bookmark this page or take a screenshot—you'll be coming back to it constantly.
| Gauge (AWG) | Millimeters (mm) | Inches (Fractional) | Inches (Decimal) |
|---|---|---|---|
| 20g | 0.8mm | 1/32" | 0.032" |
| 18g | 1.0mm | 5/128" | 0.040" |
| 16g | 1.2mm | 3/64" | 0.047" |
| 14g | 1.6mm | 1/16" | 0.063" |
| 12g | 2.0mm | 5/64" | 0.078" |
| 10g | 2.4mm | 3/32" | 0.094" |
| 8g | 3.2mm | 1/8" | 0.125" |
| 6g | 4.0mm | 5/32" | 0.156" |
| 4g | 5.0mm | 3/16" | 0.188" |
| 2g | 6.5mm | 1/4" | 0.250" |
| 0g | 8.25mm | 5/16" | 0.313" |
| 00g | 10.0mm | 3/8" | 0.375" |
| N/A | 11.0mm | 7/16" | 0.438" |
| N/A | 12.7mm | 1/2" | 0.500" |
| N/A | 14.0mm | 9/16" | 0.563" |
| N/A | 16.0mm | 5/8" | 0.625" |
| N/A | 19.0mm | 3/4" | 0.750" |
| N/A | 22.0mm | 7/8" | 0.875" |
| N/A | 25.4mm | 1" | 1.000" |
Getting familiar with this chart is essential for a safe and successful stretching process. It helps you visualize each step, plan your next move, and buy new jewelry with total confidence. Knowing your exact millimeter size takes all the guesswork out of the equation and makes sure you’re treating your ears right every step of the way.
How to Stretch Your Ears Safely
Okay, so you've got the gauge charts down. Now for the most important part of this whole adventure: stretching your ears safely. Think of your earlobes as a passion project. If you rush it, you're going to end up with a mess. Patience is your best friend on this journey, bar none.
Stretching your ears is a serious commitment to a slow, steady process. It’s not about how fast you can hit your goal size; it's about getting there with healthy, happy lobes. Trying to speed things up is a one-way ticket to pain, ugly scar tissue, and the dreaded "blowout"—that's when the inside of the piercing gets forced out the back. Trust me, it's not a good look.
The Golden Rule of Waiting
So, how long do you actually have to wait between stretches? The universal rule is a minimum of 4-6 weeks between each size up. For some people, especially once you get to the larger sizes, waiting 2-3 months is even better. Your body needs that time to heal, relax, and build new, healthy tissue around the jewelry.
Think of it like leveling up in a video game. You can't just skip from Level 1 to the final boss. You have to grind, gain experience, and build your strength over time. Skipping sizes is like trying to fight a dragon with a wooden sword—it’s going to end badly.
The waiting period isn't just a friendly suggestion; it's a non-negotiable part of healing. If you feel any real pain, stinging, or serious resistance when you try to size up, your ears are screaming that they aren't ready. You have to listen to them!
This chart really drives home why patience becomes even more critical as you go bigger.

As you can see, the physical jump from 8g to 2g, and then on to 00g, gets a lot bigger. Those larger gaps demand more healing time.
Choosing the Right Materials for Stretching
What you put in your ears during the stretching process matters just as much as how long you wait. When your lobes are freshly stretched, they're basically a new piercing trying to heal. You need to use materials that are non-porous, smooth, and body-safe to keep bacteria from getting trapped and causing nasty infections.
For those initial stretches, these are your best bets:
- Surgical Steel: This is a classic for a reason. It's affordable, tough, and has a super smooth surface that won't irritate your healing lobes.
- Glass: Another fantastic choice. Glass is completely non-porous and hypoallergenic. Plus, glass plugs come in awesome colors and are a breeze to keep clean.
You’ll want to steer clear of any porous materials until your lobes are 100% healed at their current size.
Materials to Avoid While Healing
These materials can look amazing in fully healed lobes, but they are a definite no-go for a fresh stretch.
- Silicone: It’s super flexible and porous, which means it can trap bacteria against your skin. Even worse, it can actually fuse to unhealed tissue. Save those comfy silicone tunnels for way later.
- Wood, Bone, and Horn: These organic materials are full of tiny pores that soak up moisture and bacteria, leading to irritation and the dreaded "gauge funk." They're also impossible to properly sterilize.
- Acrylic: While it's cheap, acrylic is a low-quality plastic that can break down over time and release toxins into your body. It also scratches easily, creating perfect little homes for bacteria.
Sticking with high-quality metals or glass at the start is the smartest way to make sure your lobes heal up clean and smooth. For a complete A-to-Z guide on the stretching process, check out our deep dive on ear stretching 101 and how to properly stretch your lobes. It’s packed with tips to help you every step of the way. Be smart, be safe, and your ears will thank you for it.
Building Your Ear Stretching Starter Kit
Having the right gear is half the battle when it comes to a safe and successful ear stretching journey. Just like a chef needs their favorite knives, you need a solid kit to make sure everything goes smoothly. Getting your tools together beforehand makes the whole process less stressful and way more effective.
Think of this as your ultimate checklist for everything you'll need. We’ll cover the two most popular methods for sizing up, the essential jewelry you'll wear, and the one thing you absolutely can't forget: lubricant! With these items on hand, you’ll be totally prepared for your next stretch.
Method 1: Tapers for Guided Stretching
Tapers are probably what you picture when you think of ear stretching. They are long, cone-shaped tools that gradually widen from a smaller size to a larger one. This slow, guided increase is what makes them so popular, especially for beginners working with smaller sizes of ear gauges.
The process is pretty straightforward: after a hot shower and with plenty of lubricant, you gently guide the taper through your piercing until the thickest end is flush with your earlobe. Then, you follow it through with a single-flare plug of the same size.
Pros of Using Tapers:
- Easy for Beginners: The cone shape provides a clear and controlled path for stretching, taking a lot of the guesswork out of the process.
- Quick Process: The stretch itself is done in one smooth motion, making it a relatively fast method.
Cons of Using Tapers:
- Risk of Damage: It’s easy to push too hard or too fast, causing micro-tears, irritation, or even a blowout. Tapers should never be worn as jewelry.
- Less Effective at Larger Sizes: Once you get past 2g or 0g, the jumps in size become much larger, and using tapers can put too much stress on your lobes.
For this method, single-flare plugs are your best friend. They have a flat back and a flared front edge, with a small O-ring to hold them in place. This design makes them super easy to slide in right after the taper without irritating your freshly stretched piercing.
Method 2: The Taping Method for Gradual Sizing
The taping method is a much slower, more gradual approach that’s perfect for those tricky in-between sizes or for anyone with stubborn earlobes. Instead of one big jump, you make tiny, incremental increases over time.
Here’s how it works: you take your current plugs and wrap a very thin layer of non-adhesive tape around them. Every few days, you add another thin layer, slowly and gently expanding the jewelry until you've reached the next size.
The go-to for this technique is PTFE (Polytetrafluoroethylene) tape. It's body-safe, non-adhesive (so it only sticks to itself, not your skin), and incredibly thin, allowing for micro-stretches your lobes will barely notice.
Pros of Taping:
- Extremely Gentle: This is arguably the safest method, as it minimizes the risk of tearing or trauma to the skin.
- Great for Large Jumps: It’s the preferred method for bridging the gap between larger sizes where tapers become too aggressive.
Cons of Taping:
- Time-Consuming: This method requires a lot of patience, as the process takes much longer than using a taper.
- Requires Diligence: You have to be consistent with cleaning the plugs and re-wrapping the tape to avoid bacteria buildup.
The Most Important Tool: Lubricant
No matter which method you choose, a good quality lubricant is non-negotiable. Stretching dry is a recipe for disaster, leading to friction, tearing, and a whole lot of unnecessary pain. Lubricant makes the jewelry slide in smoothly and keeps your skin healthy and hydrated.
Your best options for lubricants are:
- Jojoba Oil: This is a fan favorite because its composition is incredibly similar to your skin's natural oils (sebum). It absorbs well and is great for sensitive skin.
- Ear Balms: Many companies sell specially formulated stretching balms that often contain a mix of natural butters and oils to aid in healing.
With your chosen stretching tool, a set of single-flare plugs, and plenty of lubricant, you have everything you need to size up safely.
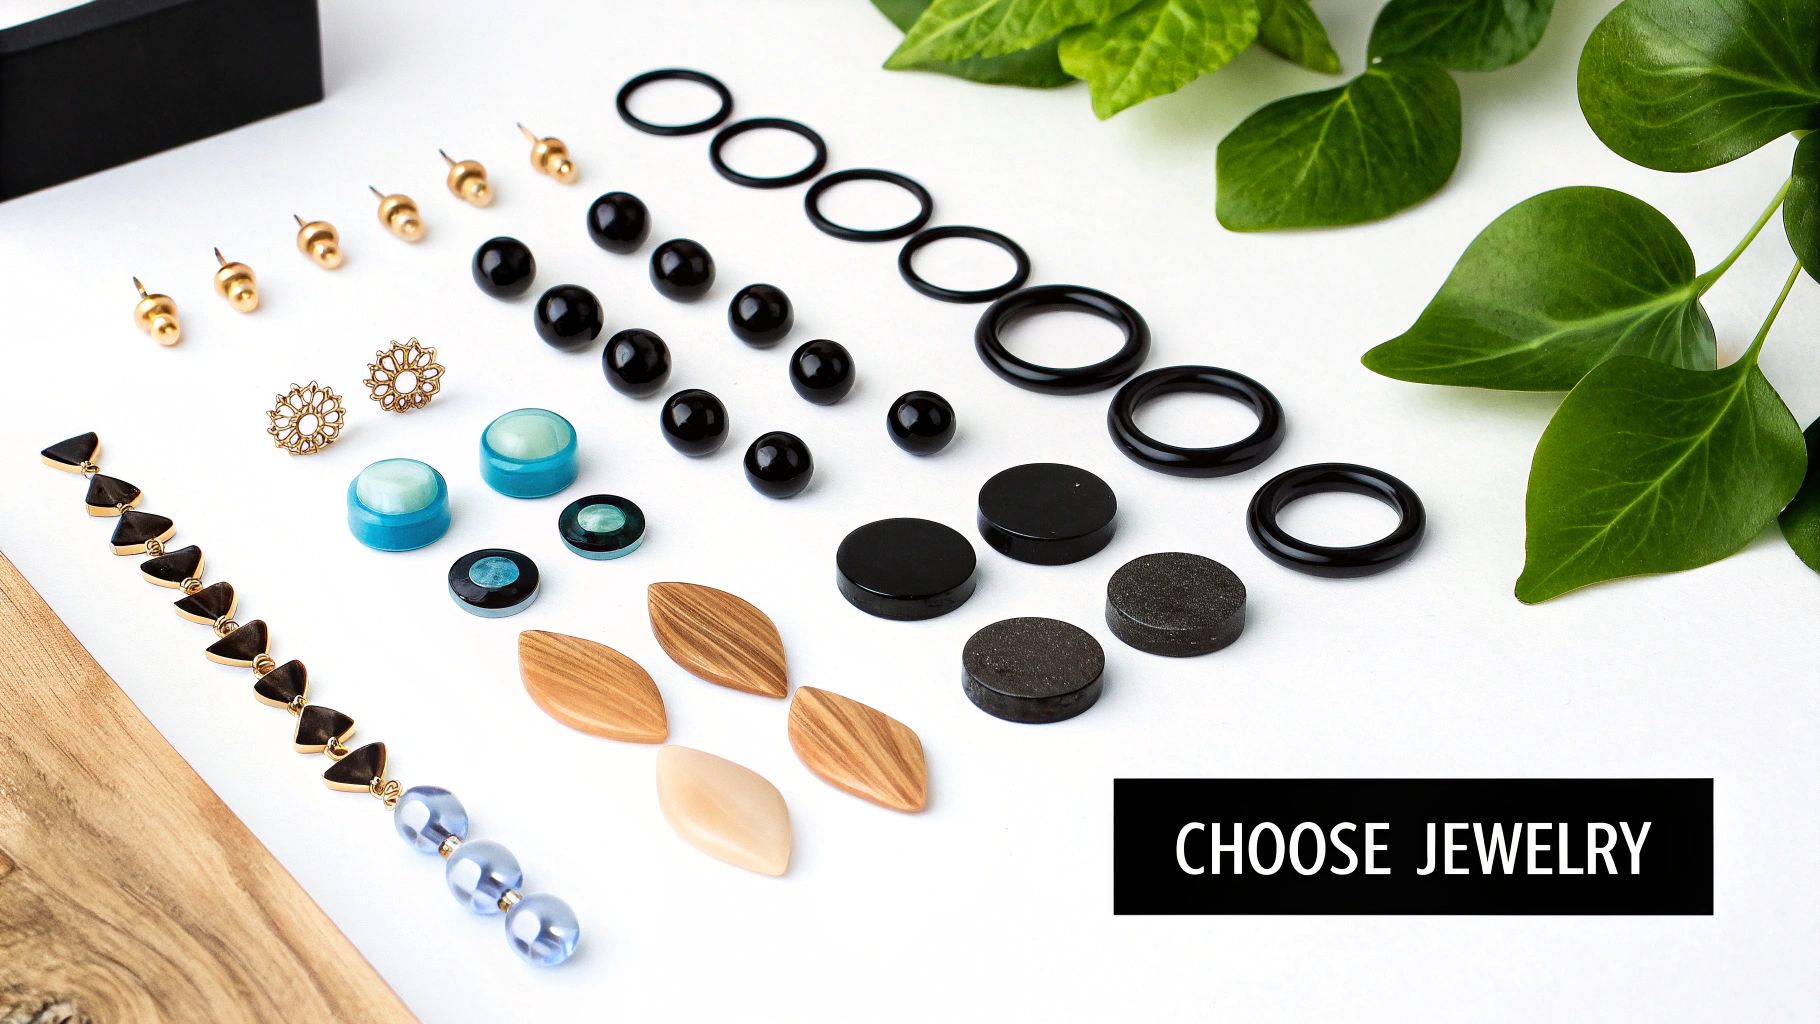
Time to Show Off: Picking Jewelry for Healed Lobes
So, you did it. You put in the time, stayed patient through the stretching process, and finally hit your goal size. Huge congrats! Now for the really fun part—finding some killer jewelry to show off your newly stretched lobes.
This is where your personality really gets to shine. Once your ears are healed and ready, a whole world of jewelry options opens up far beyond the basic plugs you used for stretching. It’s time to start curating a collection that’s 100% you, with everything from intricate tunnels to bold, eye-catching hangers.
First thing's first, let's talk about the different styles of plugs and tunnels out there. The main difference you'll run into is the "flare," which is just that wider lip on the edge of the jewelry that keeps it securely in your ear.
Single Flare vs. Double Flare Plugs
You're probably well-acquainted with single flare plugs from your stretching journey. These guys have a flare on one side and a flat back that you secure with a little O-ring. They're the go-to for stretching because they slide into a fresh stretch easily without causing irritation.
Double flare plugs, on the other hand, have a flared lip on both ends. This design means you have to gently stretch your earlobe over one of the flares to get the jewelry in. For that reason, they are strictly for fully healed lobes only.
Seriously, don't even think about trying to force a double flare plug into a fresh or tight stretch. That's a one-way ticket to a tear or a dreaded blowout. Your lobe needs to be healed, relaxed, and elastic enough to pop over that second flare. Once it is, though, you’ll love the clean, seamless look—no O-ring required.
You might also see no flare plugs, which are basically straight cylinders held in place with O-rings on both sides. They aren't as common, but they can be a great option if you have sensitive ears that don't love flares.
Exploring Plugs, Tunnels, and Hangers
Beyond just the flare, you've got a ton of styles to play with. Each one brings a totally different vibe, letting you switch up your look for any mood or occasion.
- Plugs: These are the solid pieces that completely fill the piercing. Plugs can be super simple and sleek, or they can be works of art with intricate carvings, images, or inlaid materials like gemstones. They're perfect when you want to make a bold statement.
- Tunnels: Sometimes called eyelets, tunnels are hollow in the middle, letting you see right through your lobe. They give you that classic stretched-ear look and are often much lighter than solid plugs of the same size, which is a big plus for all-day comfort.
- Hangers and Spirals: Think of these as the artistic, free-spirited cousins of traditional earrings. They are decorative pieces that hang through your piercing instead of filling it up. From elegant spirals to chunky, weighted designs, they are awesome for making a statement at special events.
Picking the Perfect Material for Your Style
Just like when you were stretching, the material of your everyday jewelry is super important. But now that your lobes are fully healed, you can finally branch out and explore some of the more exotic and stylish materials that were a no-go before.
- Surgical Steel: The old reliable. Steel is tough, body-safe, and has that classic polished look that goes with absolutely everything. A few good pairs of steel plugs or tunnels are a must-have for any collection.
- Glass: A fantastic choice for healed ears. Glass is non-porous and incredibly smooth, plus it comes in an insane variety of colors and cool patterns. It also has a satisfying weight to it.
- Stone: If you're going for a natural, earthy vibe, you can't beat stone. Every single pair is unique thanks to the natural patterns in the material, whether it’s a mesmerizing amethyst or a dramatic black obsidian.
- Wood: A super popular choice because it's so lightweight and comfortable. Wood comes from countless different trees, each with its own beautiful grain and color. Just remember, wood is porous, so keep it clean and only wear it in lobes that are 100% healed.
Choosing your jewelry is all about finding that perfect balance between comfort, lobe health, and your own personal style. Don't be shy about experimenting with different looks to see what you love. After all the work you put into stretching, you've definitely earned the right to have fun with it.
Common Questions About Ear Stretching
So, you've got your charts and your gear, and you're ready to go. But let's be honest, the stretching journey isn't always a perfect, straight line. We get tons of questions from people who run into a few bumps along the way, and that's totally normal.
This is your go-to spot for tackling those common issues. From unexpected pain to wondering if your ears will ever shrink back, we've got the clear, no-nonsense answers you're looking for.
What Should I Do If Stretching Hurts?
Let's get one thing straight right now: proper stretching should feel like a bit of pressure or a warm sensation, but it should never be sharp or painful. If you feel a stinging, burning, or intense pain when you try to size up, your body is screaming at you to stop.
Pain is a clear signal that you're forcing your earlobe to stretch before it's ready, which is a fast track to tearing, scarring, and other nasty complications.
If it hurts, here’s your game plan:
- Stop Immediately: Don't even think about pushing through it. Ever.
- Downsize: Take out the new jewelry right away and put your previous, smaller size back in.
- Wait Longer: Your lobes are telling you they need more time to heal and relax. Give them at least a few extra weeks before you even consider trying to stretch again.
What Is a Blowout and How Do I Fix It?
A "blowout" is probably the most dreaded word in the stretching community. It’s what happens when you stretch way too fast, forcing the delicate inner fistula (the healed tube of skin inside your piercing) out the back of your earlobe. The result is an ugly, fleshy lip of skin.
If you spot a blowout starting, don't panic. You can often fix it if you act quickly.
The absolute key to healing a blowout is to immediately remove all jewelry. Let the piercing shrink down as much as it can. It’s a major setback, for sure, but it’s the only way to let that damaged tissue heal correctly without permanent scarring.
Once things have calmed down, you'll have to restart the stretching process from a much smaller size, going even slower this time. Massaging your lobe daily with jojoba or vitamin E oil can also help break down any scar tissue that forms.
How Do I Clean My Stretched Ears?
Keeping your stretched ears clean is non-negotiable if you want to avoid infections and the infamous "gauge funk." That funky smell is just a natural buildup of dead skin cells, sebum (your skin's oil), and bacteria. It's totally normal, but you definitely want to keep it under control.
Here’s a simple routine to follow:
- Daily Cleaning: At least once a day, take your jewelry out. Wash both the jewelry and your earlobes with a gentle, unscented soap and warm water.
- Dry Thoroughly: Make sure both your lobes and your jewelry are completely dry before putting anything back in. Trapped moisture is a playground for bacteria.
- Oil Massages: A few times a week, massage your lobes with a good-quality oil like jojoba. This keeps the skin hydrated, boosts circulation, and helps prevent any buildup.
Will My Stretched Ears Ever Shrink Back?
Ah, the million-dollar question! The short answer is... it depends. Several things come into play here, like how large you stretched, how long you stayed at that size, and your own skin's natural elasticity.
Generally speaking, smaller sizes of ear gauges (think around 2g or 0g) have a decent chance of shrinking back to a point where they just look like a standard piercing, even if the hole never fully closes.
But once you stretch past a certain point—often called the "point of no return," which is typically around 1/2" (12.7mm)—it's highly unlikely your lobes will ever go back to their original state without cosmetic surgery. Stretching slowly and safely from the start gives your lobes the best possible chance of retaining their elasticity if you ever decide to downsize.
Ready to show off your healthy, stretched lobes in style? Bodycandy has an incredible collection of plugs, tunnels, and hangers for every size and aesthetic. Explore our full range of jewelry and find your next favorite pair at https://bodycandy.com