You’re probably here because you found a pair of plugs you love, then hit the size menu and got humbled by options like 14g, 2g, 00g, 11mm, 1/2".
Totally normal.
Ear stretching looks simple from the outside, but the sizing language can feel like a secret code. One minute you’re thinking, “I just want cute plugs,” and the next you’re trying to figure out why a smaller number means a bigger hole. Rude.
This guide is your no-stress map through all of it. If you want a clear plugs earrings sizes chart, a safer way to stretch, and some real-world advice on materials, measuring, and goal sizes, you’re in the right place. We’re keeping it practical, easy to scan, and very real about what your lobes do and do not appreciate.
Ready to Stretch Your Ears? Lets Get Started
You do not need to know everything on day one.
You just need to know your current size, your next size, and how to move slowly enough that your ears stay happy. That’s it. The rest gets way less intimidating once the sizing system clicks.
A lot of people get stuck at the same early questions:
- What size am I now?
- What does 00g even mean?
- When do sizes switch to millimeters?
- Do I need plugs, tunnels, or tapers?
- How do I stretch without wrecking my lobes?
All fair questions.
The tricky part is that stretching sits right in the middle of style and body care. You’re choosing jewelry that looks good, but you’re also working with real skin that needs time to adjust. If you rush the fun part and ignore the healing part, your ears will absolutely call you out.
What makes stretching confusing at first
Regular earrings usually come in standard lobe sizes, so many individuals never have to think about thickness. Stretching changes that.
Once you start moving beyond regular studs and hoops, size matters in a very literal way. A tiny jump that sounds harmless on paper can feel very different in your ear if you skip steps or buy the wrong jewelry style.
The mindset that saves your lobes
Think in small steps, not giant leaps.
Think in millimeters, not just gauge labels.
And think in healed stretches, not a race to your dream size.
Tip: The coolest stretched ears are usually the ones that got there slowly. Healthy lobes always look better than rushed lobes.
By the end of this guide, you’ll know how to read a plugs earrings sizes chart, measure what you’re wearing, choose better materials, and make decisions that keep your ears looking sharp instead of angry.
Decoding the Lingo Gauge MM and Inches Explained
The size system for plugs is weird at first. No point pretending otherwise.
The biggest brain-twist is this: with gauge sizing, smaller numbers mean thicker jewelry. So a 2g is much larger than an 18g. According to this ear gauge size reference, the standard system starts at 22G (0.64mm) and moves through common sizes like 20G (0.81mm), 18G (1.0mm), 16G (1.2mm), 14G (1.6mm), 12G (2.0mm), 10G (2.4mm), 8G (3.2mm), 6G (4.0mm), 4G (5.0mm), 2G (6.0mm), 0G (8.0mm), and 00G (10.0mm).
Standard ear piercings are usually 20G or 22G in that same source.
What gauge means
Gauge is the older naming system used for thinner body jewelry sizes.
It works almost backward from what your brain wants to do. You see a higher number and assume “bigger,” but in piercing land, a higher gauge number means a thinner post.
A simple way to remember it:
- 22g = tiny
- 14g = thicker
- 2g = much thicker
- 00g = big enough that many individuals stop saying “earring” and start saying “plug”
When millimeters take over
Once you get into larger sizes, millimeters become the clearer way to track your progress.
That matters because millimeters tell you the actual diameter. There’s less room for confusion. If you know your jewelry is 8mm, you know exactly what you’re dealing with. Gauge labels can feel more abstract, especially once you’re moving toward bigger stretched sizes.
Where inches come in
Inches show up a lot once you pass the common gauge range.
You’ll see sizes like:
- 1/4"
- 5/16"
- 3/8"
- 7/16"
- 1/2"
These are just another way to describe the same diameter. Some shoppers prefer inch sizing because that’s how many plug listings are labeled. Others stick with millimeters because it’s more precise.
The cheat code
If you remember one thing, make it this:
Millimeters are your best friend. They make comparing sizes easier and help you avoid ordering jewelry that sounds right but isn’t the same size.
That one habit saves a lot of confusion, especially when you start looking at different brands, flares, and larger plug styles.
The Ultimate Plugs Earrings Sizes Chart
Save this section. Screenshot it. Make it your shopping sidekick.
This plugs earrings sizes chart puts gauge, millimeters, and inches in one place so you can stop guessing and start choosing jewelry with confidence. Up to 00g, sizing follows the American Wire Gauge system, then shifts to millimeters or inch fractions after that, as outlined in this gauge chart from Urban Body Jewelry. That same chart notes key conversions including 2g = 6.0mm = 1/4 inch, 0g = 8.0mm = 5/16 inch, 00g = 10.0mm = 3/8 inch, and larger sizes like 11mm = 7/16 inch and 12.7mm = 1/2 inch.
Gauge to MM and Inch Conversion Chart
| Gauge (g) | Millimeters (mm) | Inches (") |
|---|---|---|
| 22g | 0.64mm | |
| 20g | 0.81mm | |
| 18g | 1.0mm | |
| 16g | 1.2mm | |
| 14g | 1.6mm | 1/16" |
| 12g | 2.0mm | |
| 10g | 2.4mm to 2.5mm | 3/32" |
| 8g | 3.0mm to 3.2mm | 1/8" |
| 6g | 4.0mm | 5/32" |
| 4g | 5.0mm | 3/16" |
| 2g | 6.0mm | 1/4" |
| 0g | 8.0mm | 5/16" |
| 00g | 10.0mm | 3/8" |
| 11mm | 11mm | 7/16" |
| 12mm | 12mm | |
| 12.7mm | 12.7mm | 1/2" |
| 14mm | 14mm | 9/16" |
| 16mm | 16mm | 5/8" |
How to use the chart without frying your brain
If you’re at a smaller size, gauge labels are common and easy enough to use.
If you’re shopping beyond 00g, switch your brain over to millimeters first and inches second. That makes comparing listings much easier, especially if one product says 12.7mm and another says 1/2".
A quick heads-up. Some sizes can vary slightly across manufacturers, so checking the millimeter measurement is smarter than relying on gauge alone.
One extra sizing rabbit hole worth knowing
UK and US sizing language can trip people up when you’re browsing jewelry online. If you want a quick comparison, this plug sizing US and UK guide is helpful for seeing how naming can differ.
Key takeaway: If a listing includes gauge, mm, and inches, trust the mm first when you’re deciding what fits your ears.
How to Measure Your Current Ear Gauge Size
Guessing your current size is how people accidentally buy jewelry they cannot wear.
If you want your next stretch to go smoothly, you need an accurate starting point. The cleanest way to do that is to measure your current jewelry, not your lobe by eyeballing it in the mirror.

Use a digital caliper if you can
A digital caliper sounds intense, but it is easy.
You gently close the caliper around the wearable area of your plug or tunnel, then read the measurement in millimeters. The wearable area is the part that sits inside your piercing, not the decorative flare.
Follow these steps:
- Remove your jewelry and wipe it clean.
- Turn the caliper to mm so you get the most precise reading.
- Measure the wearable surface, not the flare.
- Compare the number to your plugs earrings sizes chart.
- Write it down somewhere you’ll remember.
If your jewelry has a flare, don’t measure the widest edge unless you’re specifically checking flare size.
If you do not own calipers
You still have options.
Use a piece of jewelry with a size you already know, then compare it side by side with the one you’re trying to identify. This is less exact, but it can help if you’re between obvious size milestones.
A shop guide like BodyCandy’s size resources can also help you cross-check labels if you already know the listing details for a pair you wear often.
Here’s a quick visual if you want to see measuring in action:
Two mistakes to avoid
- Measuring the flare instead of the wearable area. That gives you the wrong size.
- Measuring irritated ears. Swelling can throw off your sense of fit and make a snug size seem larger or smaller than it really is.
Tip: Keep a note in your phone with your current size, your goal size, and the exact jewelry that fits well. Future you will be grateful.
The Art of Safe Stretching A Step By Step Guide
This is the part that matters most.
A cute plug collection is fun. Torn, thinned, cranky lobes are not. Safe stretching comes down to patience, clean jewelry, the right material, and knowing when your ears are saying “not today.”
Piercing experts and organizations like the APP advise stretching incrementally by 1 to 2mm every 4 to 8 weeks after the previous stretch is fully healed to lower the risk of problems like blowouts or thinning, according to this stretching size guide. That same source also notes a 15% rise in “downsizing” searches and says reversal success drops at larger sizes.

The safe-stretch checklist
- Start with healed ears If your current piercing is sore, crusty, swollen, or fresh, do not stretch it yet.
- Clean your hands and jewelry Treat stretching like a tiny procedure. Clean setup, calm hands, no chaos.
- Use lubricant A little ear-safe oil or balm helps the jewelry slide instead of drag.
- Go one size at a time Skipping ahead is where a lot of trouble starts.
- Insert gently You want pressure, not force. If it stings sharply or refuses to go, stop.
- Let the stretch settle Wear stable jewelry and leave your ears alone so they can adapt.
What jewelry works for fresh stretches
For active stretching, smoother and non-porous materials are usually easier to manage.
A lot of people prefer:
- Single flare glass plugs
- Titanium plugs
- Simple plugs with O-rings
Avoid trying to actively stretch with decorative pieces, rough textures, or anything that puts uneven pressure on the hole.
If you want a practical walkthrough of stretching basics, this ear stretching 101 guide is a useful companion read.
What a healthy stretch feels like
A healthy stretch usually feels snug for a bit, then settles.
It should not feel like burning, tearing, or pulsing pain. You should not see bleeding. And you definitely should not be forcing jewelry through with determination and bad decisions.
Signs to stop immediately
- Sharp pain
- Bleeding
- Major swelling
- Skin bunching or pushing outward
- Hot, angry redness that keeps getting worse
If your ears are fighting you, downsize. Taking a step back is not failure. It’s how people keep their lobes healthy enough to keep stretching later.
Daily care matters more than people think
Clean your jewelry and your lobes gently. Leave them alone when they need rest. Massage healed lobes with a little oil if that works for your routine.
Stretching is slow by design. That slowness is what keeps your ears thick, even, and ready for the next size.
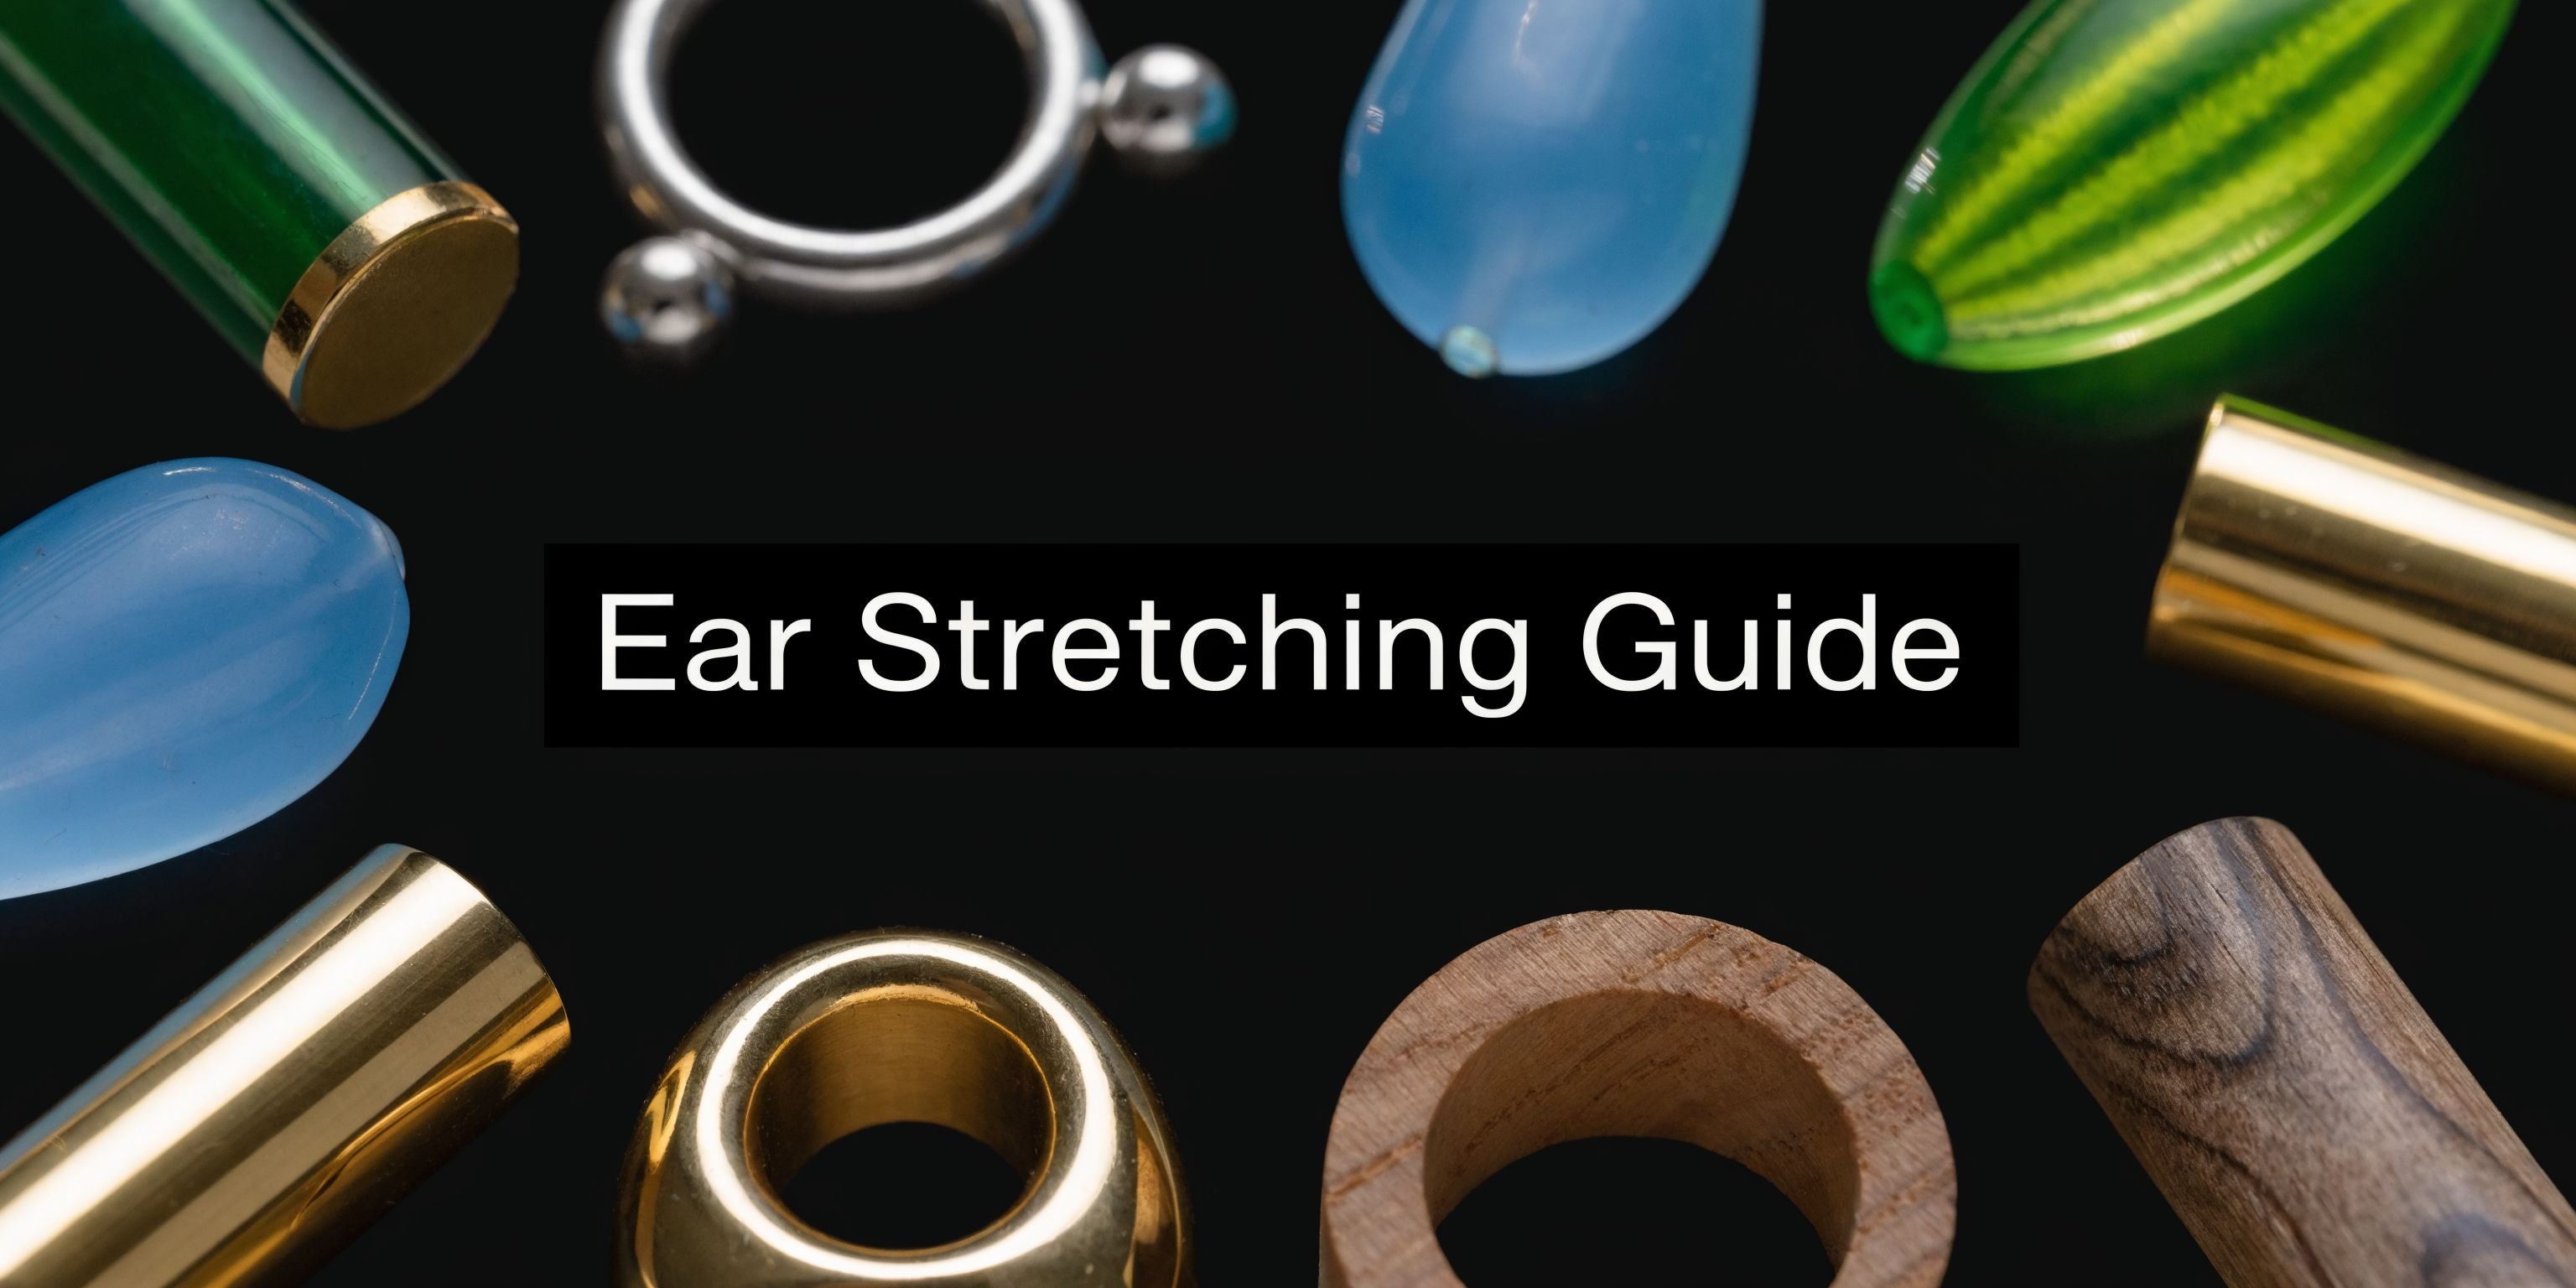
Choosing Your Materials What Plugs Are Made Of
The material of your plugs changes everything: comfort, healing, weight, smell, and how fussy your ears get.
Some materials are great for fresh stretches. Some are better once your lobes are fully healed and stable. And some are fun in theory but not what you want during an active stretching phase.
Glass and titanium for fresh stretches
These are the usual favorites when your ears need a calm, low-drama environment.
Glass is smooth and non-porous, which makes it easy to clean and comfortable for many people during healing. Titanium is also a strong option if your skin is reactive and you want something simple and body-friendly.
If your ears are moody, go boring in the best way. Smooth surfaces win.
Surgical steel and similar metals
Metal plugs can work well for healed ears and for some fresh stretches, depending on your sensitivity.
The issue is not everybody’s skin agrees with the same metal blend. If you’ve had irritation from mystery metals before, be cautious and pay attention to how your ears respond.
Silicone for healed lobes only
Silicone can feel flexible and comfy, especially for lounging or sleeping.
But it is not what you want to use for actively stretching. Fresh stretches need stable, smooth jewelry, not squishy material that can irritate or behave unpredictably.
Wood and stone for style points after healing
Wood and stone plugs can look incredible.
They also ask more of you. These materials are usually better for fully healed lobes because they are not the easiest option during an active stretch. Organic materials can be more finicky with moisture and daily wear, and they’re not the move when your ears are still adjusting.
Acrylic and lower-drama choices
Acrylic shows up a lot because it’s lightweight and inexpensive.
That said, if your ears are sensitive or freshly stretched, a smoother non-porous option is usually the safer pick.
A simple way to choose
Ask yourself one question first: Are my ears freshly stretched or fully healed?
If the answer is freshly stretched, lean toward smooth, non-porous materials. If the answer is fully healed, you can experiment more with texture, color, and organic styles.
For a broader look at how body jewelry materials behave, this BodyCandy materials guide on Bioplast and other options is a handy read.
Rule of thumb: Stretch with practicality. Style with personality after healing.
Whats Your Goal Size Popular Milestones and What to Expect
Not everybody wants giant statement plugs.
Some people want a subtle stretch that still looks polished. Some want a clearly visible tunnel. Some want enough room for ornate plugs, stacked styles, or dramatic silhouettes. All valid.
There’s no morally superior goal size. There’s only the size that fits your look, your patience level, and how much permanence you’re comfortable with.
The milestone sizes people talk about most
According to this overview of common ear gauge sizes, 2G (6.0mm), 0G (8.0mm), and 00G (10.0mm) are the most popular sizes, with 00G ranking as the top bestseller. The same source describes those sizes as a sweet spot for people who want a bold look without going into the most extreme territory.
That tracks with what a lot of stretched-ear folks love about them. They look intentional, they read clearly as plugs, and there’s usually a wider style selection at those sizes.
How those milestones tend to feel visually
- 14g to 12g often feels like the “starter zone.” It’s thicker than regular earrings, but still subtle.
- 10g to 8g starts to look more deliberate.
- 4g to 2g is where many people feel like they’ve entered classic plug territory.
- 0g to 00g has that strong, iconic stretched-ear look a lot of people are chasing.

What to expect as you choose a goal
Your goal size affects more than appearance.
It also affects:
- Jewelry availability
- How noticeable your stretch looks
- How long your journey takes
- How much flexibility you may have if you later want to downsize
That last part matters. If you think you might want the option of shrinking down later, keep that in mind before you chase a larger size just because it looks cool on someone else.
A better way to pick your goal size
Instead of asking, “What’s the biggest size I can get to?” ask:
- What look do I want day to day?
- Do I want plugs, tunnels, or room for decorative statement pieces?
- Do I want something subtle for work or school?
- Would I be happy stopping at an earlier milestone?
Try this: Save a few photos of looks you love, then identify the common size range. Your style goal is often easier to spot visually than numerically.
Troubleshooting Common Stretching Problems
Even careful people run into issues sometimes.
The good news is that most stretching problems get worse because people panic, force another stretch, or keep wearing jewelry that their ears clearly hate. A calm response usually works better.
When a stretch feels too spicy
If new jewelry feels tight, sore, and way more intense than normal pressure, don’t try to tough it out.
Take the jewelry out and go back to your last comfortable size if needed. Your ears are not being dramatic. They’re telling you the tissue was not ready.
Blowouts and tissue bunching
A blowout usually looks like tissue pushing outward at the back of the piercing.
If that happens, the move is simple: downsize and baby your ears. Keep things clean, avoid further stretching, and let the tissue calm down. Continuing to size up on irritated tissue usually makes the problem harder to manage.
Irritation versus a tear
Mild irritation can show up as redness, tenderness, or a little swelling.
A tear tends to feel sharper and more serious. You may notice more pain than usual or see obvious damage. If you suspect a tear, stop stretching completely and give your ear time to recover before even thinking about the next size.
Funk, dryness, and general lobe grumpiness
Healed stretched ears can get dry or collect buildup.
That’s why basic maintenance matters:
- Wash jewelry regularly
- Clean your lobes gently
- Dry everything well
- Use a little oil on healed lobes if dryness is an issue
- Give your ears a break from heavy or irritating pieces
The “stuck size” problem
Sometimes you feel ready to move up and your ears just refuse.
That usually means one of a few things:
- your current size is not fully settled
- your jewelry material is irritating
- the next jump is too ambitious for your ears right now
- your lobes need more massage, rest, and time
Best move: Stay put longer than your ego wants to. Lobes love patience, even when you don’t.
When to get professional help
If you have major swelling, ongoing pain, discharge, or tissue changes that are getting worse, don’t crowdsource your medical care from random comments. Talk to a professional piercer or a medical professional.
Frequently Asked Questions About Plugs and Stretching
A few practical questions always come up once you start living with stretched ears. Here are the ones people ask constantly.
Can I sleep with my plugs in
Usually yes, but comfort depends on the size, shape, and material.
If your plugs feel bulky, poke you, or leave your ears sore by morning, swap to a more comfortable style for sleeping or give your healed lobes some jewelry-free time if that works for your routine.
How often should I clean my plugs
Clean them regularly enough that buildup does not have a chance to hang around.
If you wear your plugs daily, make cleaning part of the normal routine. Pay attention to the backs, O-rings, and any textured details where gunk likes to hide.
How do I clean my stretched ears
Keep it simple and gentle.
Wash your lobes carefully, dry them well, and don’t overdo harsh products. For healed ears, light oil massage can help if they get dry or stiff.
Will my ears shrink back if I take my plugs out
Maybe, but it depends on your size, your tissue, and how long you’ve been stretched.
Some ears shrink a lot. Some shrink only a little. Some hold their stretched shape more than people expect. The larger and longer-established the stretch, the less predictable full shrinking tends to be.
What’s the difference between plugs and tunnels
Plugs are solid.
Tunnels have an open center. They give that hollow look and can feel lighter visually, even when they’re still a statement piece.
Should I stretch with tapers
A lot of people use tapers as tools, but they are not ideal everyday jewelry.
For many ears, it’s better to focus on stable stretching jewelry that sits evenly and does not encourage forcing a size your lobe is not ready for.
Why do my plugs fall out after a while
That usually means your ears have relaxed at that size.
It can be a sign that you’re naturally ready for the next step, or just that a certain style is loose on you. Check the wearable length, flare style, and whether O-rings are staying put before assuming the size itself is wrong.
Are double flare plugs harder to wear
They can be.
Double flare plugs need your ears to be healed and relaxed enough to get over the flared ends comfortably. If your lobes are newly stretched or still tight, single flare jewelry is usually much easier to deal with.
Ready to upgrade your setup or find your next pair once your ears are healed? Browse the latest styles at BodyCandy and pick plugs, tunnels, and body jewelry that match your size and your vibe.