Your nose ring always seems to vanish at the worst possible moment. You blow your nose, wash your face, change after the gym, and suddenly your jewelry is sitting in the sink while your piercing has decided to become dramatic.
That’s why how to get a nose ring back in isn’t just about pushing jewelry through a hole and hoping for the best. A nostril piercing can tighten fast, get cranky from swelling, or sit at a weird angle that makes a perfectly fine piece of jewelry feel impossible.
The good news is most reinsertion problems are fixable if you slow down, prep properly, and stop the second your nose starts acting like it’s had enough.
Why Reinserting Your Nose Ring Can Be Tricky
A healed nostril piercing can still be sneaky.
You take your stud out for cleaning, or it pops loose during sleep, and a few hours later the channel doesn’t feel open anymore. It’s not always fully closed. Sometimes the inside is just tighter, a little swollen, or slightly off-angle.
Your piercing channel is not a straight tunnel
A lot of people expect a nose piercing to work like an earlobe. It usually doesn’t.
The channel often sits at a slight angle, and that angle can change a bit depending on swelling, how you’re holding your nostril, or whether the jewelry that came out was straight, L-shaped, curved, or a hoop. That’s why the jewelry may catch even when you’re sure you’ve found the hole.
Practical rule: If it feels like you’re hitting a wall, you probably are. Don’t force it and call it determination.
Different jewelry styles fight back in different ways
Studs can poke the inside of the nostril and miss the exit path. L-shapes tend to stop right at the bend. Nose screws can feel confusing until the curve starts working with you instead of against you. Hoops love to rotate away from where you need them.
What doesn’t work is panic-gripping tiny jewelry with slippery fingers while squinting into a bad mirror. That’s how posts get bent, skin gets irritated, and jewelry ends up bouncing off the counter into another dimension.
Swelling and migration make things weirder
This is the part most basic tutorials skip.
If the piercing is irritated, recently snagged, or you slept on it hard, the tissue can puff up just enough to hide the entrance or throw off the angle. Migration can also leave the channel feeling shifted, so the path your jewelry used to follow no longer feels obvious.
When that happens, the solution isn’t brute force. It’s cleaner setup, better lighting, more lubrication, and using the right move for the exact jewelry in your hand.
Preparing Your Nose Ring and Your Piercing
Before you try anything, set yourself up so you’re not wrestling a tiny piece of metal with one eye closed and one hand over the sink.
A smooth reinsertion starts with clean hands, clean jewelry, and enough lubrication that the jewelry glides instead of drags. That basic idea is old. A historical account linked to nose ring reinsertion methods traces the practice back to 1500 to 2000 BCE in the Middle East, where lubricated gold posts were guided back into healing fistulas, a technique still recognizable today in modern piercing care (Monster Piercing’s nose stud guide).

Set up your station before your hands get slippery
Do this first, not halfway through.
- Wash your hands well. Clean fingers give you better grip and reduce the chance of irritating the piercing with whatever was on your phone, doorknob, or makeup brush.
- Use bright, direct light. A bathroom mirror is fine if the lighting isn’t gloomy dungeon chic.
- Cover the drain. Tiny nose jewelry has a personal vendetta against sink drains.
- Lay out a tissue or clean paper towel. If you drop the jewelry, you want it landing somewhere visible.
- Keep a backup piece nearby. If one style refuses to cooperate, a simpler piece can save the day.
Clean the jewelry and soften the piercing
You want the jewelry free of residue and the piercing calm enough to accept it.
A little sterile saline on the area can loosen crusties if they’re present. A small amount of piercing-safe, water-based lubricant on the post or curve can make a huge difference. If your skin tends to react easily, skip random household ointments and anything heavily fragranced.
For a quick anatomy refresher on the parts and shapes you’re working with, this BodyCandy guide to the anatomy of a nose ring is useful before you start fiddling with bends and ends.
Gather the tools that actually help
You don’t need a lab setup. You do need the right basics.
| Tool | Why it helps |
|---|---|
| Mirror with strong light | Lets you see the entry angle clearly |
| Clean tissue | Improves grip and catches drops |
| Sterile saline | Softens debris and calms the area |
| Water-based lubricant | Reduces drag during insertion |
| Backup jewelry | Gives you a simpler option if the first piece fails |
A dry nostril piercing is stubborn. A lightly lubricated one is cooperative.
One more thing. Don’t try reinsertion right after a hot shower if you’re rushing, and don’t try it right before bed when you’re tired and annoyed. Tiny jewelry can smell fear.
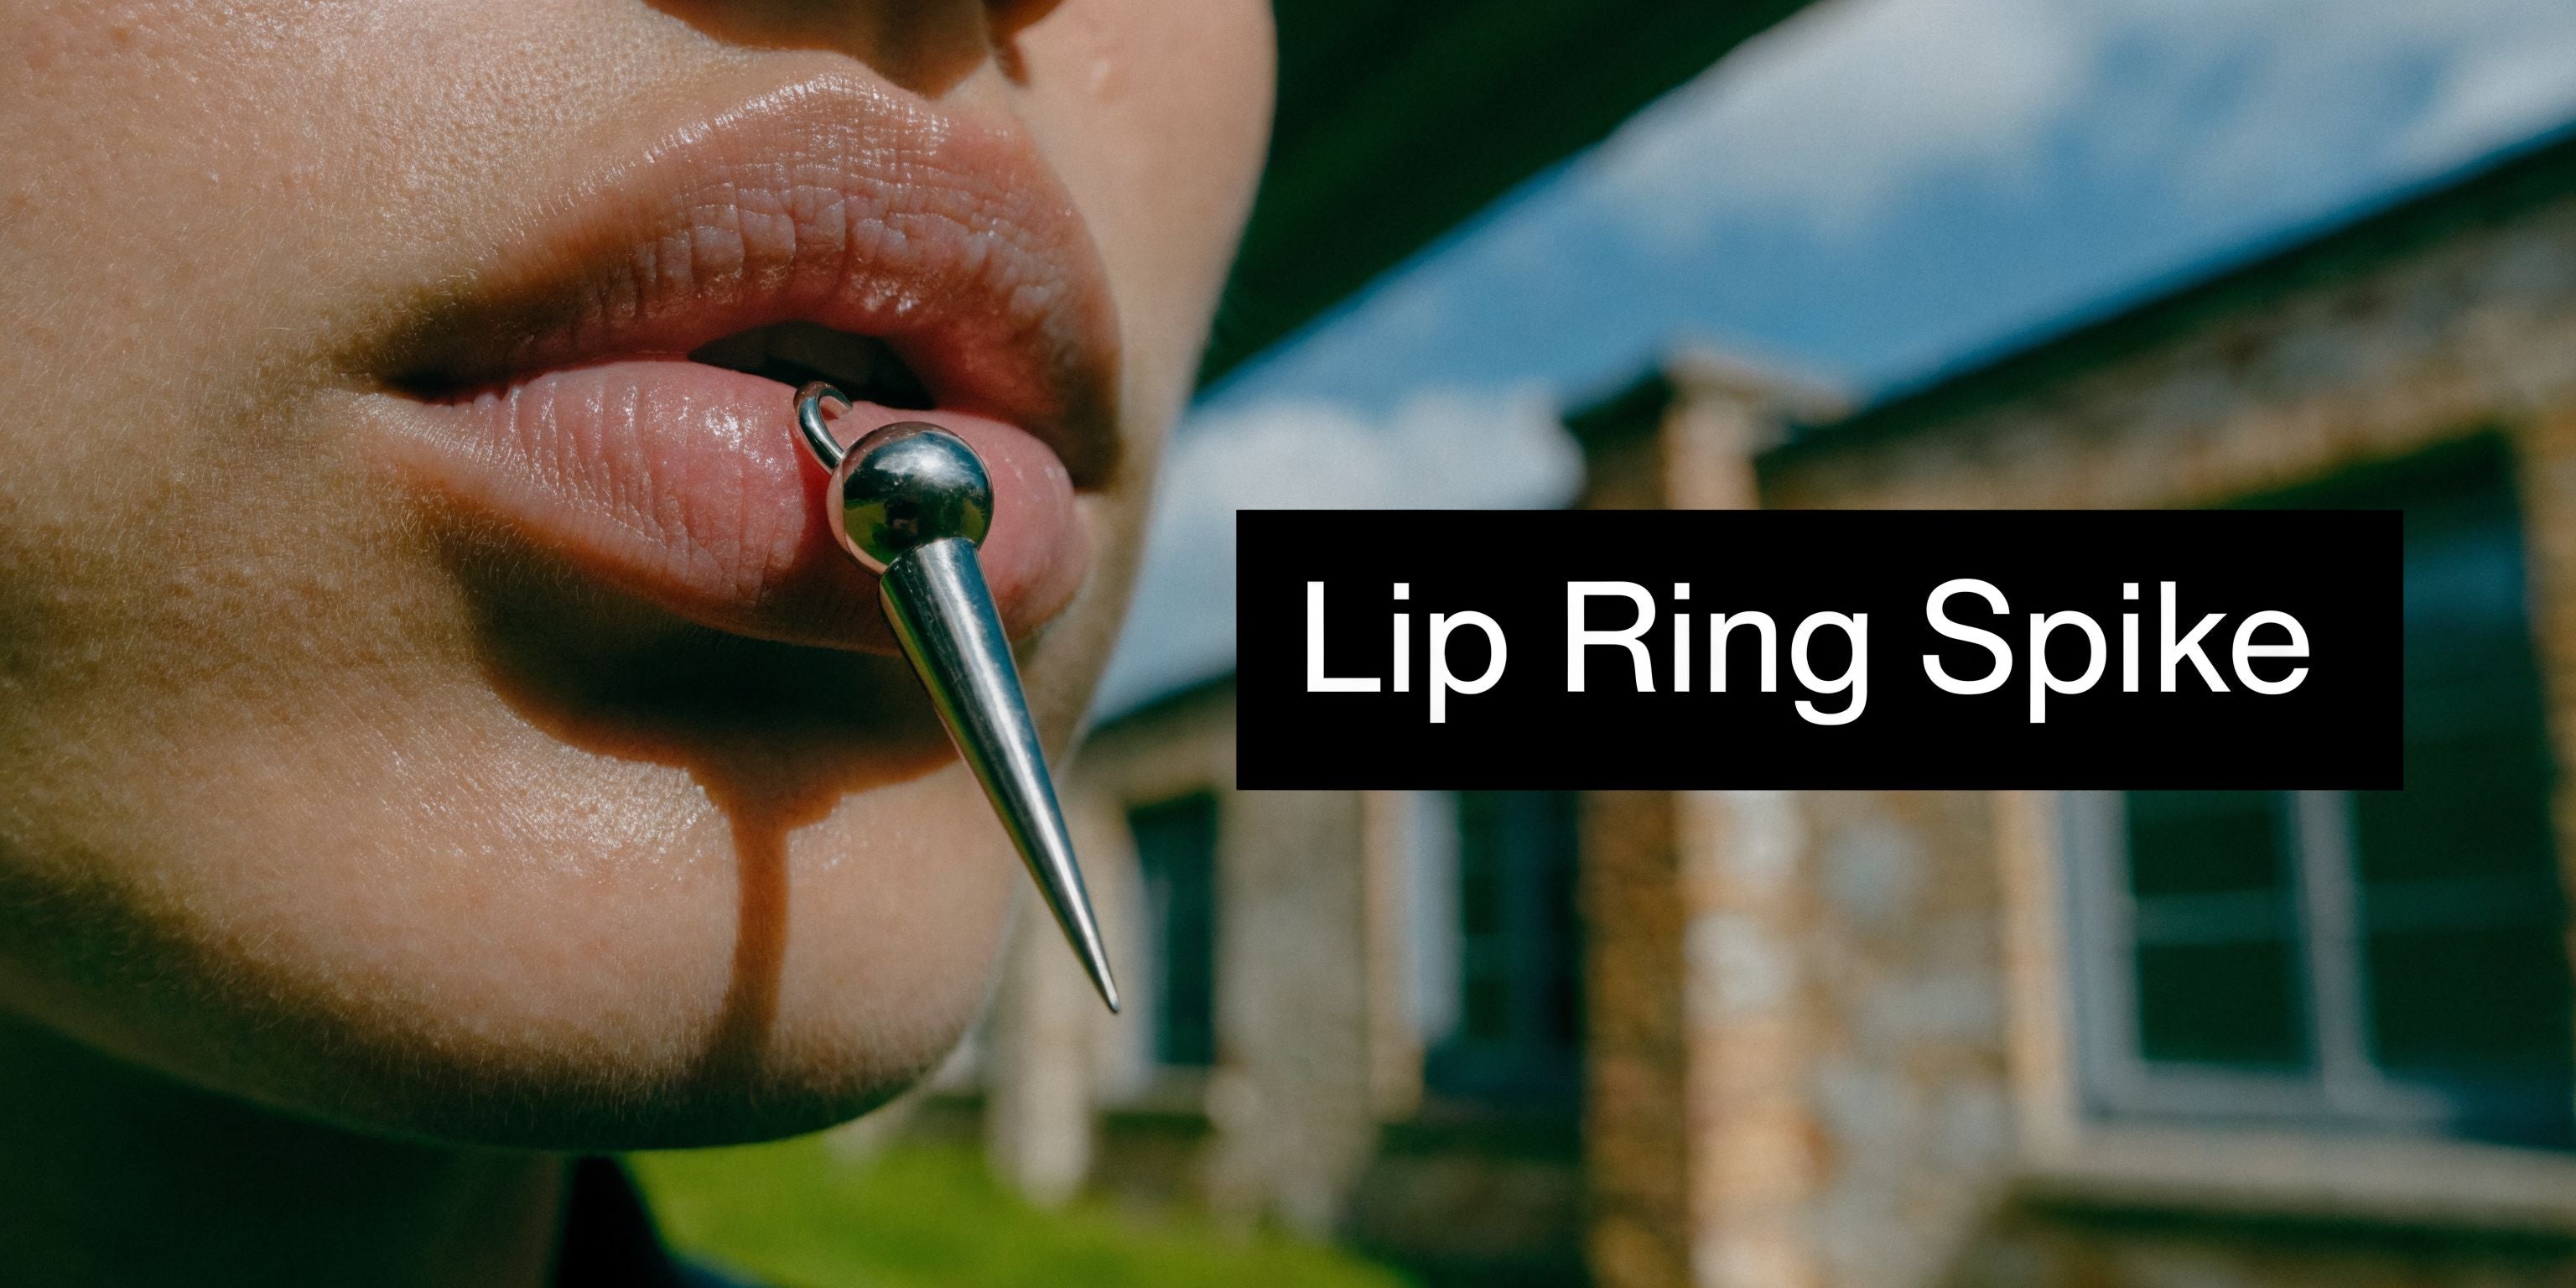
Reinserting Press Fit and L Shape Studs
These are the pieces people call easy until they’re holding one in front of a mirror and whispering threats at it.
Press fit studs and L-shape nostril jewelry are common because they look clean and wear comfortably. They also like to catch right at the entrance if your angle is even slightly off.

Press fit studs need alignment more than force
Start by holding the decorative top steady between your fingertips. If the post is very small, grip with a tissue so you don’t squeeze too hard and launch it.
Then:
- Lift your nose gently so you can see the entrance point clearly.
- Aim for the existing angle of the piercing, not straight inward.
- Touch the tip to the opening first and pause. Don’t jab.
- Push in slowly with even pressure.
- Stop if it burns sharply or catches repeatedly.
A mild pinch can happen. A stabbing feeling usually means the post isn’t following the channel.
Tiny hacks that help with straight posts
These aren’t glamorous. They work.
- Warm the jewelry in clean hands first. Cold metal can make you tense up and grip too hard.
- Use a folded tissue behind your fingers. That gives you traction without crushing the decorative top.
- Pull your cheek slightly outward. That can help straighten the channel enough for a smooth pass.
- Work in short attempts. A few calm tries beat one aggressive push.
If your press fit piece has a removable top and you’re struggling with tension or fit, don’t start bending parts unless you know exactly how that style is meant to function. A bent pin can turn a secure stud into a disappearing act.
L-shape posts need a two-part motion
An L-shape doesn’t go in with one straight push. The short bend has to follow after the first section enters.
Use this motion:
- Insert the long part of the post partway into the piercing.
- Once the straight section is in, rotate the bend so the short tail follows the natural path.
- Keep the movement gentle and controlled. Think guide, not shove.
At this stage, people often get impatient. The first half feels fine, then the bend reaches the opening and everything stops. If that happens, add a touch more lubrication and reset your angle rather than forcing the corner through irritated tissue.
If the bend is the problem, your angle is usually the problem.
A visual walkthrough can help if you’re more of a watch-it-once, do-it-right person:
What not to do with these styles
A few moves cause more trouble than the jewelry itself.
- Don’t twist a straight press fit stud around hoping it will magically find the channel.
- Don’t use makeup-covered fingers to grip the top.
- Don’t keep retrying after the area gets angry. Once the tissue starts swelling, insertion gets harder, not easier.
- Don’t switch to a thicker post just because it looks similar.
If the piercing feels partly open but not cooperative, take a break, apply a warm compress, then come back with calmer hands.
Working with Screw Captive and Seamless Hoop Styles
Curved pieces reward technique. They punish impatience.
Nose screws, captive bead rings, and endless hoops all move differently through the piercing channel. If you use the hand motion meant for one style on another, you’ll spend ten minutes getting nowhere and blaming the jewelry.
Nose screws work best when you let the curve do the work
The twist-and-flip technique is the reason so many piercers still like nose screws. According to the referenced guide, this method keeps fall-out rates under 2% compared with 15% for press-fits, and it has a 95% success rate on healed piercings (video demonstration of the twist-and-flip technique).
That sounds fancy, but the actual movement is simple once you feel it.
The twist phase
Hold the screw by the gem or top, not by the curved wire. That keeps you from distorting the shape.
Bring the rounded end to the piercing opening and start rotating so the curve follows the channel. The motion should feel like the jewelry is tracing a small rainbow into the nostril.
A nose screw isn’t meant to be shoved straight in. Its curve is the whole point.
The flip phase
Once the curved portion has started to travel through the channel, flip the top into its resting position.
That final turn usually seats the jewelry neatly. If you try to skip this and force the top flat too early, the curve can scrape and catch.

Captive bead rings are fiddly, not impossible
Captive rings don’t usually give people trouble during the part where the ring enters. The chaos starts with the bead.
If the ring itself is already in the piercing, keep one finger bracing the ring so it doesn’t rotate away while you line up the bead. Work over a towel or tray. Captive beads love to bounce once and vanish forever.
A few practical moves help:
- Stabilize the ring first. A moving ring makes the bead feel impossible.
- Seat one dimple of the bead before the other. Don’t try to snap both sides at once.
- Use clean, dry fingertips. Slippery fingers turn this into comedy.
If the ring opening looks stretched or uneven, stop. Distorted captive rings rarely cooperate until they’re adjusted properly.
For more ring-specific handling, this BodyCandy guide on how to change a captive ring is a handy companion.
Seamless hoops need restraint
The biggest mistake with endless hoops is opening them too far.
These rings should be twisted open sideways, not pulled apart front to back. Once there’s just enough space, guide the end through the piercing and rotate the hoop until the gap returns to the outside. Then twist the ends back into alignment.
A quick comparison
| Style | Best motion | Common mistake | Better fix |
|---|---|---|---|
| Nose screw | Twist, then flip | Pushing it straight | Follow the curve |
| Captive ring | Insert ring, then seat bead | Chasing the bead with one hand | Stabilize ring first |
| Seamless hoop | Side twist and rotate through | Pulling ring wide open | Open only a little |
Curved jewelry goes in smoothly when your hand follows the jewelry’s shape instead of fighting it.
When these styles refuse to cooperate
If the piercing is old and stable, the problem is usually technique.
If the piercing is irritated, recently snagged, or feels narrowed inside, don’t keep cycling through all your fancy pieces like one of them will somehow charm the tissue. Switch to the easiest style you can insert safely, or pause and deal with the irritation first.
Aftercare and Troubleshooting Common Issues
Some reinsertion jobs are simple. Others turn into a whole side quest.
The biggest gap in most how-to content is what to do when the piercing is swollen, slightly migrated, or partly tightened in a way that makes the usual insertion advice useless. That matters because piercing surveys show up to 30% of new piercings migrate or swell, leaving holes misaligned, which is exactly why warm compresses and tapered-jewelry approaches come up so often in practice (survey summary in this video reference).
If the hole feels open but jewelry won’t pass through
This usually means one of three things:
- The entrance is irritated and puffy.
- The inside of the channel has tightened.
- You’re approaching from the wrong angle.
Start with a warm compress for a few minutes. Not hot enough to roast your face. Just warm enough to relax the tissue and soften any dried debris around the opening.
After that, try again with lubrication and the simplest jewelry shape you own.
If swelling is blocking the entry
Swelling can make the hole look gone when it’s really just hidden.
Use this sequence:
- Wash your hands and clean the area gently.
- Apply a warm compress.
- Let the tissue settle for a bit.
- Use jewelry with the smoothest, easiest tip available.
- Stop the second the skin starts getting more irritated.
If you have a tapered insertion piece and know how to use it safely, it can help guide jewelry into a narrowed channel. If you don’t, this is a smart time to see a piercer instead of improvising with random objects from your bathroom drawer. Absolutely no bobby pins. No earrings that are “close enough.” No chaos tools.
If the piercing has migrated or the angle feels wrong
Migration changes the route.
You may still see the outer opening, but the internal path doesn’t line up where you expect. That’s when people keep trying the old angle, miss the channel, and create extra irritation.
Signs the angle may have shifted:
- The jewelry used to slide in one way, but now catches every time.
- The area looks thinner or more shallow than before.
- The hole seems slightly off from where the jewelry normally sat.
- Irritation returns whenever you wear the same piece.
In this situation, a warm compress can help if swelling is part of the problem, but it won’t fix true migration. If the path has changed, forcing jewelry through the old route can tear tissue.
A migrated piercing doesn’t need more determination. It needs a more realistic plan.
If you think the hole partly closed overnight
That happens more often than people expect, especially if jewelry was out longer than planned.
Try a smaller-profile, smooth piece first. Use lubrication. Approach slowly and see whether the jewelry enters the channel without resistance. If you meet a hard stop, don’t “push through the skin.” That usually means you’re no longer in the original tract.
A piercer may be able to taper jewelry back in if the channel is still viable. If not, you may need to let it close and repierce later rather than damaging the area now.
If your nose gets angry after reinsertion
A little tenderness can happen after a difficult change. Ongoing irritation means something is off.
Common causes include:
- A bend that’s distorted. The jewelry may be scraping as it sits.
- A style mismatch. A hoop in a grumpy nostril can keep the area moving all day.
- Material sensitivity. If your skin reacts easily, switch to a more reliable material.
- Too much handling. Constant checking, twisting, and touching will keep it irritated.
Leave the jewelry alone once it’s in. Clean gently. Avoid makeup on the site. Don’t sleep face-first into your pillow and then act shocked when it’s mad in the morning.
Red flags that mean stop and get help
Home reinsertion is not always the move.
Get a professional involved if:
- You see discharge that looks concerning
- The area is very red and increasingly painful
- The jewelry won’t follow the existing channel
- The piercing looks migrated enough that skin is thinning
- You’ve tried gently and the tissue is getting more swollen instead of less
There’s no trophy for winning a fight against your own nostril. A clean reinsertion by a piercer is a lot cheaper than dealing with scar tissue from a DIY wrestling match.
Preventing Reinsertion Problems and Best Practices
The easiest way to get a nose ring back in is not having to rescue the piercing in the first place.
A lot of reinsertion drama starts long before the jewelry falls out. It starts with poor fit, reactive metal, sleeping on the piercing, bent posts, or wearing a style your nostril clearly hates.
Pick materials your skin is less likely to fight
If your piercing gets moody from mystery metals, start there.
The guidance in the verified data points to hypoallergenic 14k gold or titanium studs as the smarter move for sensitive wearers, and notes a 95% reduced allergy risk in the referenced material summary. Qualitatively, that lines up with what piercers see every day. Better material usually means less irritation, less swelling, and fewer surprise reinsertion battles later.

Fit matters more than people think
Jewelry that’s too tight can make the piercing cranky. Jewelry that’s too loose can snag, rotate, or fall out when you’re changing clothes.
If you’re not sure what size suits your anatomy, this BodyCandy nose ring sizing Q and A can help.bodycandy.com/blogs/news/nose-ring-sizing-q-and-a-why-doesn-t-my-nose-ring-fit) helps sort out common fit problems before they become reinsertion problems.
Build tiny habits that save you later
These aren’t glamorous. They work.
- Check security before bed. Make sure your jewelry is seated properly.
- Store spare pieces cleanly. Scratched, dusty jewelry is not what you want during a rushed change.
- Avoid rough towel catches. That’s a classic way to loosen a stud.
- Use a mirror with real light. Dim lighting turns a simple jewelry change into nonsense.
- Keep one easy backup style. A simple nostril stud can be a lifesaver when your favorite hoop is not cooperating.
A practical option is keeping one straightforward spare from the BodyCandy nose ring collection on hand for emergencies, especially if your daily wear piece is more decorative or tricky to insert.
Final Thoughts and Next Steps
A nose ring that won’t go back in can feel like a tiny disaster. Usually it’s a mechanics problem, not a mystery.
Clean hands, good lighting, the right angle, and jewelry that matches the mood of your piercing will solve most of it. Studs need alignment. L-shapes need patience at the bend. Screws need that curve-following motion. Hoops need a light touch and realistic expectations.
The big one is this. If swelling, migration, or partial closure is in the mix, stop treating it like a normal jewelry change. Calm the tissue first. If the channel still won’t cooperate, let a piercer take over before you turn irritation into damage.
You don’t need to be fearless. You just need to be methodical, a little stubborn in the right way, and willing to quit before your nose starts filing complaints.
Ready to swap in something that fits better and fights you less? Browse BodyCandy for nose rings in styles that match your look, keep a simple backup piece in your jewelry stash, and if your piercing seems swollen, migrated, or half closed, book time with a professional before forcing it.