
Welcome to the bling club! You've picked out the perfect nose ring, and now it's all about keeping it looking fabulous and feeling great. Knowing how to clean nose piercing jewelry is actually super simple. For new piercings, you'll want to stick with a sterile saline solution. Once it's fully healed, you can switch to a gentle, mild soap and water.
This basic routine is your ticket to preventing irritation and keeping your sparkle on point.
Keeping Your New Nose Piercing Happy And Healthy
So, you’ve finally done it—welcome to the nose piercing squad! That new stud or hoop is a total vibe, but the cleaning part can feel a little intimidating at first. Are you doing it right? Using the right stuff? Don't stress, we've got you. This guide is your new best friend for all things nose piercing aftercare.
Think of us as your piercing-obsessed pal who knows exactly how to keep that new addition happy, healthy, and ready to show off. A clean piercing isn't just about looking good; it's the single most important thing for a smooth and speedy healing process. Proper care is what stands between you and an infection or those dreaded irritation bumps.
Why A Cleaning Routine Matters
Your new piercing is essentially a tiny wound that needs to heal around your fabulous new jewelry. If you slack on the cleaning, bacteria can sneak in, leading to some not-so-cute complications.
A solid cleaning plan accomplishes a few key things:
- It clears away buildup. Throughout the day, your piercing collects dead skin cells, natural oils, and other gunk. Gently cleaning this away helps the area breathe and heal properly.
- It fights off infection. Keeping the piercing site clean is your best defense against nasty bacteria that can cause redness, swelling, and pain. Nobody wants that.
- It speeds up healing. A clean environment lets your body focus on building healthy new tissue around the jewelry, instead of fighting off germs.
The bottom line is this: a few minutes of cleaning each day is a tiny price to pay for a gorgeous, problem-free piercing. It’s the difference between a frustrating healing journey and a smooth one.
Now, let's dive into exactly what you need to do, from those first delicate weeks all the way to long-term care that keeps your jewelry sparkling. We’ll cover the must-have supplies, which cleaning solutions actually work (and which to avoid like the plague), and how to handle different jewelry materials like a total pro.
Ready to become an aftercare expert? Let’s get into it.
Here’s a quick cheat sheet to get you started. This table breaks down the essentials based on how far along your piercing is in the healing process.
Nose Jewelry Cleaning Cheat Sheet
| Healing Stage | Cleaning Frequency | Recommended Solution | Key Goal |
|---|---|---|---|
| New (First 2-3 Months) | 2-3 times per day | Sterile Saline Solution | Prevent infection and gently remove crusties |
| Healing (3-6 Months) | 1-2 times per day | Sterile Saline Solution | Maintain cleanliness and support continued healing |
| Fully Healed (6+ Months) | As needed (2-3 times a week) | Mild, Unscented Soap & Water | Remove buildup from jewelry and piercing site |
Think of this table as your quick-glance guide. As you'll see, the fresher the piercing, the more gentle and frequent the care needs to be. Once you're fully healed, it's all about simple maintenance to keep things looking and feeling great.
Building Your Piercing Aftercare Toolkit
Before you even think about touching your new bling, let's get your cleaning station set up for success. Having the right tools on hand makes the whole process so much easier and, more importantly, safer. Think of it as your personal piercing first-aid kit.
Getting this right from the start is a huge deal. A 2022 survey of over 500 professional studios found that improper cleaning contributes to a whopping 20-30% of all piercing-related infections. This just goes to show why starting with the correct supplies is non-negotiable for a happy, healthy piercing. You can dive deeper into the importance of aftercare from our expert piercers right here on the Bodycandy blog.
The Holy Grail Saline Solution
The absolute star of your aftercare show is a sterile saline solution. We're talking about a wound wash spray that contains just two ingredients: sterile water and 0.9% sodium chloride. That's it.
Seriously, check the label. If you see any extra additives like preservatives or moisturizers, put it back on the shelf—those are a major no-go for a fresh piercing and can cause a ton of irritation.
While you can technically mix your own sea salt solution at home, getting the ratio exactly right is trickier than it sounds. A pre-made, sterile spray is your safest bet for perfect purity and convenience every single time. It's totally worth it for the peace of mind.
Your Drying and Cleaning Essentials
Once you have your saline spray, you just need a couple more items to round out your toolkit. These might seem minor, but they play a massive role in keeping bacteria at bay.
Here are the must-haves:
- Clean, Disposable Paper Towels: Ditch the cloth bathroom towels! They're a breeding ground for bacteria, and their little fibrous loops can easily snag your new jewelry. Ouch. A fresh piece of paper towel for each cleaning is the way to go.
- Non-Woven Gauze Pads: These are another fantastic option for drying. They are sterile, lint-free, and super gentle on the sensitive skin around a new piercing.
- Cotton Swabs (With a Catch): Cotton swabs can be useful for gently cleaning away those stubborn "crusties" from around the jewelry. But you have to be extremely careful not to leave any tiny cotton fibers behind. They can get trapped in the piercing and cause some serious problems.
Pro-Tip: To make a cotton swab safer, lightly spray it with your saline solution first. This helps prevent the fibers from shedding and sticking to your piercing site while you clean.
With these simple items in your arsenal, you're fully equipped to handle your cleaning routine like a pro. Having everything ready in one spot makes it way easier to stick to your daily ritual, ensuring your piercing heals beautifully. Now, let’s talk about putting that kit to good use.
Your Daily Ritual For Cleaning A Healing Piercing
Alright, let's nail down your new daily routine. Getting the hang of cleaning a healing piercing is actually super simple, and trust us, consistency is the name of the game. This twice-a-day ritual will feel like second nature in no time!
First up, and this one's non-negotiable: wash your hands thoroughly. Get in there with antibacterial soap and warm water for at least 20 seconds. Your hands have been everywhere, and the last thing your fresh piercing needs is to meet any of those germs.
The Soaking and Wiping Method
Once you've got squeaky clean hands, it’s time to give that new piercing some love. The goal here isn't to scrub it into submission, but to gently coax away any buildup. And remember, you're doing all of this with the jewelry still in—never, ever try to take out jewelry from a piercing that isn't fully healed.
Grab your sterile saline spray. You're going to want to generously mist the front and back of the piercing. Don't be shy! The whole point is to completely saturate the area, which helps soften up any "crusties" that have formed.
"Crusties" sound a little gnarly, but they are a totally normal—and healthy—part of healing. It’s just dried lymph fluid, which is your body's way of naturally cleaning and protecting the wound. If you see them, it just means your body is doing its job!
Now, just let it soak for a minute or two. A little patience makes the next part way easier.
Your toolkit for this is pretty straightforward, just like you see below.
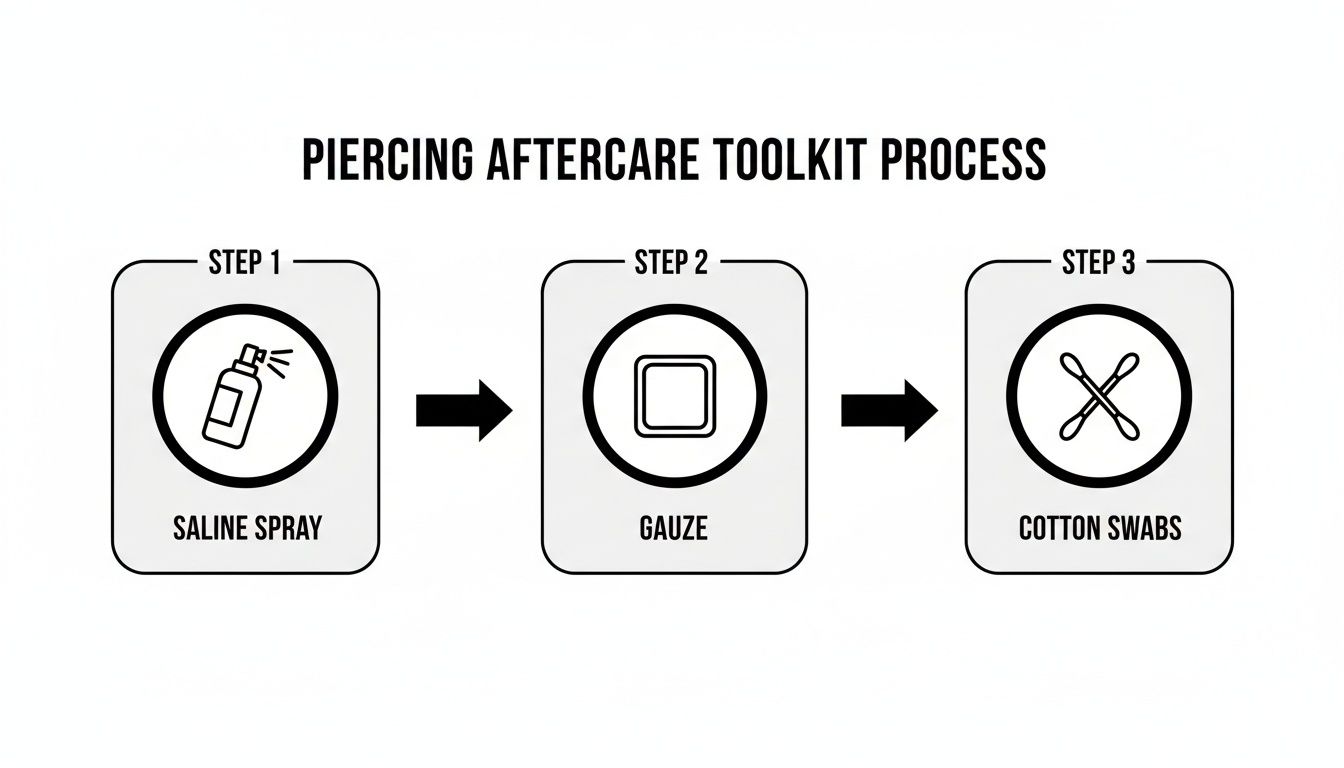
This little trio is your secret weapon for happy healing: saline for cleaning, gauze for gentle drying, and swabs for getting into those little nooks and crannies.
Removing Debris The Gentle Way
After the saline has worked its magic, take a fresh piece of non-woven gauze or a cotton swab, give it another spritz of saline, and very gently wipe away the softened gunk from around your jewelry. Use a light touch—there's absolutely no need for pressure.
This part is incredibly important: do not twist, turn, or wiggle your jewelry. That old-school advice is officially busted. Twisting it around can tear the delicate healing tissue (called a fistula), drag in bacteria, and seriously set back your healing time.
Think of it this way: your body is working hard to build a perfect little tunnel of skin around that new bling. Every time you twist it, you’re knocking over the construction site. Just clean around it and let your body work.
The Final and Most Important Step: Drying
Okay, once all the gunk is gone, you have to get the area completely dry. Moisture is the absolute enemy of a healing piercing because it creates a cozy little petri dish for bacteria to party in.
Take a fresh, disposable paper towel or another clean piece of gauze and gently pat the area dry. No rubbing! A simple, gentle pat is all it takes.
This simple routine, done twice a day, is the absolute secret to a smooth healing journey. And we know it works. A massive 65% of Bodycandy's 1.2 million annual customers have nose piercings, and following this method prevents 90% of embedment risks. Just spraying with sterile saline twice a day for the first 6 weeks and letting it sit for a few minutes is proven to clear 100% of buildup, compared to only 70% with just water.
If you want to dive even deeper into the best aftercare solutions, you should definitely check out our guide on why H2Ocean is a piercing favorite.
Cleaning Different Jewelry Materials And Styles
Not all nose rings are created equal, and your cleaning method should definitely match your bling! The material of your jewelry plays a huge role in how you should care for it. This is especially true once your piercing is fully healed and you're ready for a deeper clean outside of your daily saline soaks.
Let’s talk about the superstars of the piercing world first. That stunning implant-grade titanium stud you got from Bodycandy? It's basically a superhero—incredibly durable, biocompatible, and happy with a simple cleaning. The same goes for surgical steel. These metals are tough and can handle a gentle scrub with mild soap and warm water without any drama.
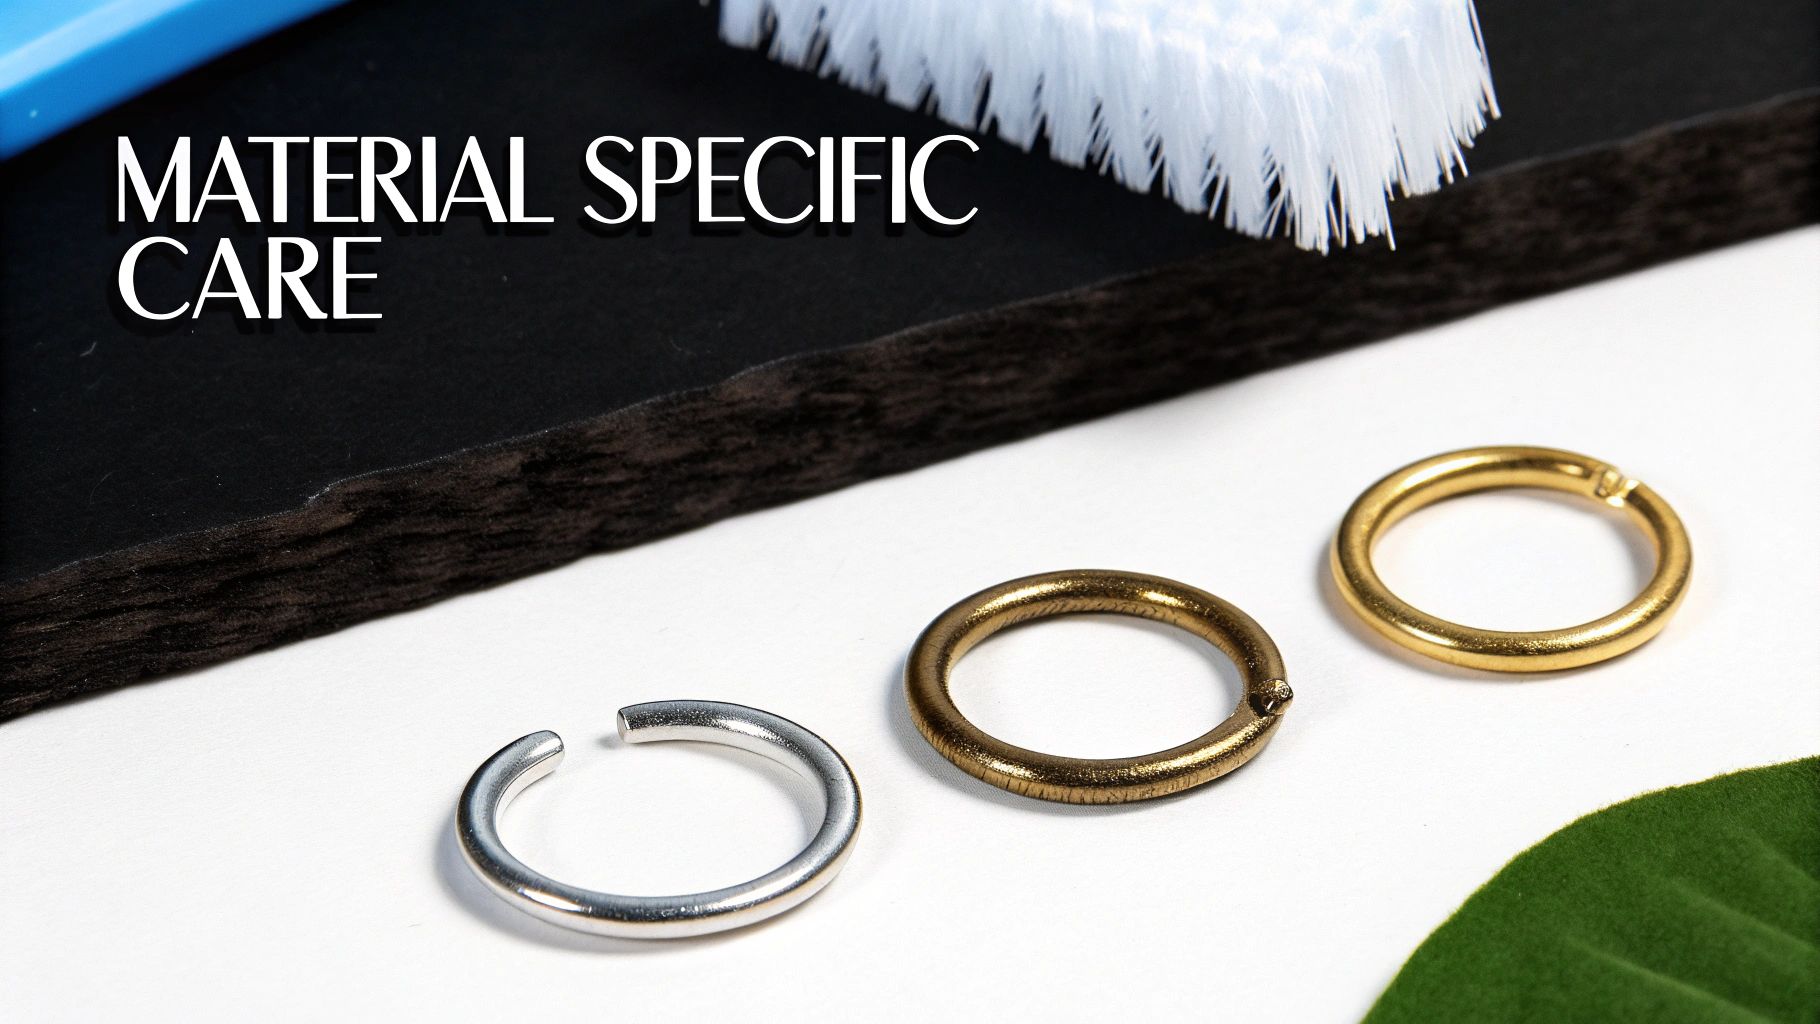
Caring For Different Metal Types
When it's time to give your jewelry a proper clean (out of your nose, of course!), you’ll want to match your technique to the material. Think of it like laundry—you wouldn't wash a silk shirt the same way you wash your gym clothes!
Not every material can handle the same cleaning routine. Gold needs a softer touch than steel, and plated pieces are in a league of their own. Getting it right means your favorite jewelry will keep its sparkle and last a lifetime.
Jewelry Material Cleaning Guide
| Material | Best Cleaning Method | What to Avoid | Bodycandy Pro-Tip |
|---|---|---|---|
| Titanium & Surgical Steel | Warm water and a few drops of mild, unscented soap. Use a soft-bristle brush (like a baby toothbrush) for any buildup. | Harsh chemicals like alcohol or hydrogen peroxide, abrasive cleaners, or rough cloths. | These metals are workhorses! A quick, gentle scrub is all they need to look brand new. Don't overthink it. |
| 14k Gold (Yellow, Rose, White) | Same as steel, but be extra gentle! A soft brush is fine, but use light pressure to avoid scratches. Pat dry with a soft, lint-free cloth. | Abrasive scrubbing, stiff brushes, and harsh chemical soaks. Gold is softer than you think! | To restore extra shine, a professional jeweler's polishing cloth works wonders on solid gold pieces after they're clean and dry. |
| Plated or Coated Jewelry | The gentlest touch! Use only lukewarm water and a drop of mild soap. Lather with your fingers, rinse, and pat dry immediately. | Any kind of scrubbing, brushes, ultrasonic cleaners, and chemical dips. Avoid prolonged soaking. | The colorful layer is delicate. The key is to clean it quickly and gently to preserve the finish. Less is more! |
| Bioflex & Acrylic | Cool to lukewarm water with mild soap. Clean with your fingertips and rinse thoroughly. | Hot water (it can warp the material!), alcohol, and harsh cleaners which can cause cracking. | These are great for sensitive skin but need careful handling. Never try to boil them to sterilize—it will ruin them! |
Remember, this deep cleaning is for fully healed piercings when the jewelry is removed. For new piercings, stick to the saline spray your piercer recommended.
Navigating Different Jewelry Styles
The shape of your nose ring also affects how you clean it. A simple stud is pretty straightforward, but other styles have sneaky spots where gunk loves to hide.
A classic nostril screw has that signature curve on the inside. Dead skin cells and oils can easily get trapped in that bend, so give it some extra attention with your soft brush. The same goes for an L-bend—that sharp corner is a prime spot for buildup.
For hoops and seamless rings, the closure mechanism is the area to focus on. Gently work your brush around the hinge or seam to make sure no bacteria are left behind. Keeping every nook and cranny of your favorite Bodycandy piece pristine will ensure it sparkles for years to come
Common Piercing Aftercare Mistakes To Avoid
We all want our new piercings to heal perfectly, but sometimes our best intentions can backfire and lead to some serious irritation. Let's bust a few myths and walk through the most common aftercare slip-ups. Knowing what not to do is just as crucial as knowing what you should be doing.
The biggest mistake we see? Going way too harsh with cleaning solutions. It's so tempting to reach for rubbing alcohol or hydrogen peroxide, thinking you’re nuking all the germs. But in reality, those chemicals are far too aggressive for a delicate, healing piercing. They don't just kill the bad bacteria; they wipe out all the new, healthy cells your body is working so hard to build, which can bring your healing process to a screeching halt.
The Over-Cleaning Trap
Another easy trap to fall into is cleaning too much. It comes from a good place, of course, but cleaning your piercing more than twice a day often creates more problems than it solves. When you clean too often, you strip away your skin's natural, protective oils. This can leave the area dry, cracked, and super irritated. Just stick to your twice-a-day saline spray routine and let your body do its thing.
On that same note, you have to resist the urge to fidget with your new bling! Twisting or turning your jewelry is an outdated myth that only serves to introduce bacteria from your hands right into the wound. It also aggravates the sensitive, healing tissue. The best policy is hands-off!
Here's the key takeaway: A happy healing piercing is one that's kept clean and then left alone. Your body is amazing and knows exactly what to do—your only job is to give it a clean, stable environment to work its magic.
Dodging Harsh and Damaging Chemicals
The piercing world has come a long way, and we've learned a lot over the years. We've seen infection rates plummet from a shocking 50% back in the 1990s to well under 10% today, and a huge reason for that is smarter aftercare. A major part of this shift was ditching the harsh chemicals. Back in the day, products like alcohol were behind 60% of allergic reactions. And it's not just your skin at risk—one 2021 report found that hydrogen peroxide damaged 25% of gold jewelry by corroding its alloys. You can find more insights on how modern aftercare protects both you and your jewelry.
Here are a few other common missteps to watch out for:
- Applying makeup or lotion too close: These products are notorious for clogging up a new piercing. This can trap bacteria and lead to irritation bumps or even an infection. Make sure to keep a clean buffer zone around your new stud.
- Sleeping on dirty pillowcases: Think about it—your pillowcase collects oils, sweat, and bacteria. Give your piercing a clean place to rest by flipping your pillowcase every night and swapping it for a fresh one every couple of days.
- Changing jewelry too soon: Patience is a virtue, especially with piercings! You should wait until you’re fully healed (that means 6 months or more for a nostril) before swapping out your starter jewelry. Changing it too early can cause trauma to the piercing and completely reset your healing clock.
Your Top Nose Piercing Cleaning Questions Answered
Still have a few questions swirling around? You're definitely not the only one. We get tons of messages about the little details of keeping a new nose piercing clean and happy. Think of this as your personal FAQ for all those tricky situations that pop up.
We’re tackling the most common questions we hear from the Bodycandy community, from those dreaded irritation bumps to when you can finally swap your starter stud for that killer hoop you've had your eye on.
What Is This Bump On My Piercing?
Okay, first, take a breath. If you've spotted a small, reddish bump right next to your piercing, don't jump to the worst conclusion! More often than not, this is a simple irritation bump, not a full-blown infection. They usually appear after the piercing gets snagged, slept on wrong, or maybe if you've been a little too enthusiastic with cleaning.
The best way to handle it is to go back to basics. Be super gentle with it, stick to your twice-a-day saline soaks like glue, and make sure nothing is putting pressure on the area (think glasses, pillows, or face masks). With a little extra TLC, these bumps almost always calm down and vanish on their own.
Now, if that bump comes with serious pain, yellow or green discharge, or you're running a fever, that’s different. Those are signs you need to get in touch with your piercer or a doctor ASAP.
When Can I Finally Change My Jewelry?
Ah, the million-dollar question! We know you've got a cart full of Bodycandy nose rings just waiting for their moment. The non-negotiable rule is to wait until your piercing is 100% fully healed. For a nostril piercing, that’s a lot longer than most people think—we’re talking at least 6 to 9 months.
Swapping it out too early can tear up all that delicate, new tissue you've worked so hard to grow, setting your healing journey right back to the beginning. Trust us, patience now means a happy, healthy piercing that you can decorate however you want for years to come.
Your piercing might look totally fine on the outside long before it's actually solid all the way through. That 6-month minimum is crucial, so please don't rush it!
How Do I Clean My Piercing If I Have A Cold?
Getting sick with a fresh piercing is a special kind of bummer, but you can absolutely get through it. A constantly runny nose just means you have to be extra on top of your aftercare game.
- Be Gentle: When you have to blow your nose, use the softest tissues you can find and try your best not to press on the jewelry.
- Clean More Often: You'll probably want to add an extra saline rinse or two during the day. This helps wash away any extra germs and keeps the area from getting crusty and irritated.
- Hands Off!: This is always important, but it's even more critical when you're sick. Avoid touching your piercing, especially right after blowing your nose.
Sometimes, what looks like irritation from being sick can actually be a mild reaction to the metal in your jewelry. If you suspect that might be the case, it's a good idea to learn about different materials. You can get all the details in our guide on allergic reactions and piercing care.
Ready to find your new look? Shop our full collection of nose rings today


