So, you’re itching to swap out your belly button ring for something new and sparkly? I get it. That fresh piece of Bodycandy bling is calling your name! But before you even think about changing your jewelry, the single most important thing is to make sure your piercing is 100% healed.
Trying to force a change too soon can really mess things up. We're talking irritation, tearing the delicate new tissue you've spent months growing, and even opening the door for a nasty infection. No thanks!
Is It Really Time? How to Know Your Piercing Is Ready
Trust me, patience is your piercing’s best friend. Navel piercings are notoriously slow healers, often taking a full 6 to 12 months to heal completely from the inside out. Don't just go by the calendar—your body is the real expert here and will give you clear signals when it's good to go.
Rushing the process is a one-way ticket to a very unhappy piercing. A premature change can re-traumatize the fistula (that's the little tunnel of skin your jewelry sits in), which can set your healing time back by weeks or even months. Nobody wants that.
Healing Status Checklist: Is Your Piercing Ready?
How can you be absolutely sure it's time? A truly healed navel piercing won't show any signs of distress. It’s not just about a lack of pain; it's about the tissue being stable, healthy, and completely settled. Before you grab your new jewelry, run through this quick checklist.
| Healing Sign | What to Look For | Is it Ready? |
|---|---|---|
| Skin Color | The skin around both holes should match your normal skin tone. Any pinkness or redness means it's still healing. | ✅ / ❌ |
| Discharge | There should be zero fluid (yellow, green, or white) and no "crusties." Dried lymph fluid is a sign of an active healing process. | ✅ / ❌ |
| Sensation | You can gently touch the area without any pain, soreness, stinging, or tenderness. | ✅ / ❌ |
| Movement | Your current jewelry glides up and down easily without sticking or causing discomfort. | ✅ / ❌ |
If you can't confidently check "yes" on all of these, your piercing is telling you it needs more time. Give it what it needs!
The golden rule is this: Your piercing should look and feel like it has always been there. If you're second-guessing or experiencing any irritation at all, leave it alone and let it continue healing.
Getting familiar with the different parts of your jewelry will also make the swap way easier when the time comes. To get a better handle on the components you'll be working with, check out our deep dive into the anatomy of a belly ring. Knowing your barbells from your balls will make the whole process a breeze.
Prep School: Creating a Clean Space for Your Jewelry Swap
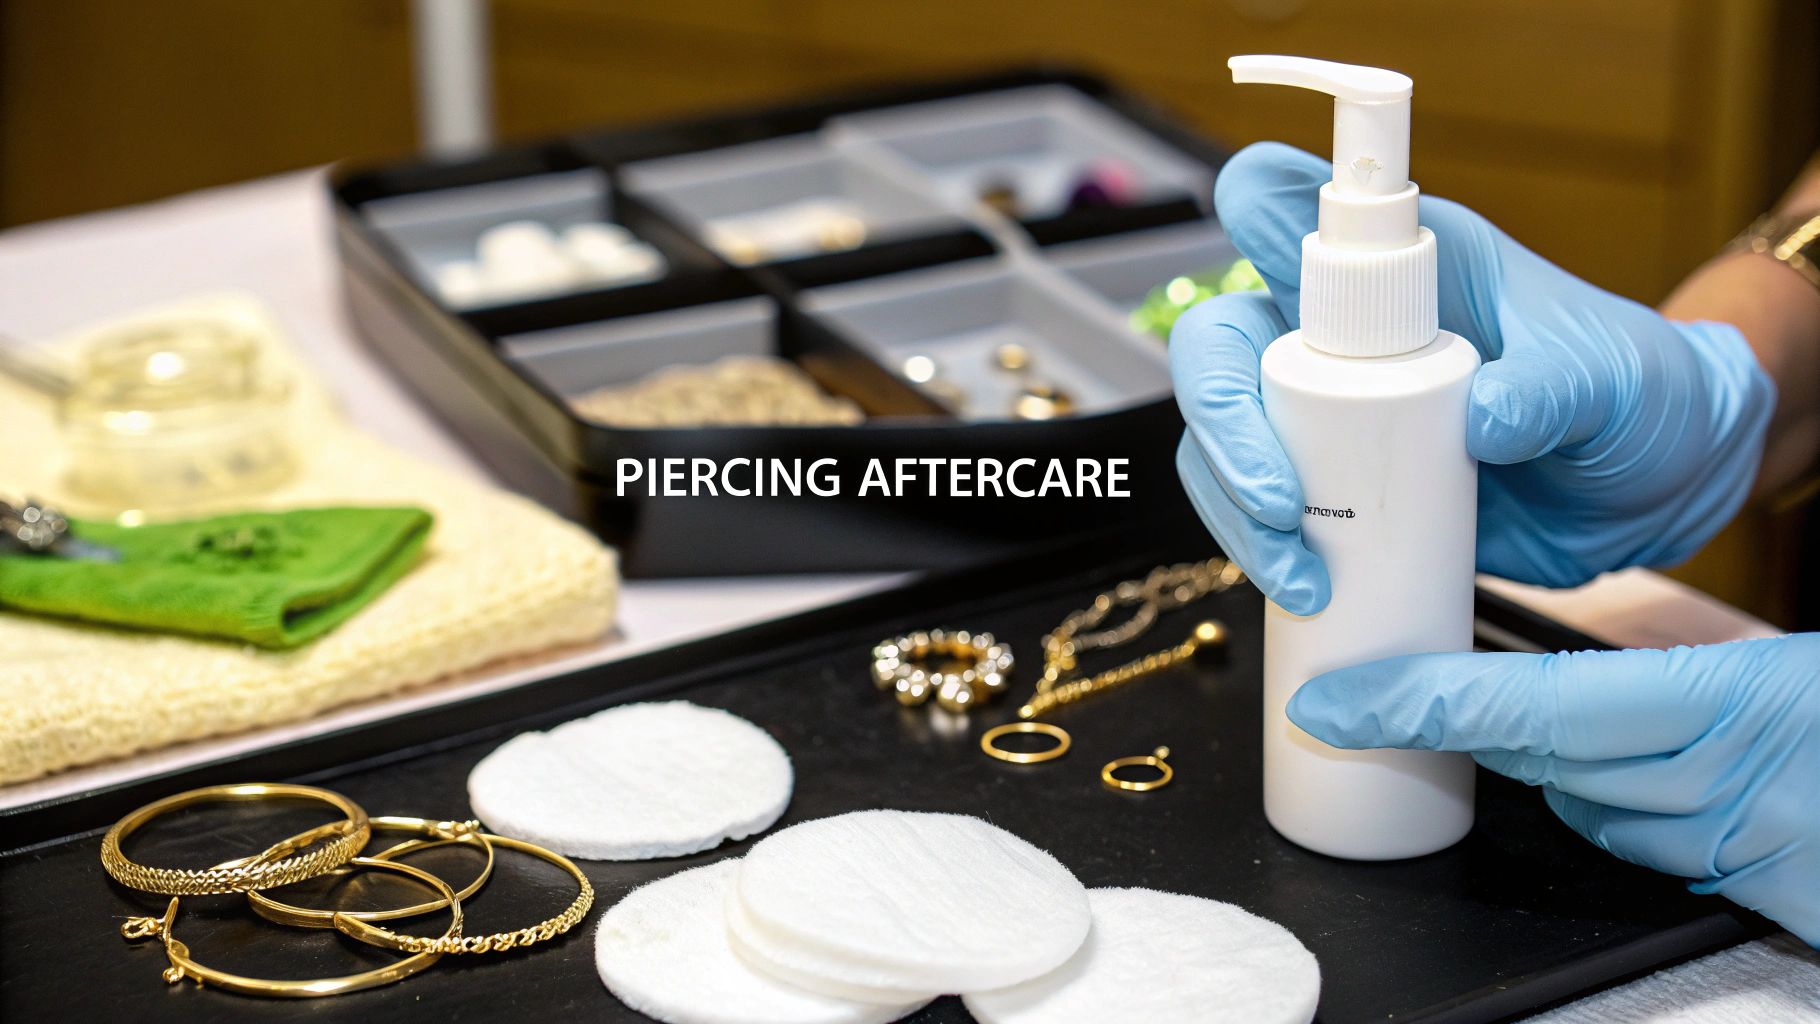
So, you’ve waited patiently, and your piercing is finally healed and ready for some new bling. Awesome! But before you even think about unscrewing that old barbell, we need to talk about setting the stage. You have to treat this like a mini-medical procedure, because keeping bacteria away from your open piercing is absolutely non-negotiable.
First thing’s first: wash your hands. And I mean really wash them. Use a good antibacterial soap with warm water and scrub for at least 20 seconds. This is your single best defense against infection. Once they're clean, dry them with a fresh paper towel and lay another one down on your counter. This will be your sterile field for your jewelry and supplies.
Prep Your Jewelry and Piercing
Now it's time to get your new Bodycandy belly ring ready for its big debut. Even if it came straight out of the package, giving it a quick clean is always a smart move. Just a simple wash with some gentle, fragrance-free antibacterial soap and warm water is perfect. Rinse it thoroughly and pat it dry with a clean paper towel.
Next, you’ll want to gently clean your navel piercing itself. This little step helps clear out any lingering "crusties" or debris before you make the swap. Your best friend here is a sterile saline solution.
Here’s a quick checklist of what you should have laid out on your clean paper towel:
- Sterile Saline Spray: This is the only thing you should be using to clean the piercing site. It’s gentle and works with your body's natural chemistry.
- New, Clean Jewelry: Your new piece, all washed and ready to go.
- Clean Paper Towels: You’ll need these for drying your hands, the jewelry, and the piercing area without leaving any fuzzy lint behind.
Heads Up: Stay far away from harsh chemicals like rubbing alcohol or hydrogen peroxide. They are way too aggressive for piercings and can cause major irritation, dry out the skin, and even damage the delicate tissue (the fistula) inside your piercing.
By setting up this clean zone, you make the whole process of changing your belly button ring so much safer. It only takes a couple of minutes, but this prep work is what keeps your piercing happy, healthy, and looking great.
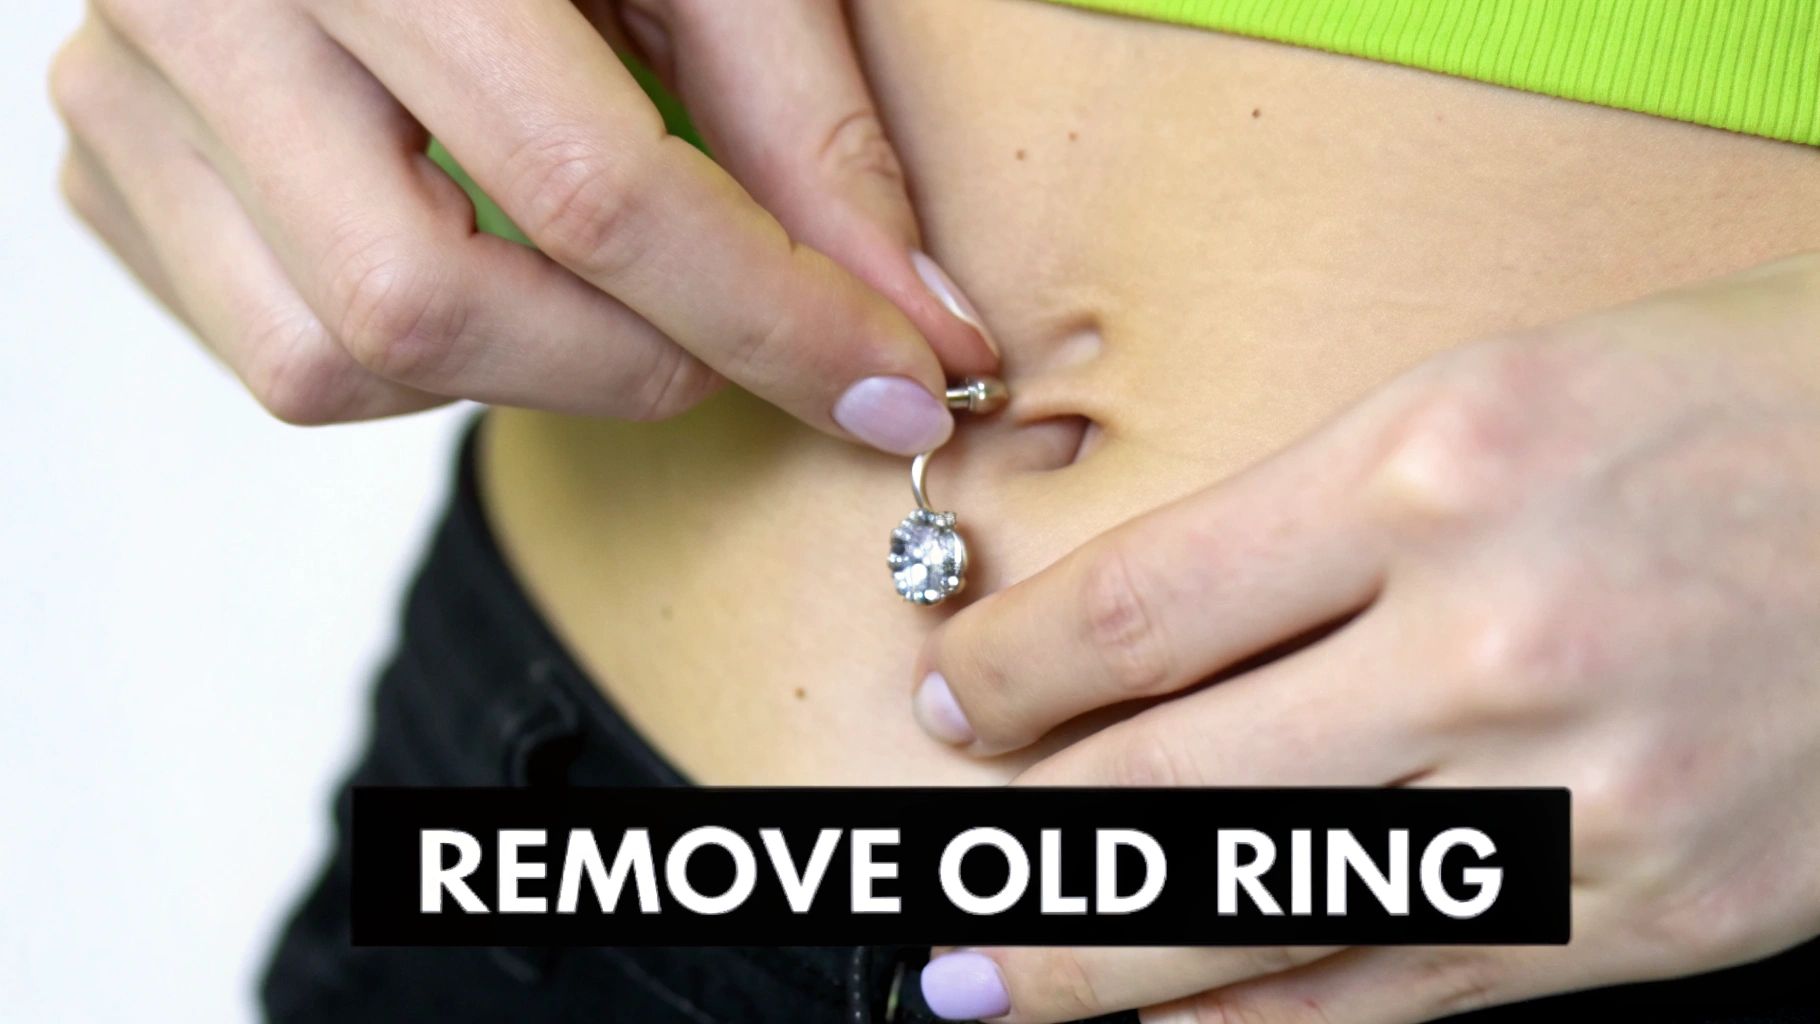
The Great Escape: Gently Removing Your Current Belly Ring
Alright, it's time to say "see you later" to your old jewelry! Taking out your current belly ring for the first time can feel a little intimidating, but trust me, the key is to be slow and steady. There’s absolutely no rush, so take a deep breath and let’s walk through it together.
One of the biggest hurdles is just getting a good grip on those tiny, slippery threaded balls. For this, I have a game-changing pro tip: wear a pair of clean, disposable nitrile gloves. The slight tackiness of the gloves gives you that extra traction you need for a firm hold, making the whole process way less frustrating.
The Unscrewing Process
Most standard belly barbells use a classic "righty-tighty, lefty-loosey" system. Firmly but gently hold the bottom ball or charm of your ring with one hand. With your other hand, get a good grip on the top ball and twist it to the left (counter-clockwise) to unscrew it.
If your jewelry feels stuck, don't try to force it. A little resistance can be normal, especially if it's been in for a while, but pulling, tugging, or yanking is a surefire way to irritate your piercing.
Never force jewelry out of a piercing. If it won’t budge with gentle effort, just stop. It's always better to visit a professional piercer for help. They have the right tools and expertise to remove it safely without causing any trauma to the area.
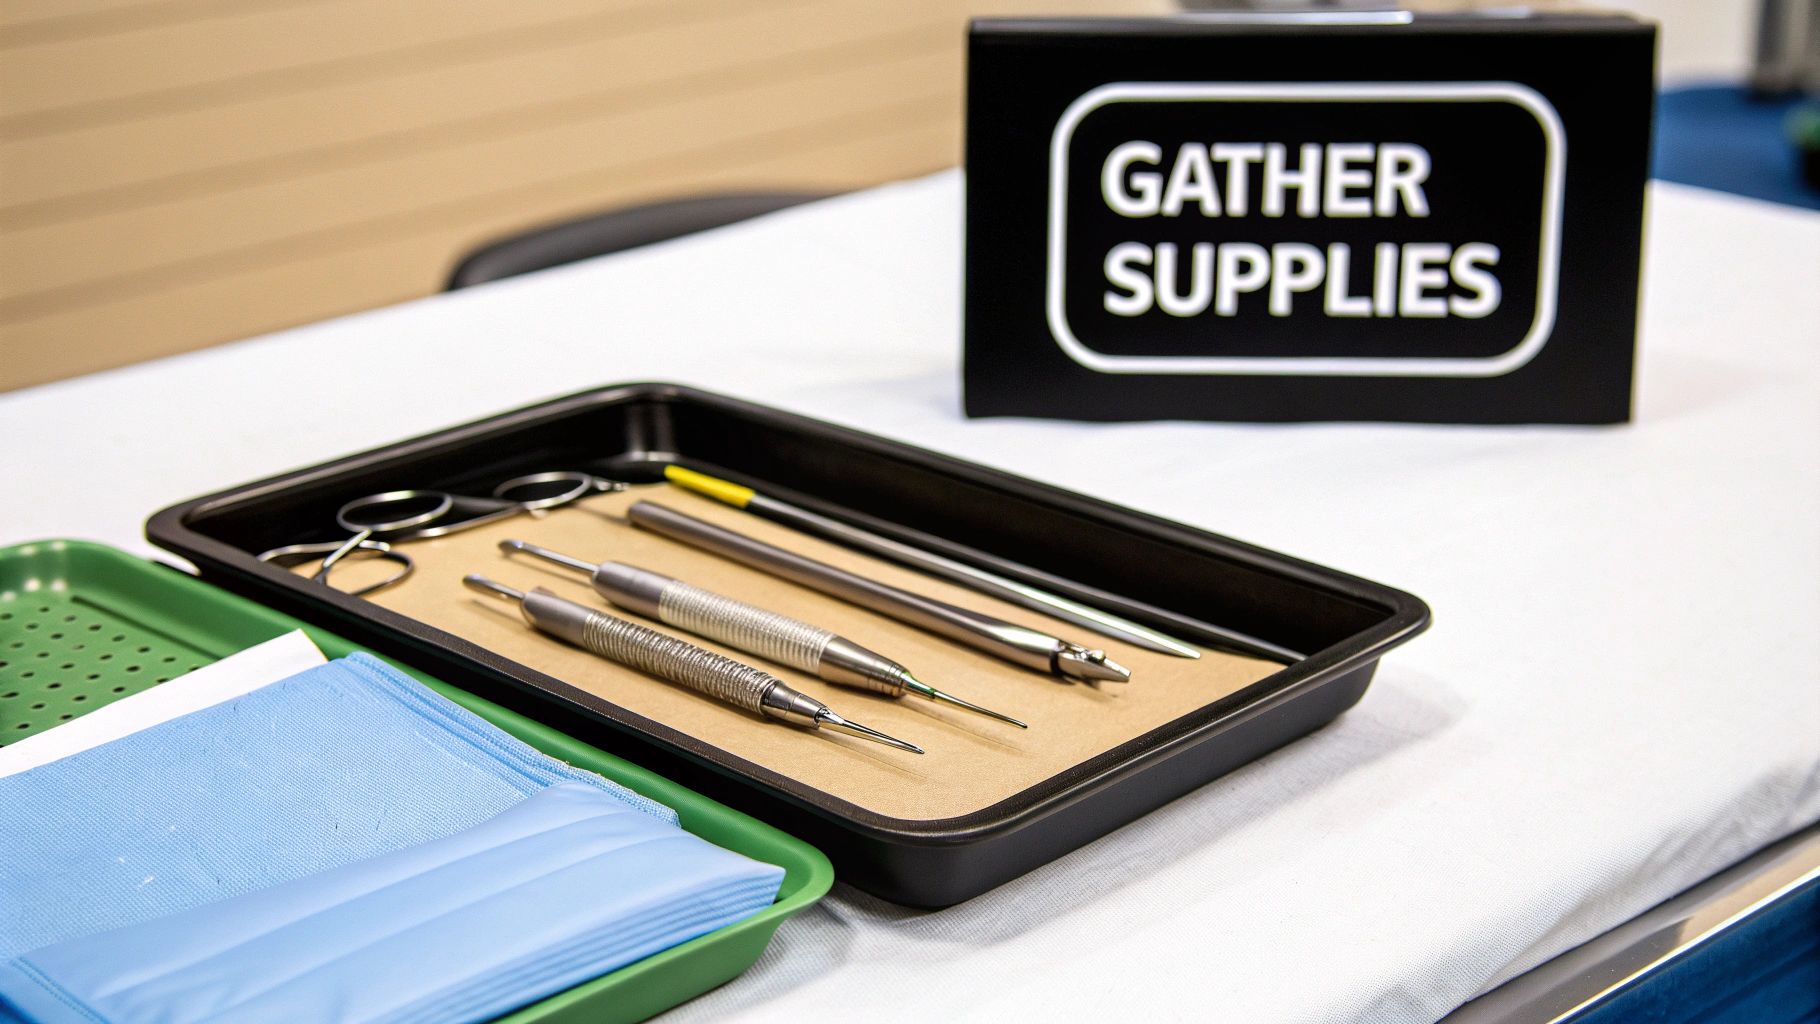
Once that top ball is off, you can gently slide the bar down and out through the bottom of the piercing. This infographic lays out the basic prep steps leading up to this moment.
Visualizing these simple hygiene steps really underscores how critical a clean foundation is before you even touch your jewelry. It’s all about creating a safe, sterile environment to keep bacteria from getting introduced into your piercing during the swap.
Level Up: Inserting Your New Jewelry Like a Pro
This is the best part—finally getting to show off your amazing new bling! With your old jewelry out and the piercing site all clean, it's time to slide in your new favorite piece. Let's make sure it goes in smoothly so you can start rocking your new look right away.
The trick is to be gentle and simply guide the jewelry through the piercing fistula (that's the skin tunnel your piercing created) without forcing it. Sometimes the piercing can feel a little tight, especially if this is your first time changing it yourself. Don't panic! This is super common and doesn't mean anything is wrong.
Making Insertion Effortless
Want to make the process a total breeze? One of our favorite pro tips is to use a tiny dab of water-based sterile lubricant on the tip of the barbell. This helps the jewelry glide through effortlessly, cutting down on any friction or discomfort. Just be absolutely sure to avoid oil-based products like petroleum jelly, as they can trap bacteria and cause issues down the line.
Gently guide the new, lubricated barbell through the bottom hole of your piercing, pushing it upward until it comes out of the top hole. If you feel any resistance, just stop, take a breath, and try again from a slightly different angle.
Remember: Never, ever force jewelry into your piercing. A little bit of wiggling is okay, but if it starts to hurt or just won't go through, it's best to stop. Forcing it can cause trauma to the tissue. If you're struggling, get help from a professional piercer.
Once the bar is all the way through, you just need to secure it. This last step depends entirely on the style of jewelry you're using. If you need a quick refresher, explore our guide on navel ring styles, materials, and sizing to get familiar with all the options.
Securing Different Jewelry Types:
- Externally Threaded: With this classic style, the screw threads are on the outside of the bar. You'll simply screw the top ball onto the bar using the "righty-tighty" method until it's snug.
- Internally Threaded: Here, the screw threads are inside the ball itself. You'll insert the tiny threaded post from the ball into the hollow end of the barbell and twist it on securely.
- Captive Bead Ring (CBR): These can be tricky but look amazing. Gently pop the bead into place between the two ends of the ring. You should feel a satisfying little "click" as the dimples on the bead lock into the ring.
The After-Party: Post-Change Care for a Happy Piercing
Alright, your new jewelry is in and it looks fantastic! Before you run off to show it to the world, let's talk aftercare. The job isn't quite finished yet. Even a super smooth jewelry swap can leave your piercing feeling a little sensitive, so giving it some TLC for the next few days is a crucial final step.
Think of it like a mini-healing phase. Your fistula (that's the tunnel your piercing goes through) just had something new passed through it. Treating it gently now ensures it stays happy and calm, preventing any annoying irritation down the road.

Keep It Clean and Calm
For the next two or three days, just be mindful of your piercing. A simple, gentle cleaning routine is all it takes to keep everything feeling great.
- Saline Rinse: Give the area a quick clean with a sterile saline solution once or twice a day. A light spray is perfect for washing away potential irritants without overdoing it.
- Avoid Friction: This is a big one. Try to steer clear of high-waisted jeans or any tight clothing that might rub against your new bling. Constant friction is a super common cause of redness and soreness.
- Sleep Smart: If you're a stomach sleeper, try to avoid it for a couple of nights. All that pressure on a freshly-changed piercing can definitely make it tender.
Your body is pretty good at telling you what's up. A calm, happy piercing with no tenderness is a great sign. If you start seeing persistent redness, swelling, or any weird discharge, your piercing is letting you know it's not happy. Listen to it!
Using a top-notch aftercare product is just as important as the jewelry itself. If you want to get into the details, check out our guide on using H2Ocean aftercare products. This simple post-change routine is the secret to keeping your piercing perfect.
Troubleshooting: What If I Run Into Trouble?
Even after a few successful swaps, it’s totally normal to have questions pop into your head. Getting the hang of how to change your belly button ring is a bit of a learning curve. Let's walk through some of the most common "what ifs" you might face.
Help! I Can't Get the Ball Back On!
First, take a deep breath. We've all been there, fumbling with a tiny, slippery ball that just won't seem to thread correctly. Don't panic! The threads are incredibly fine and can be tricky.
My go-to trick? Pop on a pair of clean, disposable nitrile gloves. The extra grip they provide is a total game-changer and usually solves the problem right away.
What If My Piercing Gets a Little Red?
Seeing some slight redness or feeling a bit of tenderness right after a jewelry change is pretty common. It's often just your piercing’s way of saying, "Hey, something new is here!" If it's minor and fades within a day or so, it's typically nothing to worry about. Just baby it with your saline rinses and make sure your pants aren't rubbing against it.
But, if that redness gets worse, or you start seeing swelling or any weird discharge (especially if it's yellow or green), that’s your body sending up a flare. Pay close attention, as these can be the first whispers of irritation or a potential infection brewing.
My Two Cents: Never, ever ignore persistent irritation. If your piercing is still angry and unhappy after a couple of days, it could be a bad reaction to the jewelry material itself. This is exactly why it's so important to invest in high-quality, body-safe metals like implant-grade titanium or 14k gold, particularly if you have sensitive skin.
Here are a few more quick-fire answers to common worries:
- How long can I leave my belly ring out? For a piercing that's fully healed (we're talking a year or older), you might get away with it for a few hours. But honestly, navel piercings can start to shrink surprisingly fast. My advice? Don't risk it. Always have your new jewelry ready to go before you take the old piece out.
- What if I drop the ball down the sink? The horror! It happens to the best of us. The easiest way to prevent this mini-heart attack is to always, always close or cover the sink drain before you start. Make it a non-negotiable part of your routine. You'll thank yourself later!
Changing your belly ring should be a fun way to switch up your style, not something that causes you stress. With a little bit of know-how, you'll be swapping out your bling like a seasoned pro in no time.
Ready to find that perfect new piece to show off? Bodycandy has an incredible collection of high-quality, stylish belly rings waiting for you. Explore all the options and discover your next favorite look at https://bodycandy.com today