So, you’re itching to swap out that starter belly ring for something with a bit more you in it. We totally get it! Learning how to change a belly button ring safely isn't just about the "how," but the when.
Rushing this process before your piercing is truly and completely healed can lead to some serious drama—we're talking irritation, nasty infections, or even your body rejecting the piercing altogether. No thanks!
Knowing When Your Piercing Is Ready for a Change
That urge to swap your basic starter jewelry for something with sparkle and personality is totally real. You’ve been patiently cleaning it, trying your best to avoid snags on your clothes, and now you’re ready for the fun part.
But before you dive into Bodycandy’s amazing collection, let's do a final check-in to make sure your piercing is 100% on board with the plan.
Think of your piercing like a tunnel healing from the outside in. Even if the entrance and exit points look perfect, the tissue deep inside might still be tender and recovering. Changing the jewelry too early can literally tear this delicate new tissue, setting your healing timeline way back. This is why patience is your absolute best friend in the piercing world.
The Timeline Is Not a Suggestion
The golden rule for navel piercings is to wait at least 6 to 12 months for it to fully heal.
Yes, that sounds like an eternity when you're excited, but your body is doing some serious construction work in there! Rushing this crucial phase just isn't worth the risk.
Of course, your individual healing time can vary based on your body, how diligent you are with your aftercare, and your lifestyle. For a deeper dive into what to expect for different placements, our guide on healing times for popular piercings is a fantastic resource.
Pro Tip: Don't compare your healing journey to someone else's. Some people heal closer to the 6-month mark, while others might need the full year or even longer. Your body calls the shots, so listen to it!
Signs of a Happy, Healed Piercing
So, how do you know for sure that it's go-time? A fully healed navel piercing will give you some very clear signals. You're looking for the complete absence of any trouble signs.
Here’s a quick guide to help you figure out if your piercing is truly ready for its first jewelry swap.
Healed vs Unhealed Piercing Checklist
| Symptom | Healed Piercing (Ready for Change) | Unhealed Piercing (Wait Longer) |
|---|---|---|
| Color | Skin tone is normal, no redness. | Pink, red, or dark discoloration is present. |
| Swelling | No puffiness around the piercing holes. | The area is swollen, puffy, or feels tight. |
| Pain Level | No pain or tenderness when touched. | Sore, achy, or stings when touched. |
| Discharge | None. The area is clean and dry. | "Crusties," clear fluid, or pus is present. |
| Movement | Jewelry moves smoothly without resistance. | Jewelry feels stuck, tight, or hurts to move. |
If you can confidently say your piercing aligns with the "Healed" column, and you’ve passed that six-month milestone, then congratulations! You are officially ready to explore a whole new world of belly rings.
Setting Up for a Smooth and Hygienic Swap
Let's be real: changing your belly ring for the first time can be a little nerve-wracking. Fumbling around with slippery jewelry and an open piercing is nobody's idea of a good time. But a little bit of prep work makes all the difference.
You don't need a surgical suite in your bathroom, but setting up a clean, calm space is key. Having everything you need within arm's reach means you can focus on the fun part—your awesome new jewelry—without any last-minute panic.
Your Essential Supply Checklist
Before you even think about touching your current jewelry, get your station ready. This simple setup is your best defense against introducing any unwanted germs to your piercing.
Here are the absolute must-haves:
- Freshly Washed Hands: This is the number one rule of piercing care, period. Wash your hands thoroughly with a mild, antibacterial soap before you start. It's non-negotiable.
- Sterile Saline Spray: A gentle saline wound wash is your best friend. It cleans the piercing site perfectly before and after the swap without being harsh or drying out your skin.
- Your New Belly Ring: Have your gorgeous new piece from Bodycandy out of its packaging and ready to go. We'll talk more about cleaning it in a minute, but for now, just have it handy.
- Clean Paper Towels: You'll need these to gently pat the area dry. Steer clear of bath towels—they can snag on your new ring and often harbor sneaky bacteria.
Nice-to-Haves That Make Life Easier
Got the basics covered? Awesome. A few extra items can turn this from a tricky task into a total breeze. Think of these as your support crew, here to make the process smoother and prevent that dreaded moment of dropping a tiny barbell ball down the sink drain.
Pro Tip: Lay a clean paper towel over your bathroom counter or workspace. This gives you a sterile surface to work on and will catch any tiny parts that try to make a run for it!
Consider adding these to your kit:
- A Well-Lit Mirror: Trying to see what you're doing in a dim room is a recipe for disaster. Good lighting is crucial for getting the new jewelry in quickly and easily.
- A Small Dish: This is a game-changer for holding your old jewelry and the tiny, easy-to-lose threaded balls. No more frantic searching on the bathroom floor.
- Non-Latex Disposable Gloves: While not 100% necessary, a pair of gloves can give you a much better grip on slippery jewelry, making it way easier to unscrew those stubborn ends.
- Water-Based Lubricant: A tiny dab of sterile, water-based lube on the tip of the new barbell can make insertion incredibly smooth. This is especially helpful if it's your first time. Just make sure you never use petroleum jelly, as it can trap bacteria and irritate your piercing.
With your station all set up, you're totally in control. This little bit of prep makes a massive difference, ensuring the whole process is stress-free. Now you're ready for the main event!
The Process of Changing Your Belly Ring
Alright, deep breath! Your piercing is healed, your clean station is prepped, and you're ready to go. This is the exciting part—swapping out your jewelry for a fresh look. We'll walk you through the entire process, making it feel less like a procedure and more like the simple style update it is.
First, a quick visual reminder of the three absolute must-do hygiene steps. Get these right, and you're setting yourself up for a smooth, safe jewelry change every single time.
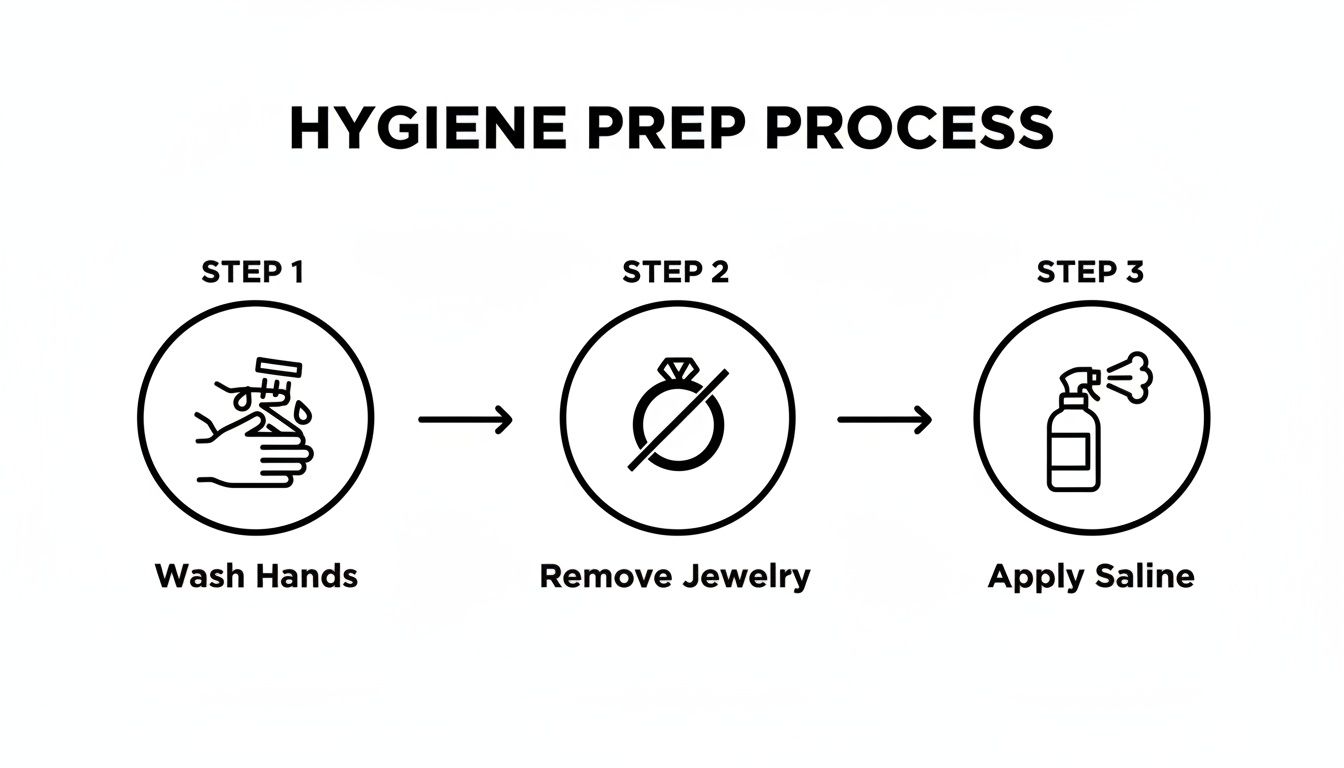
This is your pre-flight checklist: Wash, Sterilize, Cleanse. Easy enough, right?
Removing Your Current Jewelry
Let's get that old ring out. After you've washed your hands thoroughly, give the piercing area a quick spritz with your saline spray. Gently pat it dry with a clean paper towel to make sure the surface is totally clean before you start.
Now, hold the bottom ball of your belly ring firmly but gently. With your other hand, start turning the top ball to the left. Just remember the old trick: "righty-tighty, lefty-loosey." Most belly rings unscrew this way. If it feels a little stubborn, popping on a pair of non-latex gloves can give you the extra grip you need.
Once the top ball is off, slowly slide the barbell out. It should glide out smoothly without any real effort. If you feel pain or significant resistance, stop. It's a sign your piercing might not be as ready as you thought. It's always better to pause and see a pro than to force it and cause damage.
Understanding Your Jewelry Type
Not all belly button rings are made the same, and knowing the difference makes everything easier. You'll mainly run into two types: externally threaded and internally threaded.
- Externally Threaded: This is a common style where the screw threads are on the outside of the barbell itself. The threads can sometimes scrape the inside of your piercing fistula (the healed tunnel) when you're putting it in.
- Internally Threaded: Here, the barbell is smooth, and the screw threads are inside the ball. Professional piercers prefer this style because it’s much gentler on your piercing channel during insertion.
Most Bodycandy jewelry is designed with your comfort in mind, but knowing what you're working with is always a plus!
Inserting Your New Belly Ring
It's time for the main event! First, make sure your new piece is completely clean. If it's brand new and still in its sealed packaging, it's likely pre-sterilized. If you’re using jewelry you've worn before, give it a good wash with warm water and a fragrance-free antibacterial soap, then rinse and dry it thoroughly.
For a super smooth insertion, you can put a tiny drop of water-based lubricant on the tip of the new barbell. It’s not a must, but it really helps the jewelry slide in without any friction or snagging.
Gently guide the barbell through the piercing, usually from the top hole going down. Don't force it—take a moment to find the right angle. Once it’s all the way through, screw the ball on by turning it to the right until it's snug. You want it secure, but don't crank it down so tight that you'll struggle to get it off next time.
Crucial Tip: Rushing a jewelry change can lead to rejection and other complications. Always check that your piercing is fully healed, showing no signs of redness, discharge, or pain before you attempt a swap. Your piercing's health comes first!
With your new jewelry securely in place, give the area one last gentle clean with your saline spray. That's it—you did it! You've successfully changed your belly button ring.
Choosing Your Perfect New Belly Ring
This is the fun part—the reward for all that patient healing and careful aftercare! Picking out a new belly ring is where you really get to let your personality shine. But with a sea of amazing options out there, how do you find the piece that’s perfect for you? It’s all about hitting that sweet spot between head-turning style and body-safe materials.
Let's find something that not only fits your vibe but also keeps your piercing happy and healthy for the long haul. The goal, after all, is to build a collection you can swap out whenever you feel like it for years to come.
Why Materials Matter Most
Before you get lost in all the sparkles and dangles, let's talk about what your new jewelry is actually made of. This is hands-down the most important factor for a comfortable, irritation-free piercing. Just because your piercing is healed doesn't mean it's invincible. Low-quality metals can still trigger allergic reactions, discoloration, and general fussiness you just don't want to deal with.
To keep things drama-free, stick with these piercer-approved materials:
- Implant-Grade Titanium (ASTM F-136): This is the gold standard for body jewelry. It's incredibly lightweight, 100% nickel-free (making it a dream for sensitive skin), and can be anodized into a whole rainbow of cool colors.
- 14k or 18k Solid Gold: If you're going for a luxe look, you can't go wrong with solid gold. Just make sure it’s at least 14k and nickel-free. Steer clear of gold-plated pieces for everyday wear, since the plating can chip away and expose whatever mystery metal is hiding underneath.
- Surgical Steel (316L or 316LVM): A super popular and affordable choice, surgical steel is durable and has a great shine. While it's body-safe for most people, it does contain a tiny amount of nickel. If you know you have a sensitivity, titanium is always your safest bet.
A new piece of jewelry is more than just an accessory; it's a way to reclaim and celebrate your body. A little bling can go a long way!
Belly Ring Material Showdown
Choosing the right metal can feel overwhelming, but it's really about knowing your options and what works best for your body. This quick comparison breaks down the most common materials to help you find the perfect match for your skin and style.
| Material | Best For | Pros | Cons |
|---|---|---|---|
| Implant-Grade Titanium | Sensitive skin, new piercings, everyone | Lightweight, hypoallergenic, nickel-free, many color options | Can be slightly more expensive than steel |
| 14k-18k Solid Gold | A classic, luxurious look | Timeless, holds value, generally body-safe (if nickel-free) | Higher price point, can be softer and prone to scratches |
| Surgical Steel | Budget-conscious shoppers, non-sensitive skin | Affordable, durable, widely available, polished finish | Contains trace amounts of nickel, can cause reactions |
Ultimately, investing in high-quality materials means fewer headaches and a happier, healthier piercing that you can enjoy for years.
Sticking With The Standard Size
As you shop for new bling, you’ll see the term "gauge" pop up a lot. This simply refers to the thickness of the barbell. For navel piercings, the industry standard is 14 gauge (14g).
It's really important to stick with this size. If you opt for a thinner barbell (like a 16g or 18g), your piercing can actually start to shrink. This can make it difficult—or even impossible—to switch back to a standard 14g ring later without having to get it re-stretched by a piercer. Staying consistent keeps the piercing channel, or fistula, healthy and stable.
For a complete breakdown of all the details, check out our guide covering the essentials of navel ring styles, materials, and sizing.
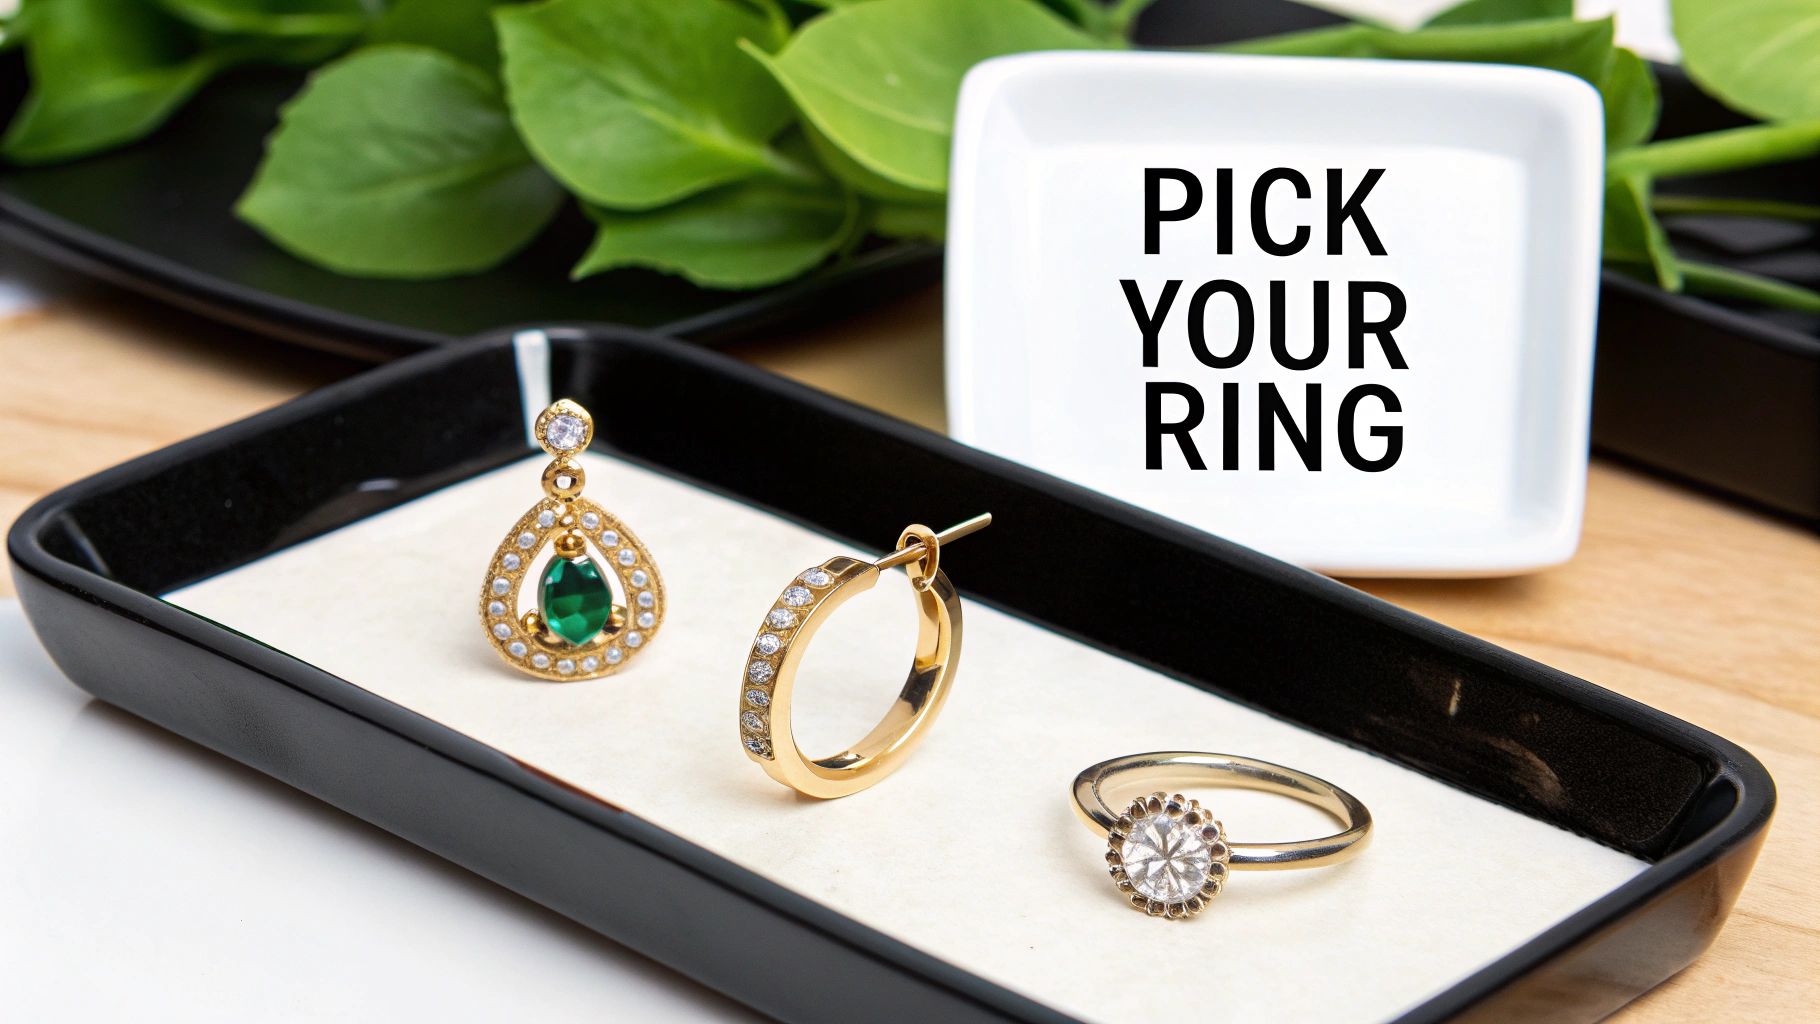
Finding Your Signature Style
Okay, now for the really fun stuff! The world of belly rings is massive, with a style for literally every aesthetic you can imagine. Whether you’re a minimalist at heart or love to make a bold statement, you’ll find something to fall for.
Here are a few popular styles to get you inspired:
- Classic Dangles: These are what most people picture when they think of belly rings. With a dangling charm or gem, they add beautiful movement and are great at catching the eye.
- Jeweled Barbells: Simple, chic, and always in style. These usually have a gem on both the top and bottom ball for a clean, sparkly look that goes with absolutely everything.
- Reverse or Top-Down Rings: A trendier take, these pieces feature the decorative end on top, letting the design sit inside your navel or hang over the top rim. They look incredible with crop tops and low-rise jeans.
- Captive Bead Rings (CBRs) and Hoops: If you’re feeling a more alternative or edgy vibe, a simple hoop or a CBR can give your piercing a whole new attitude.
Don't be afraid to experiment! The best part of a healed piercing is the freedom to change up your look whenever you want. Building a collection of high-quality pieces means you'll always have the perfect accessory for any mood or occasion.
Aftercare and Troubleshooting Post-Change
You did it! The new ring is in, secured, and looking absolutely amazing. High five! Now, let's make sure your piercing stays happy and healthy so you can enjoy your new look without any drama.
Even a perfectly healed piercing can get a little fussy after being swapped out. Think of it like waking up a sleeping bear—it's usually fine, but sometimes it gets a little grumpy. A simple aftercare routine for the next few days can make all the difference in keeping things calm and comfortable.
Keep It Simple and Clean
For the first 24 to 48 hours after changing your belly button ring, treat it like the precious new addition it is. This doesn’t mean you need to go back to the full-on healing routine you did when it was brand new, but a little extra TLC will go a long way.
The goal here is just to soothe any minor irritation from the swap. Your piercing just went through a small change, so giving it a gentle, clean environment helps it settle back down quickly.
- Saline Sprays are Your Best Friend: A quick, gentle spritz with a sterile saline wound wash once or twice a day is perfect. This helps flush away any surface bacteria without being harsh or drying.
- Hands Off! This one is huge. Resist the urge to touch, twist, or fiddle with your new jewelry. Your hands carry germs, and all that movement can really stir up irritation.
- Pat, Don't Rub: After you shower, gently pat the area dry with a fresh paper towel. Try to avoid your regular bath towel for a couple of days, as it can harbor bacteria and snag on your new bling.
Remember, the key is to be gentle. You're not trying to deep-clean a fresh wound; you're just maintaining a clean surface to head off any potential issues. A happy piercing is a clean piercing.
Common Issues and Quick Fixes
Sometimes, even with the best care, your piercing might feel a little off after a change. Don't panic! Most of the time, it's just a minor, temporary reaction that you can easily manage at home.
It's completely normal to see a bit of redness or feel slight soreness for a day or two. Your body is just getting used to the new piece of jewelry. If it's mild and doesn't get any worse, it's usually nothing to worry about. Just stick with your gentle cleaning, and it should calm down on its own.
You might also notice the skin feels a little tight or itchy. This can happen if the new jewelry is a different shape, weight, or material than what your body is used to. As long as it's not a severe, persistent itch (which could be a sign of an allergy), it often fades within a couple of days. For more tips on soothing irritation, check out our guide on H2Ocean aftercare products—they're fantastic for this.
When to Call a Professional
While most post-change hiccups are minor, it’s critical to know the difference between a little irritation and a real problem. Your health always comes first. Listening to your body is the most important part of learning how to change a belly button ring safely.
You should stop any at-home care and get in touch with a reputable piercer or a doctor immediately if you spot any of these red flags:
- Intense, Throbbing Pain: A little tenderness is one thing; severe, persistent pain is not normal.
- Funky Discharge: If you see any thick, green, or yellow pus, that's a classic sign of infection.
- Excessive Swelling: A bit of puffiness is okay, but if the area becomes very swollen and tight, it’s time to get it checked.
- Hot to the Touch: Skin that feels feverish or hot around the piercing site is a major warning sign.
Never try to self-diagnose a real infection. A professional can give you the right advice to get your piercing back on track without causing more damage. Your piercer is a valuable resource, so don't ever hesitate to reach out if you're concerned.
Common Questions About Changing Your Jewelry
Alright, so we've covered the whole process, from making sure your piercing is healed to that final, gentle clean. But let's be real—even with the best guide, a few "what if" scenarios always pop up, especially when you're figuring out how to change a belly button ring for the first time.
Think of this as your personal FAQ session. We're going to tackle the most common snags so you can handle any little hiccup with total confidence.
What Should I Do If The New Ring Won't Go In?
First things first: breathe. And whatever you do, do not force it! This is hands-down the most common problem people run into, and trying to shove the jewelry through is a one-way ticket to an angry, irritated piercing.
Most of the time, the piercing channel (your fistula) is just shrinking up a little bit, or you're just not hitting the perfect angle. The best trick is to lie down flat on your back. It relaxes all your stomach muscles and can make a huge difference in lining things up. If that doesn't quite do it, a tiny drop of a sterile, water-based lubricant on the tip of the barbell can work wonders.
Still not budging without a real struggle? It's time to call for backup. Gently put your old jewelry back in to keep the piercing from closing up, and book a visit with a professional piercer. They have special tools called insertion tapers that can guide the new piece in safely without causing any trauma.
How Often Can I Change My Belly Button Ring?
Once your navel piercing is fully healed and has been for a while, you can change your jewelry as often as you want! Honestly, it's one of the best perks of getting through that long healing process.
That said, it’s all about listening to your body. Swapping your belly ring every single day might cause some minor irritation from the constant fiddling. If you notice your piercing feels a little tender or looks red after a change, just give it a rest.
Pop in a high-quality, non-irritating barbell—like one of our implant-grade titanium pieces—and let things chill out for a week or so before you try another swap.
Can I Change My Belly Ring If It Looks Infected?
This is a non-negotiable rule in the piercing world: absolutely not. If you even suspect you have an infection, that jewelry needs to stay right where it is.
Warning: Removing jewelry from an infected piercing is a major mistake. Doing so can cause the piercing holes on the surface to close up, trapping the infection inside your body. This can lead to a much more serious problem, like an abscess.
Signs of infection include thick yellow or green discharge, skin that's hot to the touch, excessive swelling, or a severe, throbbing pain. If you're seeing any of that, don't try to fix it at home. Gently clean the area with a sterile saline solution and see a doctor or a reputable professional piercer right away for proper medical advice.
Why Does My Piercing Smell After Changing Jewelry?
Don't panic! That slightly funky odor is surprisingly normal. It’s affectionately known in the piercing community as "piercing funk," and it's definitely not a sign of anything being wrong.
That smell is just a natural buildup of sebum (your skin’s oils), dead skin cells, and harmless bacteria that collect inside the piercing channel. You usually only notice it when you take the jewelry out and handle it.
The fix couldn't be simpler: good hygiene.
- Let warm, soapy water run over the piercing whenever you shower.
- Always make sure to thoroughly clean any jewelry you've taken out before you store it away.
A clean piercing is a happy—and odor-free—piercing. Keep these answers in your back pocket, and you'll be ready to handle anything your piercing journey throws at you.
Ready to show off that beautifully healed piercing? Explore the endless styles and find your next favorite piece at BodyCandy! Shop our full collection of stunning belly button rings today and let your personality shine.