So you did it! You walked out of the piercing studio with that awesome new industrial. High five! Now for the most important part of the journey: helping it heal like a dream. A solid cleaning routine is your new BFF—think sterile saline solution, twice a day, every day.
But knowing what's coming up during the healing process is just as vital. Don't worry, we've got your back.
Your Guide to Industrial Piercing Healing
Alright, you're home with your fresh cartilage piercing. Now what? The first few weeks are make-or-break, and we're here to walk you through it. Let's get into what’s totally normal and what you can expect from your body as it gets used to its new bling.
It’s completely normal for your ear to be a little angry at first. Don't panic if you see some of these totally expected side effects:
- Tenderness and Soreness: Your ear just went through something pretty intense, so feeling sore to the touch is absolutely expected.
- Minor Swelling: A little puffiness around the two piercing holes is just your body's natural response kicking in.
- Slight Redness: The area will probably look a bit pink or red. That’s just increased blood flow getting the healing party started.
- Clear or Whitish Fluid: This is just lymph fluid, a sign your body is doing its thing. It often dries into what everyone lovingly calls "crusties."
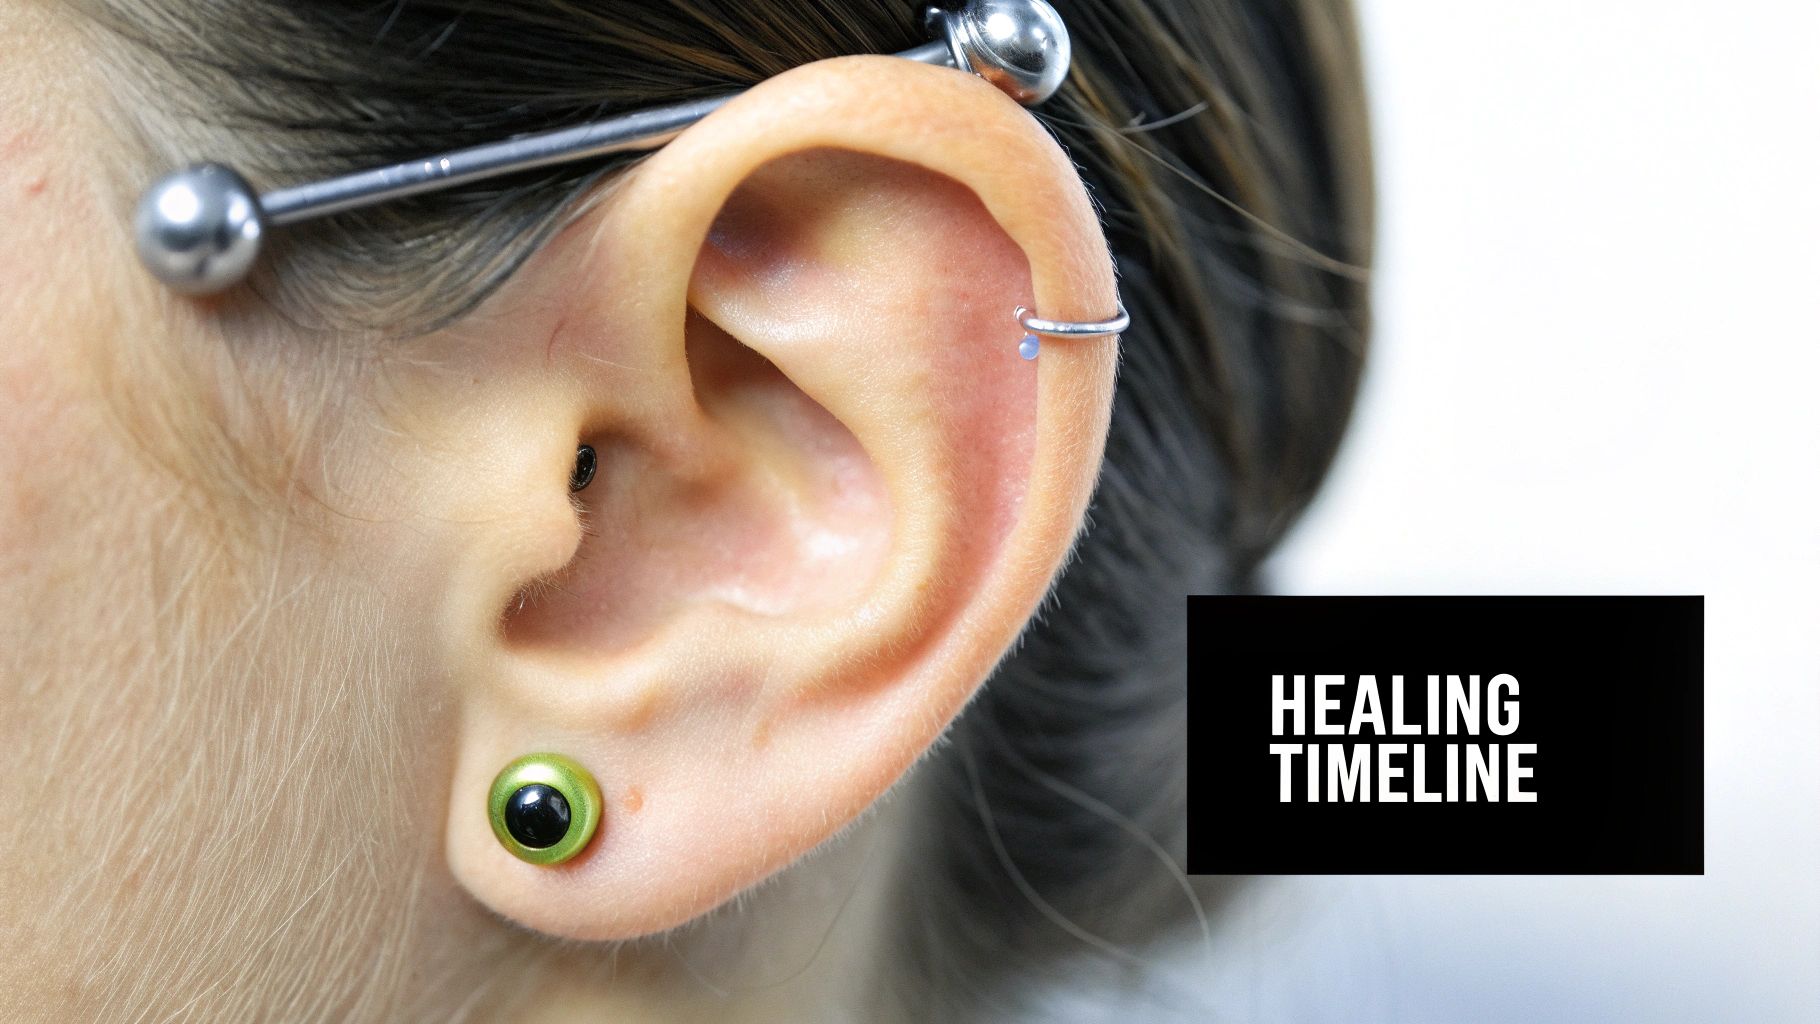
Understanding the Healing Timeline
Be prepared to be in it for the long haul. The healing period for an industrial piercing can be anywhere from six months to a full year, which is a lot longer than most other ear piercings. Sticking to a proper cleaning routine during this entire time is crucial if you want to dodge complications.
The golden rules from day one are simple but non-negotiable: keep your hands off the jewelry, avoid sleeping directly on that side, and be patient! Your body is doing the hard work, and your job is to create the best environment for it to heal flawlessly.
This journey takes some dedication, but the result is a beautifully healed piercing you can show off for years to come. Think of this guide as your roadmap to success!
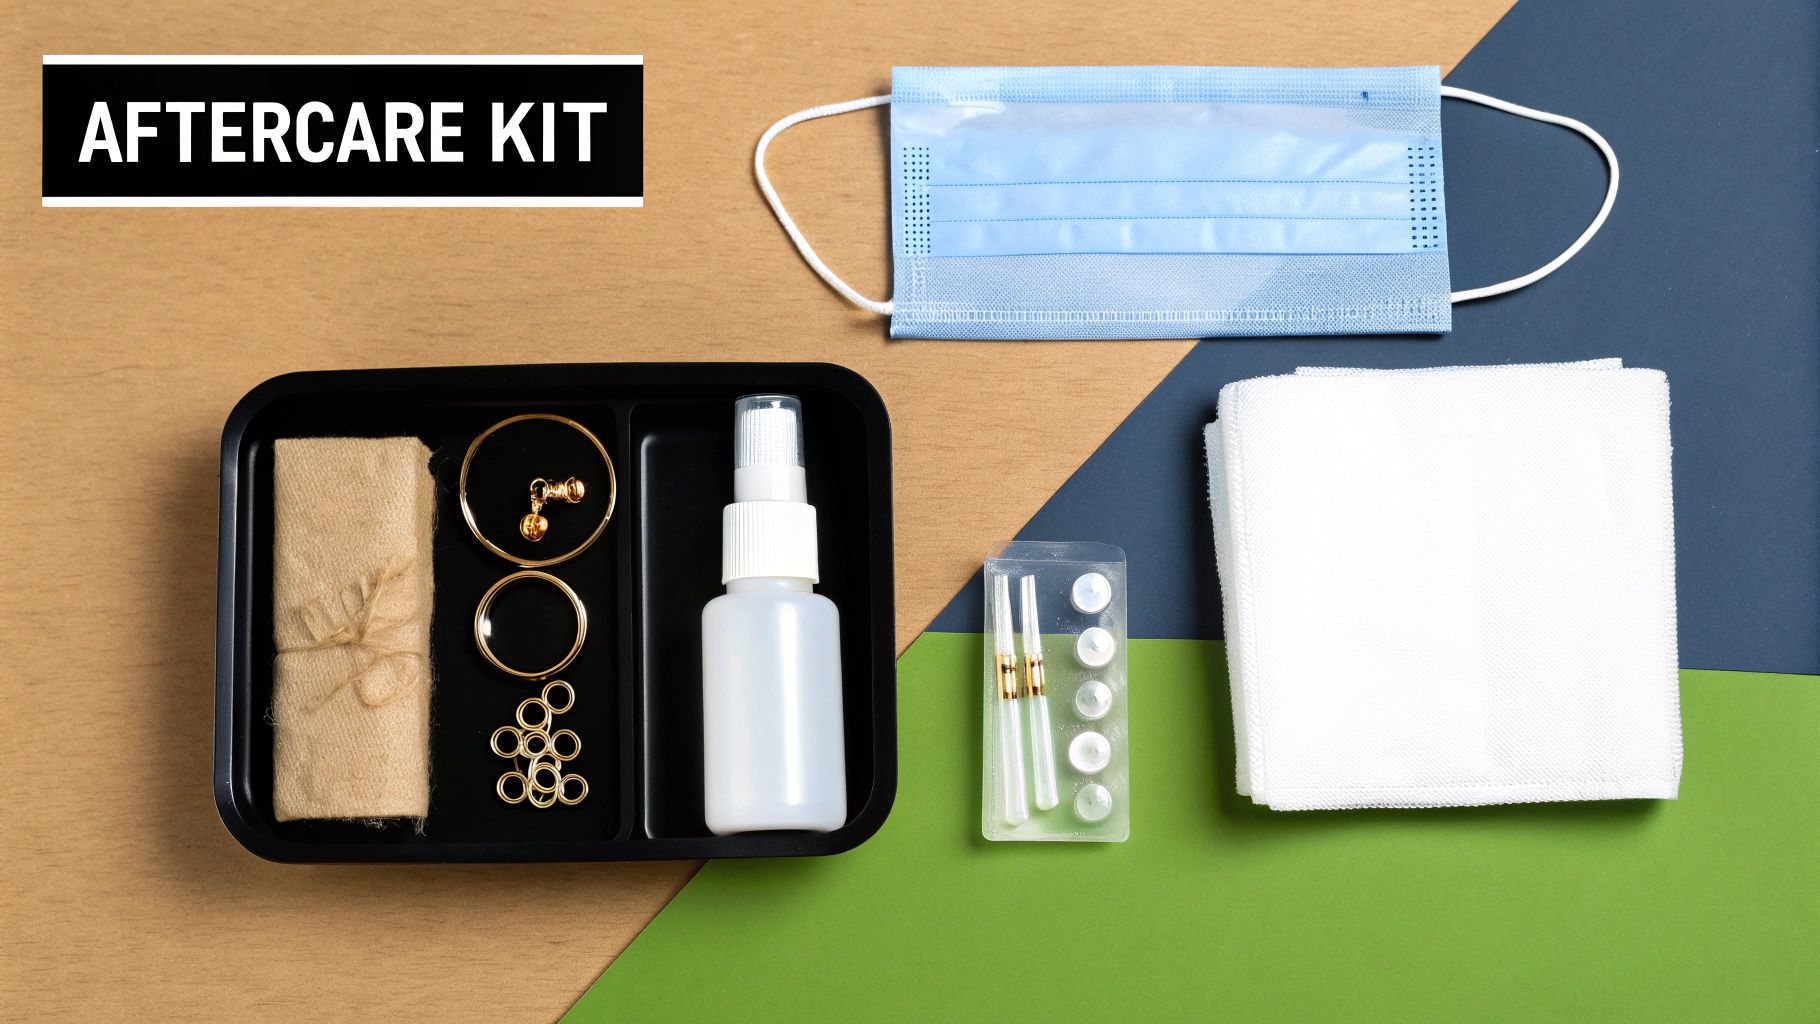
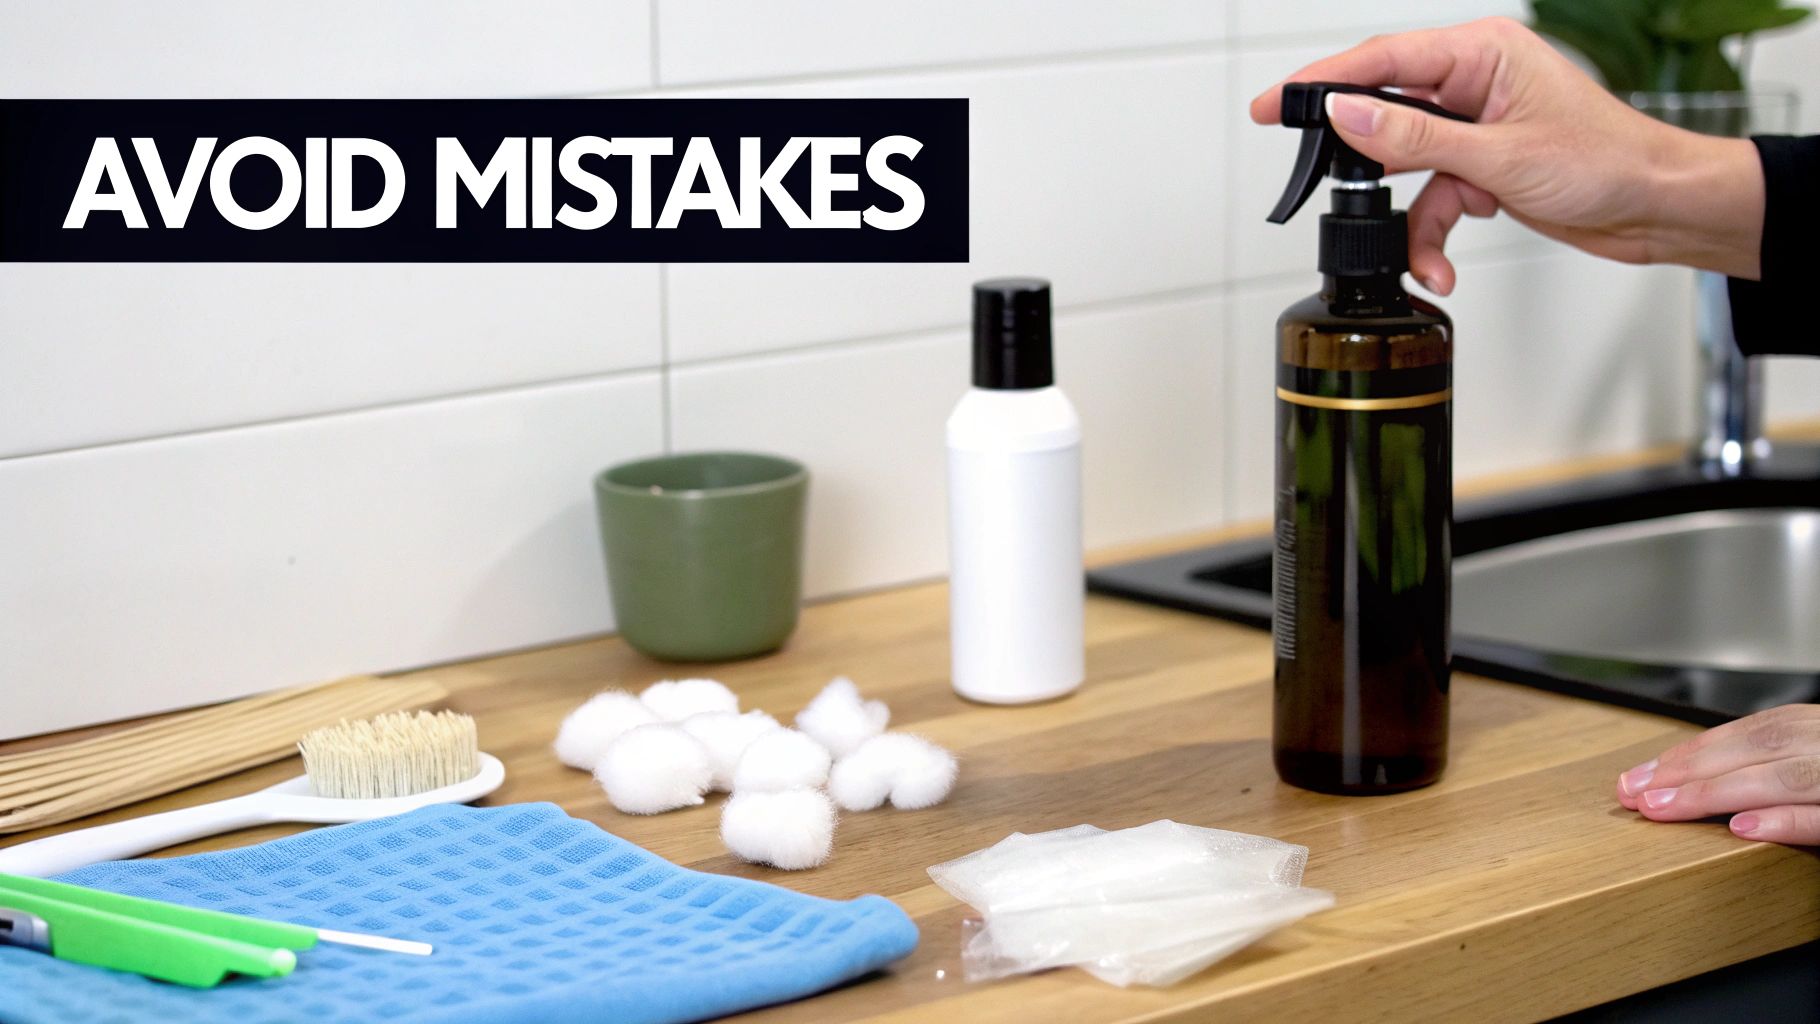
Assembling Your Piercing Aftercare Arsenal
Before you even think about touching that new industrial, let's get your toolkit ready. Having the right supplies from the jump makes all the difference in the world, helping you sidestep common irritations and setting your piercing up for a smooth healing journey. Think of this as your ultimate aftercare shopping list.
First things first, let’s talk about the absolute star of the show: sterile saline solution. This isn't just regular salty water; it's a specific formula designed to match your body's natural salinity, making it the gentlest and most effective cleaner out there. Pre-packaged sterile saline sprays are the gold standard for a reason—they're convenient, totally contamination-free, and take all the guesswork out of the equation.
Ditch the DIY and Fuzzy Stuff
Sure, a DIY sea salt soak can work in a pinch, but getting the salt-to-water ratio just right is surprisingly tricky. If your mixture is off, it can easily irritate your piercing, which is the last thing you want. Sticking with a professional, pre-made spray is always your safest bet.
Just as important as your saline solution is what you use to apply it. It's time to say goodbye to some bathroom staples you might be tempted to grab.
- Cotton Balls & Swabs: These things are notorious for leaving behind tiny, fuzzy fibers that can get tangled in your piercing, leading to some major irritation and potential infection.
- Washcloths or Bath Towels: Even a fresh towel can harbor bacteria, and their rough texture is perfect for snagging your new jewelry. Ouch.
Your new best friend will be sterile, non-woven gauze pads. They are completely lint-free, super absorbent, and gentle enough to clean the entry and exit points without causing any trouble.
Putting together this simple but mighty arsenal is the first real step in learning how to clean an industrial piercing safely and effectively. It means you’re prepared to give your piercing the love it deserves, which also includes having the right jewelry size from the start. If you're unsure about your fit, get the details from our guide on industrial barbell sizing.
Mastering Your Daily Cleaning Routine
Alright, let's get down to the nitty-gritty of keeping that new industrial happy and healthy. Forget complicated rituals or weird concoctions. We’re going to build a simple, effective cleaning habit that promotes great healing without driving you crazy.
The Gentle Approach to a Perfect Clean
First thing's first, and this is the golden rule: wash your hands. Seriously. Lather up with soap and warm water for a solid 20 seconds before you even think about touching your ear. This is your number one defense against introducing nasty bacteria to a healing piercing.
Once your hands are sterile, grab your saline spray. The pros, including the Association of Professional Piercers, swear by sterile saline with a 0.9% sodium chloride concentration. It's basically a perfect match for your body's own fluids, which means it cleans effectively without causing a fuss.
Go ahead and give both the entry and exit holes of your industrial a good spritz. You want to fully saturate the area to help soften up any of those little "crusties" that have formed. Just let the saline sit and do its thing for about a minute.
Now, take a fresh piece of non-woven gauze and very gently wipe away any softened gunk. The key here is to be delicate—no scrubbing, no picking, and absolutely no twisting the barbell! Being too aggressive is a one-way ticket to an angry piercing and a much longer healing time.
Pro Tip: Whatever you do, don't rotate or twist your industrial barbell while cleaning. That fresh tunnel of healing tissue (it's called a fistula) is incredibly fragile. Any movement can create tiny tears, which often leads to those dreaded irritation bumps and a whole lot of extra healing drama.
Building a Consistent Routine
When it comes to healing, consistency is everything. The goal is simple: keep the area clean so your body can focus on healing without having to fight off germs. Sticking to a simple routine twice a day is the secret sauce.
To make things even easier, here’s a quick-glance guide to keep you on the right track.
Industrial Piercing Cleaning Do's and Don'ts
This is your cheat sheet for a happy piercing. Following these simple rules can make all the difference between a smooth healing journey and a frustrating one.
| Do ✅ | Don't ❌ |
|---|---|
| Clean your piercing twice daily (morning and night). | Over-clean it. This can dry out the skin and cause irritation. |
| Use a dedicated sterile saline spray made for piercings. | Use harsh stuff like alcohol, hydrogen peroxide, or antibacterial soaps. |
| Gently pat the area dry with a clean paper towel. | Use cloth towels or cotton swabs that can leave behind fibers and bacteria. |
That’s it! Sticking to this simple plan is your best bet for a beautifully healed industrial. Brands like H2Ocean have made aftercare a breeze with their specialized piercing sprays. If you want to learn more, check out our deep dive on H2Ocean piercing aftercare.
Common Aftercare Mistakes to Steer Clear Of
You're trying to do everything right for your new industrial, but it’s surprisingly easy to accidentally sabotage your own healing. Think of this as your friendly heads-up on the common slip-ups that can really tick off your new piercing and delay its big debut.
We get it—you want to keep things squeaky clean. But believe it or not, there’s definitely such a thing as too much of a good thing. Over-cleaning can strip away your skin's natural moisture, leading to a frustrating cycle of dryness, flakiness, and a whole lot of irritation. Stick to your twice-a-day saline routine and let your body handle the rest.
The Wrong Tools for the Job
It’s tempting to reach for those bathroom cabinet staples you've had for years, but please, put them down! Certain products are major no-nos for a healing piercing and can cause way more harm than good.
Here are the top offenders to absolutely avoid:
- Rubbing Alcohol & Hydrogen Peroxide: These are way too harsh for a fresh wound. They kill not only the bad bacteria but also the healthy new cells your body is working so hard to build.
- Antibacterial Soaps & Ointments: Soaps with heavy fragrances or ingredients like triclosan can be incredibly irritating. And thick ointments? They’re even worse, trapping bacteria and blocking the oxygen your piercing needs to breathe and heal.
- Mystery Potions & Oils: Tea tree oil, homemade aspirin pastes, or other DIY concoctions are not the answer. They're often far too potent for sensitive, healing skin and can lead to chemical burns or nasty allergic reactions.
Your piercing isn't a science experiment! Sticking to a simple, piercer-approved aftercare routine is the best way to ensure a smooth journey. Complicating things with harsh chemicals is a fast track to irritation bumps and major healing setbacks.
Another subtle mistake is letting hair products get all over your new piercing. Hairspray, gels, and even some shampoos can leave behind a sticky residue that clogs up the piercing holes. Try to keep your hair pulled back, and be extra mindful when you’re styling it. Learning how do you clean an industrial piercing is just as much about what you don’t do as what you do.
Identifying Signs of Piercing Trouble
Even when you’re doing everything by the book, sometimes our bodies just have other plans. A huge part of knowing how to properly care for your industrial is spotting a problem before it gets out of hand. Let’s break down what’s totally normal versus what’s a definite red flag.
A bit of swelling, some redness, and that clear or whitish fluid that forms "crusties" are all standard parts of the healing playbook for a new piercing. But if you start seeing signs that feel more intense than that, it’s time to pay closer attention.
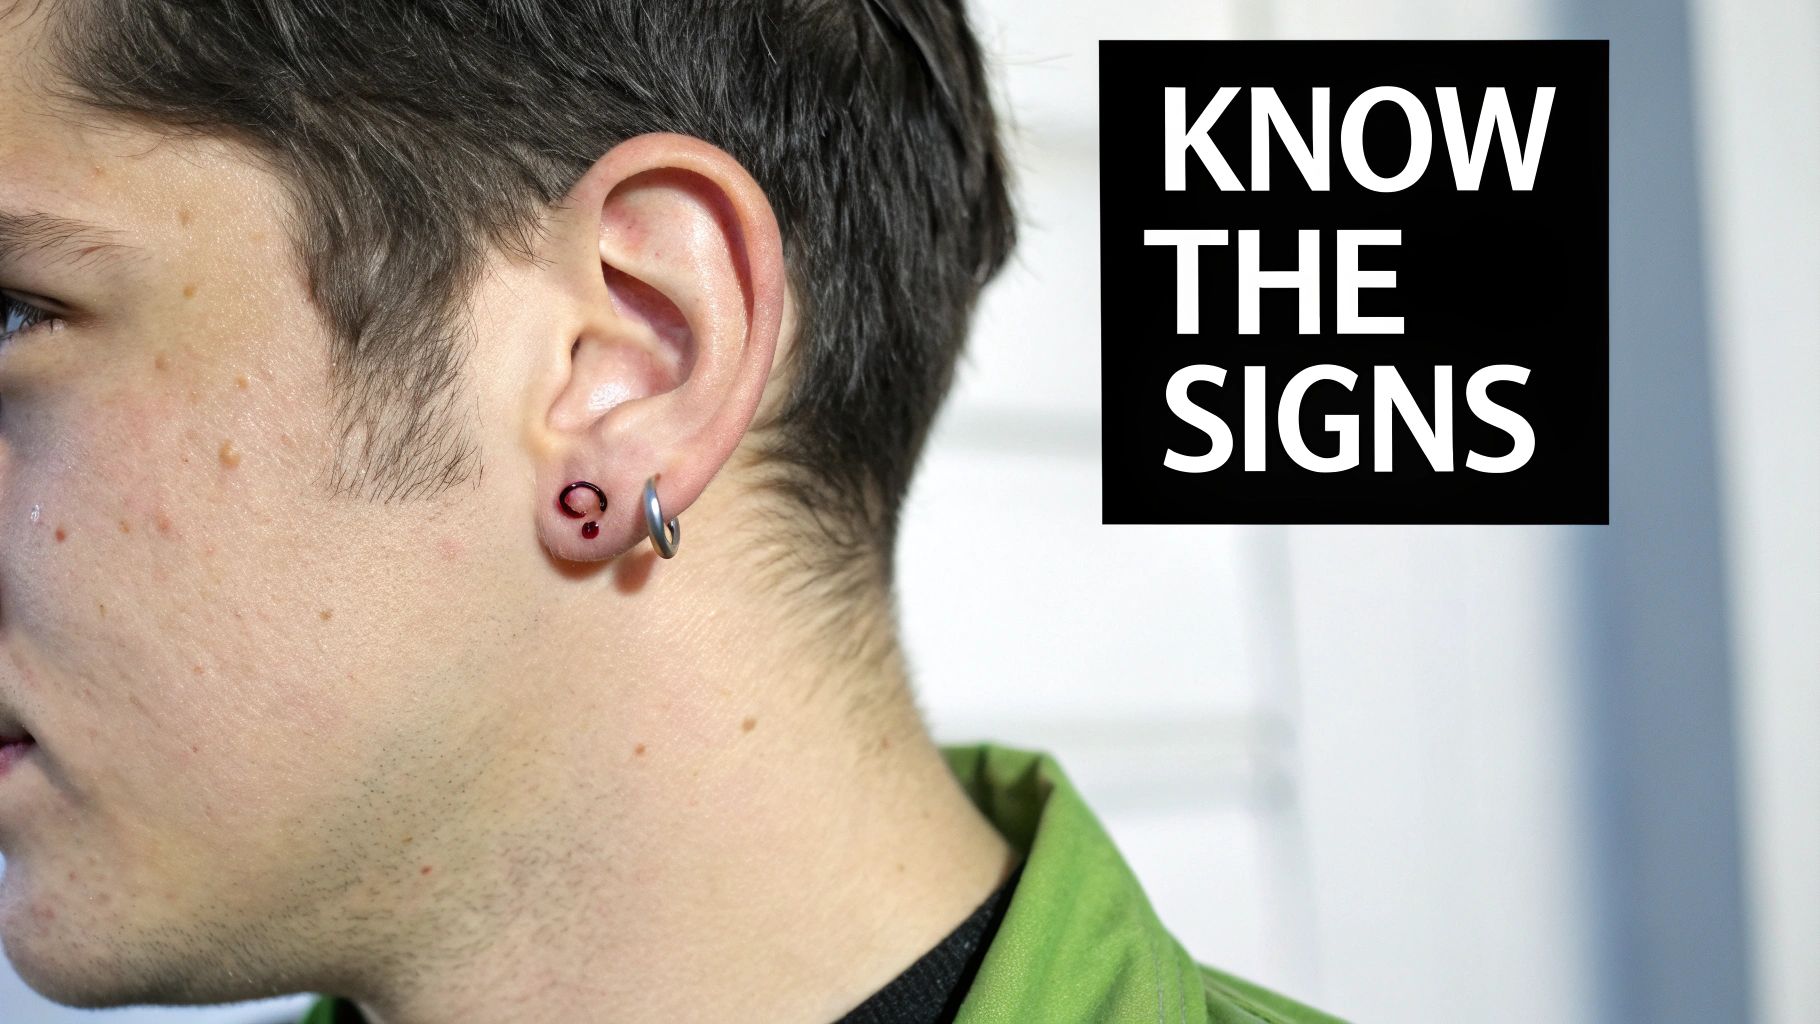
Differentiating Healing from Infection
Knowing the difference between a piercing that's just a little grumpy and one with a genuine infection is absolutely critical. An infection isn't something you can just ignore; it needs professional attention. Keep an eye out for these serious warning signs:
- Pus Discharge: If the gunk coming from your piercing is thick, opaque, and yellow or green, that’s a major red flag. Normal healing fluid is thin and clear or whitish.
- Intense Pain: We’re not talking about the general soreness of a new piercing. This is a throbbing, persistent pain that seems to get worse instead of better over time.
- Excessive Heat: The whole area around the piercing will feel noticeably hot to the touch—much warmer than the rest of your ear.
Another common headache is those pesky irritation bumps. These are small, fluid-filled bumps that often pop up when the piercing is repeatedly snagged, slept on wrong, or cleaned with products that are way too harsh. While they aren't an infection, they are a clear sign that something in your routine needs to change, and fast.
If you suspect an infection, the most important rule is this: Do not remove the jewelry! We can't stress this enough. Taking out the barbell can let the piercing holes close up, trapping the infection inside. This can lead to a much more serious and painful abscess.
If you notice any of the infection signs we talked about, your first call should be to your piercer or a doctor. They can give you the right advice to get your healing journey back on track without causing any more trouble.
Your Industrial Piercing Questions Answered
Got a few things rattling around in your head about your new industrial? Let's clear them up. We're cutting through the noise to give you the straight-up, reliable info you need to feel confident while you heal.
How Often Should I Really Clean My Industrial Piercing?
Twice a day is the absolute sweet spot! Any more than that and you seriously risk drying out your skin, which can lead to some major irritation and slow down healing.
On the flip side, cleaning less often just isn't enough to clear away the bacteria and buildup that naturally occurs. A consistent morning and night routine is your golden ticket to a happy piercing.
Can I Use Regular Soap?
It’s best to skip the soap entirely. Harsh antibacterial soaps, and especially anything with fragrances, can strip your skin's natural oils. They often leave behind a residue that will only annoy your fresh piercing.
Sterile saline solution is always the safest and most effective choice, hands down. It's gentle and does exactly what you need it to do without any of the bad stuff.
See those little "crusties" forming around the jewelry? That's totally normal! They're just dried lymph fluid, which is a sign your body is doing its job and healing. Whatever you do, don't pick them off! Just soften them up with your saline spray and gently wipe them away with sterile gauze.
When Can I Finally Change My Industrial Jewelry?
Patience is everything here, and we can't stress this enough. You absolutely should not change your initial barbell until the piercing is 100% healed. For an industrial, this can take anywhere from six months to a full year.
Swapping it out too early can cause serious trauma to the fistula (the healing tunnel of flesh) and send your healing time right back to square one. Don't risk it. Always get the all-clear from your professional piercer before even thinking about new jewelry.
Ready to find your new look for when you're fully healed?