So, you’ve hit the 00 gauge milestone in your stretching journey—and that's a huge deal! Congrats! Now you're probably wondering, "what comes next?" Once you get past 10mm (00g), the sizing system makes a big switch. You'll start using measurements in inches and millimeters instead of gauges, with the next common size up being 7/16" (11mm).
Leaving The Gauge System Behind
That's right, you've officially graduated from the standard gauge system! It can feel a bit weird to leave familiar numbers like 2g, 0g, and 00g in the rearview mirror. So, why the sudden change?
Honestly, the traditional gauge system just gets clunky once the jumps between sizes get bigger than a millimeter or so. Switching over to inches and millimeters gives you way more precision and clarity as you venture into larger territory. Think of it as a sign of your commitment to the stretching process.
To help you get your bearings, here's a quick look at the next few common sizes you'll encounter after hitting 00g.
Sizing Up From 00 Gauge At a Glance
This table shows the most common sizes immediately following 00 gauge to help you plan your next stretch.
| Current Size (Gauge) | Current Size (mm) | Next Common Size (Inches) | Next Common Size (mm) |
|---|---|---|---|
| 00g | 10mm | 7/16" | 11mm |
| 7/16" | 11mm | 1/2" | 12mm |
| 1/2" | 12mm | 9/16" | 14mm |
| 9/16" | 14mm | 5/8" | 16mm |
As you can see, the jumps get more significant, so always listen to your body and give your ears plenty of time to heal between stretches.
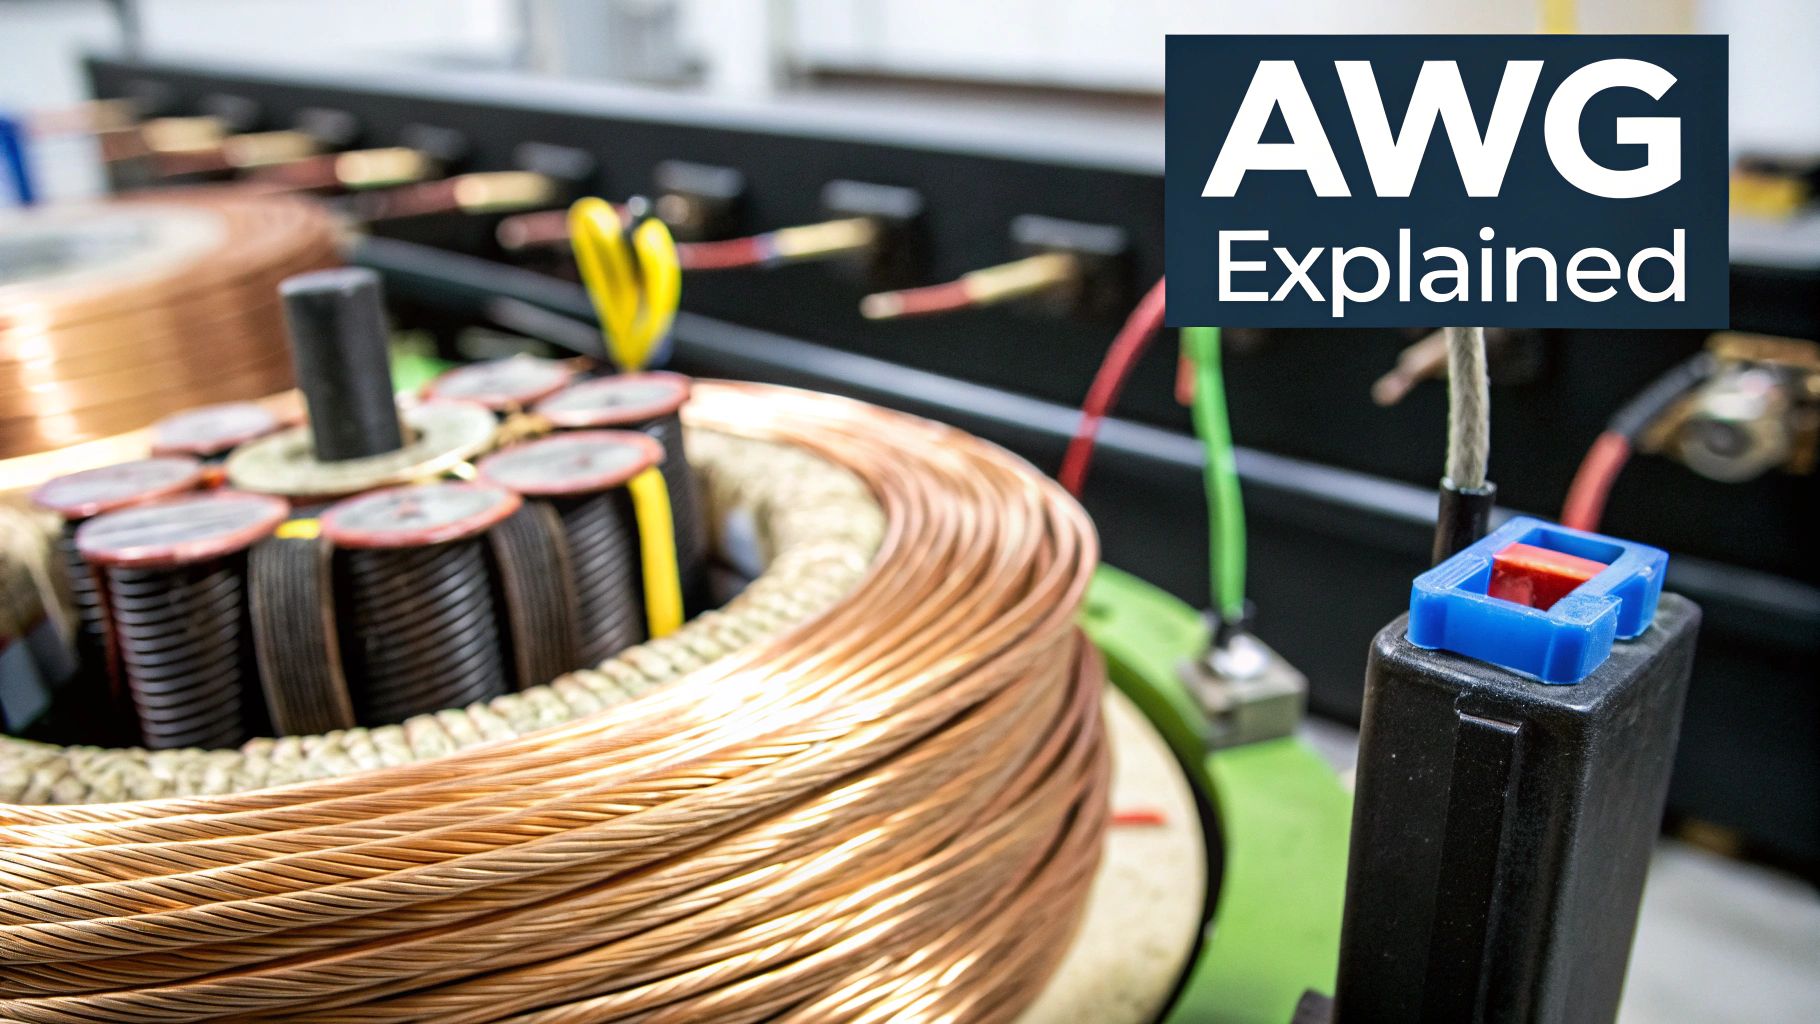
Where Did The Gauge System Come From, Anyway?
Just in case you were curious, the term 'gauge' actually comes from the British iron wire industry. The American Wire Gauge (AWG) system popped up in 1857 to standardize wire measurements, creating a universal language for thickness that the body jewelry world eventually adopted. It’s a logarithmic system, which is just a fancy way of saying the smaller the number, the thicker the material. If you want to dive deeper into the history, you can explore the origins of gauge sizing here.
Think of this transition as unlocking a new level in your piercing adventure. You're now working with more distinct size increments, which opens up a whole new world of bold jewelry. Instead of being intimidating, this new system is your roadmap to bigger, more expressive styles.
Navigating The New World Of Inches And Millimeters
Once you leave the familiar gauge system behind, it can feel like you're learning a whole new language. Suddenly, you're not dealing with nice, round numbers anymore—you're looking at fractions of an inch. So, what's with the big switch?
After you pass 10mm (00g), the jumps between sizes get much larger. The old gauge system just doesn't work for showing those small, incremental increases you need to stretch safely. This new system is your key to continuing your journey without damaging your lobes.
Getting the hang of converting between millimeters and inches will give you the confidence to pick the perfect jewelry every time. It’s a must for a healthy stretch, but don't worry—it's way easier than it sounds. If you need a quick refresher on the basics, you can explore more about the standards of gauge sizing for body jewelry in our guide.
From Gauges To Inches
Once you’re in the world of fractions, things get pretty straightforward. The next standard size up from 00g (10mm) is typically 7/16", which is 11mm. From there, you'll move to 1/2", then 9/16", and so on. The trick is to always pay attention to both the inch and the millimeter measurement so you know exactly how big of a jump you're making.
Remember, the most important rule is to only increase by 1-2 millimeters at a time. Bigger jumps can seriously damage your lobes. Patience is your best friend on this journey!
This chart clearly shows the millimeter increases between 00g and the next few sizes up.
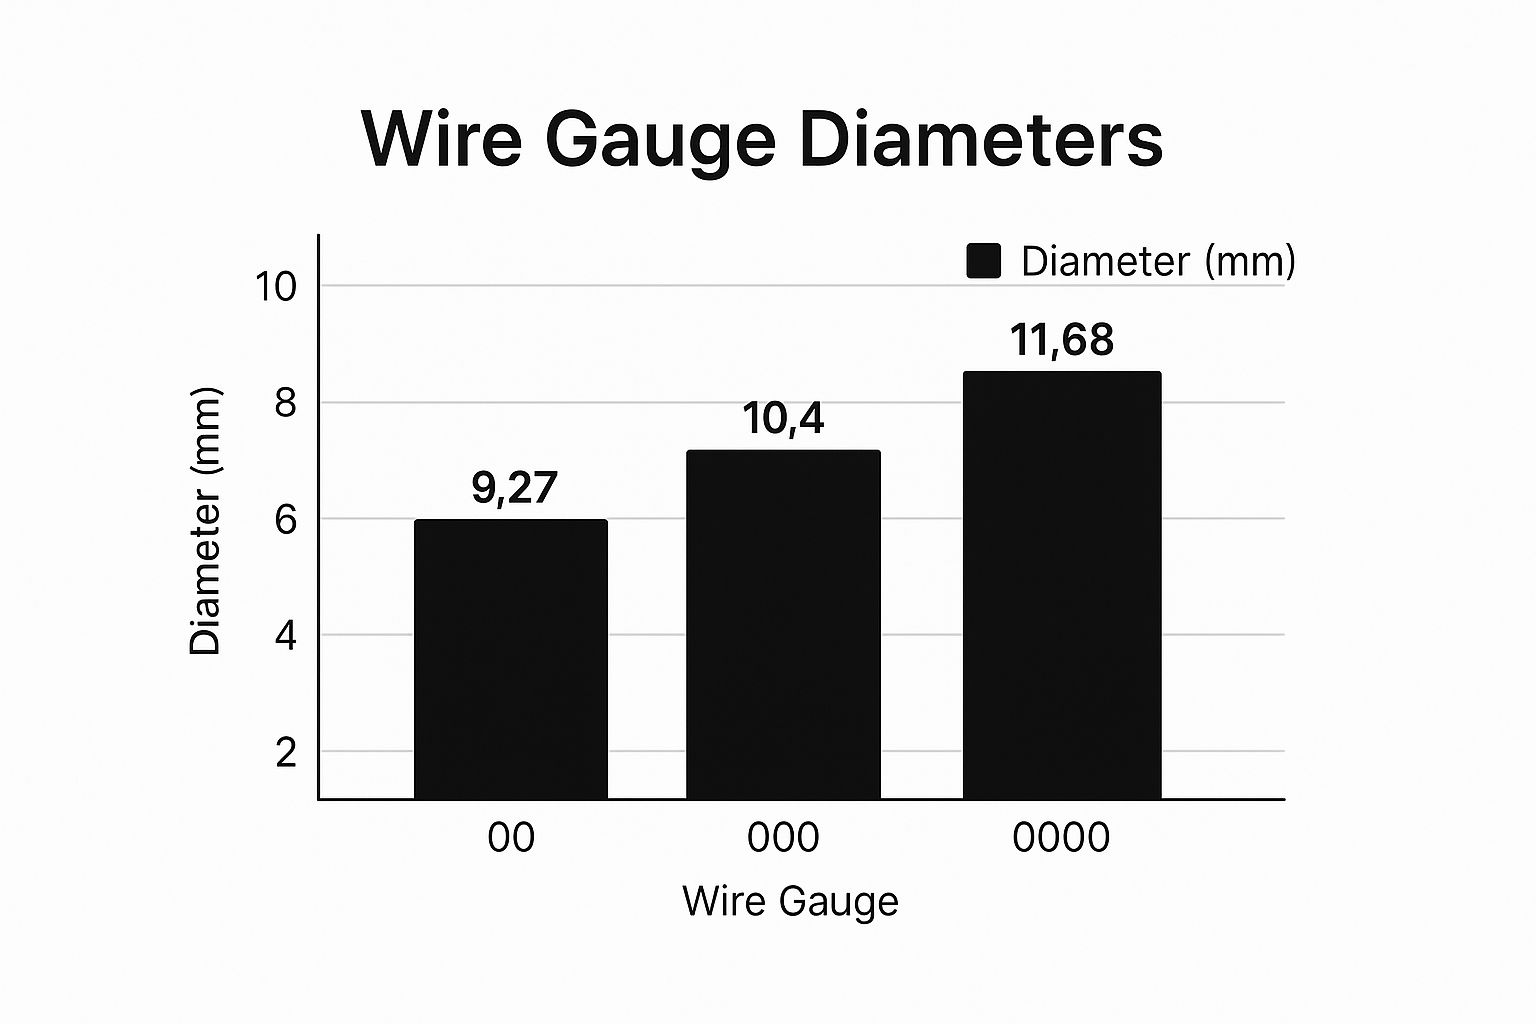
As you can see, each jump is roughly one millimeter. That's the ideal increment for a safe and successful stretch once you get to these larger sizes.
The Ultimate Gauge Size Conversion Chart
To make things even easier, we've put together a handy chart. Keep this bookmarked for a quick reference when you're shopping for your next size up!
| Gauge Size | Millimeters (mm) | Inches (") |
|---|---|---|
| 0g | 8mm | 5/16" |
| 00g | 10mm | 3/8" |
| 11mm | 7/16" | |
| 12mm | 1/2" | |
| 14mm | 9/16" | |
| 16mm | 5/8" | |
| 18mm | 11/16" | |
| 19mm | 3/4" | |
| 22mm | 7/8" | |
| 25mm | 1" |
This chart covers the most common sizes you'll encounter after 00g. As you can see, sticking to 1-2mm jumps is totally manageable when you have the right info. Happy stretching!
How To Stretch Safely Beyond 00 Gauge
So you've hit 00g and you're ready to keep going. This is where the journey gets serious! Let's talk about the most critical part of this process: keeping those lobes happy and healthy.
Stretching to larger sizes is a huge commitment. The bigger you go, the more important safety becomes because the jumps between sizes are way more significant now. Your ears are going to need extra time and a whole lot of TLC to adjust.
Think of this as your new stretching mantra: patience is everything. Your lobes must be completely healed before you even think about sizing up. Seriously. Rushing it is a one-way ticket to a blowout, thinning, or even permanent damage. Nobody wants that!
Best Methods For Big Stretches
Once you're past 00 gauge, some of the old stretching methods just don't cut it anymore. Tapers, for instance, become super risky and can easily cause tearing when you're making millimeter-sized jumps.
Here are the safest ways to continue your journey:
- Dead Stretching: This is the gold standard for larger sizes, hands down. It simply means waiting until your ear has naturally loosened enough on its own to slide in the next size without any force. Heavier, single-flare plugs made of glass or steel are your best friends here.
- Taping: This method is all about gradual change. You'll wrap your current jewelry with a thin layer of non-adhesive tape (like PTFE or bondage tape) every few days. This slowly increases the plug's size, allowing for a super slow and controlled stretch.
The Secret To Healthy Lobes
Want to know the real secret to a healthy stretch? Lubrication and massage. It’s a total game-changer.
Using a natural oil like jojoba or vitamin E oil every single day keeps the skin elastic and pliable. Take a few minutes to massage your lobes, too—it helps improve blood flow, which is exactly what you need for a successful, happy stretch.
For a complete rundown on stretching best practices, check out our guide on how to properly stretch your lobes. The bottom line is this: listen to your body, take your time, and you'll reach your goal size safely.
Choosing Your Perfect Jewelry For Large Lobes
Honestly, one of the best parts about stretching past 00g is the incredible new world of jewelry that opens up. This is where you really get to have fun and show off your personal style with some seriously cool pieces.
Now that you've got more surface area to work with, your jewelry can become a true statement. Let's dig into some of the most popular options that will keep your lobes looking amazing.
Plugs, Tunnels, And More
The classics are classics for a reason, but at these sizes, they just get better. You have a few main styles to choose from, and each one has its own unique vibe and function.
- Single-Flare Plugs: These are your absolute go-to for a fresh stretch. The flared front keeps the plug secure, while the back is held in place with an O-ring. This makes them a breeze to insert without irritating your still-healing lobes.
- Double-Flare Plugs & Tunnels: Once your ears are fully healed and have settled in at your current size, you can graduate to these. The flares on both ends hold the jewelry perfectly in place without needing any O-rings, giving you a super clean, seamless look.
- Screw-Fit Plugs & Tunnels: These give you that secure, O-ring-free look of a double-flare but are way easier to get in. One side simply screws off, letting you slide the jewelry right in and lock it down.
Beyond the basics, you can also start experimenting with unique styles like saddles and ear weights for a truly dramatic flair. Just remember, ear weights are meant for short-term wear only! If you need some inspiration, our guide on how to mix and match plugs is packed with great ideas.
When you're picking out materials, think about both style and comfort. Lightweight acrylic and silicone are fantastic for everyday wear. For those times you really want to show off, natural materials like stone, wood, and glass offer a stunning, organic aesthetic.
Mastering Aftercare For Long-Term Lobe Health
Great aftercare isn't just for when you've made a fresh stretch—it's a lifelong commitment, especially once you're rocking larger sizes. Healthy, happy lobes require consistent attention to stay in top shape. The best way to make sure your ears stay beautiful for years to come is to build a simple daily and weekly routine.

This next level of care is all about maintaining the health and elasticity of your skin. Think of it like a fitness routine for your ears; consistency is what gets you the best results.
Your Daily Lobe Care Checklist
Just a few minutes each day can make a world of difference. These simple habits are your best defense against odor, buildup, and thinning, keeping your lobes healthy and ready for whatever amazing jewelry you throw at them.
- Daily Cleaning: When you're in the shower, gently pop your jewelry out and wash your lobes with a mild, unscented soap. This is the secret to preventing the dreaded "ear funk" and keeping everything fresh.
- Oil Massages: After your shower is the perfect time. Apply a bit of jojoba or vitamin E oil to your lobes and massage them for a few minutes. This simple step boosts blood flow, moisturizes the skin, and maintains elasticity—which is absolutely crucial for healthy stretching.
- "Naked" Training: Give your lobes a breather! Leaving your jewelry out for at least an hour a day (or even overnight, if they're very well-healed) is fantastic for circulation and overall tissue health.
A great analogy comes from the world of manufacturing, where precision is everything. Back in 1896, Carl Edvard Johansson pioneered the use of standardized gauge blocks, which totally changed the game for quality control in industries needing extreme accuracy. Applying that same level of consistent, careful attention to your aftercare routine will yield amazing results for your lobes. You can actually learn more about the history of precision measurement here.
Sleeping with large plugs can be a challenge. Pro tip: try using a travel pillow to cradle your ear and avoid putting direct pressure on your lobes while you sleep. Most importantly, always listen to your body. If your ears feel sore, red, or overly tight, they're telling you they're stressed out. Don't ever be afraid to downsize for a bit to let them recover.
Got Questions About Big Gauges? We've Got Answers.
Thinking about sizing up past 00 gauge? You're definitely not alone. Once you get into the world of larger sizes, it feels like a whole new ballgame with a different set of rules. It's smart to get all the info you can before you make the next jump.
We hear from lots of you who are navigating this exciting new territory. To make things easier, we've pulled together the most common questions we get and are dishing out some clear, straightforward answers. Our goal? To get you stretching with total confidence.
How Long Should I Wait Between Stretches After 00g?
Patience is your absolute best friend here, no question about it. The jump from 00g (10mm) to 7/16" (11mm) is a full millimeter. That might not sound like much, but it's a huge deal for your earlobes. You should be planning to wait a bare minimum of 2-3 months between each and every stretch.
The golden rule, above all else, is to listen to your body. If you feel any sharp pain, stinging, or meet serious resistance, your ears are screaming that they aren't ready. It’s always, always better to wait an extra month than to risk a nasty blowout by rushing things.
Can My Ears Shrink Back After Stretching This Big?
This is the big one, isn't it? The honest answer is that it really comes down to your skin's unique elasticity, how long you’ve stayed at each size, and the methods you used to stretch. That said, stretching beyond 00g is often considered the point of no return.
It’s extremely unlikely your lobes will ever shrink all the way back to a standard piercing size on their own. While some folks might see significant shrinking, you should really go into this assuming it's a permanent body modification. It’s definitely something to think about seriously before you continue your journey!
What Is A Blowout And How Do I Avoid One?
A blowout is what happens when the inside of your piercing (the fistula) gets forced out the back of your ear lobe. It creates a pretty gnarly-looking lip of scar tissue. This almost always happens from stretching way too fast, skipping sizes, or using the wrong jewelry (like acrylic tapers) for a big jump.
Here's how to dodge one:
- Never, ever force jewelry in. Seriously. Don't do it.
- Always use a good lubricant. Jojoba oil is fantastic for this.
- Be patient! Wait until your lobes are fully healed, relaxed, and ready for the next step.
If you do end up with a blowout, downsize immediately. Treat that lobe like a brand-new piercing with daily saline soaks until it’s completely healed before you even think about stretching again.
Ready to show off all your hard work and patience? BodyCandy has an amazing collection of plugs and tunnels perfect for celebrating your next milestone. Shop our stunning large-gauge jewelry collection today