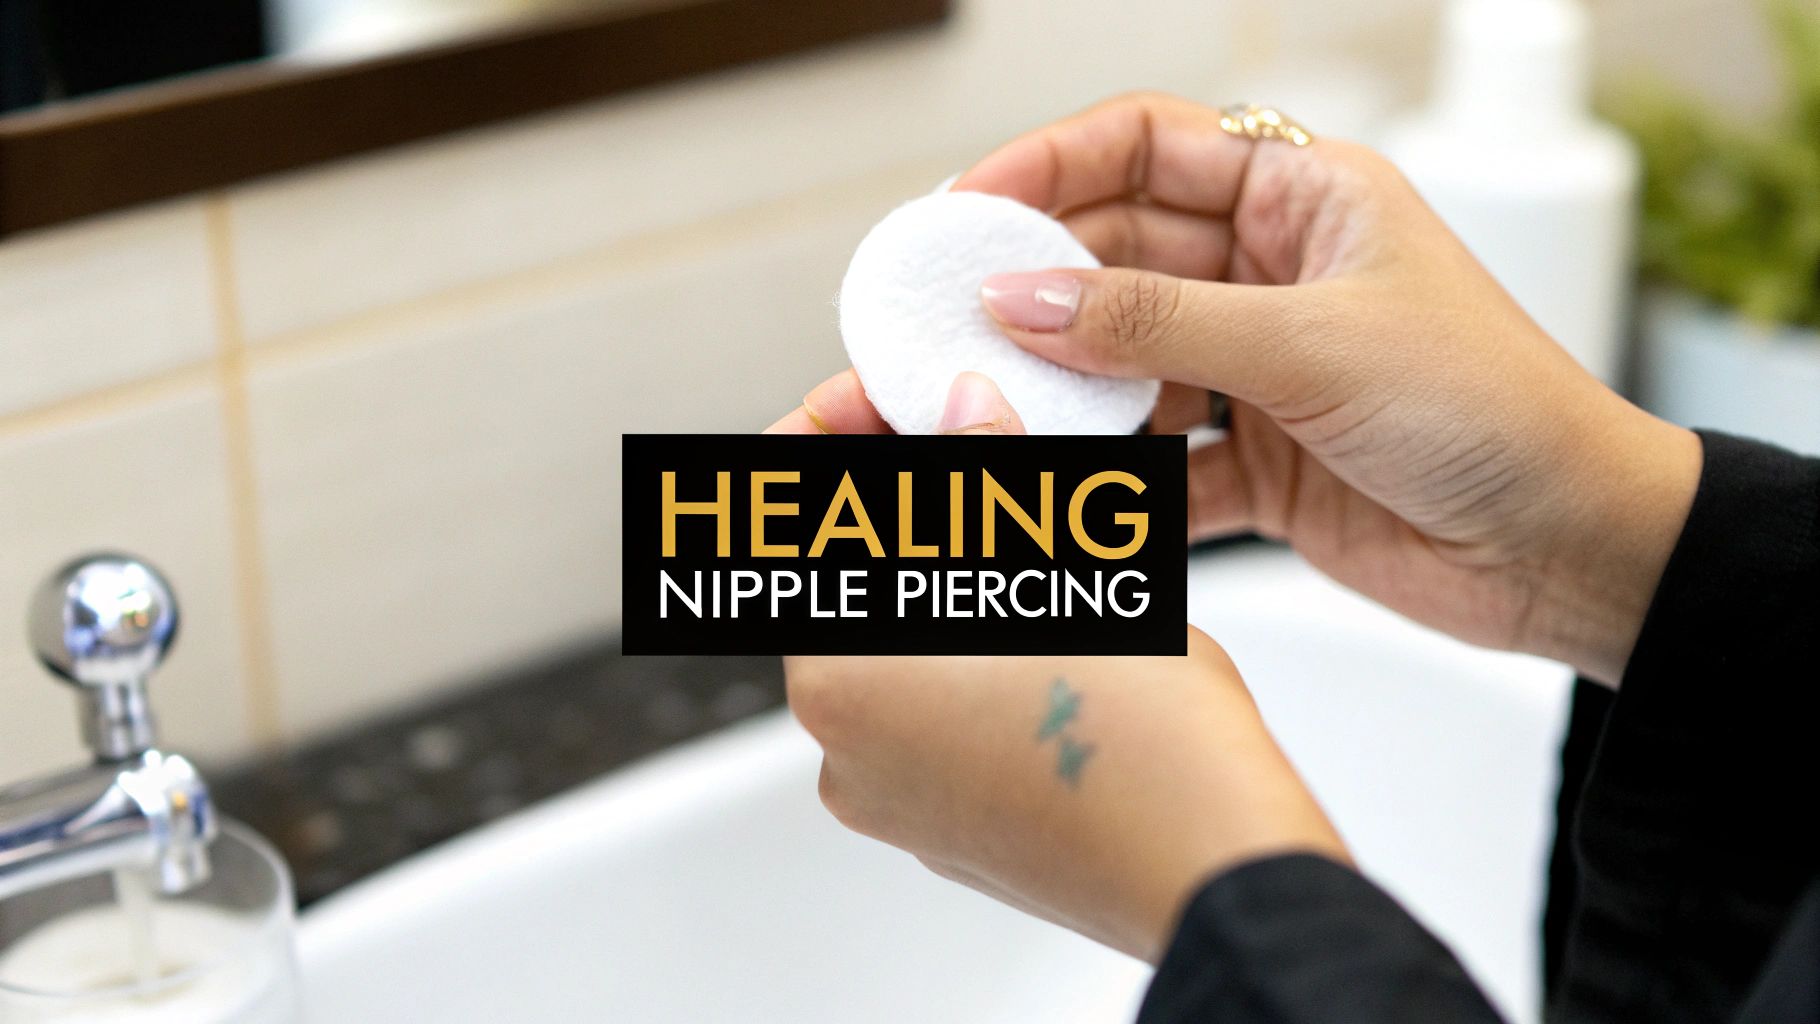
So you just got a new piercing? Congrats! A sea salt soak is a super simple, natural way to keep your fresh piercing clean and happy. Think of it as a warm, gentle bath for your new bling. This little soak helps soften up any crusties and flushes out germs, which can help you heal faster without reaching for harsh chemicals.
What's So Great About Piercing Sea Salt Soaks?
Okay, so why bother with this extra step? A good soak does way more than just clean the surface.
- It gets inside the piercing channel to help clear out any gunk and lets your body do its natural healing thing.
- It softens up those pesky "crusties" (we'll get to those later!) so you can wipe them away gently without tugging on your jewelry.
- It can even help reduce swelling by balancing the moisture around your piercing.
Just a five-minute soak in a warm sea salt solution each day can make a huge difference in preventing trapped bacteria and speeding up your healing time.
Tons of professional piercers and even health organizations, like the Association of Professional Piercers, stand by this method for keeping piercings clean and comfortable. The trick, though, is getting that salt-to-water ratio just right to avoid any irritation.
How to Mix Up Your Soak
First things first, let's get your solution ready. It’s incredibly easy, I promise.
- Start with clean water. You can boil tap water and let it cool, or just use distilled water to be extra safe and get rid of any sneaky contaminants.
- Stir ¼ teaspoon of non-iodized sea salt into 8 ounces of warm water until it's completely dissolved.
- Let the mixture cool down until it feels comfortably warm to the touch—you don't want to scald your new piercing!
Treat this little routine like a mini spa moment for your earlobe or belly button. It makes aftercare feel more like self-care and less like a chore.
"I started soaks with a tiny shot glass – it fits my cartilage piercing perfectly and makes it so easy!" – Emma, a happy Body Candy customer
A Few Important Precautions
Keep these tips in mind to make sure you're helping, not hurting, your new piercing.
- Stick to non-iodized sea salt. Definitely avoid table salt (which has iodine and anti-caking agents) or Epsom salts. Seriously, your piercing will thank you.
- Never reuse your soak solution. It can collect bacteria after just one use, so always mix a fresh batch.
- Pat, don't rub. When you're done, gently pat the area dry with a clean, disposable paper towel.
Making this part of your daily routine is the key. Consistency is what turns that awesome new piercing into a beautifully healed accessory you can show off for years to come.
Pro tip: Consider keeping a little healing journal to jot down how your piercing is looking day-to-day. It’s a great way to track your progress and notice any unusual changes right away.
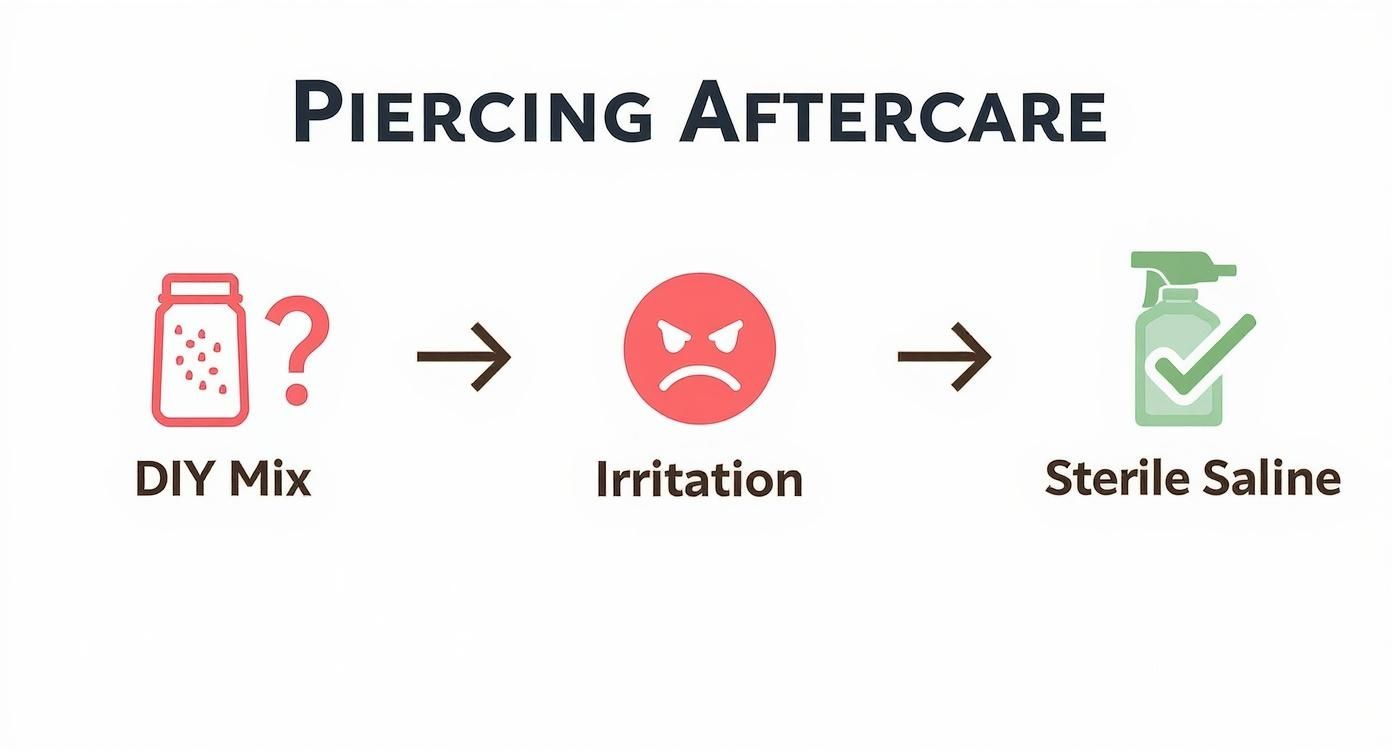
Why Sterile Saline Is Almost Always Better
Okay, let's have some real talk. Mixing your own piercing sea salt soak sounds super easy and budget-friendly, right? While the intention is awesome, it's surprisingly easy to mess it up. And trust me, a bad mix can cause a whole lot more trouble than it solves.
Think of it like baking a cake. If you accidentally dump in a tablespoon of salt instead of a teaspoon, the whole thing is ruined. It's the same deal with your aftercare. Getting that salt-to-water ratio even slightly off can create a solution that's way too harsh, leading to redness, serious dryness, and a very unhappy piercing.
The Hidden Risks of a DIY Soak
Whipping up a piercing sea salt soak at home introduces a few variables you might not even think about. But for a healing piercing, which is basically an open wound, these little details matter a lot.
- The Wrong Salt: First things first, regular kitchen table salt is a huge no-go. It's often packed with iodine and anti-caking agents that will seriously irritate a fresh piercing. Even if you grab the "right" kind of non-iodized sea salt, there's no guarantee it's free from other contaminants.
- Contaminated Water: Unless you're using properly distilled or thoroughly boiled water every single time, you risk introducing bacteria from your tap water directly into your piercing. Yikes. That's a risk you just don't want to take.
- Imperfect Ratios: The whole goal is to create an isotonic solution—one that perfectly matches your body's natural salinity. Too little salt doesn't do much, and too much is an irritant. Trying to measure exactly ¼ teaspoon for 8 ounces of water without fail, every single time, is trickier than it sounds.
This is exactly why so many professional piercers will point you toward a pre-made sterile saline solution. It just takes all the guesswork and risk out of the equation.
You get a perfectly balanced, sterile product in a convenient spray bottle, ready to go. It guarantees your piercing gets exactly what it needs to heal, without any of the potential drama of a home mixture. For a deeper dive into why the pros trust certain products, you can explore why piercers trust brands like H2Ocean.
Using a sterile saline spray is like having a piercer-approved aftercare routine in a can. It's safe, effective, and foolproof—giving you total peace of mind during your healing journey.
Mastering Your Sea Salt Soak Technique
So, you’re ready to try the DIY sea salt soak? Awesome. Getting the technique right is everything—it ensures your new piercing gets all the healing benefits without any of the drama. Let's walk through how to do it properly.
First things first, your ingredients are critical. This isn't the time to grab any old salt from your kitchen cabinet. You absolutely must use non-iodized sea salt. Regular table salt often contains iodine and pesky anti-caking agents that can seriously irritate a fresh, sensitive piercing.
Next up is the water. To avoid introducing any unwanted bacteria to the healing site, your best bet is always distilled or bottled water. If you absolutely have to use tap water, boil it for several minutes first, then let it cool down to a safe temperature before you mix in the salt.
Getting The Magic Ratio Just Right
The entire goal of a piercing sea salt soak is to create what's called an isotonic solution. It's a fancy term, but it just means you want a mix that perfectly matches your body's natural salinity. This is the sweet spot for gentle, effective cleansing without causing irritation.
Here’s the golden ratio you need to remember:
- ¼ teaspoon of non-iodized sea salt
- 8 ounces (1 cup) of warm, sterile water
Stir the salt into the warm water until it’s completely dissolved. One of the most common mistakes people make is adding too much salt. This will backfire, drying out your skin and causing major irritation, so be precise with your measurements!
Getting this ratio right is the single most important part of a DIY soak. A solution that's too strong is counterproductive and can lead to the exact irritation you're trying to prevent.
The Soaking Process
Once you've mixed your perfect sea salt soak, it's time for the main event. Make sure the solution is comfortably warm, not hot—you want to soothe the area, not scald it! The ideal time to soak is around 5 minutes. Soaking for too long can strip away the natural oils your skin needs to heal properly, so don't overdo it. Stick to soaking just once or twice a day.
For piercings in tricky spots, you might need to get a little creative with your setup.
- Navel or Nipple Piercings: A small, clean shot glass or a disposable cup works perfectly. Just lean forward, press the cup over the piercing to create a gentle seal, and then carefully lie back to let it soak.
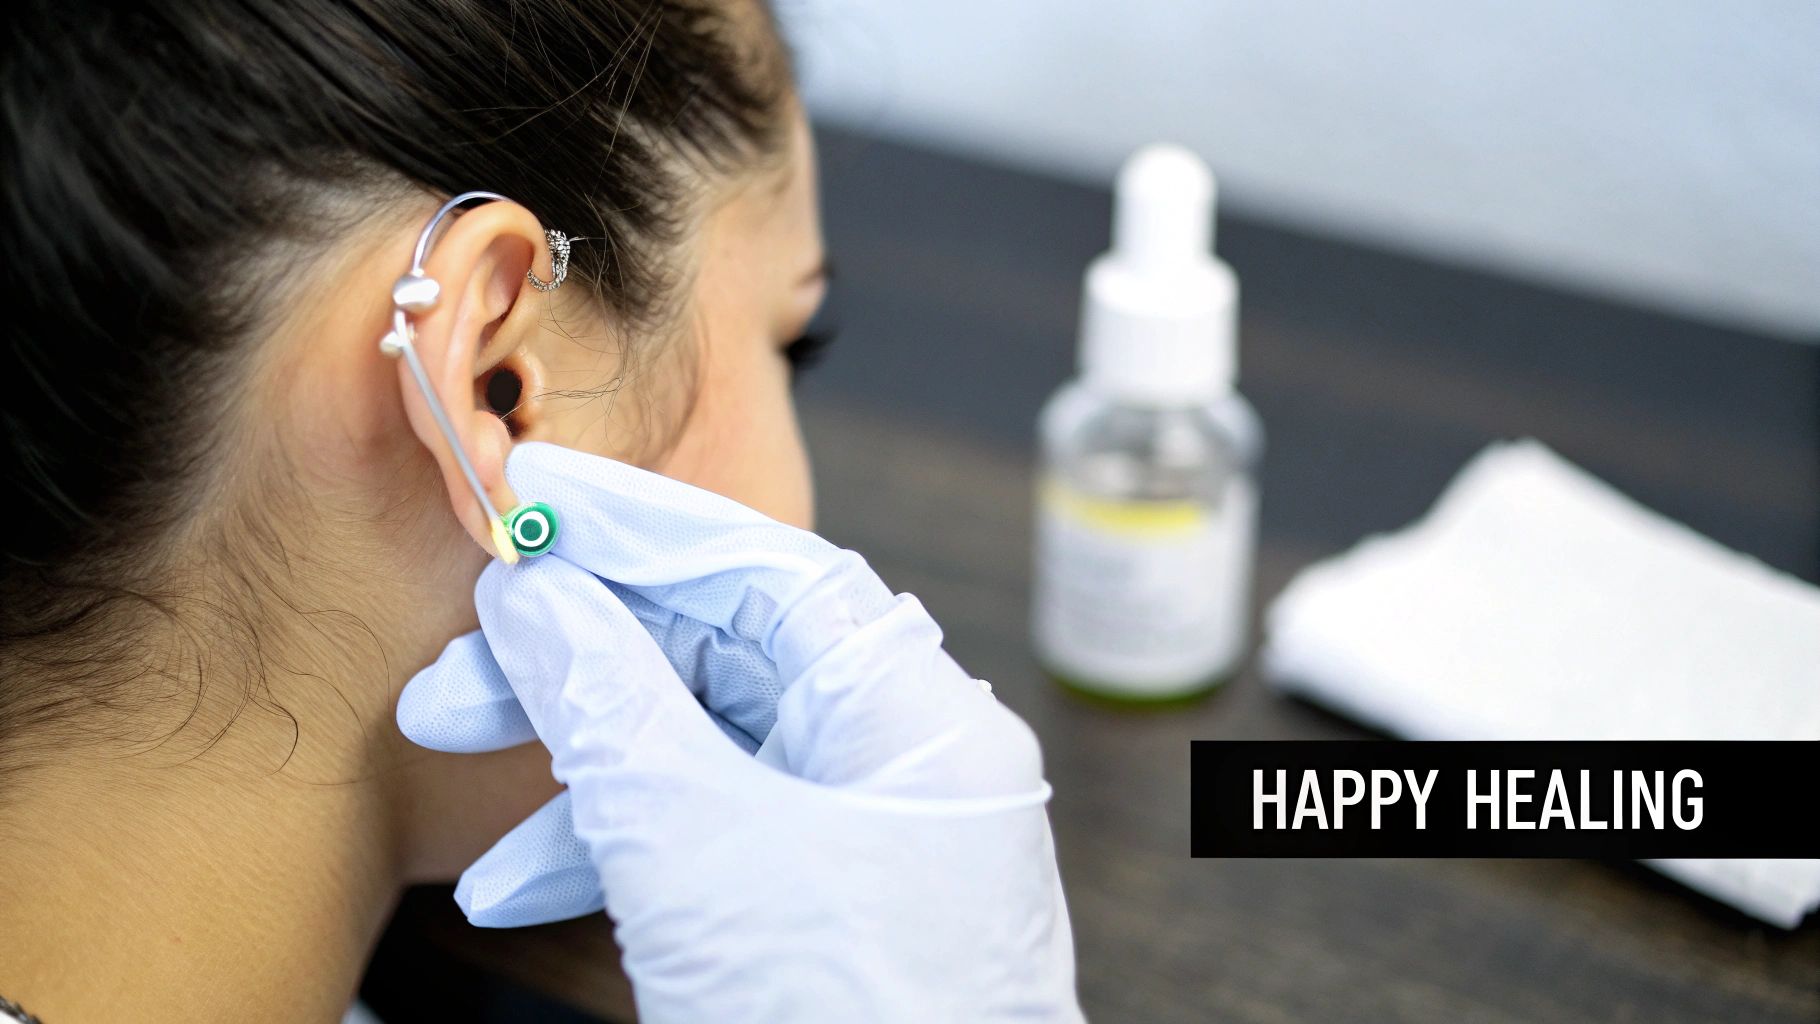
- Cartilage or Nose Piercings: Soaking a sterile gauze pad in the solution and holding it gently against the piercing is a great, mess-free option.
This infographic does a great job of breaking down why starting with a sterile, correctly mixed solution is always the safest bet.
The Big Shift in Piercing Aftercare
Ever wonder why your piercer insists you stay away from stuff like harsh soaps and rubbing alcohol? It's not just a random rule; it's because the piercing world has come a long, long way. We've thankfully moved past the days of blasting a new piercing with intense chemicals and just hoping it would heal.
The modern approach is all about working with your body's natural healing powers, not against them. Instead of aggressive antiseptics that actually damage the delicate new tissue, the focus is now on gentle, supportive solutions. This major shift in thinking is exactly why the piercing sea salt soak became a go-to for aftercare.
Out With the Harsh, In With the Gentle
The old-school advice often pointed people toward products that were way too aggressive for a fresh wound. Think about it—they'd dry out the skin, cause a ton of irritation, and end up making the whole healing process take even longer. It was a classic case of doing too much!
Today's aftercare is about creating the perfect environment for your body to do what it does best. A gentle, isotonic saline solution is perfect for this. It cleanses the piercing channel without freaking out or destroying the sensitive new cells your body is working so hard to build.
This smarter, gentler philosophy led to a huge change across the industry. Innovators started creating sterile, pre-mixed saline sprays, which made safe aftercare way more convenient. In fact, things really started changing back in 2001 with the invention of the first patented sea salt-based aftercare spray. This product set a whole new standard by using natural ingredients to help cleanse and heal piercings without all the harsh additives. You can learn more about the history of piercing aftercare here.
Knowing this history helps you understand that your piercer's advice isn't just a suggestion—it's backed by decades of experience and science. It’s all about gentle care for a happy, healthy piercing.
Common Aftercare Mistakes to Avoid
Even when you have the best intentions, it's surprisingly easy to make a few slip-ups that can slow down your healing. Let's go over the big ones so you can keep your new piercing happy and free from irritation.
One of the most common traps people fall into is thinking "more is better." When it comes to soaking, it's not. Overdoing it can seriously backfire. While a piercing sea salt soak is a fantastic tool, soaking too often or for too long (anything over 5 minutes is definitely pushing it) can strip your skin of its essential oils. This leads to frustrating dryness and irritation. Your best bet? Stick to once or twice a day, max.
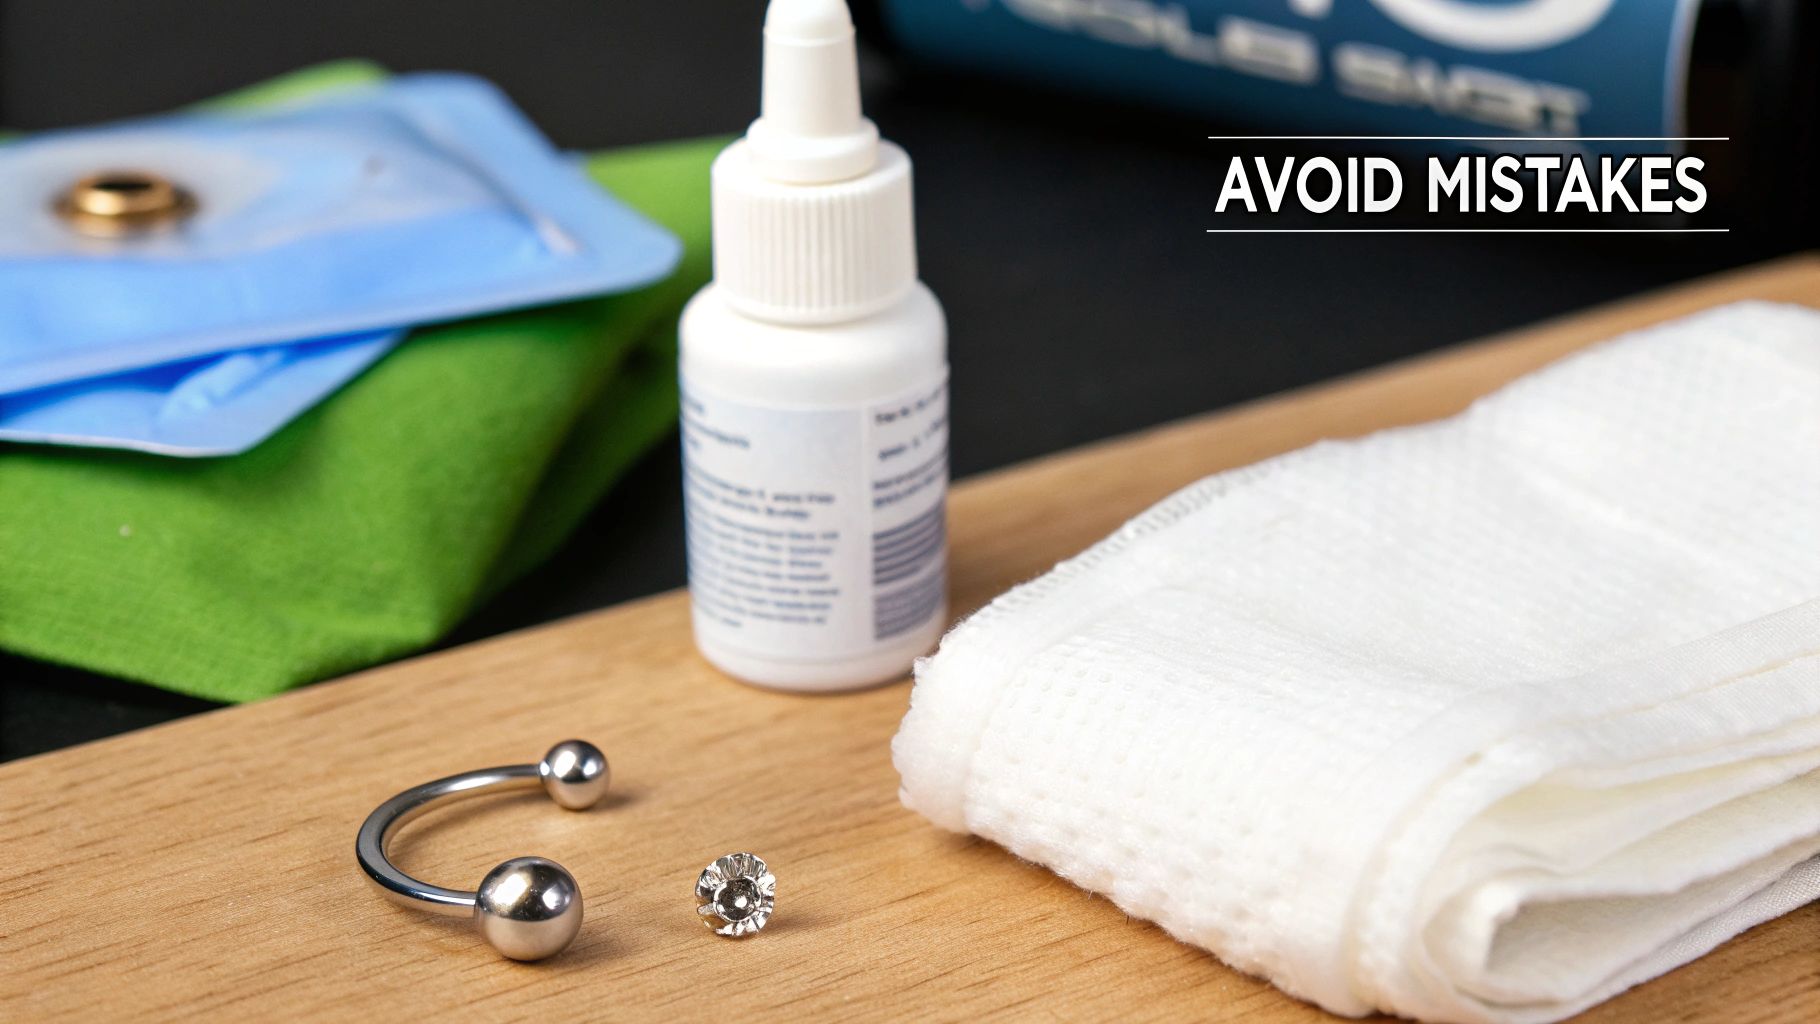
Ingredients That Can Cause Trouble
The kind of salt you use for your soak matters—a lot. Never, ever use iodized table salt, Epsom salts, or anything with added fragrances or oils. Trust me, these additives are just a recipe for an angry, irritated piercing. Sticking with pure, non-iodized sea salt is the only safe way to go for a DIY soak.
Another classic mistake is messing up the salt-to-water ratio. Too much salt creates a harsh, hypertonic solution that can actually "burn" the delicate, healing tissue. This can cause the exact redness and swelling you're trying to prevent. If you notice your piercing feels tight or looks inflamed right after a soak, you've probably made your solution too strong.
If your piercing just won't seem to calm down, it might not be your aftercare routine at all. Sometimes, the real problem is the jewelry itself. An allergy to nickel, which can be hiding in lower-quality "surgical steel," is a very common culprit for ongoing redness, itchiness, and discomfort.
Remember, a little initial redness is totally normal, but persistent irritation is your body telling you something's wrong. Paying close attention to how your piercing reacts to your aftercare is key. If you're dealing with ongoing issues and have ruled out other causes, you might want to explore other aftercare products, like those we cover in our guide to keeping piercings fresh.
Your Piercing Aftercare Questions Answered
Let's get into some of the questions we hear all the time. Nailing your aftercare routine can feel a little intimidating at first, but once you get the hang of it, you'll be on the fast track to a happy, healthy piercing.
How Often Should I Soak My Piercing?
This is a big one, and it's easy to get wrong! While it feels like you're helping, it's totally possible to overdo it with sea salt soaks.
Stick to soaking just once or twice a day, max. Any more than that, or soaking for longer than 5 minutes at a time, can actually backfire by stripping your skin's natural oils. This can lead to some serious dryness and irritation, which is the last thing you want. When it comes to healing, consistency is way more important than frequency.
What’s the Deal with "Crusties"?
Don't panic! Those little crusty bits that form around your new jewelry are a completely normal part of the healing journey. They're just a mix of dried lymph fluid and dead skin cells—a sure sign your body is doing its job.
The best way to handle them is to let your soak soften them up first. Then, you can gently wipe them away with a sterile gauze pad. Whatever you do, never pick at them when they’re dry. That's a surefire way to tear the delicate new skin that's trying to form.
"Crusties are a normal part of the healing process. Resist the urge to pick! A gentle soak will loosen them so they can be cleaned away without causing trauma to the piercing."
My Piercing Looks Red and Angry. What Now?
Seeing a little redness and swelling right after you leave the studio is totally expected. But if your piercing stays intensely red, feels hot to the touch, or is still painful after a few days have passed, it's your body's way of telling you to pay closer attention.
First, take a look at your aftercare routine. Is your solution too salty? Are you cleaning it too often or too aggressively? Sometimes the simplest fix is just backing off a bit.
If you've ruled out any aftercare missteps, the irritation might be from getting it bumped or snagged, or even a reaction to the jewelry material itself. If the symptoms keep getting worse, or if you start seeing thick, yellow-green discharge, it's time to check in with your piercer. They have the experience to help you figure out if it's just simple irritation or something that needs more attention.
Ready to rock a new look? Body Candy has everything you need to express yourself. Shop our massive collection of body jewelry today!