So, you're thinking about getting your nipples pierced, or maybe you've already taken the plunge. Awesome! Now for the real talk: the healing journey. Let's be straight up—this isn't like an earlobe piercing that's happy in a few weeks. You're looking at a serious commitment of about 6 to 12 months for the tissue to fully heal, inside and out.
Patience is the name of the game here.
Your Nipple Piercing Healing Roadmap
Getting your nipples pierced can be a huge confidence booster and a killer way to express your style. But before you can start swapping out jewelry and showing them off, you have to get through the healing process. Think of it as a marathon, not a sprint. The first few weeks feel the most intense, for sure, but the real magic happens deep within the tissue over the many months that follow.
Your body is incredible and knows exactly what to do to heal. Your only job is to create the perfect, clean, and irritation-free environment for it to work. That means being diligent with your aftercare and, you guessed it, being super patient.
What to Expect on Your Journey
The healing timeline isn't just about marking days off a calendar. It’s an active process with a few distinct phases. Knowing what’s happening beneath the surface will help you stay calm and care for your piercing the right way.
Here’s a quick breakdown of what you're signing up for:
- The First Few Weeks: Expect some tenderness, swelling, and redness right off the bat. This is totally normal—it's just your body's initial reaction to the new bling.
- "Crusties" Are Your Friend: You'll almost certainly notice some light-colored discharge that dries around the jewelry. These are just "crusties." Do not pick them! This is just lymph fluid, a clear sign your body is doing its healing thing.
- Looks Can Be Deceiving: After a couple of months, your piercing might look and feel a whole lot better. Don't be fooled! It's still working hard to heal on the inside. Changing your jewelry too early is one of the fastest ways to set your healing back.
To give you a clearer picture, here's a simple table outlining the different phases.
Nipple Piercing Healing at a Glance
Here's a quick summary of the healing stages, what to expect, and your main aftercare goals.
| Phase | Duration | Primary Care Focus |
|---|---|---|
| Inflammatory Phase | Week 1-4 | Managing swelling, redness, and tenderness. Focusing on gentle, consistent cleaning to prevent infection. |
| Proliferative Phase | Month 1-4 | The fistula (piercing channel) begins to form. "Crusties" are common. The main goal is to avoid irritation and continue cleaning. |
| Maturation Phase | Month 4-12+ | The fistula strengthens and matures. The piercing looks and feels normal, but it's still delicate. Continue good hygiene and avoid trauma. |
Remember, this timeline is just a guide. Everyone's body heals at its own pace, so listen to yours and give it the time it needs.
Because this tissue is so sensitive, proper aftercare is absolutely non-negotiable. With infection rates for nipple piercings estimated between 10% to 20%, sticking to a strict cleaning routine is your best defense against complications. As detailed in some fascinating piercing studies, this commitment is what ensures your piercing heals beautifully and safely in the long run.
What to Expect Month by Month
Alright, let's get into the nitty-gritty of the nipple piercing healing process. Your body has a roadmap for healing, and knowing what's coming helps you stay patient when it feels like it's taking forever.
The first month is definitely the most intense. Expect some swelling, a fair bit of tenderness, and what we affectionately call "crusties." Don't freak out! This is all totally normal—it's just your body's healing squad getting to work.
The Settling-In Period: Months 2 to 4
As you roll into months two, three, and four, that initial "ouch" factor should really start to fade. The piercing site will look and feel less angry, but this is a super critical time for consistent aftercare.
The fistula—that's the little tunnel of tissue your jewelry lives in—is still incredibly delicate. Your main job is to keep up with your cleaning routine. Slacking off now is a recipe for irritation bumps and frustrating setbacks, so don't skip those saline soaks. This is the grind phase, and your consistency will pay off big time.
This visual timeline gives you a great overview of the key phases, from day one to fully healed.
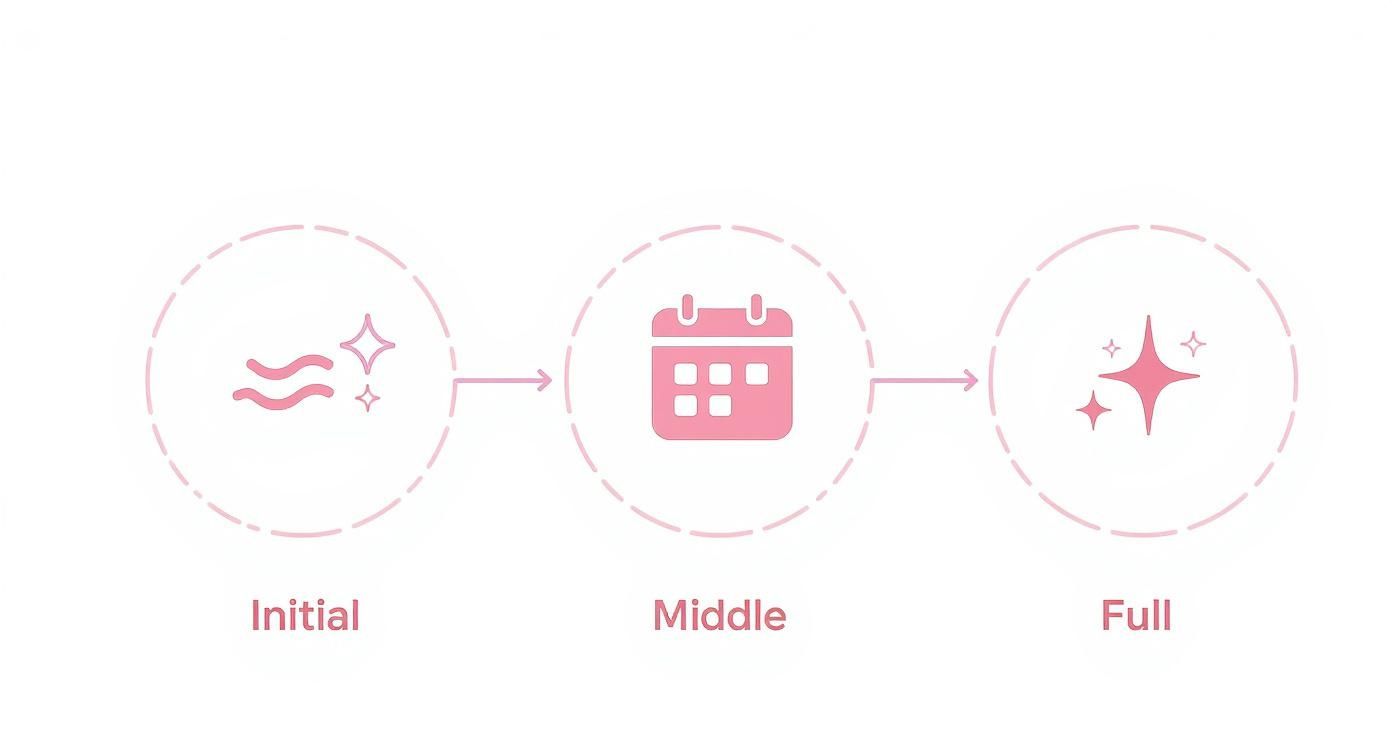
As the infographic shows, even when your piercing looks amazing on the outside during these middle months, the tissue on the inside is still maturing and getting stronger.
The Maturation Phase: Months 5 to 8
From month five onward, you're going to notice a real difference. The tissue around your jewelry will feel sturdier and much more settled. Most of the tenderness should be gone, unless you accidentally snag it on a loofah or a towel (we've all been there, and yes, it sucks).
Even though things are feeling good, don't get lazy with your aftercare just yet. The inside is still doing some serious work. This is the stage where a lot of people get impatient and want to swap their jewelry out. Our advice? Hold off just a little longer. It's worth the wait.
The Final Stretch: Months 9 to 12
Welcome to the home stretch! During this final phase, your body is finishing up all the deep tissue repair. Your piercing should finally feel like a normal, comfortable part of you. You're not alone on this journey; nipple piercings are incredibly popular. One studio reported doing 1,276 nipple piercings in a single year, so there are tons of people navigating this exact timeline.
It’s important to remember that the 6 to 12-month timeframe is an average. Everyone's body is different. Your immune system, how meticulously you follow your aftercare, and your overall health all play a huge role.
For a bit of perspective on how this compares to other piercings, check out our guide on healing times for popular piercings. Even when your piercing looks and feels perfect, giving it the full year is always the safest bet before you start playing with fun new jewelry.
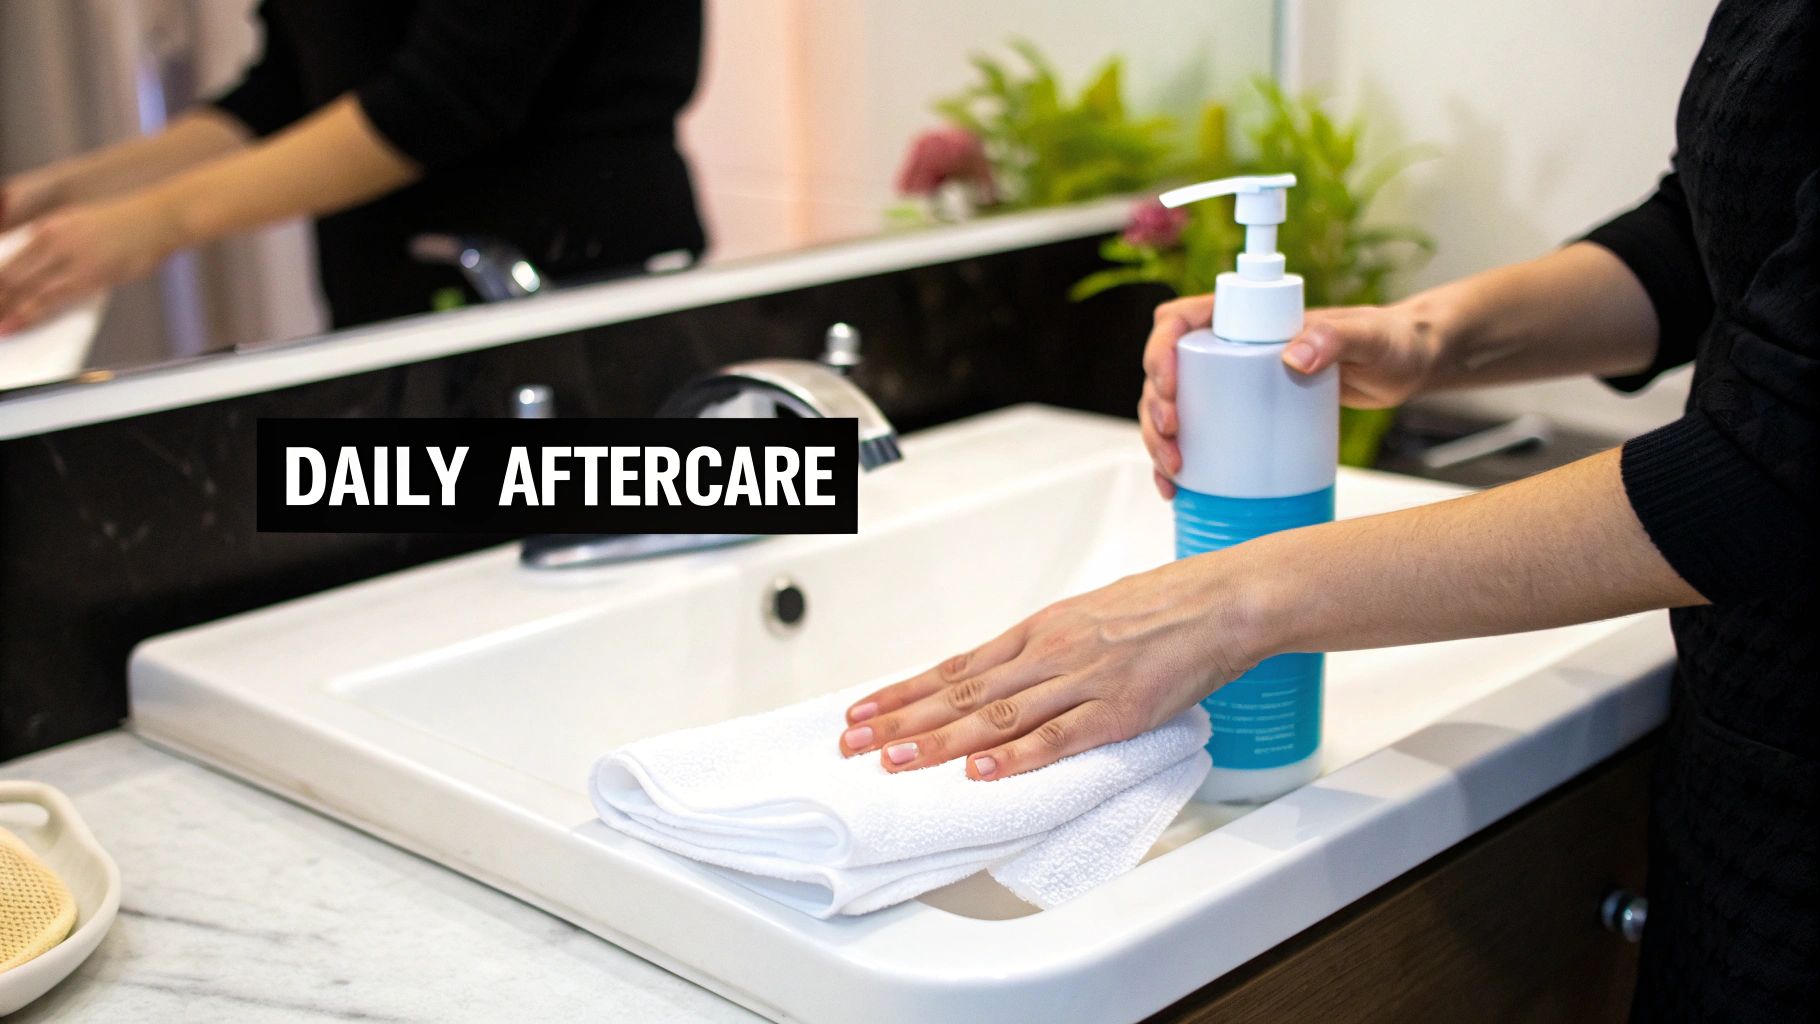
Building Your Daily Aftercare Ritual
A solid aftercare routine is your new best friend for a happy, healing piercing. We can't stress this enough: consistency is everything! Think of it less as a chore and more as a daily self-care moment that ensures your new bling settles in beautifully. This isn't the time to get creative or experiment—stick to the basics and your body will thank you.
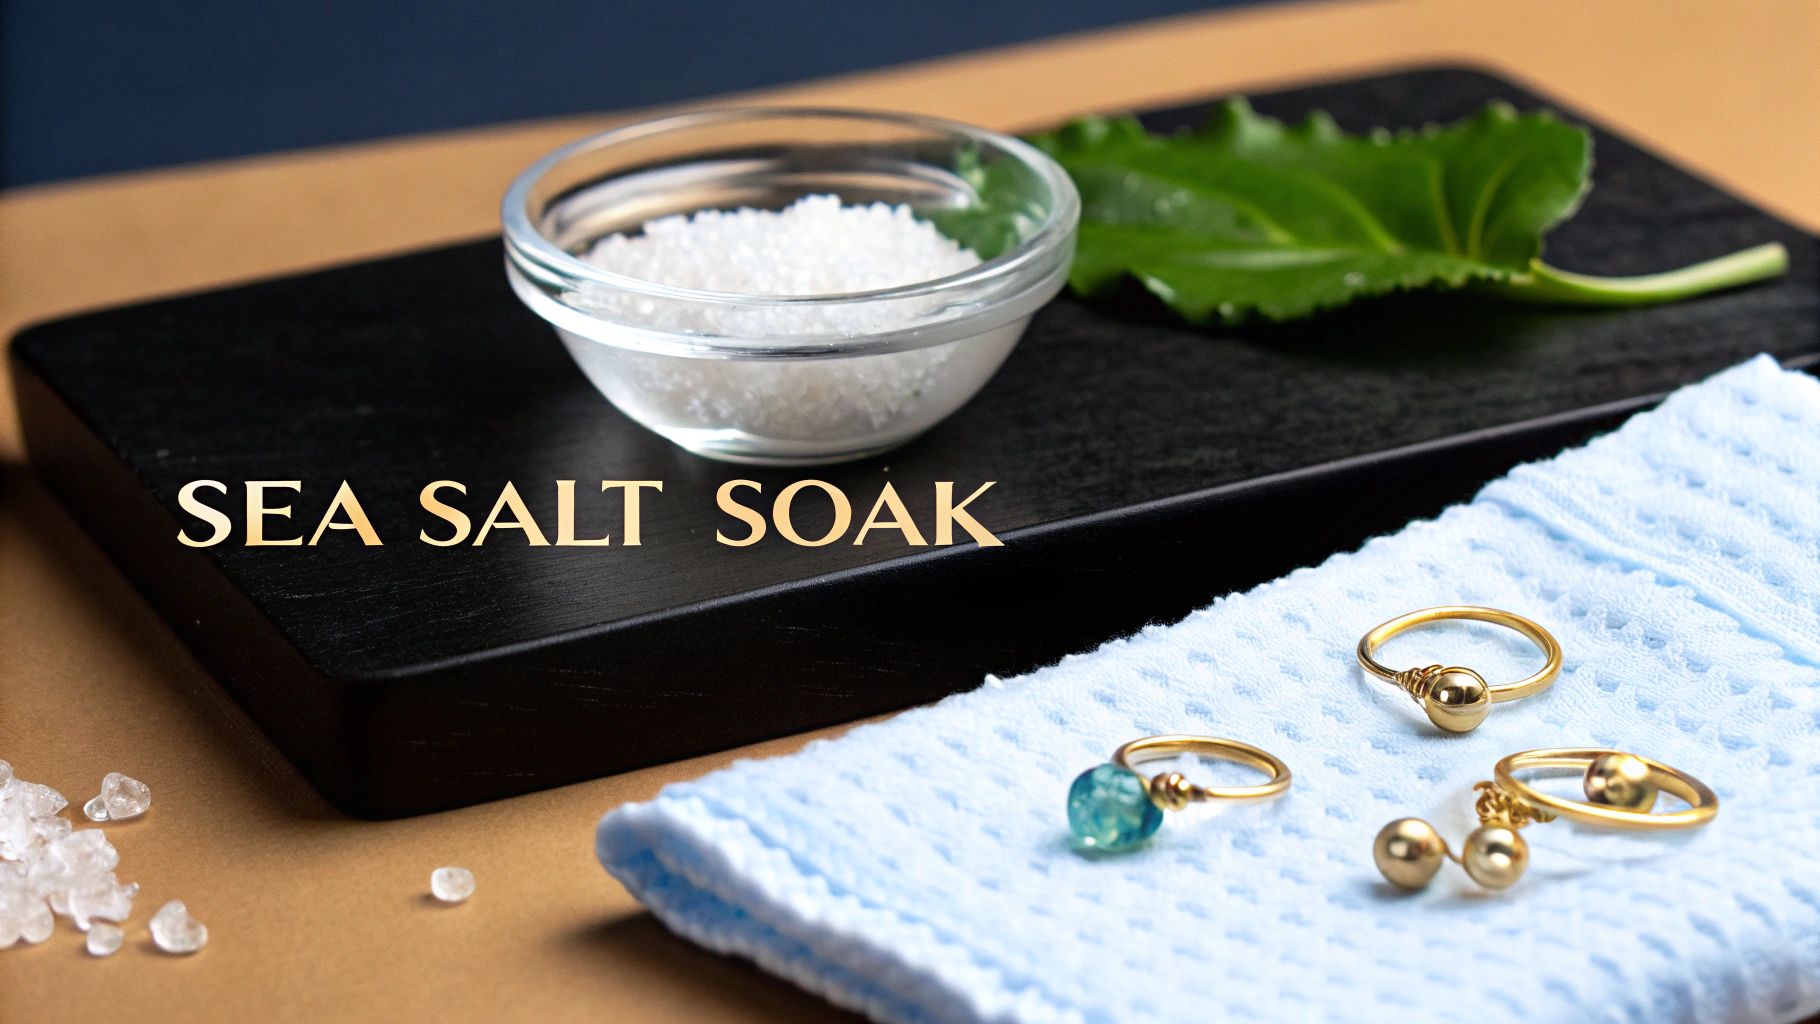
First thing's first: your go-to tool is a sterile saline solution. Your goal is to clean the piercing twice a day, once when you wake up and once before bed. This simple step gently washes away any "crusties" (that's just dried lymph fluid, totally normal!) and bacteria without being harsh on the delicate new tissue.
The Cleaning Process Made Simple
Let's break down the cleaning routine so it becomes second nature. It's super easy and only takes a few minutes out of your day.
- Wash Those Hands: Before you even think about touching your piercing, wash your hands thoroughly with soap and water. This is a non-negotiable step to keep nasty bacteria far away from your fresh piercing.
- Saturate and Soak: Liberally spray the sterile saline solution directly onto the piercing, making sure to douse both the entry and exit points. If you have some stubborn crusties, you can soak a clean piece of non-woven gauze in the saline and hold it against the piercing for a few minutes to soften them up.
- Gently Pat Dry: Once you're done cleaning, gently pat the area dry with a fresh, disposable paper towel. You'll want to avoid using your regular bath or cloth towels, as they can snag on your new jewelry and often harbor sneaky bacteria.
Pro Tip: Whatever you do, resist the urge to twist, turn, or fiddle with your jewelry during cleaning! Your body is trying to form a stable channel (called a fistula), and moving the jewelry around only causes irritation and can seriously delay your nipple piercing healing time.
What to Avoid at All Costs
Just as important as what you do is what you don't do. The skin around your new piercing is incredibly sensitive, and using the wrong products can cause a world of irritation and set back your healing.
Stay far, far away from these common culprits:
- Harsh Soaps: Antibacterial soaps, Dial soap, and anything with heavy fragrances or dyes are way too aggressive. They'll strip the natural oils your skin needs, leading to dryness and major irritation.
- Alcohol & Peroxide: These are sterilizers meant for surfaces, not for delicate puncture wounds. They will absolutely destroy the fragile new cells your body is working so hard to build, putting your healing in reverse.
- Ointments & Creams: Things like Neosporin or Bacitracin are a huge no-go. They are far too thick, trapping moisture and bacteria against the skin and preventing your piercing from breathing. This is a recipe for infection.
Using a high-quality, pre-made saline solution is always your best and safest bet. If you're looking for a piercer-approved option, you can learn more about the benefits of specialized products like H2Ocean aftercare spray, which is specifically formulated for healing piercings.
Finally, a quick word on lifestyle. For the first few months, loose, breathable fabrics are your new best friends. Think soft cotton shirts and comfortable, non-underwire bras or bralettes. This will help prevent friction and allow for better air circulation around the piercing. Happy healing!
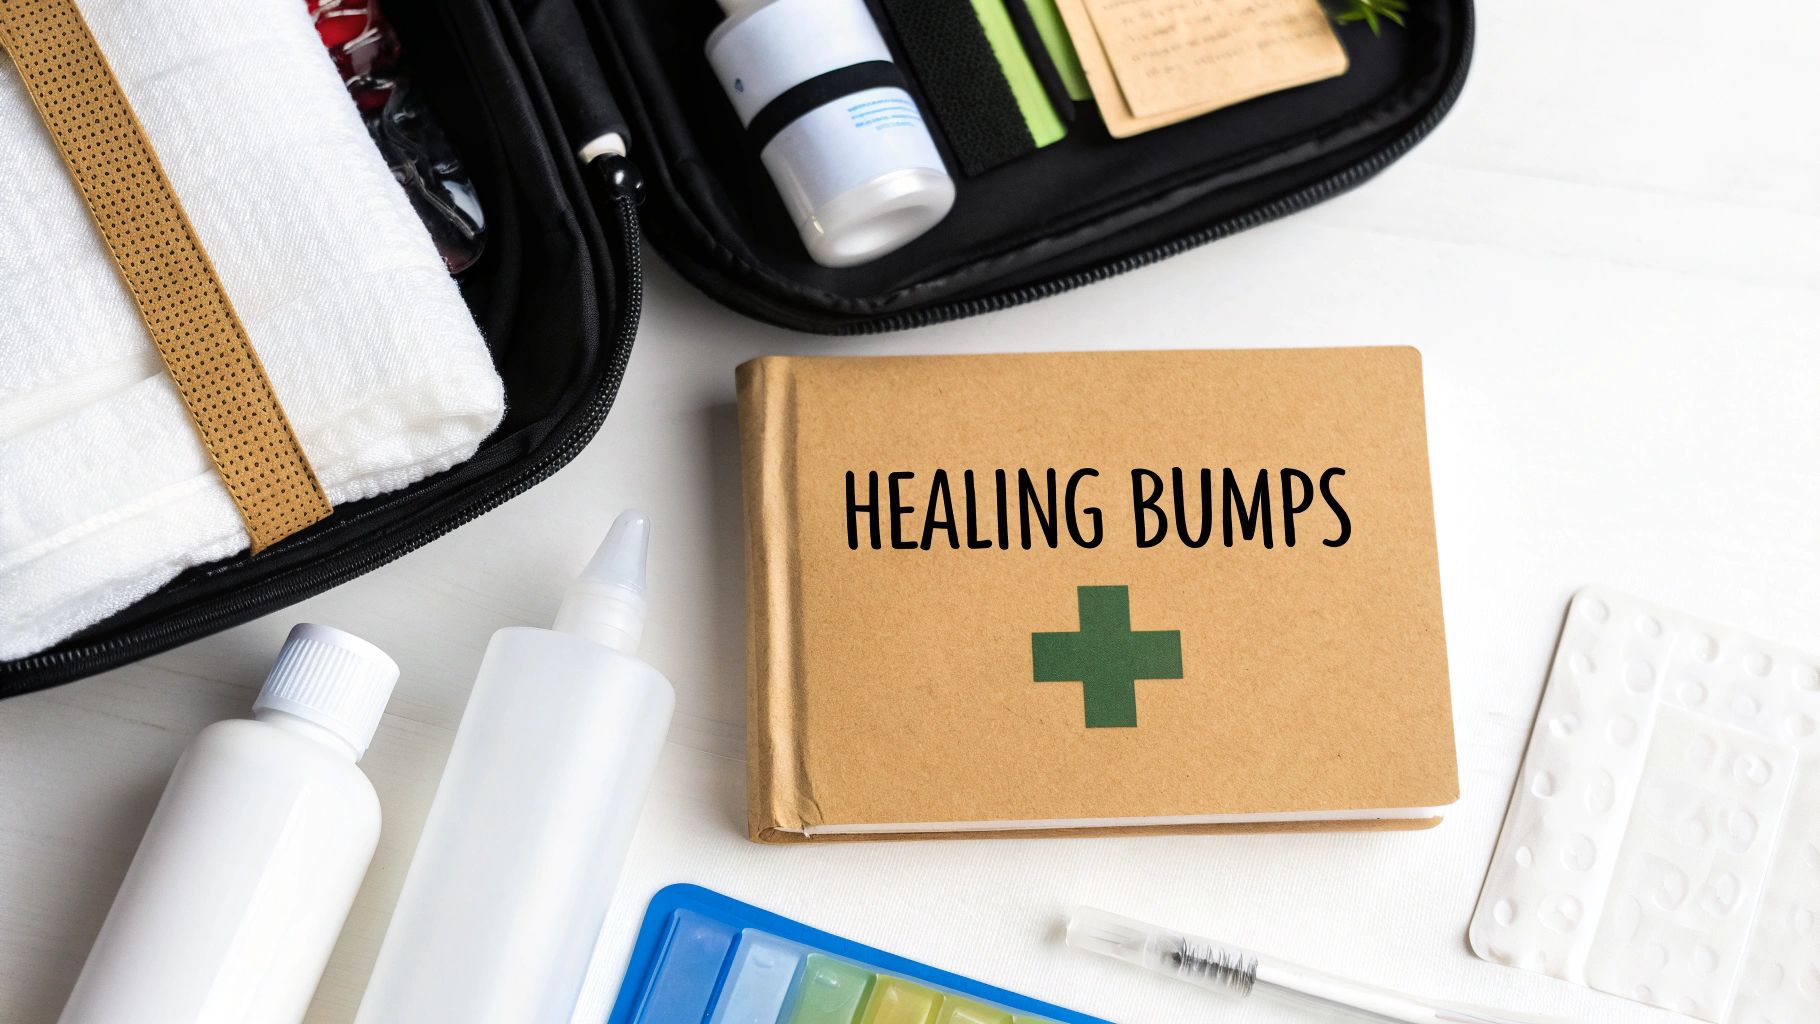
Handling Common Healing Bumps in the Road
Even when you follow your aftercare routine to the letter, your healing journey might hit a few speed bumps. Don't panic! It happens to the best of us. The trick is knowing how to spot these little hiccups and handle them correctly so you can get right back on track.
Let's start with those persistent "crusties." They're a totally normal part of healing, but sometimes they can build up and feel a bit excessive. Whatever you do, do not pick them off with your fingers! That's a surefire way to introduce bacteria and tear at the delicate new tissue your body is working so hard to build.
Instead, just give your piercing an extra saline soak. This will soften the crusties up until they rinse away on their own, no picking required.
Irritation Bumps vs. Infections
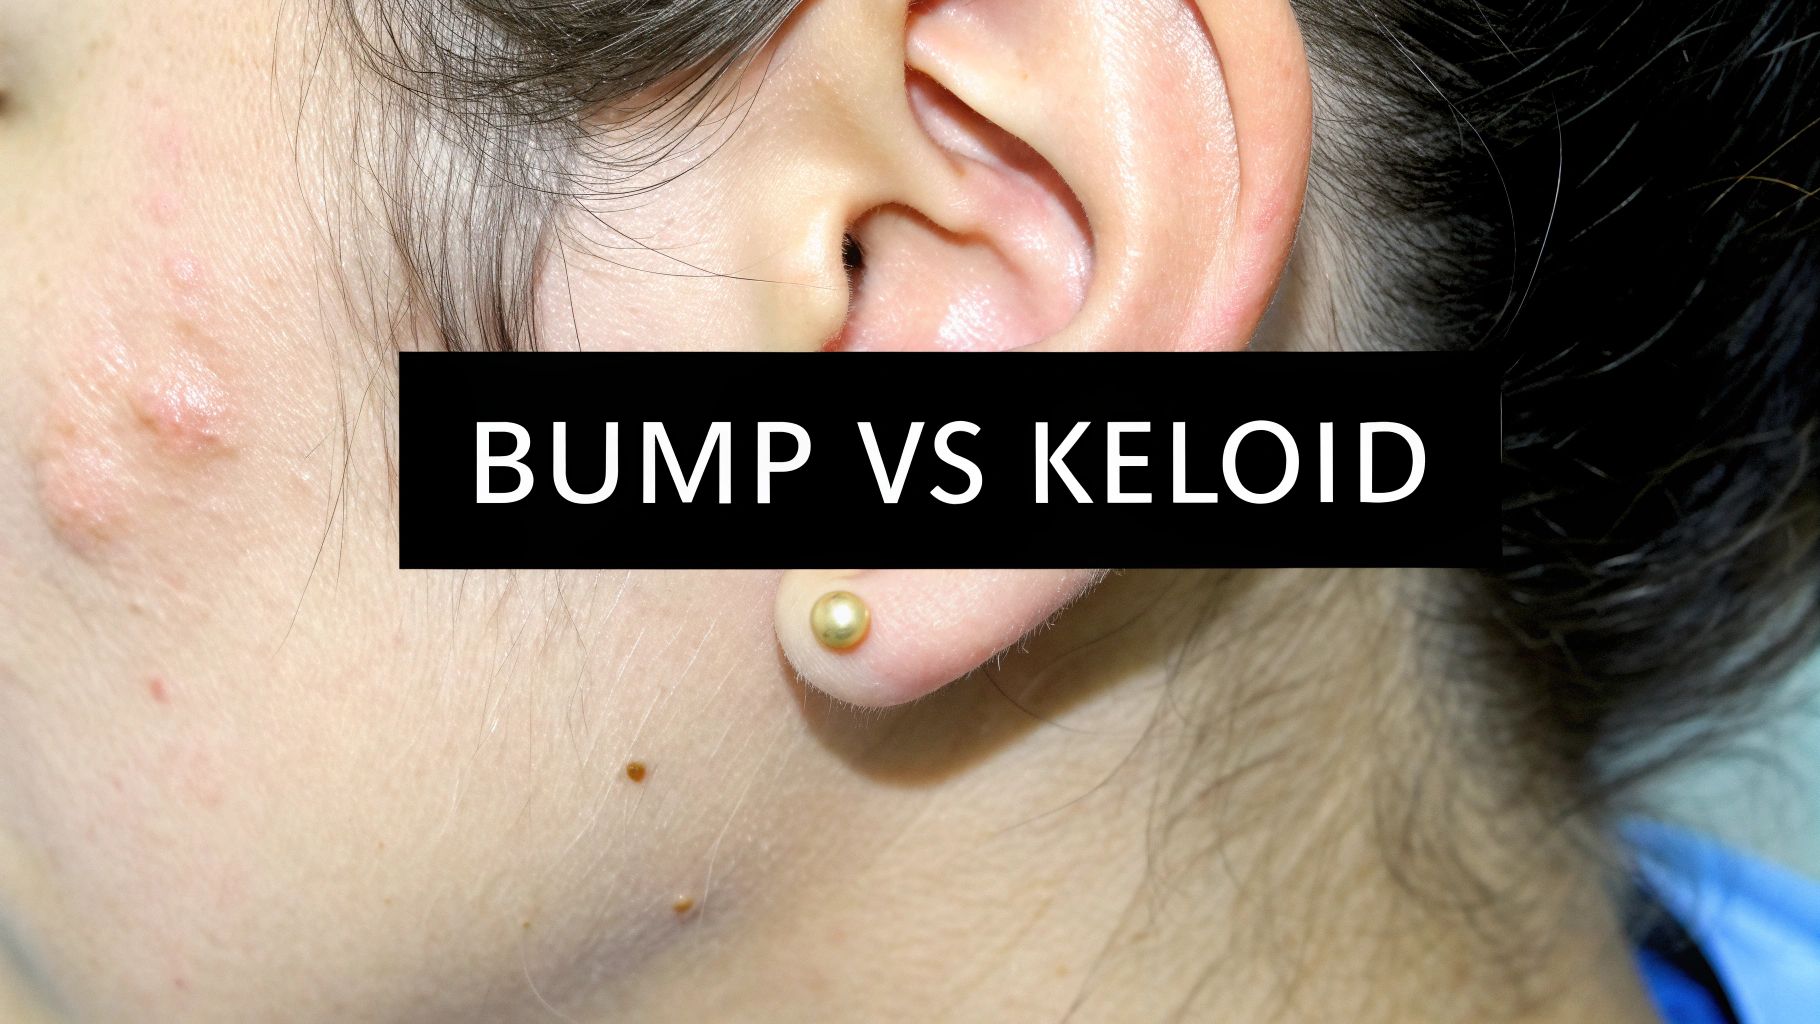
One of the most common freak-outs we see is when a small bump appears near the piercing hole. Nine times out of ten, this is just an irritation bump, not the scary infection you might be imagining. Think of these bumps as your body’s way of waving a little flag and saying, "Hey, something is bothering me over here!"
Figuring out what’s bugging your piercing is usually a process of elimination:
- Snagging and Friction: Did you catch your piercing on a loofah in the shower? Or maybe you wore a super tight, lacy bra all day? Friction is a major culprit.
- Sleeping Position: If you’re a stomach sleeper, you might be putting constant pressure on the piercing all night long without even realizing it. Try sleeping on your back or side, or you can even use a travel pillow to create a little protective donut around the area.
- Moisture Issues: Went for a sweaty run and forgot to clean your piercing right after? Trapped moisture can make a new piercing pretty angry.
The fix for irritation is almost always straightforward: identify the problem and get rid of it. Go back to basics with your aftercare, be extra gentle, and that little bump should disappear on its own with a bit of time and patience.
When to Actually Worry
While most issues are minor, it’s crucial to know the signs of a genuine infection. An infection isn't just irritation—it's a medical issue that needs prompt attention from a doctor.
Keep a sharp eye out for these red flags:
- Discharge: Instead of the normal clear or whitish fluid, you see thick, yellow, green, or foul-smelling pus.
- Pain and Swelling: The pain is getting worse, not better, and the swelling spreads far beyond the immediate piercing site.
- Heat: The area feels noticeably hot to the touch.
- Red Streaks: You see red lines radiating out from the piercing. This is a serious sign—call a doctor immediately.
If you suspect an infection, do not remove your jewelry. It might seem like the right thing to do, but this can actually trap the infection inside and lead to a much more serious problem, like an abscess.
Your first step should be to contact your piercer for their professional opinion, and then see a doctor for proper medical treatment. They'll know exactly what to do to get your piercing healthy again, hopefully without having to sacrifice it. A little troubleshooting is just part of the process, and knowing these signs will keep your healing journey as stress-free as possible.
Navigating Life Changes with Your Piercing
Life is always in flux, and our bodies are right there along for the ride. From hormonal shifts to major events like pregnancy, your body isn't static—and neither is your piercing. Knowing how these changes can affect your healing nipple piercing will help you tweak your care routine and keep everything happy and healthy.
Hormones can be a real wild card. Lots of people notice their piercings get extra sensitive or a bit swollen around their period. This is totally normal! Your body is dealing with a surge of hormones that can cause temporary inflammation everywhere, including right at your piercing site.
If you start to notice this monthly pattern, don't panic. It just means it's time for a little extra TLC. An additional gentle saline soak can be incredibly soothing. You might also want to swap your usual underwire bra for a soft, comfortable bralette for a few days—it can make a world of difference. It’s all about listening to what your body needs and making small adjustments.
Pregnancy and Breastfeeding Considerations
Pregnancy is another huge life event that brings on a wave of hormonal changes. Just like with your monthly cycle, you might experience more sensitivity or swelling. As your breasts grow and change shape, you could find that your starter jewelry starts to feel a bit snug. If that happens, it’s a good idea to pop in and see your piercer. They can help you decide if a longer barbell is needed to keep you comfortable.
When it comes to breastfeeding, the conversation changes a bit. The strong consensus among healthcare providers and lactation consultants is to remove nipple jewelry before feeding. This is mainly for your baby’s safety to prevent any choking hazards and to help them get a proper latch. Leaving the jewelry in could also potentially interfere with milk flow.
Heads Up: Taking your jewelry out for breastfeeding doesn't have to be the end of your piercing journey! Many people are able to successfully reinsert their jewelry after they've finished nursing. Just never, ever try to force it back in or re-pierce it yourself.
The interest in keeping these piercings long-term, even after having kids, is huge. While some people find the piercing channel shrinks or partially closes during lactation, a professional piercer can often use a taper to safely reopen it when the time is right.
For a deeper dive into managing your piercing during these life stages, it’s always a good idea to check out expert advice, like these helpful insights about nipple piercing safety on WebMD. Your piercing can absolutely be a part of your life for years to come—it just requires some thoughtful management during these special times.
Ready for Your Next Piercing Adventure
And just like that, you've made it! You've navigated the entire healing journey, mastered your aftercare routine, and learned how to troubleshoot any little issues like a seasoned pro. Seriously, give yourself a pat on the back.
Healing a nipple piercing is definitely a marathon, not a sprint. But the reward is a bold piece of self-expression you'll get to enjoy for years. It's proof that a little patience and consistency go a long way. The most important takeaway? Always listen to your body and keep an open line of communication with your piercer—they are your absolute best resource.
What Comes Next
Now that you're armed with all this knowledge, you might be feeling that familiar itch... what's next on the piercing agenda? Whether you're finally ready to swap that initial jewelry for something with a bit more personality or you're already planning your next piercing, the real fun is just getting started.
The journey doesn't end once you're healed. It's about building a collection of jewelry that truly represents you and makes you feel amazing in your own skin. This is where your personal style really gets to shine.
Remember, a smooth recovery always starts with high-quality jewelry. Settling for less just isn't worth the risk. With your piercing fully healed and happy, you can finally dive into the exciting world of different styles, materials, and designs.
To get inspired, you should explore everything you need to know about nipple rings. From classic barbells to eye-catching shields, it's time to find the perfect look to celebrate your healing milestone.
Ready to treat yourself? Check out Bodycandy’s huge collection of high-quality implant-grade titanium and 316L surgical steel jewelry. It's the perfect way to reward yourself for a job well done or to get hyped for whatever piercing adventure comes next. We've got you covered.
Your Nipple Piercing Healing Questions Answered
We get it, you’ve got questions! Even when you’re doing everything right, a few worries are bound to pop up during the long haul of the nipple piercing healing process. Here are some quick, no-nonsense answers to the common concerns we hear all the time.
What Do I Do if My Piercing Is Red and Angry?
First off, don't panic. A little bit of redness is totally normal, especially in the first few weeks as your body gets used to its new bling.
But if that redness starts to creep outwards, the area feels hot when you touch it, or you're seeing some funky, colorful discharge (think green or dark yellow), that's your body waving a red flag. It’s time to pay closer attention.
Bump up your sterile saline soaks to twice a day and be extra gentle with it—no twisting, no turning. If things don't start looking better within a day or two, it’s time to give your piercer a call. They’re your best bet for figuring out what’s really going on.
Is Swimming Totally Off-Limits While My Piercing Heals?
Yes, one hundred percent. For the entire healing period, you have to treat pools, hot tubs, lakes, and oceans as a no-go zone.
Just think of them as a giant bacterial cocktail party, and your fresh piercing is the open door they've been waiting for. It’s just not worth the risk of a nasty infection.
Stick to showers for now. And if some soap or body wash happens to get near the piercing, just make sure you rinse it away completely with fresh water.
When Can I Finally Change My Jewelry?
This is where patience really becomes a virtue! You absolutely have to fight the urge to swap out your initial jewelry until you are 100% healed, which can take anywhere from 6 to 12 months.
What does fully healed look like? No more crusties, no tenderness (even if you accidentally bump it), and zero irritation.
And for that very first jewelry swap, please go back to your piercer. They'll be able to change it out safely and, more importantly, confirm that your piercing is truly ready for its sparkly new upgrade.
Ready to find your new look? Shop our full collection of nipple jewelry today! https://bodycandy.com