Ever feel like you need a secret decoder ring just to shop for piercing jewelry? We get it. Walking into the world of types of piercing jewelry—with all its barbells, labrets, and clickers—can feel like learning a whole new language. Don't worry, you're not alone, and this guide is your new cheat sheet. We’re here to turn you from a confused browser into a confident shopper who knows exactly what they want.
Your Essential Guide to Every Piercing Jewelry Type
So, you're ready to find that next perfect piece. Awesome. Whether you're rocking a brand-new piercing or just looking to level up your curated collection, knowing the lingo is the first step. Think of it like building your dream wardrobe; you need to know your basics before you can start mixing and matching to really show off your style.
This guide will walk you through every essential jewelry style, one by one. We'll cover what they are, where they go, and how to find the perfect piece for your piercing. We'll start with the most common styles and work our way up, making you the expert of your own collection.
To get started, this little chart breaks down the big three categories of jewelry. It's a great visual to keep in your back pocket.

As you can see, almost every piece of body jewelry you'll come across falls into one of these families: Barbells, Rings, and Studs. These are the building blocks for any killer jewelry collection.
Why Knowing the Types Matters
Picking out the right jewelry isn't just about the look—it's about keeping your piercing happy and healthy. The wrong shape or size can lead to all sorts of trouble, like irritation, annoying snags, or even a much slower healing time. For instance, a hoop might look amazing, but it’s usually not the best choice for a fresh helix piercing, where a flat-back stud is your best friend.
Think of piercing jewelry like shoes. You wouldn't wear stilettos to go hiking, right? In the same way, you need the right jewelry style for the specific "terrain" of your piercing, especially while it's in that crucial healing phase.
When you know the difference between a captive bead ring and a clicker, or a straight barbell and a curved one, you can:
- Heal Like a Pro: Using the jewelry your piercer recommends (like an internally threaded labret for a new cartilage piercing) is the secret to a smooth, irritation-free healing process.
- Shop with Confidence: No more guessing games! When you know what you’re looking for, you can navigate Bodycandy.com and find exactly what you need, fast.
- Curate Your Unique Style: Once you know the rules, you can have fun breaking them! A fully healed piercing opens up a universe of possibilities for stacking, mixing, and creating a look that is 100% you.
Throughout this guide, we'll give you the inside scoop on which styles work best for every placement, from your earlobes to your navel. By the time we're done, you'll be able to tell your barbells from your labrets and your clickers from your captives, totally ready to build the piercing jewelry collection you've been dreaming of. Let's get started!
To help you get a quick sense of what goes where, here’s a simple table matching some common jewelry styles to their most popular placements.
Quick Guide to Common Piercing Jewelry Types
| Jewelry Type | Common Piercing Placements |
|---|---|
| Straight Barbell | Tongue, Nipple, Industrial, Bridge |
| Curved Barbell | Eyebrow, Rook, Daith, Vertical Labret, Navel |
| Circular Barbell (Horseshoe) | Septum, Daith, Smiley, Earlobe, Helix |
| Captive Bead Ring (CBR) | Septum, Daith, Lip, Earlobe, Nipple, Navel |
| Seamless & Clicker Rings | Septum, Daith, Helix, Nostril |
| Labret Stud (Flat-Back) | Lip (Labret, Monroe), Tragus, Conch, Helix, Nostril |
| Nose Stud (Screw, L-Bend, Bone) | Nostril |
| Navel Curve (Belly Ring) | Navel |
This is just a starting point, of course. As you'll see in the sections below, many of these styles are super versatile. Now, let's dive into the details of each one.
Mastering The Barbell: Straight, Curved, and Circular
If piercing jewelry had a foundational, must-have piece, it would absolutely be the barbell. This incredibly versatile style is the backbone of countless piercings, but it's not a one-size-fits-all situation. Barbells come in a few key shapes, each designed to perfectly suit different parts of your body. Let's get into the big three: straight, curved, and circular.

Getting a handle on these shapes is the first step to truly owning your piercing style. Each one serves a specific purpose, whether it's giving a brand-new piercing the stability it needs to heal or highlighting the natural curves of your anatomy.
The Classic Straight Barbell
The straight barbell is as simple as it sounds: a straight post with a removable end on each side, which can be a simple ball or something more decorative. It’s a straightforward, effective piece that is essential for any piercing that creates a straight channel through the tissue.
You’ll see straight barbells used most often for:
- Industrial Piercings: This is the iconic jewelry for an industrial, where one long barbell connects two separate cartilage piercings. The rigid, straight bar is non-negotiable for proper healing and alignment.
- Tongue Piercings: A straight barbell gives you the stability and comfort needed for this popular piercing. Piercers use a longer bar initially to account for swelling, which you can downsize later for a snugger fit.
- Nipple Piercings: This style sits comfortably across the nipple and is way less likely to snag on clothing than a ring, making it a go-to choice for both fresh and fully healed piercings.
For these specific spots, straight barbells are amazing for new piercings because they keep movement and irritation to a minimum. If you want a deeper dive into all the different looks, you might be interested in our photographic dictionary of barbell styles.
The Elegant Curved Barbell
Next up is the curved barbell, the straight barbell's more shapely cousin. This style has a gentle arch in the middle, making it the only choice for piercings that pass through a "ridge" of tissue or need to follow your body's natural lines.
Think of a curved barbell like a perfectly tailored piece of clothing. Its shape is designed to fit a specific curve on your body, reducing pressure and promoting a happier, healthier piercing.
This design makes it the undisputed star for placements like:
- Eyebrow Piercings: The curve hugs the brow bone perfectly, letting the decorative ends sit flat against your skin for a clean look.
- Rook Piercings: Tucked into that little fold of cartilage inside your ear (the antihelix), a curved barbell is the ideal shape for this sometimes-tricky spot.
- Vertical Labret Piercings: The curve allows the bottom ball to rest comfortably just below your lip while the top ball sits right on top of it.
- Navel Piercings: The classic "belly ring" is actually a navel curve, a special type of J-shaped curved barbell made specifically to fit the anatomy of a navel piercing.
Using a curved barbell in these areas is crucial for preventing the jewelry from putting weird pressure on the piercing channel, which is key for a smooth and easy healing process.
The Versatile Circular Barbell
Don't let the name throw you off—a circular barbell isn't a complete circle. It's actually shaped like a horseshoe with a removable ball on each end. This C-shape makes it one of the most versatile and fun types of piercing jewelry you can get!
Circular barbells are a favorite for a massive range of piercings, including:
- Septum Piercings: This is the iconic septum "horseshoe" you see everywhere. A huge plus is that it's easy to flip up and hide for work or school, making it super practical.
- Daith Piercings: The horseshoe shape nests perfectly inside that small fold of inner ear cartilage, making it both stylish and comfortable.
- Smiley Piercings: A small circular barbell tucks neatly behind your upper lip, giving you a little peek of jewelry when you smile.
- Earlobe and Helix Piercings: They give you the aesthetic of a hoop but with the easy-to-change ends of a barbell, opening up a ton of styling options.
The open design also makes cleaning a breeze, and having two decorative ends means you have double the opportunity to customize your look with different balls, spikes, or shiny gems.
To make things even easier, here's a quick reference table to help you match the right barbell to your piercing.
Barbell Styles and Common Placements
This quick reference guide will help you match the right barbell type to your piercing.
| Barbell Type | Common Piercings | Best For |
|---|---|---|
| Straight Barbell | Industrial, Tongue, Nipple | Straight piercing channels; initial healing |
| Curved Barbell | Eyebrow, Rook, Navel, Vertical Labret | Piercings on a curve or ridge of tissue |
| Circular Barbell | Septum, Daith, Smiley, Helix, Earlobe | Hoop-like aesthetic with easy customization |
Choosing the right shape is just as important as picking a style you love. By understanding how each barbell works with your body, you're setting yourself up for a piercing that not only looks great but feels great, too.
Rocking a Hoop: Rings, Clickers, and Seamless Styles
Ready to rock a hoop? Rings, hoops, and clickers are the absolute best way to make a statement, whether you’re going for a super delicate vibe or something bold that turns heads. Let's get into all the different circular styles so you can find the perfect one for your piercing.

From old-school captive bead rings to the super easy-to-use clickers we have today, every type of ring has its own personality and purpose. Getting to know how they work will make shopping for new jewelry—and changing it out—a total breeze.
The Classics: Captive Bead Rings and Seamless Rings
First up, let's talk about two timeless staples: the Captive Bead Ring (CBR) and the seamless ring. These have been piercing mainstays forever, and for good reason—they give you a clean, continuous circle that’s tough to beat.
A Captive Bead Ring (CBR) is that iconic style with a small gap where a bead or gem is held in place by the ring's tension. To get it in or out, you (very carefully!) pop the bead out and gently twist the ring open.
A seamless ring takes that clean look even further, creating a totally smooth, uninterrupted circle. You open it by twisting the ends apart—never, ever pull them straight out—and then twist them back together once the ring is in your piercing.
These classic styles are amazing for a ton of healed piercings, including:
- Nose Piercings: You just can't go wrong with a snug CBR or seamless ring in a nostril piercing. It's a classic look.
- Helix and Daith Piercings: The smooth, round shape is perfect for showing off the curves of your ear cartilage.
- Septum Piercings: A simple, unadorned CBR can be a seriously cool and subtle choice for a healed septum.
The sleek design of these rings is a huge part of their appeal. Nose piercings, especially, have blown up, now holding a solid 27% share of the body piercing jewelry market. After 2010, the trend exploded, and when celebs like Rihanna started rocking septum rings around 2013, piercing studios saw a 40% jump in bookings.
Modern Marvels: Clickers and Segment Rings
If you love the seamless look but absolutely dread wrestling with a bead or twisting a ring open, let me introduce you to your new best friends: clickers and segment rings. These newer designs give you that same sleek aesthetic with a mechanism that is ridiculously easy to use.
Think of clickers and segment rings as the "upgraded" version of traditional hoops. They give you that perfect, continuous circle look without any of the hassle, thanks to a simple, secure hinged closure.
Here’s the deal:
- Clicker Rings: These have a hinged section that literally "clicks" open and shut. You just open the hinge, slide the ring into your piercing, and click it closed. Done. It’s that simple.
- Segment Rings: These work in a similar way, but instead of a hinge, a small, curved piece of the ring pops out completely. You take the segment out, put the ring in, and snap the segment right back into place.
Because they're so secure and simple to handle, clickers and segment rings are a top-tier choice for piercings where fumbling around can be a real pain. They're especially popular for septum and daith piercings, where hearing that "click" gives you the confidence that your bling is locked in and not going anywhere. For a deeper dive into all the different circular styles, check out our guide on circular body jewelry.
Sizing Your Hoops For the Perfect Fit
One of the most critical parts of picking out a hoop, ring, or clicker is getting the diameter right. The diameter is the measurement from one inner edge of the ring to the other, and it decides exactly how the ring will sit in your piercing.
- For a Snug Fit: If you want your hoop to hug your ear, nose, or lip, you’ll want a smaller diameter. A good trick is to measure the distance from your piercing hole to the very edge of your ear or nostril to estimate the smallest size you can wear.
- For a Looser Fit: Prefer a more dangly or attention-grabbing look? Go for a larger diameter. This creates a more dramatic effect and gives your jewelry more room to move.
Ready to find your perfect circular style? Go shop our amazing collection of nose rings or browse our stunning cartilage hoops to find the clicker or hoop that will complete your look.
Studs and Dangles: The Ultimate Style Boosters
Alright, we've talked about all the classic curves and circles. Now, let’s get into two more must-haves for your collection: the timeless stud and the eye-catching dangle. These styles are all about adding versatility and personality, giving you everything from maximum comfort to mesmerizing movement. Let’s jump into how flat-back labrets can be a total game-changer and how dangles can kick your style up a notch.

The Unbeatable Comfort of Flat-Back Labrets
If you have a cartilage, lip, or nostril piercing, you absolutely need to know about the flat-back labret stud. Seriously, this piece is a lifesaver, especially for piercings that are in sensitive spots or tend to get bumped around a lot. A labret is basically a post with a cool decorative top on one end and a fixed, flat disc on the other.
That flat disc is the secret weapon here. Unlike the little ball on the end of a barbell, the flat back sits perfectly flush against the inside of your lip or the back of your ear. This means it’s way less likely to snag on your hair, clothes, or your pillowcase while you’re trying to sleep. For piercings like the tragus, conch, and helix, this means a lot less irritation and a much happier healing journey.
Labrets come in two main types, and knowing the difference helps you pick your favorite:
- Internally Threaded: With these, the screw is actually on the decorative top, and it twists into the post. This gives the post a super smooth surface, making it way more comfortable to slide in and out without scratching up the inside of your piercing.
- Threadless (Push-Pop): This is a really clever design that uses tension to stay put. The decorative top has a tiny pin that you bend just slightly before "popping" it into the hollow post. They are incredibly easy to swap out and have become a huge favorite for both piercers and piercing lovers.
Making a Statement with Dangle Jewelry
Ready to bring some movement and personality to your look? This is where the fun really starts! Dangle jewelry features a charm, gem, or chain that hangs down from the main piece, creating beautiful motion every time you move.
Dangles are perfect for showing off your favorite piercings and drawing a little extra attention. You’ll often see them used for:
- Navel Piercings: The classic dangle belly ring is an icon for a reason! It adds a perfect touch of glam and personality, especially when you’re rocking summer styles.
- Cartilage Piercings: A delicate dangle on a helix or lobe piercing can create a gorgeous, cascading look, especially if you're building a curated ear stack.
- Industrial Piercings: A lot of industrial barbells now come with a sliding charm or a fixed dangle right in the middle, adding a unique twist to this already bold piercing.
When you're picking out dangle jewelry, just be mindful of the weight. A piece that's too heavy can put a lot of stress on your piercing, so always go for a style that feels comfortable and doesn't pull.
This focus on ear styling is a huge part of piercing culture today. In fact, ear piercings completely dominate the body jewelry market, taking up a massive 46% market share across the globe. This trend is being led by millennials and Gen Z, who make up over 50% of piercing consumers and have turned the curated ear into a true form of daily self-expression. You can check out more details about the growing body piercing jewelry market to see the full scope of these trends.
Navigating Materials, Gauges, and Sizing
So you’ve found a piece of jewelry with a design that you absolutely love, but don't click "add to cart" just yet! Picking the right material and size is just as important as finding a style that screams you.
This is the part where you make sure that gorgeous new jewelry is actually going to feel good and keep your piercing happy. Whether your piercing is brand new or has been healed for years, we'll break down everything you need to know to shop like a pro.
The Best Materials For Your Piercing
Think of your piercing as a tiny wound that needs the right environment to thrive. That’s why your choice of material is so critical, especially if your piercing is still healing or you know you have sensitive skin. Not all metals are created equal, and some are way better for your body than others.
Here's a quick look at the most common materials you'll come across at Body Candy:
- Implant Grade Titanium (ASTM F-136): This is the top-tier, gold standard for body jewelry. It's completely nickel-free, making it the absolute best choice for fresh piercings or anyone with metal allergies. Professional piercers almost always use titanium for initial piercings because it's biocompatible—your body welcomes it instead of fighting it.
- Surgical Steel (316L): Super common and budget-friendly, surgical steel is a durable option with that classic silver look. Just a heads-up: it does contain trace amounts of nickel. If you have a known sensitivity, you might want to wait until your piercing is fully healed before trying it out.
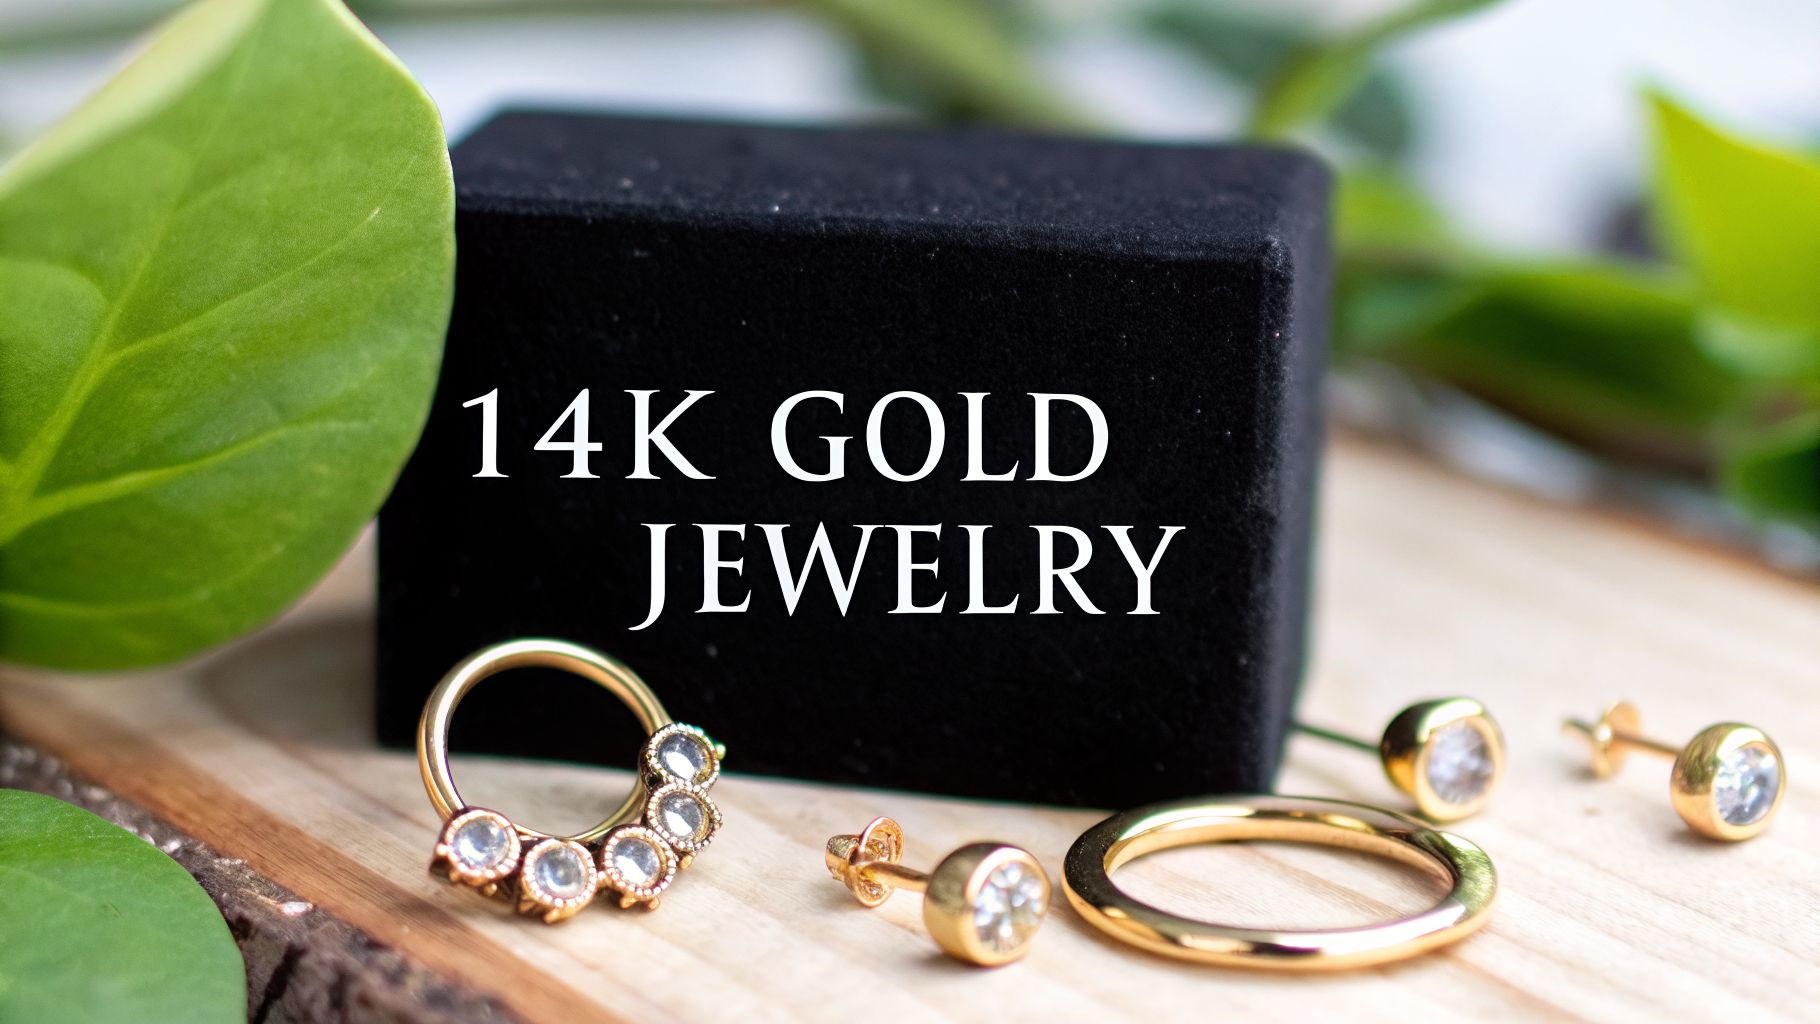
- 14k Gold: For that touch of luxury, you can't go wrong with solid 14k gold. It's a beautiful and safe choice for healed piercings. Just make sure you're getting nickel-free alloys to avoid irritation! Avoid gold-plated jewelry for new piercings, as the thin plating can flake off and cause problems during healing.
- Bioflex & Acrylic: These lightweight, flexible materials are awesome non-metallic options. Bioflex is perfect for retainers when you need to hide your piercing for work or sports. Acrylic is all about fun, vibrant colors, but it's best for occasional wear in healed piercings since the material is porous and can harbor bacteria.
Choosing a material is a lot like picking out skincare. You have to find what works for your body. For a fresh piercing, titanium is like that gentle, fragrance-free cleanser—it's the safest, most reliable option to get the job done right.
To help you decide, here’s a quick comparison of the most popular materials you'll find.
Piercing Jewelry Material Showdown
Struggling to choose? This table breaks down the pros and cons of our most popular materials to help you pick the perfect one for your piercing and your skin.
| Material | Best for Fresh Piercings? | Hypoallergenic? | Best For |
|---|---|---|---|
| Implant Grade Titanium | Yes! | Yes! | Fresh piercings, sensitive skin, and everyone in between. |
| 316L Surgical Steel | No | No (contains nickel) | Healed piercings on non-sensitive skin; very durable. |
| 14k Gold | No | Yes (if nickel-free) | Healed piercings for a high-end, classic look. |
| Bioflex & Acrylic | No | Yes | Healed piercings; Bioflex for retainers, Acrylic for fun colors. |
Ultimately, listening to your body is key. For new piercings, always start with implant-grade titanium. Once you're fully healed, you can start exploring other materials like surgical steel and 14k gold!
Understanding Gauge and Length
Alright, let's talk about sizing. It can seem confusing at first, but once you get it, you've got it for life. When you're shopping for body jewelry, you'll mainly see two measurements: gauge and length/diameter.
Gauge (G) simply refers to the thickness of the barbell or ring. Here's the tricky part you have to remember: the smaller the number, the thicker the jewelry. So, a 14g barbell is actually thicker than a 16g one. Most nostril and cartilage piercings are 18g or 16g, while belly and nipple piercings are often 14g.
Length is used for straight and curved barbells. It's the measurement of the bar from end to end, not including the decorative balls or ends. Diameter is for hoops and rings, and it measures the inside of the ring at its widest point.
Getting these sizes right is crucial for a happy piercing. Jewelry that's too short or tight can embed into your skin (ouch!), while jewelry that's too long can get snagged on everything. Your piercer chose a specific size when they did the piercing, and that's your best starting point for future shopping
Exploring Specialty Jewelry and Retainers
Once you've mastered the basics with standard barbells and hoops, a whole new world of body jewelry opens up. This is where you can get really creative, whether you're looking to stretch your lobes or just need to keep a piercing on the down-low for a bit.
Plugs, Tunnels, and Tapers for Stretched Ears
Ever seen someone with impressively stretched earlobes and wondered how they did it? You were looking at the world of plugs and tunnels. This style is a journey, all about gradually sizing up your piercing over time to fit larger and bolder jewelry.
- Plugs: Think of these as solid, cylinder-shaped pieces that completely fill your stretched piercing. The material options are incredible, from gorgeous organic wood and polished stone to eye-popping glass.
- Tunnels (or Eyelets): These are the hollow cousins of plugs. Tunnels give you that cool see-through look and are often a lot lighter to wear than a solid plug of the same size.
- Tapers: These are cone-shaped guides used to help you gently ease into the next size up. Here's the critical part: tapers are tools, not jewelry! They should only be in your ear for the few moments it takes to guide your new plugs or tunnels into place.
Patience is everything when it comes to safe stretching. You should only ever go up a single size at a time (like from a 10g to an 8g) and give your lobes at least a month to heal and relax before the next stretch. Rushing it can cause tears and damage, so take your time and enjoy the process. When you're ready, check out our awesome collection of plugs and tapers to find your next goal size.
Piercing Retainers for Discretion
We've all been there—you have a job interview, a school function, or a doctor's visit where your favorite piercing just won't fly. That's exactly what retainers are for. These are clever little pieces of clear or flesh-toned jewelry made to be as invisible as possible while keeping your piercing open.
A piercing can start to shrink in just minutes, especially if it's still new. A retainer is your secret weapon to make sure your piercing is still there when you're ready to put your metal jewelry back in.
Most retainers are made from Bioflex, a flexible and biocompatible plastic that's super comfortable for temporary use. You can find them for just about any piercing, from your nostril and septum to your navel and cartilage. They're a true must-have for anyone who sometimes needs to go into stealth mode with their piercings.
Surface Barbells and Dermal Anchors
Ready for some next-level piercing styles? Let's talk about the jewelry for more advanced placements. Surface barbells are basically staple-shaped bars made for surface piercings—the ones that go through flat planes of skin instead of an edge like your earlobe. You'll see them in piercings like the nape (back of the neck) or on hips. The 90-degree bends at each end are key to helping reduce pressure and fight off rejection.
Dermal anchors, often called microdermals, are a whole different game. This is a single-point piercing where a tiny base is placed right under the skin, leaving a small threaded post sticking out. From there, you can screw on all sorts of decorative tops. Dermals give you amazing creative freedom, letting you add a bit of sparkle almost anywhere you can imagine.
Your Piercing Jewelry Questions Answered
Alright, so you've got the rundown on all the different jewelry styles. But you've probably still got a few questions buzzing around your head, right? Totally normal! Let’s clear up some of the most common ones so you can feel like a pro when picking out your next piece.
When Can I Change My Jewelry After a Piercing?
This is the big one. The number one question we get, and the answer is always the same: patience is everything! Think of a new piercing as what it is—a wound. It needs uninterrupted time to heal. If you swap out your starter jewelry too early, you risk introducing bacteria and seriously irritating the piercing, which can set your healing back weeks or even months.
- Lobe Piercings: These are usually the quickest. You can start thinking about swapping your starter earrings after about 6-10 weeks.
- Cartilage Piercings (Helix, Conch, Tragus): Get ready to wait a bit longer. Don't even consider changing the jewelry just for style until at least 3-6 months have passed. For some people, it can even take up to a full year.
- Other Piercings (Navel, Nipple, etc.): Healing times for these can vary wildly, but a good rule of thumb is to plan on waiting at least 6-12 months before changing out that initial barbell.
Remember, these are just estimates. The most important rule is to wait until your piercing is 100% healed. That means zero soreness, no discharge, and no redness. If you're not sure, your piercer is your best friend—just ask them!
Can I Mix Different Metal Colors?
Absolutely! In fact, you totally should. The old rule of sticking to just one metal color is long gone. Mixing yellow gold, silver tones, rose gold, and even black PVD jewelry is a massive trend, and it’s the best way to build a look that’s completely you.
A curated ear with a mix of metals looks incredibly cool and intentional. Picture this: a yellow gold hoop in your daith, a classic sterling silver stud in your tragus, and a flashy rose gold clicker in your helix. The trick is to make it look deliberate. Try creating a pattern or balancing the colors across your piercings to tie it all together for a cohesive vibe.
How Do I Keep My Jewelry Clean?
Keeping your bling looking brand new is actually pretty simple! For regular, everyday cleaning of healed piercings, all you need is some mild, unscented soap and warm water. Just gently wash the jewelry and the area around it, rinse it really well, and pat it dry with a clean paper towel.
Need a deeper clean, especially for those detailed pieces with lots of nooks and crannies? Let them soak in a small bowl of warm water and that same mild soap for a few minutes. Then, you can use a super soft-bristled toothbrush to gently scrub away any gunk. The key is to rinse completely to make sure no soap residue is left behind to cause irritation. A little regular cleaning goes a long way in keeping your pieces sparkling and your piercings happy.
Ready to put all this new knowledge to work and find your next favorite piece?