
So you did it! Welcome to the nose piercing club. Now that you've got that awesome new sparkle, the real work begins: keeping it clean. Don't worry, it's way easier than you think. A gentle cleaning routine is the secret to a fast, stress-free healing journey and getting you ready for some killer new jewelry.
Your Essential Nose Piercing Aftercare Routine
Alright, so you're officially part of the crew and probably have a ton of questions. Let's cut through the noise. This is your cheat sheet for a beautifully healed piercing, free from drama and those dreaded irritation bumps.
Proper cleaning is non-negotiable. It's the number one way to prevent infection and make sure everything heals up perfectly, a process that usually takes about 2 to 4 months.
Forget any weird potions or piercing myths you've heard online. Your new best friend is a simple saline solution. You've got two great options here: a store-bought sterile saline wound wash or a simple homemade mix.
To make your own, just dissolve 1/4 teaspoon of non-iodized sea salt into 8 ounces of warm distilled water. This gentle approach is perfect for flushing away crusties and debris without drying out your skin. For a deeper dive, you can always check out aftercare guides from health experts.
What to Focus On Daily
Your goals during the first few weeks are straightforward but super important. Nail these, and you'll be on the fast track to a happy piercing.
- Clean it Twice a Day: No more, no less. Once when you wake up and once before bed is the perfect rhythm to keep things clean without overdoing it.
- Hands Off!: This is the big one. Avoid touching, twisting, or fiddling with your new jewelry at all costs. Your hands are covered in germs, and messing with the piercing just invites irritation.
- Pat it Dry: After cleaning, gently pat the area dry with a fresh paper towel or a piece of sterile non-woven gauze. Bath towels are a no-go—they can snag your jewelry and harbor bacteria.
To give you a clearer picture of what to expect, here’s a quick timeline for your daily cleaning routine.
Daily Cleaning Schedule for New Nose Piercings
This table is a handy reference for what your cleaning routine should look like and what you can expect during the initial healing phase.
| Timeframe | Cleaning Frequency | What You Should See |
|---|---|---|
| Weeks 1-2 | Twice daily (morning & night) | Some redness, slight swelling, and "crusties" (dried lymph fluid) are normal. |
| Weeks 3-4 | Twice daily | Redness and swelling should be going down. You'll still see crusties, which is a good sign. |
| Weeks 5 and beyond | Once or twice daily | The piercing should look and feel much better. Continue cleaning until fully healed. |
Stick with this schedule, and you'll be giving your piercing the best possible environment to heal smoothly.
Honestly, the less you mess with your new piercing, the better it will heal. Your body is doing all the hard work; your only job is to keep the area clean and protect it from bumps and snags.
Choosing Your Cleaning Solution
Alright, let's get your aftercare kit sorted out. We need to talk about what actually works for cleaning a new nose piercing and—more importantly—what you absolutely need to stay away from. I know it's tempting to just grab something from your bathroom cabinet, but trust me, using the wrong stuff can turn your healing process into a total nightmare.
The undisputed champion of piercing aftercare is a sterile saline spray. Seriously, this stuff is your new best friend. Why? Because it’s gentle, it’s effective, and its salinity is perfectly balanced to match what's already in your body. This means it can clean away all the crusties and gunk without irritating or drying out that delicate healing skin. You can find some great, piercer-approved options, like the ones in our guide to H2Ocean aftercare.
The Saline Spray Advantage
You might have heard about DIY sea salt soaks—they used to be the go-to recommendation. But the professional piercing world has pretty much moved on from that, and for a really good reason: it’s almost impossible to get the salt-to-water ratio right at home. A little too much salt, and you’re looking at a super irritated piercing. Too little, and it’s not doing anything to help.
Even major piercing organizations like The Association of Professional Piercers now recommend against homemade soaks. The risk of mixing a solution that's too strong or, worse, not sterile, just isn't worth it. This is exactly why pre-packaged sterile saline is the gold standard today. It takes all the guesswork out of the equation.
This handy infographic breaks down your options and points you in the right direction for a happy, healthy piercing.
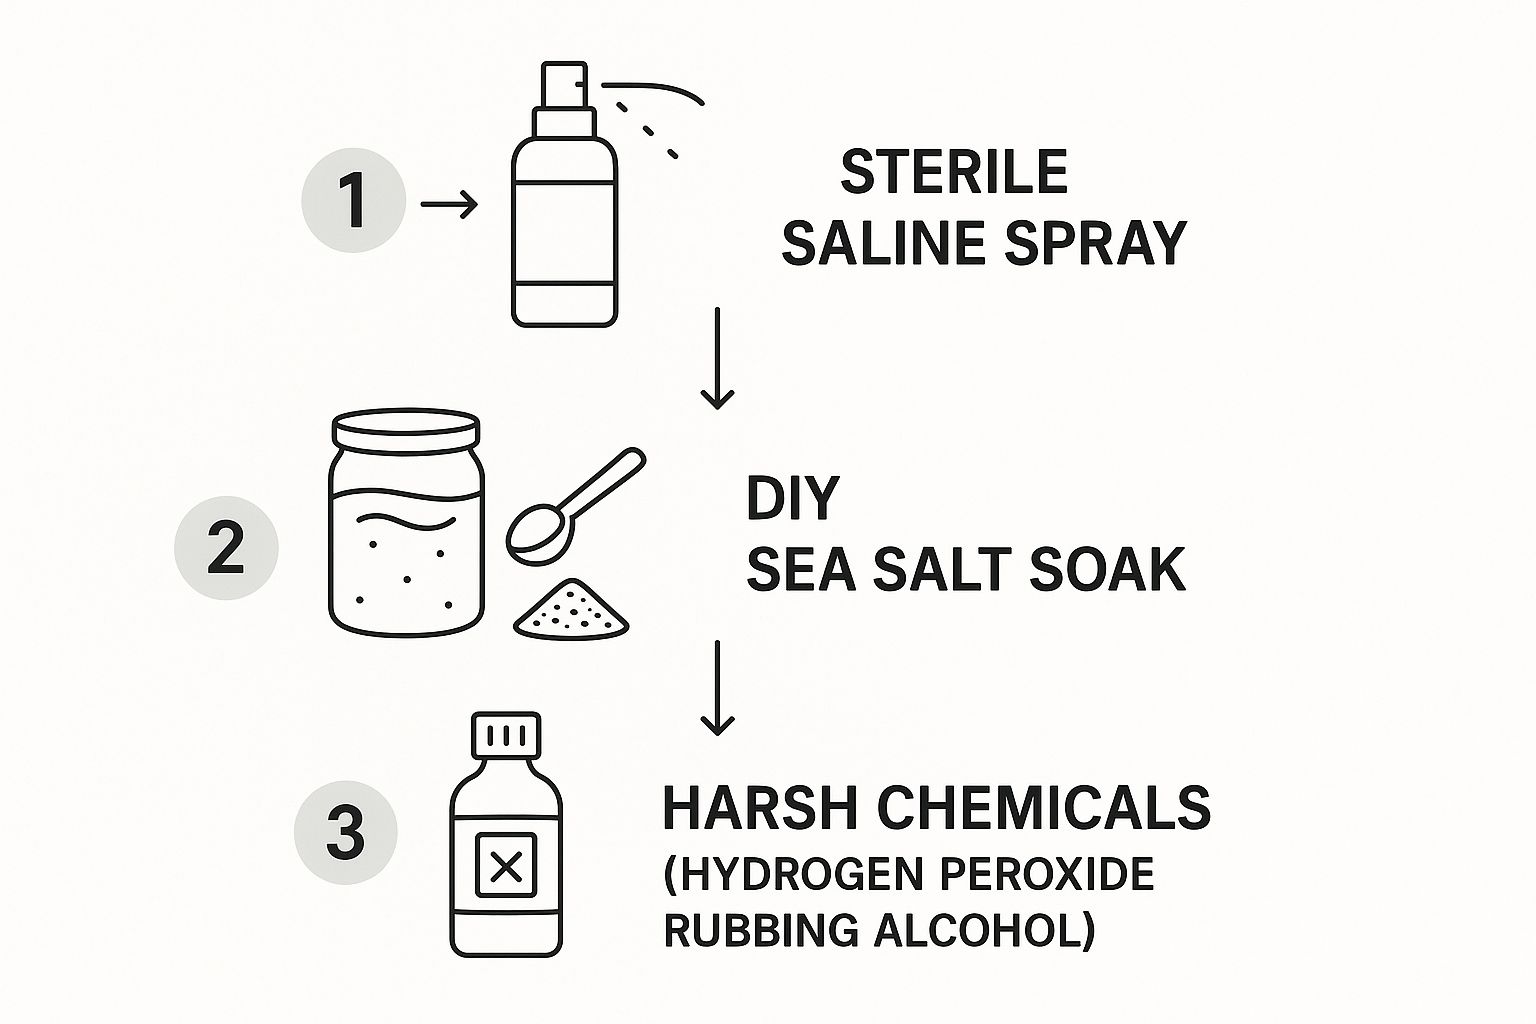
As you can see, the path to a well-healed piercing is clear: sterile saline is the way to go, while other methods are just asking for trouble.
Stay Away From These!
Please, please, please do not let any of the following products get anywhere near your new piercing:
- Hydrogen Peroxide & Rubbing Alcohol: These are way too harsh. They’re designed to kill everything, and that includes the new, healthy cells your body is working hard to build. Using them will absolutely slow down your healing time.
- Antibacterial Soaps & Ointments: Soaps, especially those with fragrances or harsh chemicals, can cause major irritation. Ointments are also a huge no-no; they create a sticky barrier that traps moisture and bacteria right against the piercing, which is the perfect recipe for an infection.
Mastering Your Cleaning Technique
Alright, you've got your saline spray, and you're ready to get down to business. Let's walk through the actual cleaning process. This isn't complicated, but doing it right every time will keep your new nose piercing happy and healthy.
Think of this as the practical, no-fuss guide to a routine that helps, not hurts, your healing journey.
Before you even think about touching your piercing, we need to talk about the golden rule of aftercare: wash your hands thoroughly. I'm talking antibacterial soap, warm water, the whole deal. Your hands are covered in germs, and the last place you want them is near a fresh wound. No exceptions!
The Gentle Cleaning Process
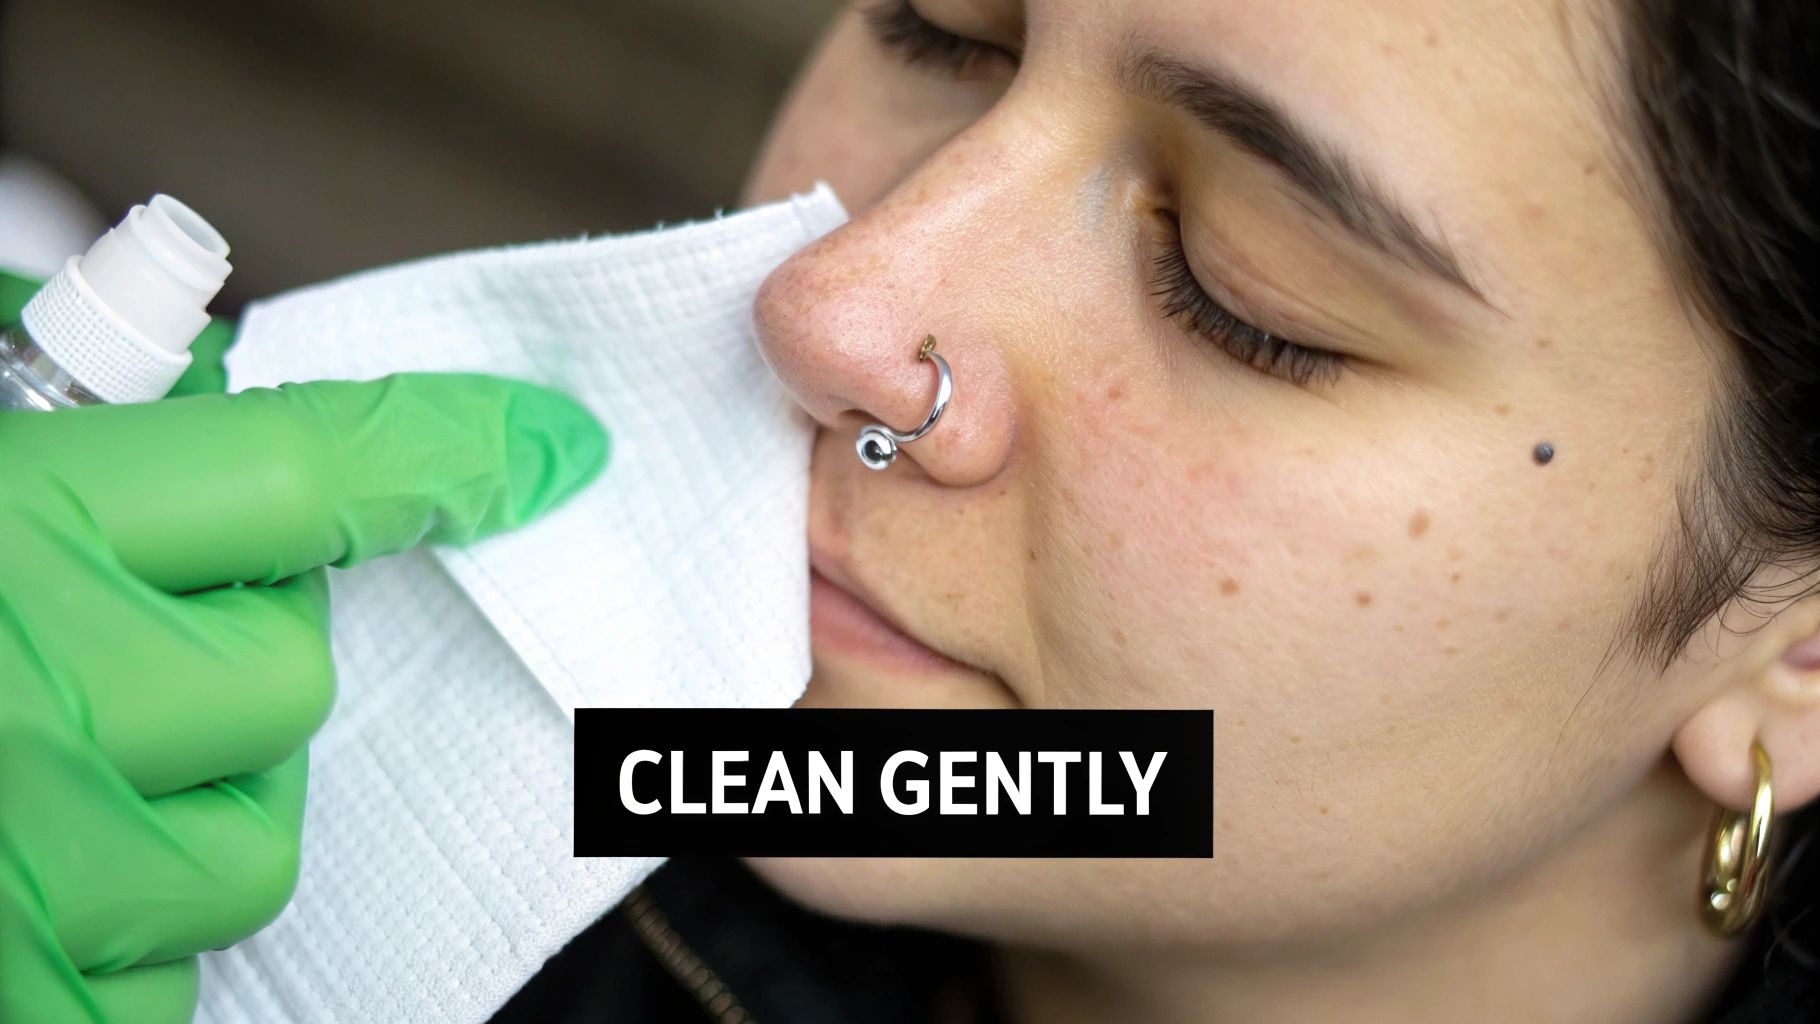
With clean hands, you're ready to go. The whole point here is to be gentle but effective, clearing away any buildup without causing any drama for your piercing.
- Spray It Down: Give the front and back of your piercing a generous spray with your sterile saline solution. Don't be shy! Let it soak for about a minute. This really helps soften up any of those little "crusties" that have formed.
- Wipe Away Gently: Grab a piece of sterile non-woven gauze or even a clean paper towel to gently wipe away what the saline has loosened. Whatever you do, never pick at them with your fingernails. This can create tiny tears in the healing skin, which is basically an open invitation for bacteria and those dreaded irritation bumps.
- Pat It Dry: Once everything is clean, use a fresh piece of gauze or paper towel to gently pat the area dry. A common mistake people make is using their bath towel, but that's a huge no-go. They can easily snag on your new nose stud and often harbor bacteria, which is the last thing you want near a healing piercing.
Remember, the point of cleaning is to help your body heal, not to scrub the piercing into submission. A light touch is all it takes. Your body is already doing the heavy lifting; you’re just there to keep things clean and clear.
Don't Forget the Inside
Cleaning the outside is pretty straightforward, but what about the inside of your nostril? The good news is, you'll use the same gentle approach.
Saturate one end of a piece of gauze or a folded paper towel with your saline solution.
Carefully insert it just inside your nostril and gently wipe around the back of the jewelry. You're just trying to remove any buildup that might have collected there. Again, the key is to be gentle and avoid moving or rotating your shiny new nose stud or ring as much as possible. This simple step keeps everything clean, inside and out, without putting unnecessary stress on your piercing.
Navigating the Healing Journey
Proper cleaning is half the battle, but what you do between those saline soaks is just as crucial for a happy, healthy piercing. Think of the healing process as a marathon, not a sprint. Your daily habits are what will ultimately make or break your piercing's success.
Let's get one thing straight right away and bust a massive myth: you should never, ever twist your jewelry! I know, it's an old piece of advice that just refuses to go away, but it does so much more harm than good.
Twisting a new piercing drags in outside bacteria, tears up all the delicate new tissue your body is trying to build, and can seriously set back your healing time. Seriously, just leave it alone! Your body knows what it's doing.
Everyday Life with a New Piercing
Getting your nose to coexist peacefully with your daily routine means being a little extra mindful for a while. It might sound like a lot at first, but these small adjustments will become second nature before you know it.
- Makeup and Skincare: You'll need to become a ninja around your new piercing. When you're applying foundation, powders, or lotions, be super careful to leave a small, clean circle around the jewelry. These products are notorious for clogging up the piercing channel and causing some nasty irritation.
- Pillowcase Protocol: This one's easy but so important. Swap your pillowcase out frequently. A fresh, clean surface dramatically reduces the amount of bacteria your piercing is exposed to all night long.
- Swimming and Soaking: For the initial healing period, you'll have to say no to pools, hot tubs, lakes, and oceans. Think of these bodies of water as a giant party for bacteria—and your new piercing is definitely not on the guest list.
The whole goal is to create a "safe zone" for your piercing. If you can avoid friction, pressure, and contamination, you're giving your body the best possible chance to heal up perfectly.
Nose Piercing Aftercare Myths vs Reality
Let's separate fact from fiction with what piercing pros actually recommend for a healthy piercing.
| Common Aftercare Myth | Professional Piercer Advice |
|---|---|
| "You need to twist the jewelry to keep it from getting stuck." | Hands off! Twisting introduces bacteria and tears healing tissue. The jewelry won't get stuck. Your body will heal around it just fine if left alone. |
| "Use rubbing alcohol or hydrogen peroxide to kill all germs." | Way too harsh! These products kill the good cells trying to heal your piercing and cause severe dryness and irritation. Stick to sterile saline. |
| "It's fine to change the jewelry after a couple of weeks." | Not so fast. Even if it looks healed, the inside takes much longer. Wait the full healing time recommended by your piercer to avoid complications. |
| "A little redness and crust is a sign of infection." | Usually normal. Some redness, swelling, and "crusties" (dried lymph fluid) are a standard part of the healing process. Green/yellow pus is not. |
Sticking to professional advice is always the safest bet. When in doubt, a quick call to your piercer can clear things up.
Knowing the full healing timeline is also incredibly helpful for setting your expectations. For a complete rundown, you can learn more about the healing times for popular piercings in our detailed guide.
And remember, protecting your piercing from getting snagged on clothes, towels, or washcloths is a constant mission. A little bit of awareness goes a very long way in preventing painful trauma and making sure your piercing heals as quickly and smoothly as possible.
Troubleshooting Common Piercing Problems
Even with the most dedicated aftercare routine, piercings can get a little angry sometimes. Before you start to panic, let's walk through what might be going on. More often than not, you're just dealing with some temporary irritation, not a full-blown crisis.
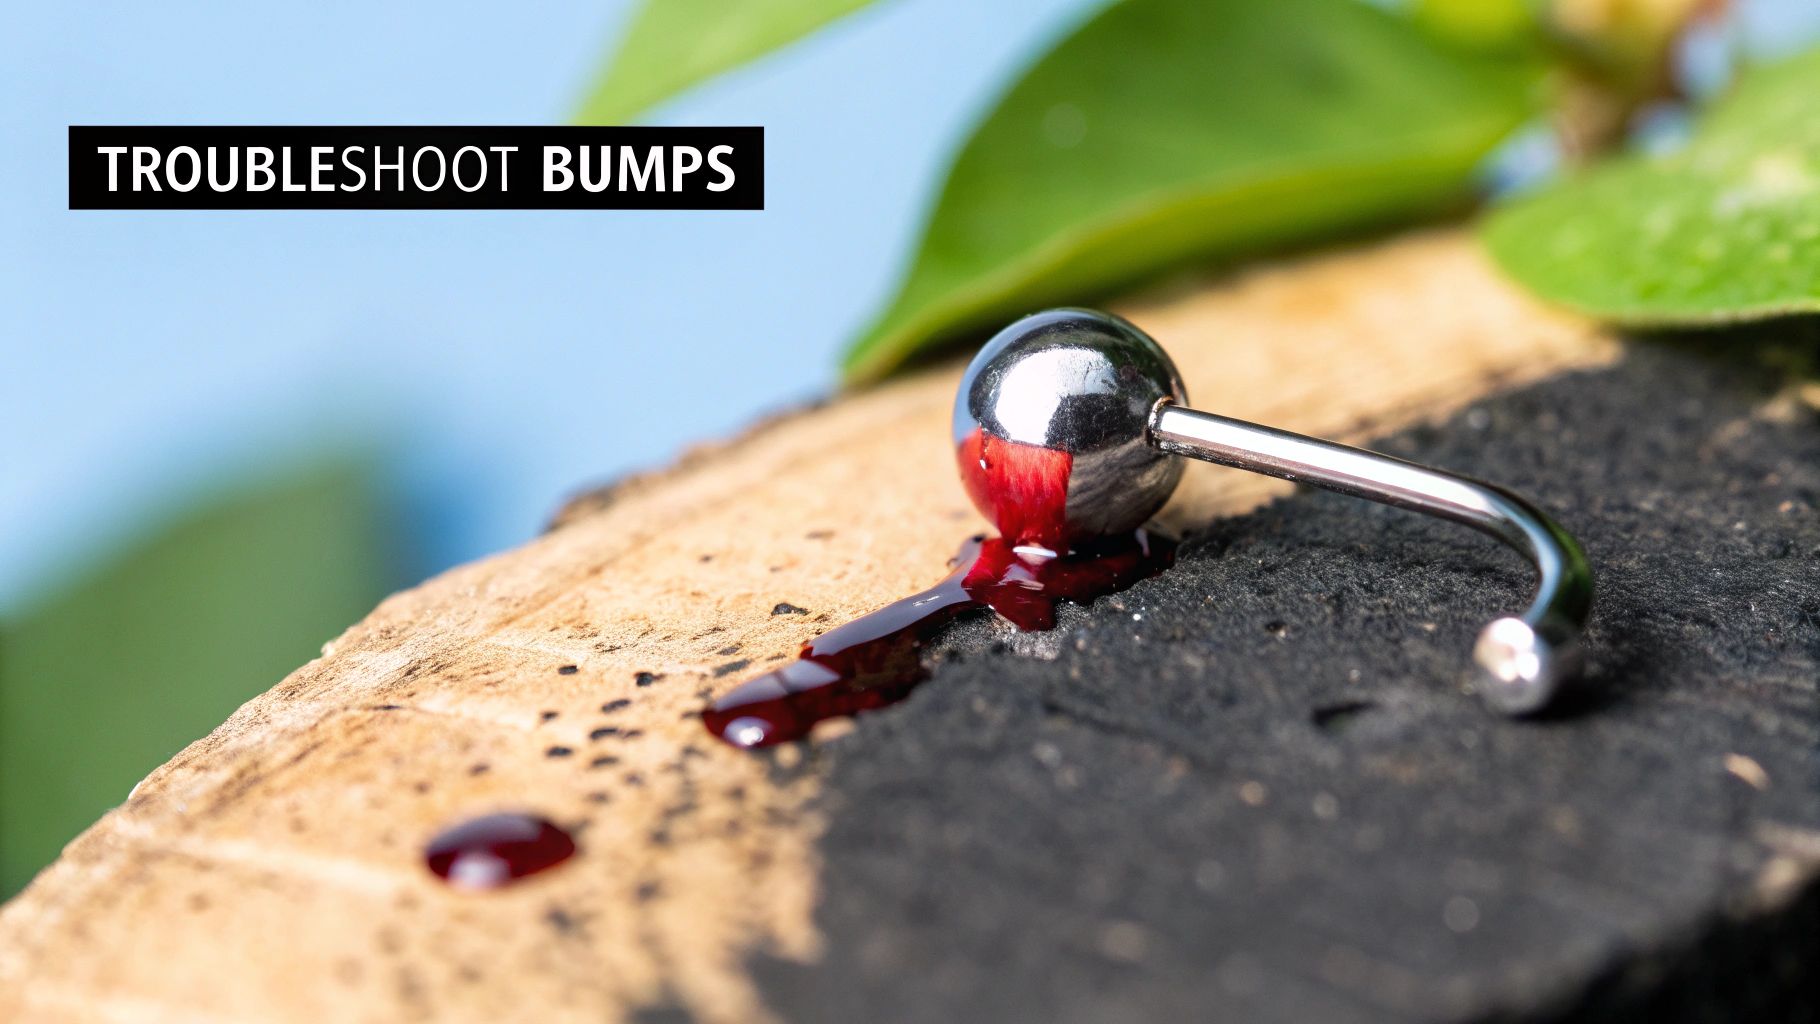
First up is the infamous irritation bump. This is hands-down the most common issue we see. It usually looks like a small, reddish pimple right next to your piercing, and it’s basically your body’s way of saying, "Hey, something's bugging me!"
This little bump could be caused by anything from snagging your jewelry on a towel, sleeping on it funny, or even a reaction to a new face wash you're using.
Another frequent culprit is the jewelry material itself. If you have a sensitivity to certain metals, it can trigger constant irritation that just won't quit. To get the full scoop, check out our guide on what piercing metals are right for you.
Is It an Infection?
Now, let's talk about the big one: infection. An actual infection is much less common than simple irritation, but it's something you absolutely need to take seriously. Knowing how to tell the difference is critical.
Keep an eye out for these major red flags that point toward a potential infection:
- Pus: We're not talking about clear fluid. Think thick, yellow or green discharge. That's a classic sign.
- Heat: Does the area around the piercing feel significantly hot when you touch it?
- Pain: A throbbing, persistent pain that seems to be getting worse is a bad sign.
- Serious Swelling: Swelling that spreads far beyond the immediate piercing site needs attention.
If you suspect an infection, there's one golden rule: DO NOT remove the jewelry! I know it's tempting, but taking it out can let the hole close up, which traps the infection inside. This can lead to a much bigger problem, like an abscess.
When complications do happen, they're often tied to a slip-up in aftercare. Studies show that infections can pop up in 10% to 20% of new piercings if hygiene isn't kept in check. If you're seeing any of the signs of infection I mentioned, the best move is to contact your piercer or a doctor right away for guidance.
Your Nose Piercing Aftercare Questions Answered
Still got a few questions floating around in your head? It’s totally normal. Let's run through some of the most common things people ask during the healing process so you can keep your new piercing happy and healthy.
How Do I Clean the Inside of My Nose Piercing?
The key here is to be gentle! Grab a piece of sterile non-woven gauze or even a fresh paper towel, give it a good soak in your saline solution, and carefully wipe around the jewelry inside your nostril.
Whatever you do, stay away from cotton swabs. Those pesky little fibers love to get snagged on jewelry and can cause some serious irritation. Your only goal is to clean away any crusties without moving or twisting the jewelry.
Can I Use Tea Tree Oil on a Piercing Bump?
We’re going to give that a hard no. Tea tree oil is way too harsh for a fresh piercing and can cause all sorts of problems, from nasty irritation and dryness to actual chemical burns.
Trust us, this will almost always make that bump angrier, not better. Just stick with your saline soaks. If a bump does pop up and won't go away, your best bet is to have a chat with a professional piercer.
Never try to "make up" for a missed cleaning by over-cleaning or using harsh products. This will only irritate your piercing. Consistency is always better than intensity.
What Happens If I Miss a Cleaning?
Life happens! If you forget to clean your piercing once, don't sweat it. Just hop back on your regular schedule with the next cleaning. Consistency over perfection is the name of the game here.
When Can I Finally Change My Nose Ring?
Patience is a virtue, my friend! A nose piercing needs at least 2 to 4 months to fully heal, and for many people, it can take even longer.
You’ll know it’s getting close when there’s no more soreness, discharge, or redness. To be 100% sure, pop into your piercer's shop. They can give you the official green light and even help you swap out that first piece of jewelry safely.
Ready to start planning your new look for when your piercing is fully healed? At BodyCandy, we've got a massive collection of high-quality nose rings and studs just waiting for you. Shop our full collection of nose rings today at https://bodycandy.com


