So, you just got a super cool tragus piercing and you're already mapping out all the awesome jewelry you're going to rock. We totally get it! But before you start loading up your cart, let's pump the brakes for a sec and talk about the first crucial step: healing.
The big question on your mind is, "How long is this gonna take?" The honest answer is that the average healing time for a tragus piercing is between 6 and 12 months, and sometimes even a bit longer. Don't let that number freak you out—it’s a cartilage piercing, which means it needs way more patience than a simple lobe piercing.
Your Tragus Healing Time Explained
Getting a new piercing is a real commitment, and knowing what to expect is half the battle. Unlike a lobe piercing that goes through soft, fleshy tissue, your tragus is a thick pad of cartilage.
Think of it this way: healing a lobe is like patching a tiny hole in drywall. Healing cartilage, on the other hand, is like letting a broken bone mend. It's a much slower, more intricate construction project happening on a very tiny scale.
This long timeline is completely normal. Your body has to build brand new, stable tissue through an area that doesn't get a ton of blood flow, which is why patience is truly your BFF here. Trying to rush things or swapping jewelry too soon can lead to major setbacks, irritation bumps, and a healing journey that drags on even longer. It’s so much better to just settle in and give your body the time it needs to do its job right.
Why Does It Take So Long?
The healing journey isn't just a waiting game; your body is actively working around the clock. While you might hear some people heal in 3 to 6 months, that's pretty optimistic. For most of us, it will easily stretch to a full year, and in some cases, even 18 months.
The reason is simple: cartilage tissue just doesn't have the rich blood supply that softer areas do. Blood is what delivers all the good stuff—oxygen and nutrients—needed for repair. Less blood flow means a slower healing process. It's a marathon, not a sprint!
To give you a clearer picture, let's break down the typical healing timeline into stages.
Tragus Piercing Healing Timeline at a Glance
This table gives you a quick rundown of what you can generally expect as your new tragus piercing heals. Remember, your body is unique, so your personal timeline might vary a bit.
| Healing Stage | Typical Duration | What to Expect |
|---|---|---|
| The "Angry" Stage | Weeks 1-8 | This is the inflammatory phase. Expect some redness, swelling, and definite tenderness. It might even feel warm to the touch. This is your body's initial immune response kicking in, and it's totally normal. |
| The "Construction" Stage | Months 2-6 | Things will start to calm down. The piercing might look and feel a lot better, but don't be fooled—it's still super fragile on the inside. You'll probably notice some yellowish-white "crusties" (which is just dried lymph fluid). This is actually a great sign of healthy healing! |
| The "Finishing Touches" Stage | Months 6-12+ | This is the final stretch where the new tissue inside the piercing channel (the fistula) gets strong and stable. Any initial tenderness should be completely gone. Only when you reach the end of this stage is your piercing considered fully healed and ready for that jewelry swap you've been dreaming of. |
Your main goal is to be patient and listen to your body throughout each of these phases.
Key Takeaway: The most important thing to remember is that "healed on the outside" does not mean "healed on the inside." Even if it looks perfect after a few months, the internal channel is still working hard to become strong and permanent.
Understanding this from day one sets you up for a smooth and successful healing experience. To see how this compares to other piercings, check out our handy guide on healing times for popular piercings. Just remember, with cartilage, patience is everything.
Understanding the Stages of Tragus Healing
So, you've got this awesome new tragus piercing, but what's actually happening in there while it heals? It’s not a simple overnight fix; your body is embarking on a pretty fascinating journey. Think of it like a major construction project happening on a micro-scale—each phase has a specific job to do to build a strong, healthy piercing that will last a lifetime.
Knowing what’s going on behind the scenes is the key to staying patient and not freaking out over every little change. Let's walk through the healing roadmap for your tragus piercing, step by step.
The Inflammatory Phase: Your Body's First Responders
This is the first and most dramatic stage, usually lasting from week one to week four, though it can sometimes go a bit longer. The moment you get pierced, your body sounds the alarm and sends a team of first responders to the site. This is your immune system kicking into high gear.
During this initial phase, it’s completely normal to experience:
- Redness and Swelling: This is just a sign of increased blood flow rushing healing cells to the area. It's a good thing!
- Tenderness or Mild Pain: Your body is protecting a fresh wound, so of course it's going to be sensitive.
- Warmth: That same rush of blood can make the area feel a little warm to the touch.
This immediate reaction is your body’s way of saying, "Okay, we've got a situation here, and we're on it!" It's the essential foundation for the entire healing process.
The Granulation Phase: The Construction Crew Arrives
Next up is the Granulation Phase, sometimes called the proliferative phase. This is the longest and most crucial stage, lasting anywhere from one to six months. The initial inflammation has calmed down, but now your body is in full-on construction mode, working hard to build brand-new tissue.
This new tissue, called granulation tissue, forms a delicate scaffold inside the piercing channel, connecting the entry and exit holes. It's super fragile, which is why your piercing might look healed on the outside but is still very vulnerable on the inside.
The most iconic sign of this stage? Those notorious "crusties." That yellowish-white gunk you see forming around your jewelry is simply dried lymph fluid—a totally normal byproduct of your body healing itself. It's a good sign! It means the construction crew is hard at work.
It’s tempting to think you're in the clear during this phase because the pain and swelling are gone. You're not there yet. This is when being gentle and consistent with your aftercare matters most.
This timeline is a great visual for the long haul, showing how the process moves from the initial piercing to the halfway mark and finally to a fully healed state.

This simple visual reminds us that reaching the six-month mark is a huge milestone, but the final strengthening process continues for much longer.
The Maturation Phase: Finishing Touches and Fortification
Finally, you'll enter the Maturation Phase, also known as the remodeling phase. This is the home stretch, and it can take from six months all the way up to 12 months or even more. The delicate tissue built during granulation now gets stronger, more resilient, and fully matures into a permanent, stable piercing channel (also known as a fistula).
During this time, the tissue around the jewelry will tighten up, and the piercing will feel much less delicate. The edges of the piercing hole will become smooth and pull inward. You shouldn't have any tenderness, discharge, or crusties at this point.
It's only when this phase is complete that your piercing is truly, fully healed. This is when you can confidently say the healing time for your tragus piercing is over, and it’s finally safe to start having fun and experimenting with new jewelry!
Factors That Influence Your Healing Speed
Ever look at a friend’s piercing and wonder why theirs healed up in record time, while yours seems to be taking the scenic route? It’s not a race! The honest truth is that the healing time for a tragus piercing is incredibly personal. No two people heal the same way.
Your body is a complex machine, and a whole bunch of factors, both inside and out, can either speed things up or slow them down. Getting a handle on these influences puts you back in control, letting you create the best possible conditions for a smooth healing journey.
Your Body and Lifestyle Habits
A good heal starts from the inside out. Think of your body as the construction crew for your new piercing; you’ve got to give them the best tools and fuel to get the job done right.
Your overall health is a huge piece of the puzzle. If you’re feeling run down, your immune system is already working overtime and just won't have the spare resources to focus on healing a brand-new piercing.
Here’s what really moves the needle:
- A Healthy Diet: Eating foods packed with nutrients gives your body the raw materials it needs to build fresh tissue.
- Quality Sleep: Getting a solid 7-9 hours of sleep is primetime for your body’s repair-and-rebuild cycle.
- Hydration: Staying hydrated is key for healthy skin and helps your system flush out toxins.
- Stress Levels: Believe it or not, high stress can weaken your immune response, putting the brakes on healing.
On the other hand, things like smoking or heavy drinking can seriously sabotage the process. They can restrict blood flow and dehydrate you, making the path to a healed piercing much longer and bumpier.
External Irritants and Physical Stress
While your internal health sets the stage, your day-to-day actions have a huge, immediate impact on your new tragus. It's in a bit of a tricky spot, making it super vulnerable to accidental bumps, snags, and pressure.
Even tiny, seemingly harmless habits can cause major setbacks. The name of the game is protecting your piercing from any and all physical trauma while it’s in this delicate phase.
Pro Tip: The less your piercing moves, the faster it heals. Every little snag or bump is like shaking a new plant you just put in the ground—it disrupts the roots and forces your body to start the repair process all over again.
Common Culprits to Avoid
So, what are the big offenders you need to look out for? Keeping these external factors in check is one of the single most effective things you can do to help your body heal.
Be extra careful about these things:
- Sleeping on Your Piercing: This is a big one. The constant pressure can lead to irritation, swelling, and can even make the piercing migrate or heal at a crooked angle. Try using a travel pillow and resting your ear in the hole to keep pressure off it completely.
- Headphones and Earbuds: This is tough, but both over-ear headphones and in-ear buds can press on or rub against your tragus jewelry. That friction is a double-whammy: it irritates the piercing and can introduce bacteria, leading to those dreaded irritation bumps. It’s best to avoid them on the pierced side for at least the first few months.
- Snagging Your Jewelry: Be so mindful when you're brushing your hair, pulling a shirt over your head, or even just talking on the phone. These simple actions can easily catch your jewelry and cause some serious, painful trauma to the healing tissue.
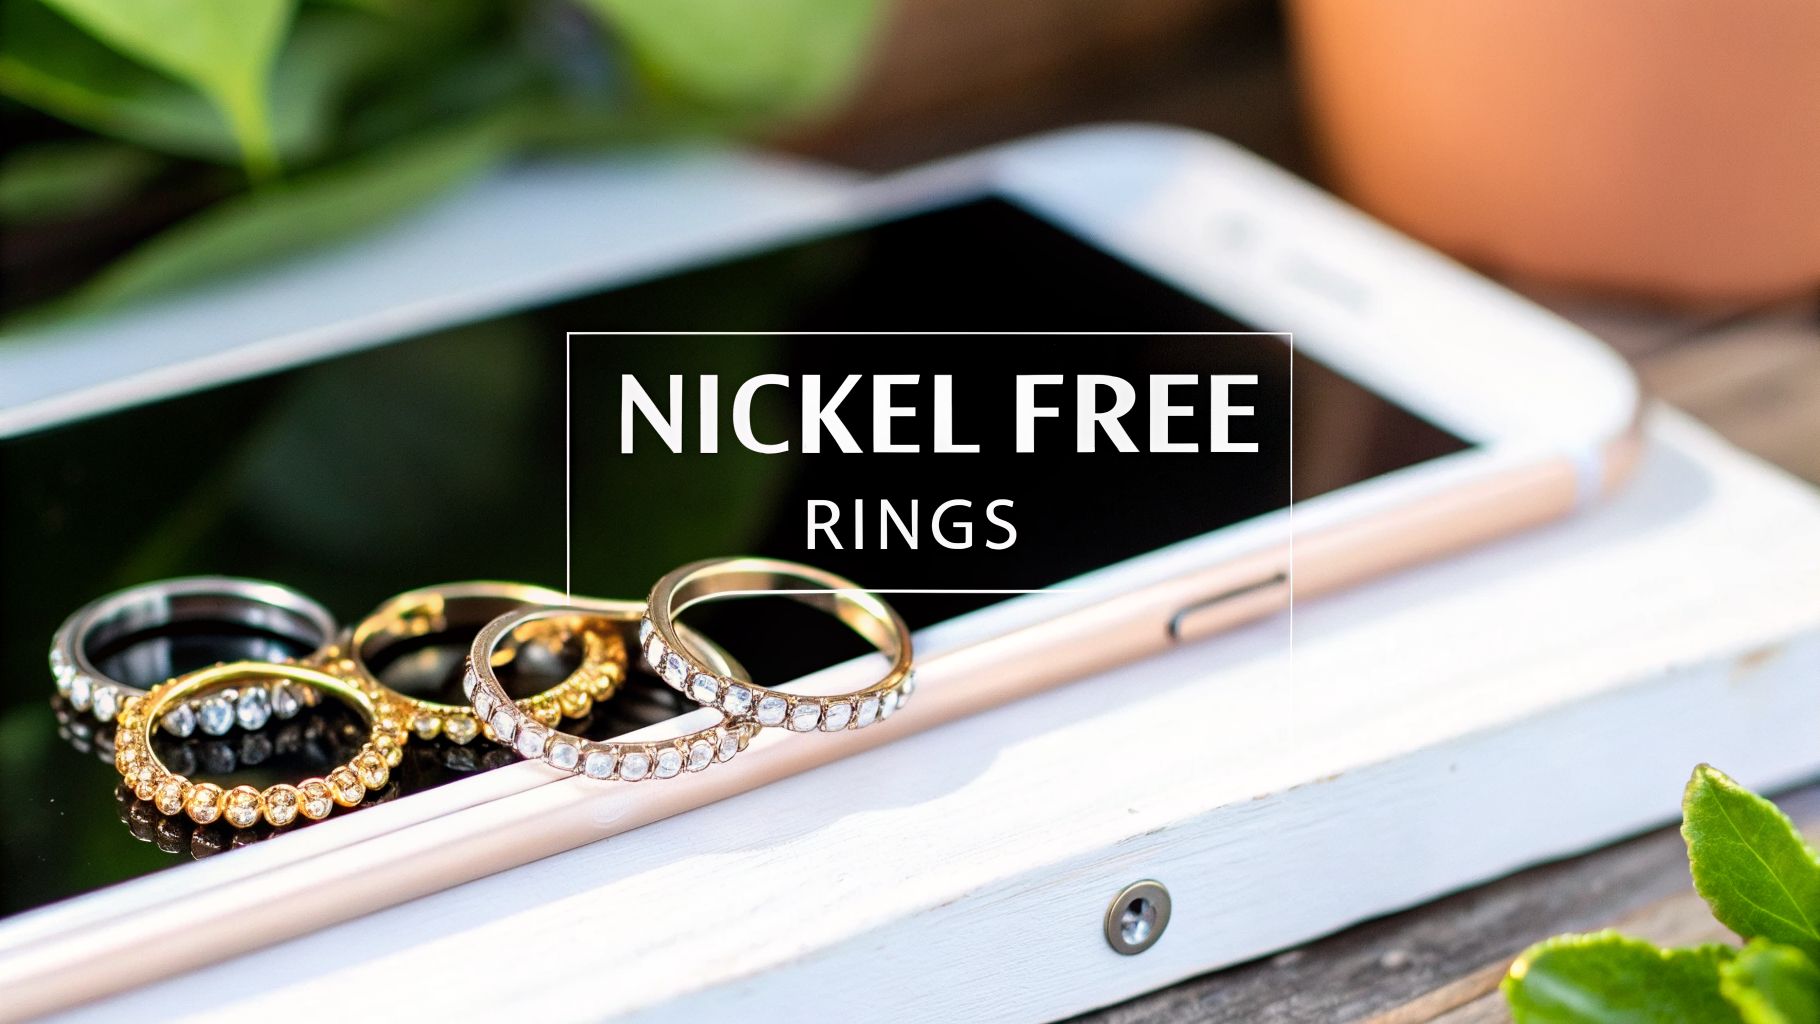
- Poor Jewelry Quality: The metal your initial jewelry is made from is critical. Low-quality materials often contain nickel, which can trigger allergic reactions. This is exactly why piercers insist on starting with implant-grade titanium or 14k gold for a happy, healthy piercing.
Your Essential Tragus Piercing Aftercare Routine
Alright, you made it through the needle, and your new tragus piercing is looking awesome. Now comes the most important part of the whole journey: the aftercare!
Think of it this way: your piercer did the hard work of creating the piercing, but now it’s your job to be its guardian angel for the next 6 to 12 months. A solid aftercare routine is the one thing that stands between a smooth, easy heal and a bumpy, irritation-filled one. But don't worry, it's not complicated. When it comes to happy piercings, simpler is always better.

The Golden Rules of Cleaning
First things first: forget everything you’ve heard about using harsh stuff like alcohol or hydrogen peroxide. They're way too aggressive for a fresh piercing and will just lead to irritation and a much longer healing time.
Your new piercing’s best friend is a simple, sterile saline solution. That’s it!
Here's your daily game plan—it's quick, gentle, and effective:
- Wash Your Hands: Before you even think about touching your ear, get those hands squeaky clean with soap and water. No exceptions!
- Spray and Soak: Give the front and back of your tragus a good spray with a sterile saline wound wash. Pre-packaged sprays are perfect for this. Let the solution sit for about a minute to soften up any "crusties."
- Gently Dry: Use a fresh piece of non-woven gauze or a paper towel to gently pat the area dry. Steer clear of cotton balls and Q-tips—their tiny fibers can get tangled in your jewelry and cause a world of trouble.
Stick to this routine twice a day. Over-cleaning can be just as bad as not cleaning enough, so don't go overboard!
The Most Important Rule: LITHA
Beyond your daily saline spritz, the best advice we can possibly give you is summed up in one simple acronym: LITHA.
Leave. It. The. Heck. Alone. This is the mantra of every successfully healed piercing. Twisting, turning, or fiddling with your new jewelry is a one-way ticket to irritation bumps and a seriously delayed healing time. Your body knows exactly what to do, so just let it work its magic in peace!
This means you shouldn't rotate the stud to "break it free" (that’s a total myth!) or pick at crusties with your fingers. The saline soak will handle that for you. If you need a little more help with your aftercare products, you can find a breakdown of what makes solutions so effective in our piercing aftercare guide.
Tragus Aftercare Do’s and Don’ts
Getting through the healing process is all about building good habits. To make it super easy, here’s a quick cheat sheet for keeping that new tragus happy.
DO This:
- Start with Quality Jewelry: Insist on implant-grade titanium or 14k gold. Materials like our gorgeous titanium flat back labrets are hypoallergenic and give your body the best possible start.
- Keep It Dry: Moisture is a breeding ground for bacteria. Always make sure your piercing is completely dry after cleaning and showering.
- Change Pillowcases Frequently: Your pillowcase is a magnet for oils, hair products, and bacteria. Swap it out every couple of days to keep things clean.
DON’T Do This:
- Submerge It in Water: For the first few months, steer clear of pools, hot tubs, lakes, and oceans. They're basically a soup of bacteria just waiting to cause a nasty infection.
- Let Hair Products Near It: Hairspray, gels, and dry shampoo can clog and irritate a new piercing. Try to shield your ear when you're applying them.
- Sleep on It: This is a big one. Constant pressure is a major cause of irritation. A travel pillow can be a lifesaver here—just tuck your ear in the hole!
Following these simple steps creates the perfect environment for your body to heal up right.
Is This Normal? Spotting Healing vs. Trouble
"Is this normal?" We've all been there, staring in the mirror, analyzing every little bit of redness and wondering if we should be worried. It’s the classic question for anyone with a new piercing.
The good news? Learning to tell the difference between your body’s regular healing process and a genuine red flag is easier than you think. Let's break down what's totally fine and what signals it's time to check in with your piercer.

What Healthy Healing Looks Like
During the first few weeks, a happy, healing tragus will definitely make its presence known. It's a fresh wound, after all!
Here’s what’s completely normal:
- Mild Redness and Swelling: Especially in the first week or two, some puffiness and a pinkish hue are standard procedure.
- Tenderness to the Touch: The area will be sensitive, which is your body’s way of saying, "Hey, be gentle with me!"
- Clear or Whitish Fluid: You’ll likely see some fluid that dries into yellowish "crusties." This is just lymph fluid, a sign that your body is doing its job perfectly.
The key here is that these symptoms should gradually get better over time, not worse.
Red Flags That Signal an Infection
While normal healing has its moments, an infection is a whole different ballgame. This happens when nasty bacteria sneak into the wound. The signs are much more intense and shouldn't be ignored.
Keep an eye out for these major warning signs:
- Intense, Throbbing Pain: This isn't just tenderness. It's a persistent, deep ache that often gets worse.
- Thick, Colored Discharge: Instead of clear fluid, you’ll see thick, cloudy discharge that might be yellow, green, or even brownish and often has a foul odor.
- Spreading Redness and Heat: The redness will spread outwards, and the area will feel hot to the touch.
- Excessive Swelling: The swelling will be significant, sometimes to the point where the jewelry looks like it’s being "swallowed" by your skin.
If you spot these signs, contact your piercer or a doctor right away for guidance.
The Annoying Irritation Bump
Now, let's talk about the infamous irritation bump. This is probably the most common piercing problem, and it's often mistaken for an infection. An irritation bump is simply a fluid-filled bubble that forms right next to the piercing. It's your body's way of screaming, "Something is bothering me!"
The most common culprits are:
- Physical Trauma: Sleeping on it, snagging it, or even just wearing headphones that press on it.
- Moisture: Not drying the piercing properly after cleaning can trap moisture and cause a fit.
- Poor Jewelry Material: A reaction to low-quality metal is a major cause. You can learn more about how your body reacts by reading up on piercing irritation and allergic reactions.
The good news? These bumps usually go away once you remove the source of the irritation. Stick to your aftercare, LITHA, and make sure you're not putting any pressure on it. If it doesn't improve, your piercer can help you troubleshoot.
Is My Tragus Piercing Healing Normally?
Still feeling a little unsure? This quick-glance table should help you figure out what's going on with your tragus.
| Symptom | Normal Healing | Potential Problem |
|---|---|---|
| Pain | Mild tenderness, especially when touched. Fades over time. | Severe, constant, throbbing pain that gets worse. |
| Swelling | Noticeable at first, especially in the first 1-2 weeks, but gradually subsides. | Extreme swelling that makes jewelry look tight or spreads far from the piercing. |
| Redness | A pinkish or reddish halo directly around the jewelry. | Redness that spreads outwards from the piercing site. The area feels hot. |
| Discharge | Clear or white-ish fluid (lymph) that forms yellowish "crusties." | Thick, cloudy discharge that is yellow, green, or brown. Often has an odor. |
| Bumps | None, or a small irritation bump that appears after a snag or pressure. | A large, painful bump accompanied by other infection signs. |
Remember, this chart is a guide. The biggest difference is the direction things are headed. Normal healing symptoms slowly fade. Infection symptoms escalate. When in doubt, always reach out to a pro!
When Can You Finally Change Your Tragus Jewelry?
We get it. You've been so patient, diligently cleaning your new tragus piercing for what feels like forever, just dreaming of the day you can swap out that starter stud for something that truly screams you. The anticipation is real, but when it comes to that first jewelry change, timing is absolutely everything.
The number one rule is simple: you have to wait until it's 100% fully healed. For a tricky cartilage spot like the tragus, this means you're looking at the entire 6 to 12 month healing time. Seriously, no shortcuts!
Why Patience Is Non-Negotiable
Changing your jewelry too soon is one of the biggest mistakes you can make. Even if it looks and feels perfect on the outside, the delicate tube of tissue (called a fistula) is still fragile and maturing on the inside. Swapping the stud too early can literally tear this new skin, setting your healing clock right back to day one.
Trying to rush things can kick off a whole host of problems:
- Intense Irritation: The fragile new tissue can easily get angry, red, and inflamed.
- Infection Risk: Re-opening the wound is like rolling out the welcome mat for bacteria.
- Losing the Piercing: The trauma can be so bad that you might have to give up on the piercing altogether.
It’s just not worth the risk. All that hard work and patience would go right down the drain!
Getting the Professional Green Light
So, how do you know for sure when you’re in the clear? Don't leave it to guesswork. The absolute best way to know is to schedule a quick follow-up appointment with your professional piercer.
They have a trained eye and can tell you definitively if your piercing is ready for its big debut. If they give you the all-clear, it's officially time to celebrate! Most piercers will even help you with the first jewelry change, which is a fantastic way to learn the ropes.
Crucial Tip: Never, ever force new jewelry into a piercing. If it hurts or you feel any resistance, stop immediately. That's a clear signal your piercing isn't ready.
Once you have that official green light, the fun part begins! While you wait, why not get some inspo by browsing Bodycandy's collection? A great place to start is with comfortable and safe options, like our awesome collection of titanium flat back labrets—they’re perfect for a happy, healed piercing.
Got Questions About Tragus Piercing Healing? We've Got Answers.
Still have a few questions swirling around? You're not alone! Getting a new piercing definitely brings up a ton of "what if" scenarios. This is your quick-reference guide for those nagging questions that pop up during the healing journey.
How Can I Sleep Comfortably With a New Tragus Piercing?
This is a huge one. The best trick is to avoid putting any pressure on your new piercing whatsoever. A travel pillow is your secret weapon here!
Just lay it flat on your bed and rest your ear in the U-shaped hole. This keeps your tragus completely elevated and free from irritation all night long. Seriously, it's a game-changer.
What Should I Do About an Irritation Bump?
First, don't panic! Most bumps are just signs of irritation, not an infection. They're your body’s way of saying something is bothering the piercing, usually physical trauma—like sleeping on it or snagging it.
To fix it, you need to become a piercing detective. Figure out what's causing the irritation and eliminate it. Double down on your aftercare routine (gentle saline soaks only) and, most importantly, Leave It The Heck Alone. The bump will usually calm down once the source of the problem is gone.
If the bump is extremely painful, oozes colored pus, or gets worse, it’s time to check in with your piercer or a doctor for professional advice.
Ready to start planning your post-healing look? A beautiful, healthy piercing deserves the best. Shop our full collection of gorgeous and safe body jewelry at https://bodycandy.com today