You’ve probably been there. You’re scrolling jewelry pics, you spot a pair of tunnels or plugs that look ridiculously good, and suddenly your regular studs feel a little… basic. Then the questions hit. What size am I now? Why do the numbers go backward? If you stretch your ears, can you ever go back?
Those are normal questions. A lot of gauged earrings sizes guides throw a chart at you and call it a day. That’s useful, but it doesn’t help much when you’re trying to decide whether stretching is just a fun style change or a long-term commitment.
This guide keeps it real. You’ll get the sizing basics, practical stretching tips, and the honest answer to the question almost everyone asks first: what if I change my mind later?
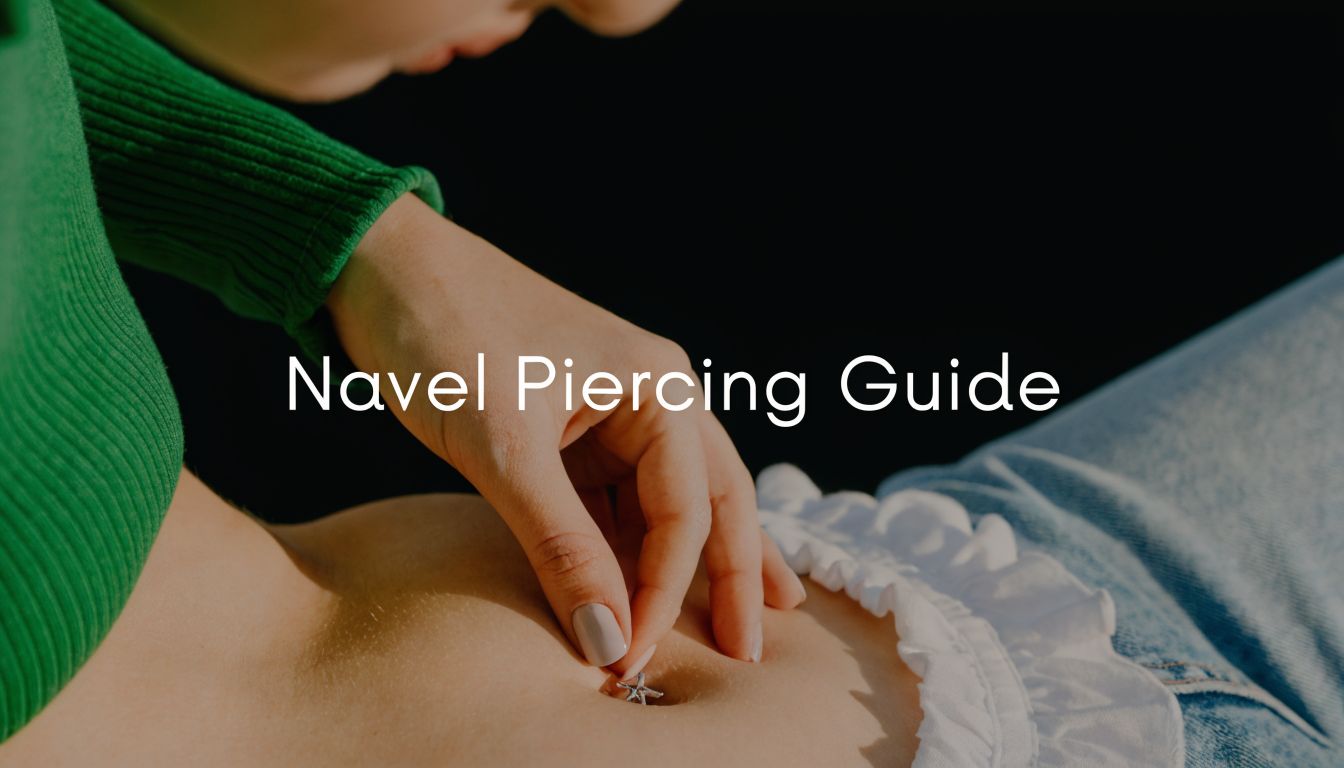
Your Guide to the World of Gauged Earrings
A lot of people start with a standard lobe piercing, wear tiny studs for years, and then get curious about something bolder. Maybe you saw a clean steel tunnel look. Maybe you like the idea of slowly changing your style instead of getting a whole new piercing. That’s usually how the gauged earrings sizes rabbit hole begins.
“Gauging” or stretching your ears means gradually wearing thicker jewelry so the piercing hole widens over time. It’s not about forcing your ear to do something dramatic in one day. It’s a slow process, and when people do it well, the results look smooth, balanced, and intentional.

This style has deep roots
Ear stretching isn’t some random internet trend. The practice goes back to at least 3000 BCE, including cultures like the Maasai, and the American Wire Gauge system itself started in 19th-century wire manufacturing before body jewelry later adopted it as stretching became more popular in Western punk and hippie circles, as noted in this history of common ear gauge sizes.
That mix of old tradition and modern self-expression is part of why stretching has stuck around. It can look delicate, heavy, polished, grungy, minimalist, or loud depending on the jewelry you choose.
Gauged earrings sizes aren’t just measurements. They shape the whole look, from subtle thick studs to full tunnels.
Why people get confused fast
Most of the confusion comes from sizing language. Standard earrings are usually pretty small. Stretched jewelry starts moving into a system where the numbers get weird fast, and then at bigger sizes everything switches to millimeters and fractions of an inch.
If that sounds chaotic, don’t worry. Once you understand the code, shopping gets way easier.
Cracking the Code Gauges vs Millimeters
The first thing to know is that gauge and millimeters are both size systems. They’re both talking about thickness. They just do it differently.
Gauge, written as g, is the old-school system. Millimeters are the straightforward system. Millimeters are often found easier once one starts getting into larger sizes.
The weird part about gauge sizes
Gauge sizing runs backward. A smaller gauge number means thicker jewelry. So 14g is thicker than 16g, and 8g is thicker than 10g.
That backward setup comes from the American Wire Gauge system, which body jewelry borrowed. It makes sense once you accept that the number isn’t a “bigger equals bigger” score. It’s more like an old manufacturing label that stuck around.
Practical rule: In gauge sizing, the number goes down while the jewelry gets thicker.
The sizes people actually compare
Here’s the conversion range relevant when learning gauged earrings sizes.

Gauge to MM Conversion Chart
| Gauge (g) | Millimeters (mm) | Inches (Fraction) |
|---|---|---|
| 20g | 0.81 mm | 1/32 inch |
| 18g | 1.0 mm | |
| 16g | 1.2 mm | |
| 14g | 1.6 mm | |
| 12g | 2.0 mm | |
| 10g | 2.4 mm | |
| 8g | 3.2 mm | |
| 6g | 4.0 mm | |
| 4g | 5.0 mm | |
| 2g | 6.0 mm | |
| 0g | 8.0 mm | 5/16 inch |
| 00g | 10.0 mm | 3/8 inch |
A standard earlobe post is often around 20g (0.81 mm), and many stretched-ear goals land around 0g (8 mm) or 00g (10 mm). After 00g, sizing usually shifts away from gauge labels and into millimeters or fractions like 1/2 inch (12 mm).
Why millimeters matter more as you size up
Gauge labels are handy when you’re starting out, but millimeters become clearer once the jewelry gets thicker. They tell you the actual diameter directly, with no decoding needed.
That’s also why conversion charts matter so much. If you want a quick comparison between US and UK sizing language, BodyCandy’s plug sizing guide for US and UK shoppers helps translate those terms visually.
One easy way to remember it
Use this mental trick:
- Gauge is the backwards system
- Millimeters are the honest system
- Big jewelry eventually gets measured in mm anyway
Once that clicks, gauged earrings sizes stop looking random and start looking organized.
How to Find Your Starting Size
You spot a cute pair of plugs, add them to cart, and then the question hits: what size are your ears right now? That one detail decides whether your first stretch feels calm and easy or turns into a frustrating guessing game.
Start with the size you already wear. Future goals can wait.

A lot of healed lobe piercings are still in standard earring territory, usually with a slim post rather than stretch jewelry. But ears are personal. Old piercings, years of wearing heavy earrings, and the jewelry you were pierced with can all change your starting point. If you want a smooth first step, measure instead of assuming.
The easiest ways to check
If you already have jewelry that fits comfortably, use that as your reference point. You have three simple options:
-
Digital calipers
These give you the clearest answer. Measure the thickness of the post and match that number to your gauge size. -
A gauge chart comparison
Hold your jewelry next to a printed or on-screen chart and compare the thickness. It is less precise than calipers, but it can get you in the right neighborhood. -
Ask your piercer
A good piercer can usually size your current jewelry in seconds, especially if you still wear your original starter piece.
If you want a beginner-friendly walkthrough before buying your first stretching jewelry, BodyCandy’s ear stretching guide for properly stretching your lobes lays out the basics clearly.
What you’re trying to find out
Your job here is simple. Identify your current size.
That sounds obvious, but new stretchers often jump straight to questions like, “Can I get to 0g?” or “Will 00g close if I change my mind later?” Those are fair questions, and yes, they matter. Still, none of those answers help if you start with the wrong baseline. Ear stretching works like sizing shoes for a hike. If the first fit is off, every step after that gets harder.
If your current stud is very thin, you’re probably in the standard piercing range. If it feels thicker than a regular earring post, or if your piercing has loosened over time, your starting size may be different from what you expect.
A quick visual explainer can help if you prefer to see it once and have it click.
A beginner-friendly reality check
Before you buy plugs or tapers, give your ears a quick honest assessment:
- Is the piercing fully healed? Irritated, fresh, or flaky lobes need time first.
- Does your current jewelry slide in comfortably? Tightness can mean swelling, irritation, or a size mismatch.
- Have you worn heavy earrings for years? That can make a piercing sit differently and feel looser than a newer one.
- Are you stretching because you love the look, or because it feels easy to reverse? Both are valid things to think about, and it helps to be honest with yourself before you size up.
That last point matters more than a chart can tell you. Stretching can be temporary for some people and more permanent for others, especially at larger sizes. Starting small gives you room to learn what your ears like and how committed you feel before you go bigger.
And when you are ready to shop, having your true starting size makes picking BodyCandy plugs, tunnels, or stretching sets a whole lot easier.
The Safe Stretching Journey Step by Step
You put in the next size because it looks tiny on the chart, then your lobe feels hot, tight, and angry by that evening. That is how a lot of stretching mistakes start. The jump looked small. Your ear experienced it as a strain.
Safe stretching is slow on purpose. Your lobe needs time to loosen, rebuild, and settle at each size, kind of like breaking in new shoes without giving yourself blisters. If you rush the process, your skin can develop tiny tears, irritation, or that dreaded blowout look.
What a safe stretch looks like in real life
A healthy stretch should feel like gentle pressure, not a fight. You move up one size, wear that size long enough for your ear to feel calm again, and only then consider the next step.
As noted earlier, standard stretching guidance recommends giving your ears several weeks between smaller stretches, and more time as you get into larger sizes. Skipping sizes is where people get into trouble fast. A jump that seems minor on paper can be a big change for your tissue.
If your ear stings, throbs, swells, or feels hot after sizing up, pause. Your body is giving you useful feedback.
That matters for another reason too. New stretchers often ask, "What if I change my mind later?" The safest path is also the one that gives you the most flexibility. Slower stretching usually means less trauma, which gives your lobes a better chance of shrinking down if you decide larger gauges are not for you.
A practical rhythm for sizing up
Use a simple routine and stick with it:
- Confirm your current size first. Guessing leads to accidental jumps.
- Go up one size at a time. No shortcuts.
- Insert jewelry gently. Resistance means stop, not push harder.
- Wait until your lobe feels normal again. No soreness, no swelling, no tenderness.
- Choose clean, smooth jewelry. Scratches and rough edges irritate healing skin.
The tricky part is patience. Early stretches can feel easy, so people assume the next one will be easy too. That is usually when they move too fast.
Tapers are tools, not long-term jewelry
Tapers can help guide jewelry in, but they are not great for everyday wear. Their uneven shape can put pressure on one part of the piercing and make healing harder.
A better setup is simple. Use a taper only if you need help inserting the next size, then switch to properly fitted plugs or tunnels. If you want a clearer walkthrough, BodyCandy’s ear stretching 101 guide for properly stretching your lobes explains the basics in a beginner-friendly way.
Lubrication makes stretching easier on your skin
Dry stretching creates friction, and friction is the enemy here. A small amount of stretching-safe lubricant helps jewelry slide in with less pulling and less stress on the lobe.
The exact product matters less than the goal. You want the jewelry to glide, not scrape. Pair that with smooth BodyCandy stretching jewelry in the correct size, and the whole process gets much easier on your ears.
Signs you should pause or downsize
Some mild pressure is normal. Pain is not.
Stop and give your ears more time if you notice:
- Sharp pain instead of steady pressure
- Bleeding during insertion
- Redness that sticks around
- Swelling or a raised ridge behind the lobe
- Jewelry that only goes in with force
If any of those show up, treat it like a yellow light, not a dare. Waiting longer can feel annoying in the moment, but it is a lot better than dealing with scar tissue that makes future stretching harder and downsizing less predictable.
Going Bigger or Going Back Your Stretching Commitment
This is the part people really want answered. If you stretch your ears, can you go back to normal earrings later?
Sometimes yes. Sometimes not fully. And that uncertainty is exactly why this question matters before you start.
The answer nobody should sugarcoat
A lot of guides focus on the chart and skip the emotional side of the decision. That leaves people wondering whether stretching is a fun experiment or a permanent body change. BodyCandy’s own sizing-gap notes point out that many guides miss these practical concerns, especially questions like “Can I go back to normal earrings after stretching to 2g?”, and that answering them helps reduce decision-making anxiety in new stretchers, as discussed in their ear gauge size chart article.
That’s the main issue. You’re not only choosing jewelry. You’re choosing how much change you’re comfortable with.
What reversibility usually depends on
Whether your ears shrink back depends on things like:
- How large you stretched
- How fast you stretched
- How long you stayed at that size
- Your own tissue elasticity
Some people downsize easily from smaller stretches and can wear standard earrings again. Other people find that their piercing never returns to the same tiny opening it had before.
There isn’t one guaranteed “point of no return” that works for every body. That’s why it helps to set a goal size that feels exciting but still emotionally comfortable.
Downsizing is a valid part of stretching. It doesn’t mean you failed. It means you paid attention.
If you change your mind
You have options. You can stop at a smaller size, let your ears rest, and see how much they naturally shrink. You can also intentionally downsize to give your lobes a break or encourage thicker tissue before going larger later.
That’s worth knowing because stretching doesn’t have to be all-or-nothing. You can treat it like a gradual style choice instead of a one-way tunnel toward the biggest size you can manage.
If you’re feeling unsure, that’s useful information. It might mean you want a smaller final goal, or more time before the next stretch.
Best Materials for Happy Lobes
Material choice changes everything. Two plugs can be the same size and feel completely different in your ears depending on what they’re made from.
For fresh stretches, smoother and less reactive materials make life easier. For healed lobes, you get way more room to play with texture and style.

Materials that usually work well for fresh stretches
These are the common go-to choices:
-
Surgical steel
Smooth, durable, and widely used for stretching jewelry. -
Titanium
Popular with people who want a lightweight option or who tend to be picky about metal sensitivity. -
Glass
Non-porous, smooth, and easy to clean. A lot of experienced stretchers love glass plugs for healing stages.
The reason these materials get recommended so often is simple. Fresh stretches do better with jewelry that has a smooth finish and doesn’t trap gunk easily.
Materials to save for healed ears
Once your lobes are fully settled, style options open up. That’s when people often branch into:
- Wood
- Stone
- Bone
- Decorative specialty pieces
These can look amazing, but they’re usually better when your ears are already calm and stable.
Materials to be careful with
Acrylic and silicone have their place in some jewelry collections, but they’re not the first thing I’d reach for in a fresh stretch. New stretches need predictability. Soft, porous, or lower-quality materials can get annoying fast if your ears are already sensitive.
If you’re shopping around, look for clean finishes, clear sizing, and wearable shapes meant for stretching, not just for display.
Shopping Tips for Your Next Gauge Size
Purchasing the next size should feel simple. The trick is knowing what shape and style provide help during a stretch, instead of picking whatever looks coolest in the photo.
What shape works best for healing
For a fresh stretch, single flare plugs are usually the easiest option. They’re simpler to insert because one end is smooth and the other side secures with an O-ring.
Double flare jewelry can look great, but it usually works better once your ears are healed and flexible enough to handle the larger flared ends. No-flare styles can also work, depending on the design.
Know what each item does
A few shopping terms matter a lot:
- Tapers help guide jewelry in. They’re insertion tools.
- Plugs are solid pieces for everyday wear.
- Tunnels have an open center and are mostly a style choice once you’re at a comfortable size.
- Stretching kits bundle multiple sizes so you don’t have to shop one pair at a time.
If you want a quick visual breakdown of taper shapes before buying, BodyCandy’s guide to taper styles for stretched piercings is a useful reference.
A smart buyer checklist
Before you hit add to cart, check for these:
- Correct size label so you’re not mixing up gauge and mm
- Clear material listing such as steel, titanium, or glass
- Smooth wearable area without rough seams
- A practical shape for your current healing stage
- A pair you’ll wear long enough to heal in comfortably
One practical option is to compare dedicated stretching kits, simple single flare plugs, and everyday tunnels side by side. That keeps you focused on function first, style second.
Your Gauged Ear Questions Answered
Can I sleep with my plugs in
Usually yes, if they fit well and your ears are healed enough to tolerate them comfortably. If a pair feels heavy, pokey, or awkward against the pillow, switch to something lighter for sleeping.
Can I sleep with tapers in
I wouldn’t treat tapers like sleep jewelry. They’re shaped for insertion, not comfort, and they can create uneven pressure if they shift overnight.
What’s that weird smell
That little funky smell is usually buildup from oil, dead skin, and normal body gunk collecting around jewelry. Wash your jewelry, clean your lobes gently, and don’t leave pieces dirty for days.
Can I use silicone tunnels to stretch
Silicone is usually better saved for healed stretches, not for sizing up. Fresh stretches do better with more rigid, smooth materials.
Is it okay to skip a size if my ears feel ready
No. Feeling confident and being healed aren’t always the same thing. Skipping sizes raises your risk of tearing and scarring, even if the jump looks small on paper.
Should I downsize if my ears are irritated
Often, yes. Downsizing can relieve stress on the tissue and give your lobes room to recover. It’s a practical move, not a setback.
Ready to upgrade your look with jewelry that fits your style and your current size? Browse BodyCandy for plugs, tunnels, and stretching-ready pieces, then pick your next step with patience, clean sizing, and happy lobes in mind.