If you've ever found yourself lost in a Pinterest rabbit hole planning the perfect "curated ear," you totally get it. You know the power of a well-placed cartilage piercing. They’re the absolute best way to take your style beyond a simple lobe piercing, opening up a world of possibilities for a look that’s uniquely you. This guide is your new bestie for everything you need to know to make it happen.
Why Everyone Is Obsessed with Cartilage Piercings
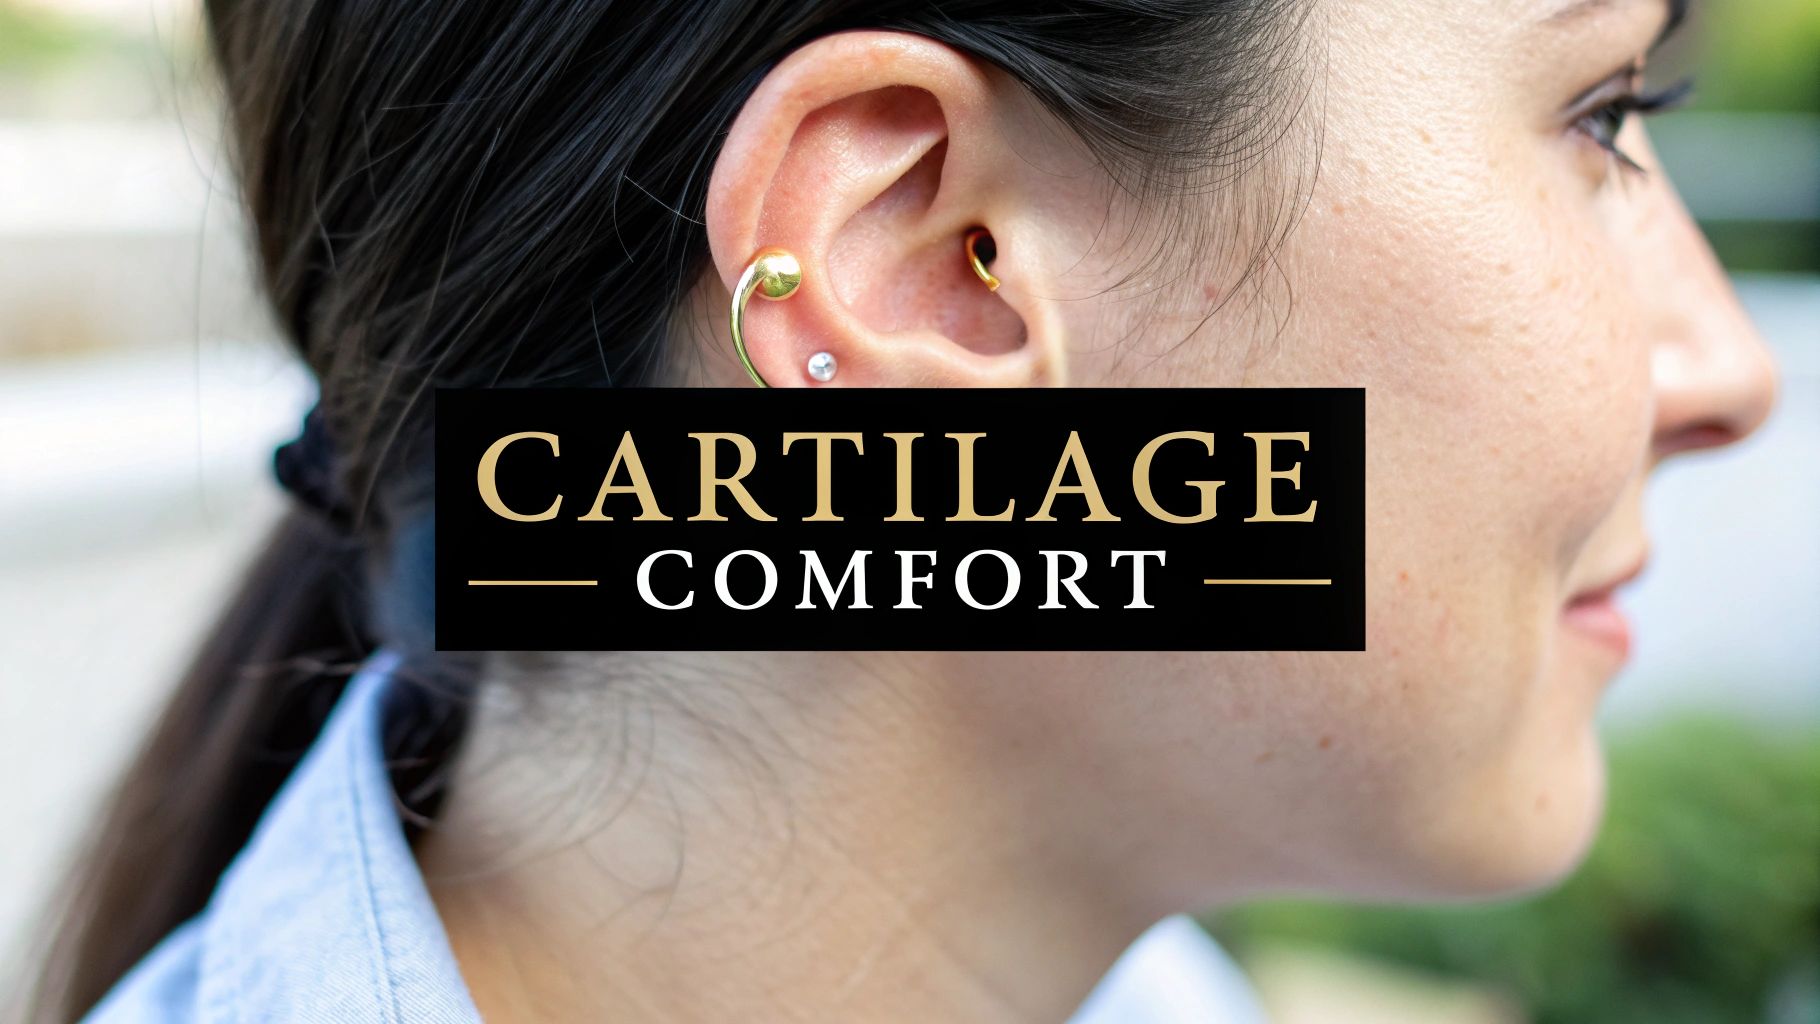
Let's be real: ear cartilage piercings are having a serious moment, and it's not hard to see why. The days of a single lobe piercing being the end of the story are long gone. Today, it’s all about the "curated ear"—a thoughtful collection of jewelry that tells your personal style story. And that’s where the real magic of cartilage comes into play.
Think of your ear as a blank canvas. Cartilage piercings are the pops of color, the unique textures, and the artistic strokes you use to create your masterpiece. From a delicate little stud on your helix to a statement-making hoop in your conch, each new piercing adds another layer of your personality. This trend has absolutely blown up. In 2020 alone, one group of piercing studios reported that a massive 71% of all piercings they did were on the ear. You can dig into more piercing statistics to see just how huge this has become.
The Art of Ear Mapping
So, what exactly is this "curated ear" everyone keeps talking about? It's the fun, creative process of planning out multiple piercings to create a look that feels balanced, intentional, and super stylish. This is often called ear mapping. It’s way more than just getting random holes poked; it’s about figuring out how different placements and jewelry styles will play together to create a cohesive vibe.
Planning your ear party might involve:
- Balancing different spots: You could pair a helix piercing on the outer rim to beautifully complement a conch piercing nestled inside your ear.
- Mixing up your jewelry: It's all about creating contrast and interest. Think dainty studs playing off bold, eye-catching hoops.
- Working with what you've got: A great piercer won't just pierce you anywhere. They’ll look at the unique shape and folds of your ear to suggest placements that will look like they were made just for you.
What's the Difference Anyway? Lobe vs. Cartilage
Before we get into all the fun types of piercings, let's get one crucial thing straight: the difference between piercing your lobe and your cartilage. Your earlobe is that soft, fleshy part at the bottom. It’s got a great blood supply and is super forgiving, which is why lobe piercings heal up so fast—usually in just 6-8 weeks.
Cartilage, on the other hand, is the tough, structural stuff that makes up the rest of your ear's framework. It doesn't have nearly as much blood flow, which means healing is a marathon, not a sprint. A cartilage piercing can take a whole lot longer to fully heal, often anywhere from 6 to 12 months, and sometimes even longer. This is probably the single most important thing to keep in mind as you start your cartilage journey. Patience is everything!
Exploring the Most Popular Cartilage Piercings
Ready to dive in and find your perfect match? The world of ear cartilage piercings is full of amazing options, each with its own unique vibe. Think of this as your personal tour through the most sought-after spots on the ear. We’ll break down where each piercing lives, what kind of look it creates, and what you can expect from the experience.
This handy map shows how the core ideas behind any ear cartilage piercing—your personal style, self-expression, and the physical mapping of your ear—all connect.
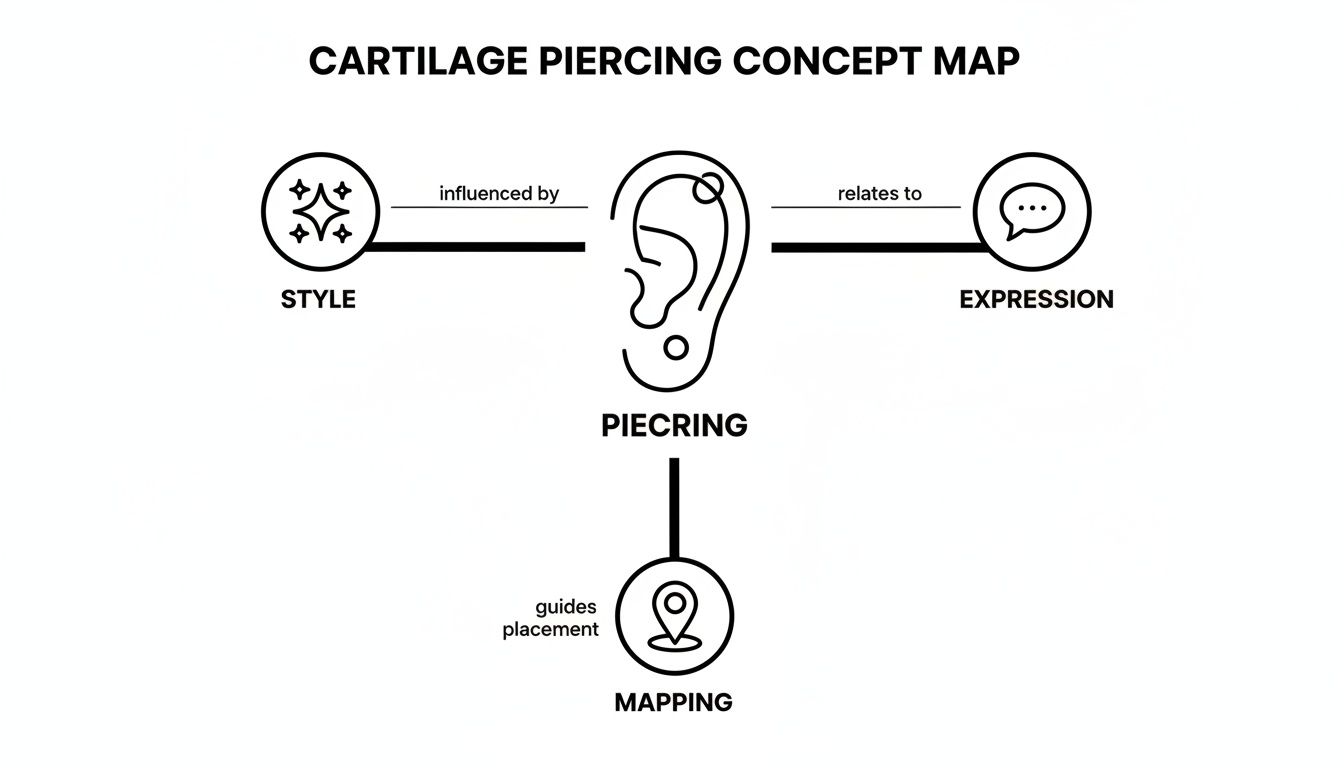
This visual helps you see that choosing a piercing is more than just picking a spot; it's about blending your aesthetic with your anatomy for the perfect outcome. Let's explore some of the most popular placements that bring this concept to life.
To make things even easier, here is a snapshot of the most sought-after cartilage piercings, their location, typical healing time, and best jewelry styles to help you choose your next favorite.
A Quick Guide to Popular Cartilage Piercings
| Piercing Type | Location on Ear | Average Healing Time | Best Jewelry Styles |
|---|---|---|---|
| Helix | Upper, outer rim of cartilage | 6-9 months | Studs, hoops, captive bead rings |
| Tragus | Small cartilage flap in front of the ear canal | 6-12 months | Tiny studs, flat-back labrets |
| Conch | The inner "cup" of the ear | 6-12 months | Studs, clusters, large hoops (once healed) |
| Daith | Innermost cartilage fold above the ear canal | 6-12 months | Captive bead rings, seamless hoops, clickers |
| Rook | Upper cartilage fold inside the ear | 6-18 months | Small curved barbells, small hoops |
| Industrial | Two piercings in the upper cartilage connected by one bar | 9-12+ months | Straight industrial barbell |
This table is a great starting point, but let's get into the specifics of what makes each of these piercings so special.
The Ever-Popular Helix
When you think of a cartilage piercing, the helix is probably the first one that comes to mind. It's located on the upper, outer rim of your ear—that thin curve of cartilage. Its versatility is what makes it a total fan favorite.
You can get a single, subtle stud, a row of two or three (hello, double or triple helix!), or rock a classic captive bead ring. Pain-wise, it's often considered one of the more manageable cartilage piercings, making it a fantastic starting point if you're new to the game.
The Subtle and Chic Tragus
For a more understated and unique look, the tragus is an amazing choice. This is the small, oval-shaped piece of cartilage that sits just in front of your ear canal. It’s perfect for a tiny, sparkly stud that adds a hint of glam without being too loud.
Because it’s a thicker piece of cartilage, you might feel a bit more pressure during the piercing process, but it’s over in a flash. Just a heads up: earbuds will be totally off-limits during healing to avoid irritation.
The Bold and Beautiful Conch
Ready to make a statement? The conch piercing is for you. Located in the inner "cup" of your ear, this placement offers two cool variations:
- Inner Conch: Placed right in the center of that cup, perfect for a striking stud or a gem cluster.
- Outer Conch: Positioned on the flat part of the cartilage between your helix and anti-helix, ideal for showing off decorative jewelry.
Once healed, a conch is famously styled with a large hoop that wraps around the outside of your ear for a truly dramatic effect. It’s a bold look that’s guaranteed to turn heads.
The Sought-After Daith
The daith piercing has surged in popularity, and for good reason—it’s absolutely gorgeous. It goes through the innermost fold of cartilage right above the ear canal. This spot is practically made for a stunning, decorative hoop or a seamless ring.
Due to its snug location, the daith is a bit more of a pinch than a helix, but the payoff is a unique and protected piercing that looks incredible. Many people seek it out for its aesthetic appeal that perfectly frames the inner ear.
The Cool and Edgy Rook
Nestled in the upper fold of cartilage inside the ear, just above the tragus, is the rook. This vertical piercing is perfect for a small curved barbell or a delicate ring. It adds an element of surprise and dimension to any ear curation.
Because the rook goes through a thick ridge of cartilage, it's considered one of the more intense piercings on this list. But for those who want a truly distinctive look, the brief discomfort is well worth the edgy, stylish result.
The Statement Industrial Piercing
Finally, we have the industrial—the ultimate statement piece. This isn't just one piercing; it's two! An industrial connects two separate holes in the upper cartilage, typically on opposite sides of the ear's rim, with a single long barbell.
This piercing requires very specific anatomy to be done safely and heal correctly. It's a commitment, with a healing time of 9-12 months or more, but the result is an undeniably bold and alternative look that showcases your dedication to your style.
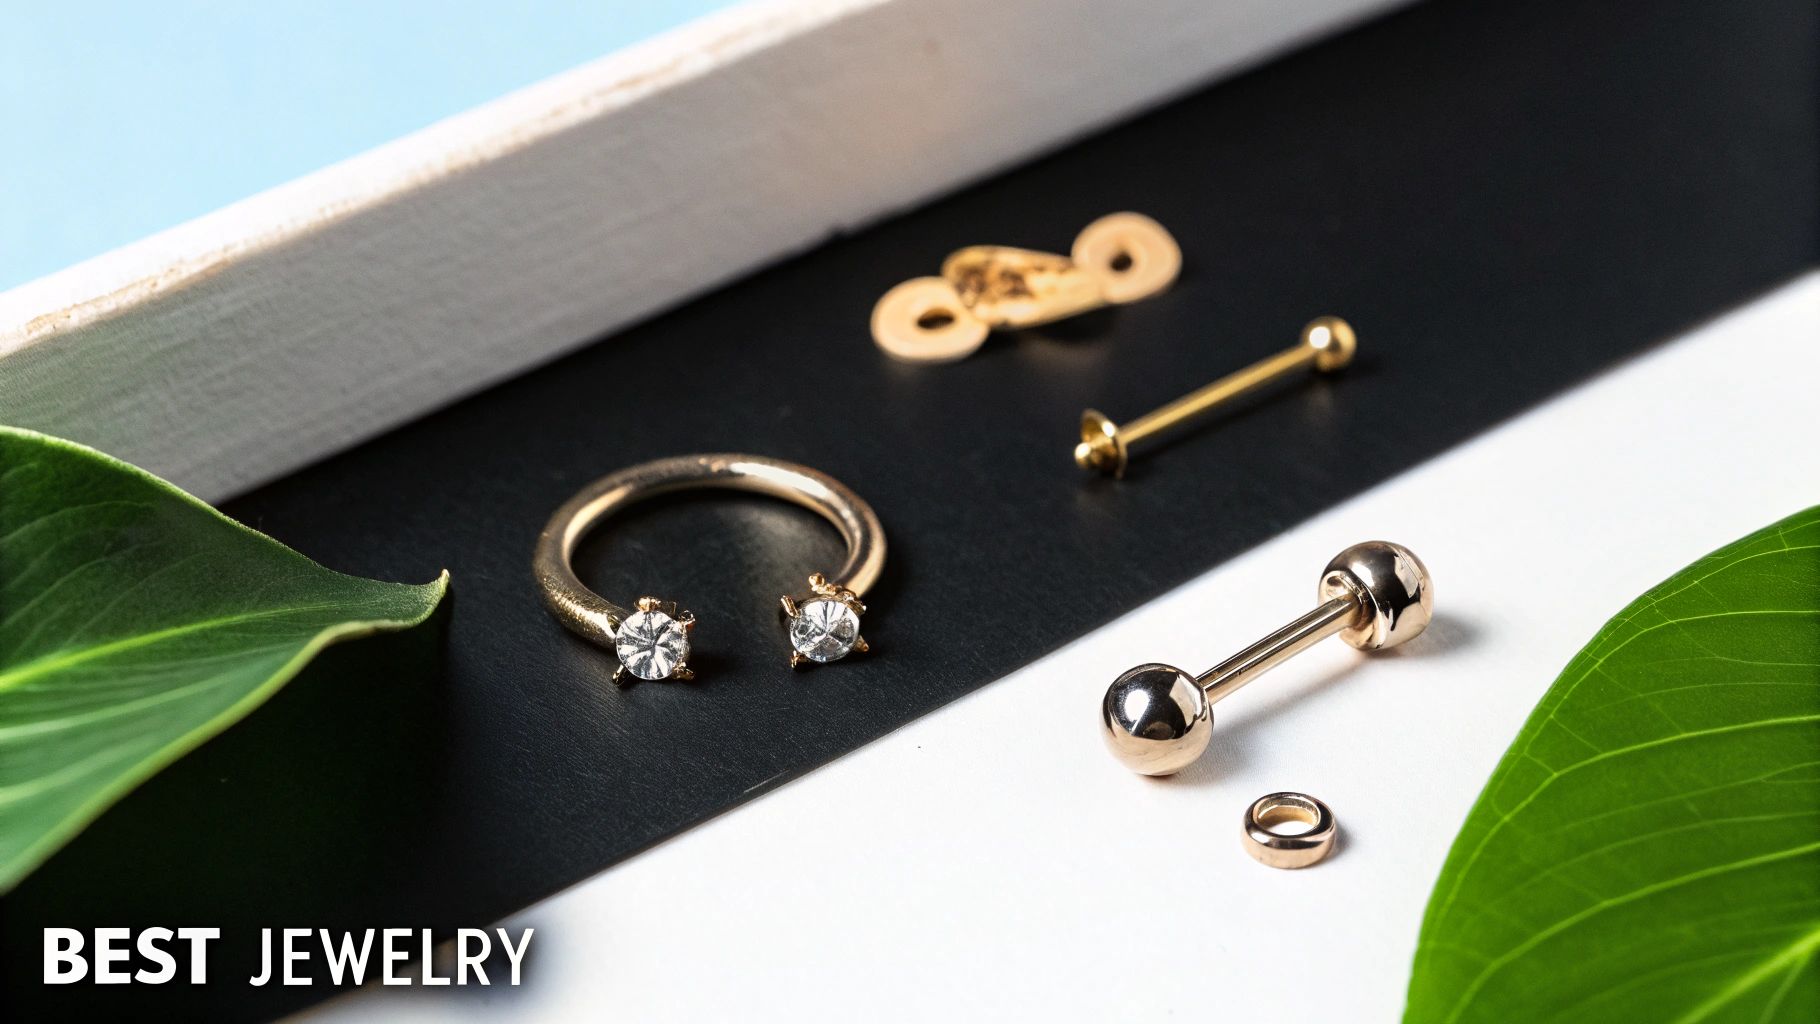
How to Choose the Best Jewelry for Your Piercing
Okay, let's get to the fun part—the bling! Picking out jewelry for your new ear cartilage piercings is where you really get to let your personal style shine. But it’s about way more than just looks, especially when your piercing is still healing. Think of the right jewelry as your piercing's best friend for life.
Choosing wisely really boils down to three things: picking the best materials for happy skin, knowing the different styles that work for specific spots on your ear, and understanding what terms like "gauge" and "length" actually mean. Getting this right from the jump is the secret to a smooth heal and a killer look.
Materials Matter Most
When you first get pierced, the material of your jewelry is non-negotiable. Your body is going to see that new piece of metal as a foreign object, so using something biocompatible is an absolute must to keep irritation and allergic reactions away.
Here are the top players in the piercing world:
-
Implant-Grade Titanium (ASTM F-136): This is the undisputed champion for initial piercings. It's totally nickel-free, super lightweight, and the same stuff used for medical implants inside the body. If you have sensitive skin or known metal allergies, this is your safest bet, hands down.
-
Surgical Steel (316L or 316LVM): This is a fantastic and super popular option, especially once your piercing is healed up. It does contain a tiny amount of nickel, but it's trapped within the metal alloy, making it safe for most people. It's tough, affordable, and comes in endless styles.
-
14k or 18k Gold: You can't go wrong with classic solid gold (not plated!) for a healed piercing. Just make sure it’s a nickel-free alloy, as some gold jewelry can contain nickel that might cause a reaction.
Decoding Jewelry Styles
Once you've got the material sorted, you can dive into the exciting world of different jewelry styles. Certain piercings just work better with certain types of jewelry, both for comfort and to help them heal properly.
It's kind of like this: you wouldn't wear hiking boots to a beach party, right? The same logic applies here—the right jewelry for the right placement makes all the difference.
Studs and Labrets:
These are perfect for a ton of cartilage piercings, like the helix, conch, and tragus. A flat-back labret is a stud with a flat disc on the back, which is awesome for preventing snags on your hair and clothes and sits flush against your ear for max comfort.
Hoops and Rings:
Hoops, captive bead rings, and seamless rings look absolutely stunning in piercings like the daith, rook, and a healed helix. The catch? You really need to wait until your piercing is fully healed before swapping to a hoop. Their movement can easily irritate a fresh piercing and set back your healing time.
Barbells:
These come in two main flavors. Straight barbells are the signature look for an industrial piercing, connecting two separate holes. Curved barbells are the go-to for rook piercings, as their shape perfectly follows the anatomy of that inner ridge of your ear.
Want to see all these styles in action? Check out our guide on the names and jewelry for ear cartilage piercings to get inspired.
Getting the Size Right: Gauge and Length
Finally, let's crack the code on sizing. When you're shopping for jewelry, you’ll run into two key measurements: gauge and length.
-
Gauge (G): This just refers to the thickness of the post that goes through your ear. For cartilage, the most common sizes are 16G (1.2mm) and 18G (1.0mm). Here's the trick: a lower number means a thicker post. Your piercer will pick the right gauge for your anatomy.
-
Length: This is the measurement of the wearable part of the jewelry. For studs, it's the length of the post; for hoops, it's the inside diameter.
When you're first pierced, your piercer will use a slightly longer post to leave room for the initial swelling. After that swelling goes down (usually in 4-8 weeks), it’s super important to go back and have them downsize it to a snugger fit. This will keep it from catching on everything and irritating your piercing.
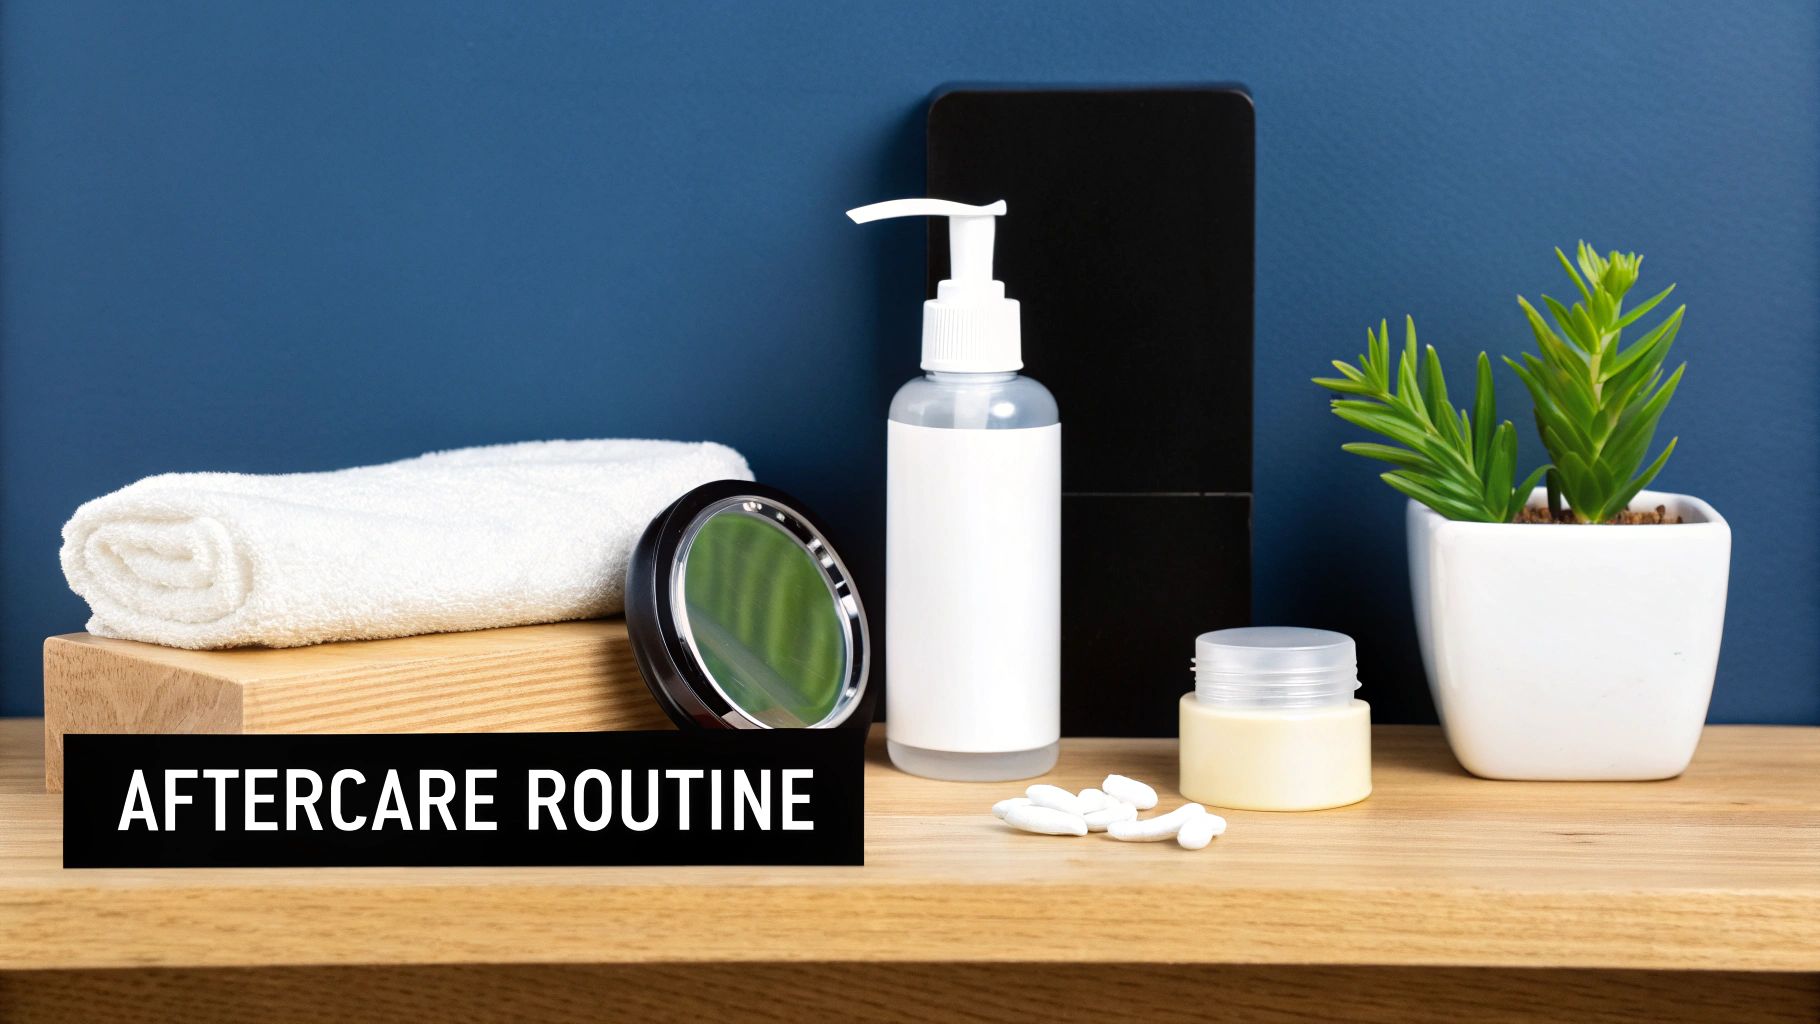
Your Essential Cartilage Piercing Aftercare Routine
Alright, you did it! You walked out of the piercing studio with that awesome new cartilage piercing and you're feeling great. Getting the piercing is just the first step, though. Now comes the most important part of the entire journey: the aftercare.
Think of it like this: your piercer is the artist who created a masterpiece, and now you're the curator in charge of protecting it. A solid aftercare routine is the secret sauce for a smooth, happy healing process. It’s what makes sure your new bling looks just as incredible months from now as it does today.
This isn't some complicated, time-consuming chore. It's a simple self-care ritual that makes all the difference in the world. Let’s break down the definitive dos and don'ts of taking care of your new cartilage piercing.
Your Daily Cleaning Ritual
Keeping your new piercing clean is priority number one, but you absolutely have to use the right stuff. Forget harsh chemicals like alcohol or hydrogen peroxide—they're way too aggressive and will only irritate the piercing and slow down your healing time.
Your new best friend is a sterile saline solution.
You can grab a pre-made sterile saline wound wash at any drugstore, or your piercer probably sells a specialized aftercare spray. This is the gold standard. For a deep dive into a popular and trusted option, learn more about why so many people love H2Ocean piercing aftercare spray.
Your cleaning routine couldn't be simpler:
- Wash Your Hands: First thing's first, and this is non-negotiable! Before you even think about touching your ear, wash your hands thoroughly with soap and water.
- Spray or Soak: Gently spray the front and back of your piercing with your saline solution. You can also soak a clean piece of non-woven gauze in the saline and hold it on the piercing for a couple of minutes.
- Pat Dry: Use a fresh paper towel or another piece of clean, non-woven gauze to gently pat the area completely dry. Stay away from bath towels; they're a playground for bacteria and the little loops love to snag fresh jewelry.
Pro Tip: Clean your piercing twice a day—once in the morning and once at night. It might be tempting to clean more, but over-cleaning can irritate your piercing just as much as not cleaning it enough. Stick to the schedule!
Common Aftercare Mistakes to Avoid
Knowing what not to do is just as critical as knowing what you should be doing. Make sure you steer clear of these common mistakes to keep your healing journey on the right track.
- DON'T Twist or Turn Your Jewelry: This is an old myth that just won't die! Twisting your jewelry doesn't help it heal. In fact, it does the opposite—it tears the delicate new tissue trying to form inside the piercing and can introduce bacteria right into the wound. Leave it alone!
- DON'T Sleep on It: This one can be tough, but try your best to sleep on the opposite side of your new piercing. If you toss and turn, a travel pillow (the U-shaped kind) is a game-changer. Just pop your ear in the hole, and you can sleep without putting any pressure on it.
- DON'T Use Harsh Products: Be mindful of getting shampoo, conditioner, hairspray, or makeup in your piercing. When you're in the shower, just let the clean water run over it to rinse away any suds.
- DON'T Submerge It: For the first few months, you need to avoid pools, hot tubs, lakes, and oceans. These bodies of water are full of bacteria that could cause a nasty infection. Showers are totally fine!
Follow these simple rules, and you're setting yourself up for a beautiful, stress-free healing process. Just be patient, stay consistent, and before you know it, you'll be showing off your perfectly healed piercing and probably planning the next one.
Understanding the Cartilage Healing Process
When it comes to healing your awesome new ear cartilage piercings, patience is everything. Unlike a lobe piercing that can feel healed in what seems like the blink of an eye, cartilage is a whole different ball game. It just needs more time, more care, and a little understanding of what your body is doing behind the scenes.
Think of the healing process as a journey with a few distinct stages. Knowing what to expect makes the entire experience way less stressful. This is your roadmap to a beautifully healed piercing, so you can just relax while your body works its magic.
The Three Stages of Healing
Your new piercing is essentially a tiny puncture wound that your body needs to rebuild from the inside out. This whole process happens in three main phases.
-
The Inflammatory Phase (First Few Days): Right after you leave the piercing studio, it's totally normal to see some redness, swelling, and warmth. This is just your body's natural first response, sending healing cells to the area to start the repair job. It might feel a little tender, but this initial phase is short and sweet.
-
The Proliferative Phase (Weeks to Months): This is the longest and most important stage of the journey. Your body gets super busy building new tissue (called a fistula) all the way through the piercing channel. During this time, you'll probably notice a clear or whitish fluid that dries into "crusties." Don't worry, this is totally normal—it's just lymph fluid, and it’s a sign that healing is well underway!
-
The Remodeling Phase (Up to a Year or More): Once the new tissue is formed, your body spends the next several months strengthening and smoothing it out. Your piercing might look and feel healed on the outside long before this phase is over, which is exactly why it's so important to be patient. This final stage is what ensures your piercing is strong and stable enough for a lifetime of amazing jewelry.
What Is Normal and What Is Not
Navigating the healing process is all about knowing what's part of the plan and what might be a sign to check in with your piercer.
Here's a quick cheat sheet for what's perfectly normal:
- Mild Redness and Swelling: Especially in the first week or two, this is to be expected.
- Tenderness or Itchiness: As the skin repairs itself, a little bit of itching is common.
- "Crusties": That clear or yellowish stuff that dries on your jewelry is a good sign. Just gently clean it off with your saline spray.
On the other hand, you'll want to keep an eye out for these potential red flags. If you notice any of them, it's a good idea to reach out to your professional piercer for advice.
- Excessive or Worsening Swelling: If the swelling gets worse after the first few days, something's up.
- Thick, Green, or Foul-Smelling Discharge: This can be a sign of an infection and needs attention.
- Extreme Pain or Heat: If the area feels hot to the touch and is way more painful than it should be, get it checked out.
The Infamous Piercing Bump
Let's talk about the dreaded piercing bump. First thing's first: if one pops up, don't panic! It’s almost always just a sign of irritation, not a permanent problem. These little bumps are your body's way of waving a flag and saying, "Hey, something is bothering me over here!"
The most common culprits for piercing bumps are snagging the jewelry, sleeping on the piercing, using low-quality jewelry, or slacking on aftercare. The key is to play detective, find the source of the irritation, and eliminate it. Stick to your cleaning routine, avoid touching it, and make sure your jewelry is implant-grade. With a little care and consistency, most irritation bumps will calm down and disappear.
Finding a Reputable and Professional Piercer
Let's talk about the single most important decision you'll make in your piercing journey. It isn't the jewelry or even the exact placement—it's the person holding the needle. A fantastic, professional piercer is the absolute foundation for a safe, beautiful, and well-healed piercing. Finding the right one is your golden ticket to a positive experience from day one.
Think of it this way: you wouldn't let a random person with a pair of scissors cut your hair, right? A piercer is a skilled professional who has a deep understanding of human anatomy, strict hygiene protocols, and proper technique. Taking the time to find a great one is non-negotiable, and we're here to give you the ultimate checklist so you feel 100% confident in your choice.
What to Look For in a Piercing Studio
Your first impression of a studio says a lot. When you walk in, the vibe should be clean, professional, and welcoming. A reputable studio will be proud of its space and more than happy to show you around.
Here are the green flags to watch for:
- Impeccable Cleanliness: The studio should be spotless—we're talking floors, counters, and especially the piercing station. A clean environment is the non-negotiable first step to preventing infections.
- Needles, Never Guns: This is a huge one. Piercing guns should never be used for any cartilage piercings, period. They cause blunt force trauma, can literally shatter cartilage, and are impossible to properly sterilize between clients. A professional will always use a single-use, sterile piercing needle. You can learn more about the crucial reasons why you should say no to piercing guns in our detailed guide.
- Proof of Sterilization: Don't be shy—ask to see their autoclave. It’s a machine that sterilizes equipment using high-pressure steam. A great piercer will proudly show you their setup and the regular spore test results that prove it's working correctly.
The Piercer Consultation
The piercer themselves is just as important as the studio they work in. You need to find someone you feel comfortable with, who listens to your ideas, and offers professional guidance. A great consultation is a conversation, not just a quick transaction.
During your visit, a top-tier piercer will:
- Discuss Your Anatomy: They'll take a close look at the unique shape of your ear and tell you if the piercing you want is viable. Sometimes, they might suggest a slight change in placement to better suit your ear's structure, which can lead to a better look and easier healing.
- Show You Quality Jewelry: They should offer implant-grade titanium or solid gold for initial piercings. More importantly, they should be able to explain why these materials are the best and safest choice for a fresh piercing.
- Answer All Your Questions: No question is a dumb question when it comes to your body. They should be happy to talk about aftercare, the healing process, and what to expect without ever making you feel rushed.
The rise of ear cartilage piercings is a huge trend, and it’s no wonder why. Cartilage ear piercings are redefining styles for Gen Z, mixing comfort, sustainability, and personalization in major fashion markets. In fact, 'cartilage earrings' searches are consistently high, especially during summer months, driven by social media trends. Discover more insights about how Gen Z is shaping piercing trends on Accio.com. A great piercer stays on top of these trends while prioritizing your safety.
Common Questions About Cartilage Piercings
Alright, so we've gone through the different types of cartilage piercings, the jewelry, and the aftercare. Even so, you might still have a few questions bouncing around in your head. That’s perfectly normal! Getting a new piercing is a big deal, and it’s always smart to have all the facts.
Let's think of this as your personal FAQ for everything we haven't covered yet. We've gathered the most common questions we hear all the time to give you the clear, straightforward answers you're looking for.
Which Cartilage Piercing Is the Most Painful?
This is probably the number one question on everyone's mind, and the honest-to-goodness truth is: it really depends on you! Everyone’s pain tolerance is a little different. What feels like a quick pinch to one person might feel more intense to someone else.
That being said, we have noticed some patterns over the years. Piercings that have to go through thicker, more dense areas of cartilage, like the rook or the daith, often rank a bit higher on the pain scale. The industrial piercing also tends to pack more of a punch, but that's mostly because it’s two separate piercings done in one go.
But here's the most important thing to remember: the actual piercing part is over in a literal second. A skilled professional piercer is fast and efficient, making sure any discomfort is as brief as humanly possible. That fleeting moment of pain is totally worth the awesome piercing you get to show off for years to come.
Can I Wear Headphones with a New Piercing?
We get it—you need your music, your podcasts, your audiobooks! When you've got a fresh piercing, though, you need to be a little careful with headphones. The real answer depends entirely on where your new piercing is.
- Earbuds: For any of those inner-ear piercings like the tragus, daith, or conch, earbuds are a hard no during the initial healing time. They put direct pressure on the piercing, can introduce nasty bacteria, and will seriously tick off your healing ear.
- Over-Ear Headphones: These are your best friend! As long as the cups don't sit directly on and press against your new piercing (like a brand new helix or industrial), you should be totally fine.
Just give your new piercing the space it needs to breathe and heal. Sticking with over-ear headphones for the first few months is a smart move that will keep your healing journey smooth and on track.
How Soon Can I Change My Cartilage Jewelry?
We know you're dying to swap out that starter stud for something from your Bodycandy wishlist. But this is where patience really becomes a virtue. You absolutely cannot change your initial jewelry until the piercing is fully healed.
For most ear cartilage piercings, this means you're looking at a wait time of 6 to 12 months—and sometimes even longer. Changing the jewelry too early is one of the biggest mistakes people make. It can lead to irritation, infection, and major healing setbacks. It might even cause that piercing you've worked so hard on to close up completely.
The only exception? When you go back to your piercer for a "downsize." This usually happens around the 4-8 week mark after the initial swelling has calmed down. Your piercer will swap the long starter post for a shorter one that fits more snugly, preventing snags. This is something only a professional should do for your safety!
What Are Piercing Bumps and How Do I Treat Them?
First off, take a deep breath. Piercing bumps are incredibly common and almost always fixable. It's important to know that these are usually just irritation bumps, not keloids (which are a much rarer, genetic issue).
These little bumps are basically your body’s way of screaming, "Hey! Something is bothering me over here!" The most common culprits are:
- Accidentally snagging or bumping your jewelry
- Sleeping directly on the piercing (a big no-no!)
- Wearing low-quality jewelry made from mystery metals
- Slacking on your aftercare routine
The secret to getting rid of an irritation bump is to become a detective. Figure out what’s causing the irritation and stop it. Get back to your strict sterile saline cleaning routine, make a real effort not to touch it or sleep on it, and make sure your jewelry is made from something high-quality like implant-grade titanium. If the bump is stubborn and sticks around, a quick visit to your piercer is the best next step for some personalized advice.
Ready to map out your dream ear project or find that perfect piece for a healed piercing? At BodyCandy, we have a massive collection of high-quality studs, hoops, and barbells to help you show off your unique style.