Ever found yourself staring at a wall of gorgeous body jewelry, totally stumped by the word ‘gauge’? You’re not alone! Think of gauge as simply the thickness of the jewelry itself—it’s the standard system piercers and jewelry makers use to make sure you get a perfect, comfortable fit for your piercing.
Your Guide to Piercing Gauge Sizes
Nailing the right size is so important for a happy, healthy piercing and avoiding any nasty irritation. It’s also the secret to building a killer jewelry collection that feels just as amazing as it looks. We'll admit, though, the sizing system can feel a little backward at first.
Here's the one thing you absolutely have to remember, because it’s the opposite of what you’d expect:
- A smaller gauge number (like 20g) actually means the jewelry is thinner.
- A larger gauge number (like 14g) means the jewelry is thicker.
Once you get that down, you’re golden. This is the key to confidently using our body piercing gauge size chart to pick the right piece every single time, with zero guesswork.
The Complete Piercing Gauge Size Chart
Ready to find your size? You're in the right place. This is the quick-reference tool you’ll want to bookmark for all your body jewelry needs. We've put together a comprehensive body piercing gauge size chart that translates every standard gauge into both millimeters (mm) and inches, making your online shopping a total breeze.
From super-delicate 22g jewelry often seen in nose piercings, all the way up to 00g (and beyond) for stretched lobes, this chart has you covered. Use it as a visual guide to quickly confirm the size you’re currently wearing, compare different thicknesses, or just understand the exact measurements of a piece you've got your eye on.
Getting the size right isn't just about looks—precision is key for a happy, healthy piercing. For instance, a 20 gauge piece is about 0.813 millimeters thick, while a 00 gauge jumps way up to approximately 9.246 millimeters. Mixing these up can cause irritation or other complications, so it's always best to be sure. To learn more about how the modern piercing world uses these measurements, check out our guide on the standards of gauge sizing for body jewelry.
Gauge to Millimeter and Inch Conversion Chart
Here's a detailed breakdown of gauge sizes and their equivalents in both millimeters and inches. Keep this handy to make sure you always order the perfect fit.
| Gauge (g) | Millimeters (mm) | Inches (") |
|---|---|---|
| 22g | 0.644 mm | 0.025" |
| 20g | 0.813 mm | 0.032" |
| 18g | 1.024 mm | 0.040" |
| 16g | 1.291 mm | 0.051" |
| 14g | 1.628 mm | 0.064" |
| 12g | 2.053 mm | 0.081" |
| 10g | 2.588 mm | 0.102" |
| 8g | 3.264 mm | 0.129" |
| 6g | 4.115 mm | 0.162" |
| 4g | 5.189 mm | 0.204" |
| 2g | 6.543 mm | 0.258" |
| 0g | 8.251 mm | 0.325" |
| 00g | 9.246 mm | 0.364" |
Remember, the smaller the gauge number, the thicker the jewelry. Once you hit 0g, the sizes start getting even larger with 00g, then fractions of an inch.
Standard Gauge Sizes for Popular Piercings
Feeling a bit lost in all the numbers and options? It's totally normal. Let's break it down. While the final call always comes down to your piercer's recommendation and your unique anatomy, most piercings do have a standard starting gauge.
Knowing these common sizes gives you a solid baseline for what to expect during your appointment and what kind of jewelry to browse for later. Over time, certain gauges have become the go-to for specific placements, like the classic 14g for an industrial piercing. If you're curious about how it all started, you can dive into the history of piercing and gauging on beunlimitedart.com.
This handy chart is a great visual reference for how gauge sizes really stack up in millimeters and inches.
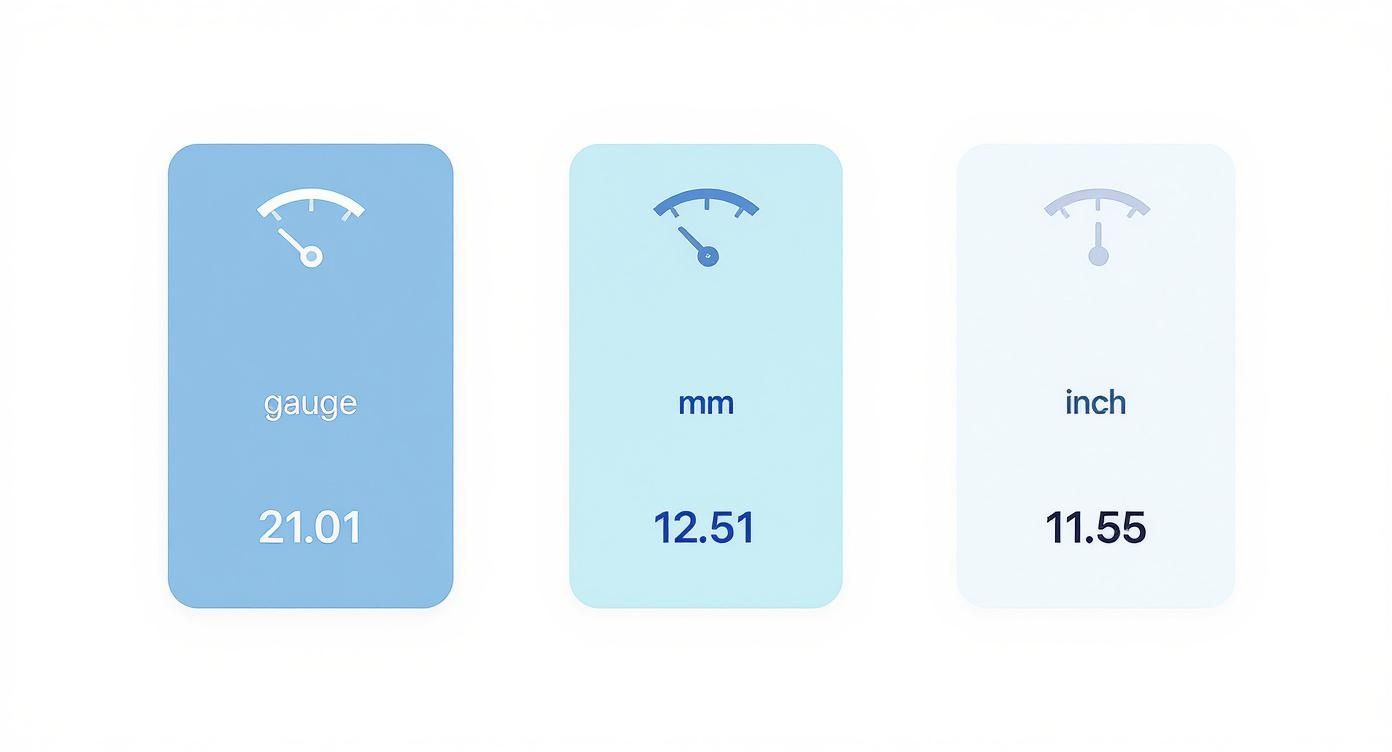
As you can see, it's a bit counterintuitive: the gauge number gets smaller as the jewelry actually gets thicker. It’s a crucial little detail that every piercing enthusiast learns pretty quickly!
Common Gauge Sizes by Piercing Type
To make things even easier, here’s a quick-reference table that lists some of the most popular piercings and the gauge sizes you'll typically see used for them.
| Piercing Type | Standard Gauge Size(s) |
|---|---|
| Earlobe | 20g or 18g |
| Cartilage (Helix, Tragus, Conch) | 16g |
| Nostril | 18g or 20g |
| Septum | 16g or 14g |
| Lip (Labret, Monroe) | 16g |
| Eyebrow | 16g |
| Tongue | 14g |
| Navel (Belly Button) | 14g |
| Nipple | 14g or 12g |
| Industrial | 14g |
Remember, this is just a general guide. Your piercer might suggest a slightly different size to best suit your anatomy and ensure a smooth healing process. Always trust their professional judgment!
How to Measure Your Piercing Gauge at Home
Ever found a piece of jewelry you absolutely love but can’t for the life of you remember the size? We've all been there! The good news is you don't always have to run back to your piercer to figure it out. Learning to measure your own jewelry makes shopping for new pieces online a total breeze.
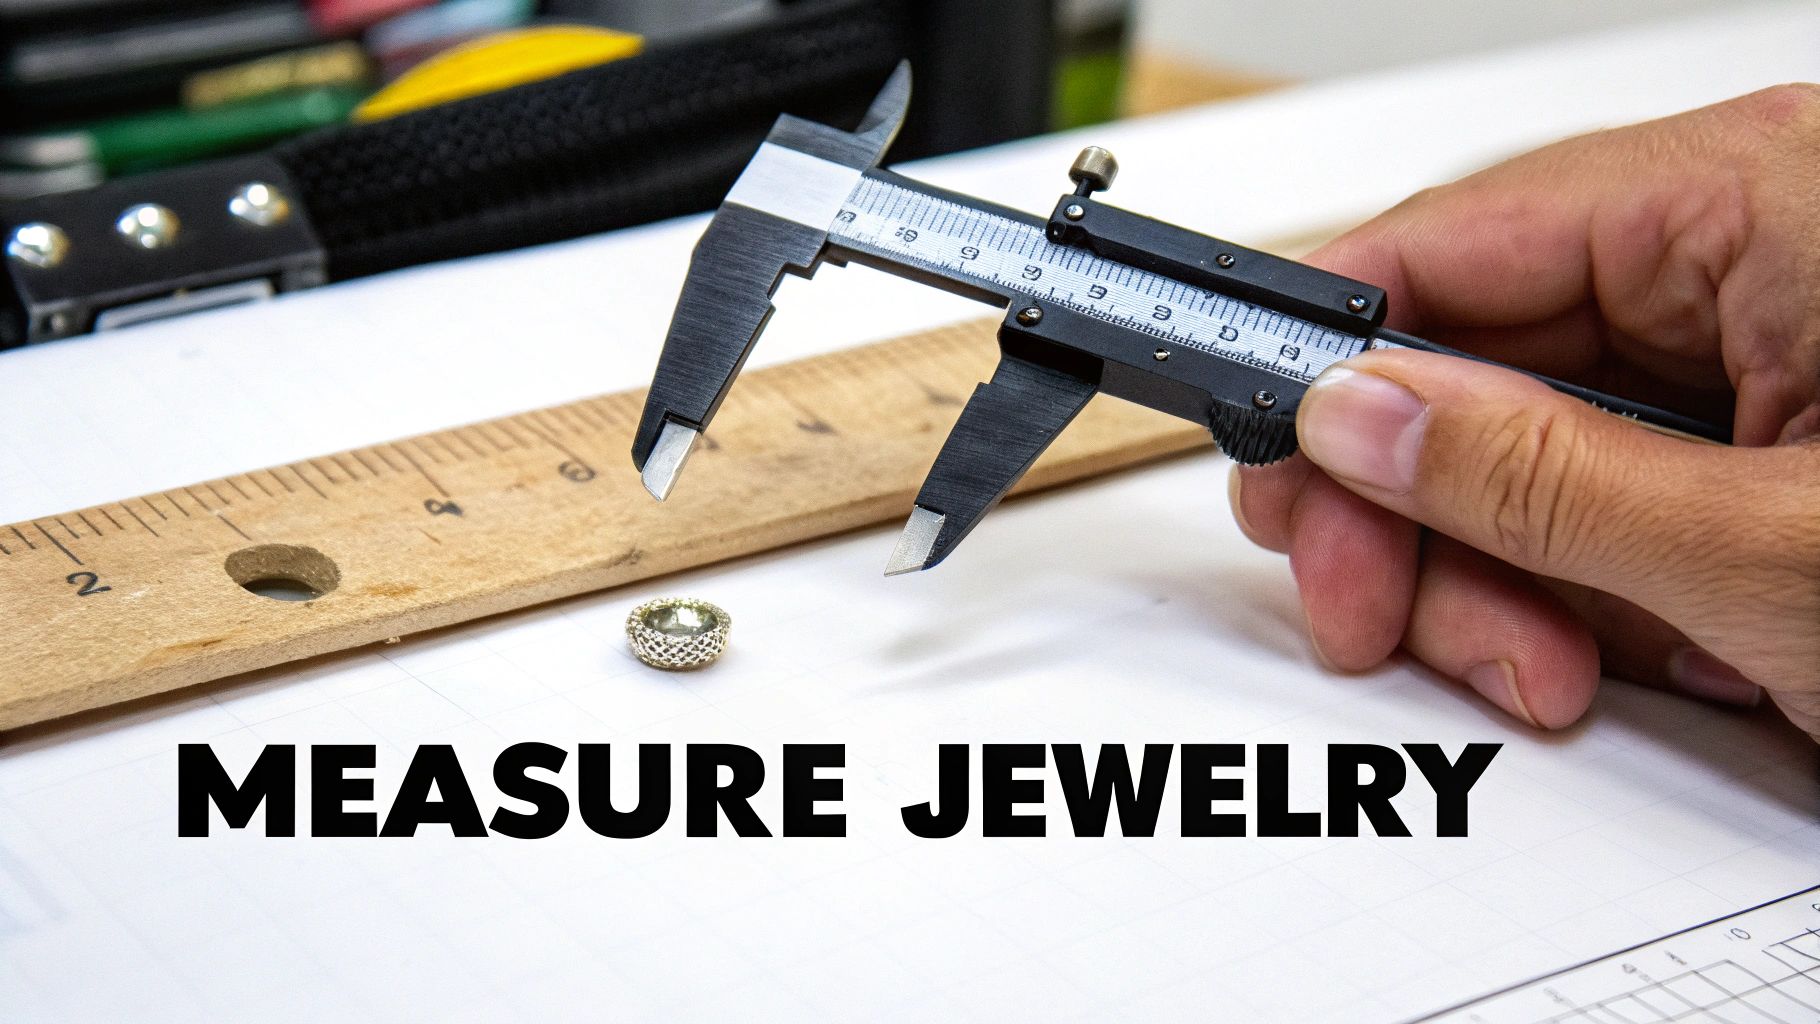
If you want to get it just right, the most accurate way is with a digital caliper. These nifty tools give you a super-precise measurement in millimeters that you can easily compare to our body piercing gauge size chart. All you have to do is place the post of your jewelry between the caliper's jaws and gently close them to get your reading.
Don't have a caliper lying around? No worries, a simple ruler with millimeter markings can work in a pinch. Just lay the jewelry's post flat against the ruler and carefully count the millimeters of its thickness.
For a deeper dive into getting the perfect measurement every time, definitely check out our guide on measuring up your body jewelry sizing basics. A little know-how here ensures you always get that perfect, comfortable fit for your piercing.
Navigating Downsizing and Stretching Your Piercings
Your piercing journey doesn’t just end once the initial healing period is over. Now comes the fun part! Two concepts you’ll hear a lot about are downsizing and stretching, and they're both super important for the long-term health and style of your piercing.

Downsizing is pretty much what it sounds like. After a few weeks, once the initial swelling has completely subsided, your piercer will swap out your original, longer jewelry post for one with a snugger fit. This is a crucial step! That initial long bar is necessary to give your piercing room to swell, but leaving it in can lead to annoying snags, irritation, and migration issues down the road.
Stretching, on the other hand, is the process of slowly and carefully enlarging a piercing to accommodate thicker jewelry. While it's most common for earlobes, plenty of other piercings can be stretched, too. It’s a real commitment that requires patience, the right tools, and a solid understanding of how your body heals. If you're ready to learn more, check out our in-depth guide on how to properly stretch your lobes the safe way.
Time to Show Off Your New Gauge Smarts
Okay, you've officially graduated from Gauge Academy! Now for the fun part—finally snagging that piece of jewelry you've been dreaming of. Armed with your new knowledge, you can browse Bodycandy.com like a seasoned pro. You'll notice every product page lays it all out for you: the gauge, the length, and every other measurement you need to know.
This means you can jump right into our most popular collections without a single doubt. Go ahead and explore our vibrant 14g navel rings, check out the sparkle on our 16g cartilage studs, or find your new favorite from our super sleek 18g nose rings. You're ready. Go find that perfect fit and treat yourself!
Piercing Gauge FAQs
Feeling a little lost in the numbers? Don't worry, we get it. Let's clear up some of the most common questions you have about piercing gauge sizes. Think of this as your quick-reference cheat sheet to help you shop with total confidence.