Have you ever spotted someone with awesome stretched earlobes and wondered how they did it? It all comes down to understanding the size of gauges for ears. This refers to the thickness of the jewelry, but the sizing system can feel a bit backward at first: smaller numbers actually mean bigger jewelry.
Think of this guide as your bestie giving you a behind-the-scenes tour of the ear stretching universe. We'll make everything simple, safe, and super fun.
Welcome to the World of Ear Stretching
So, you've decided stretched lobes are a total vibe and you want in. You're in exactly the right place! We're here to demystify the whole process and get you started on your own stretching journey.
First up, let's talk about that word: "gauge." It’s simply the unit of measurement for the thickness of body jewelry. Instead of starting with millimeters or inches, the piercing world uses this unique system. Getting a handle on gauge sizing is your first step to finding the perfect jewelry and starting your adventure.
But why do people love it so much? For many, it's a bold form of self-expression, a way to rock a unique look that's all their own. For others, it’s about the journey itself—the patience and dedication it takes to safely reach their goal size. Whatever your reason, it's an incredibly rewarding process when you do it right.
What to Expect From This Guide
We're going to walk you through every single step to make sure your stretching adventure is safe, successful, and super exciting. We'll cover all the essentials, from figuring out the sizing chart to helping you pick out your very first set of awesome plugs from Bodycandy.
The number one thing that trips up beginners is the sizing itself. Here's the golden rule to remember: as the gauge number gets smaller (like going from 16g to 14g), the jewelry actually gets thicker. It’s a countdown to bigger sizes!
We're going to break this down until it feels like second nature. Forget any confusion you might have felt before. Our goal is simple: to make you feel totally confident and ready to find the perfect jewelry to start stretching your ears the right way.
This guide will give you all the know-how you need, covering these key areas:
- Decoding the Sizing System: We'll dive deep into how gauge numbers, millimeters, and inches all connect.
- Safe Stretching 101: You'll learn the crucial do's and don'ts to keep your lobes healthy and happy from start to finish.
- Choosing the Right Jewelry: We'll show you what materials and styles are best for fresh stretches versus fully healed lobes.
By the end of this, you'll be more than ready to get started. Let's do this!
Cracking the Code of Gauge Sizes
Alright, let's talk about the single most important part of stretching your ears: understanding how gauge sizes actually work. It seems a little backward at first, but once you get the hang of it, you'll feel like a total pro.
The key thing to remember is that the system works in reverse.
Think of it like a countdown. As the gauge number gets smaller (say, going from a 16g to a 14g), the jewelry itself is actually getting thicker. You're counting down to a bigger size. It's a simple little mental flip, but it makes all the difference!
The Gauge System Explained
The sizing system for ear gauges follows a scale called the American Wire Gauge (AWG) system, which is the industry standard for pretty much all body jewelry. It all starts with the size of a standard earlobe piercing, which is usually done at 20g or 18g.
From there, you begin your stretching journey by moving to the next smallest number, like a 16g, which is just a slightly thicker piece of jewelry.
The progression continues downward in even numbers: 14g, 12g, 10g, and so on. Pretty soon, you'll hit exciting milestones like 8g—often the first size where your lobes start to look visibly stretched. Then you'll be aiming for major goals like 2g, 0g, and the famous 00g.
Here's a pro tip: After 00g, the measurement system officially changes. Instead of using gauge numbers, you start measuring the jewelry's diameter in fractions of an inch, like 1/2" or 9/16".
This chart is a great way to see how much the jewelry's size increases as the gauge number goes down, showing the big jump from a small 16g to a much more noticeable 0g.
As you can tell, the difference between these milestone sizes is pretty significant, which is exactly why stretching has to be a slow and gradual process.
Your Go-To Gauge Conversion Chart
Trying to memorize every single size is a tall order, which is why having a handy conversion chart is a lifesaver. This chart is your new best friend for figuring out the perfect size jewelry for your ears, lining up the gauge number with its exact measurement in both millimeters (mm) and inches (").
Keep this chart bookmarked! It's the perfect reference when you're shopping for new plugs or planning your next stretch. It takes all the guesswork out of the equation so you always grab the right size.
| Gauge (g) | Millimeters (mm) | Inches (") |
|---|---|---|
| 18g | 1.0mm | 0.040" |
| 16g | 1.2mm | 0.050" |
| 14g | 1.6mm | 0.063" |
| 12g | 2.0mm | 0.081" |
| 10g | 2.4mm | 0.102" |
| 8g | 3.2mm | 0.125" |
| 6g | 4.0mm | 0.162" |
| 4g | 5.0mm | 0.204" |
| 2g | 6.0mm | 0.250" (1/4") |
| 0g | 8.0mm | 0.312" (5/16") |
| 00g | 10.0mm | 0.375" (3/8") |
| 1/2" | 12.0mm | 0.500" (1/2") |
Now that you can see the measurements laid out side-by-side, it's way easier to visualize how much your earlobes will need to adapt with each new size. For even more info, check out our guide on plug sizing differences between the US and UK. With this chart and a little patience, you're all set to choose the right jewelry to get your journey started.
How to Stretch Your Ears Safely
When you’re excited to hit your goal size, the urge to speed things up is real. But if there's one golden rule in the world of ear stretching, it's this: patience is your absolute best friend. Let's walk through how to do this the right way, because healthy, happy lobes are the only way to go.
The most important thing to remember is to never, ever skip sizes. It might feel like a clever shortcut, but it’s actually the fastest way to run into serious problems like blowouts, tearing, and some pretty nasty infections.
Each gauge size is a deliberate, calculated step. The jumps are designed to give your earlobe tissue the time it needs to relax, heal, and prepare for the next size. Rushing it just puts your lobes at risk and can mess up the awesome look you're working so hard to achieve.
The Safe Stretching Process Step-by-Step
Ready to move up? First things first, make sure your initial piercing is 100% healed. Trying to stretch a fresh or still-healing piercing is a guaranteed recipe for pain and complications. If you have any doubt, just wait a little longer. It's always worth it.
Once you’re fully healed and ready for the next size, here’s how to do it safely:
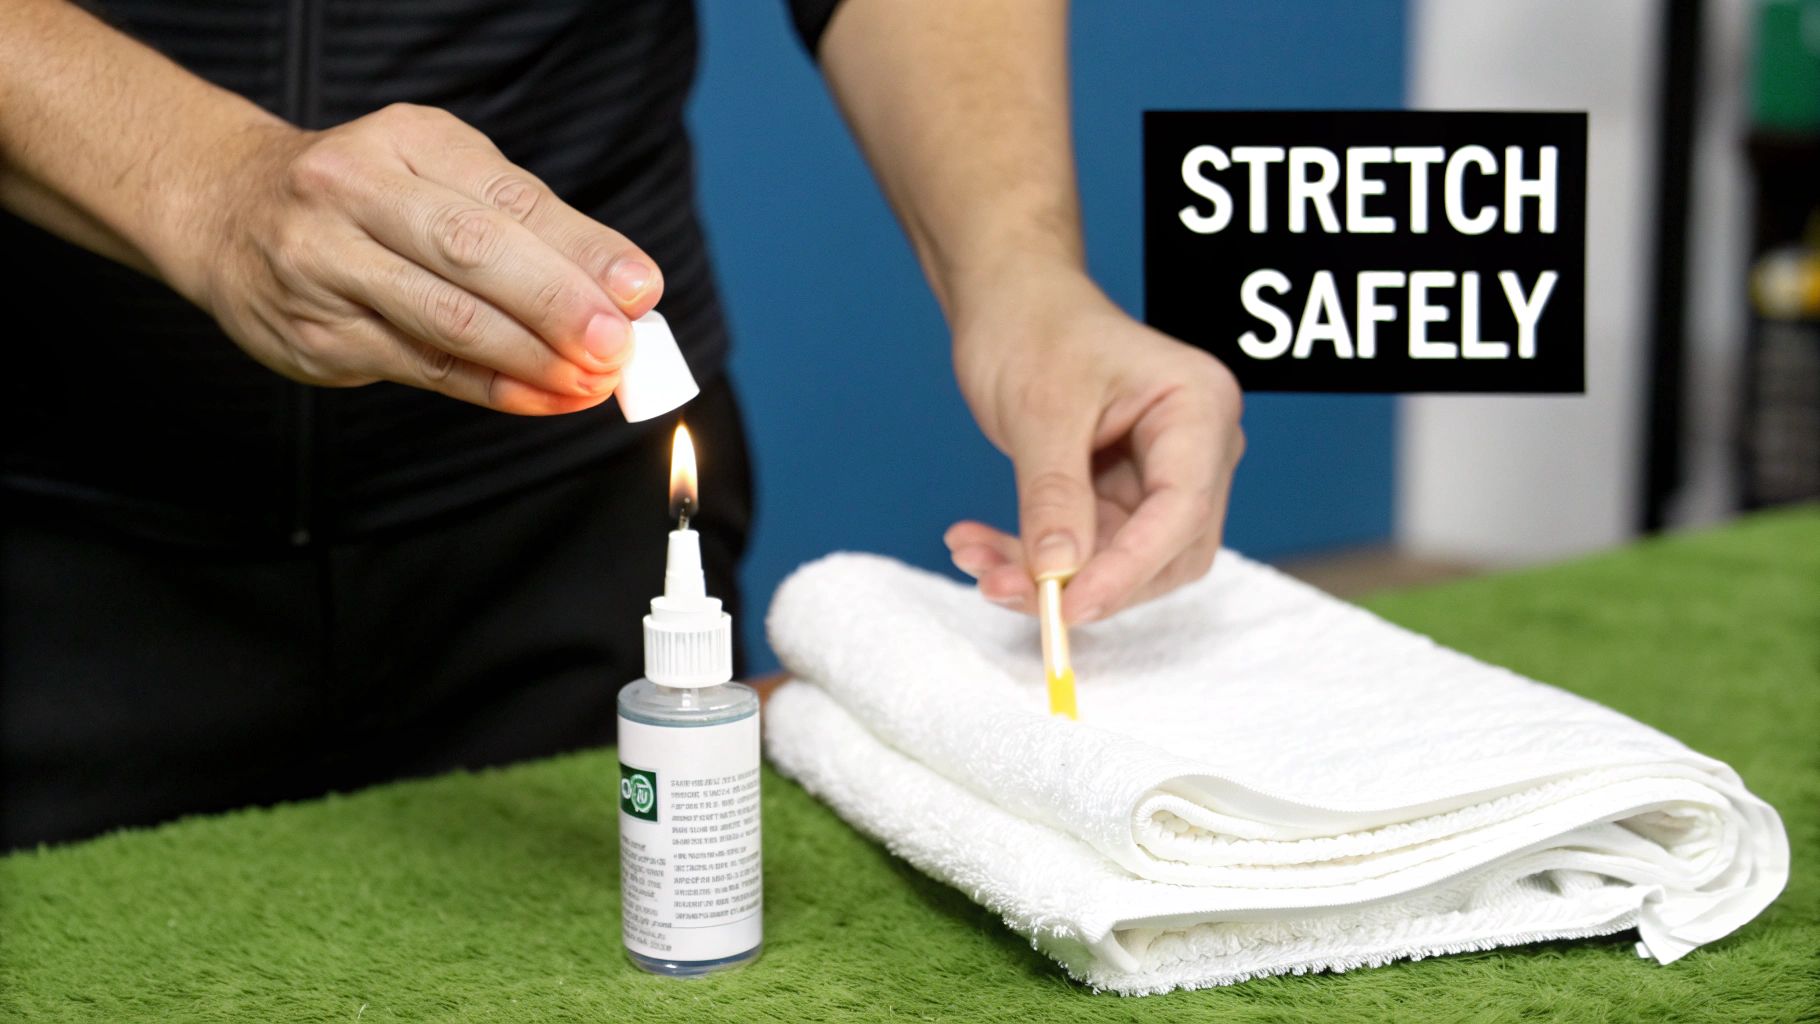
- Get Prepped: The perfect time to stretch is right after a warm shower. The heat and steam help relax your skin, making it more pliable. Make sure your hands, the new jewelry, and your earlobes are squeaky clean.
- Lube Up: This part is non-negotiable. Apply a generous amount of a water-based lubricant to both your earlobe and the taper. It’s what helps the jewelry slide through smoothly without causing friction or tiny tears.
- Gently Insert the Taper: Slowly and gently guide the taper through your piercing from the front. Never, ever force it. You should feel a bit of light pressure, but never sharp pain. If it hurts, stop immediately. Your ear is telling you it's not ready.
- Follow with the Plug: As soon as the taper is all the way through, line up a single-flare plug of the same new size right behind the taper's thickest end. In one smooth motion, push the taper and plug through together until the plug is sitting snugly in your piercing.
- Secure It: Pop the O-ring onto the back of the plug to keep it in place, and that’s it! Now for the most critical part of all: waiting.
How Long Should You Wait Between Stretches?
This is where your patience really gets to shine. The waiting period between stretches gives your lobes crucial time to heal and rebuild tissue, which makes the next stretch safer and so much easier.
For smaller sizes, you should wait at least 4-6 weeks between each stretch. Once you start getting into larger sizes, that waiting time gets longer. Plan on 2-3 months or even more for those bigger jumps.
The real secret to successful stretching is simple: listen to your body. If you feel any sharp pain or serious resistance when trying to insert a new taper, your earlobe is screaming "not yet!" Take the taper out, put your old size back in, and give it a few more weeks to heal up.
From a health and safety standpoint, rushing to larger gauges is a bad idea. Professional piercing guidelines recommend increasing by only one gauge increment every 4 to 6 weeks. Trying to jump ahead can cause tears and trauma, and the risk of keloids, infections, and permanent damage goes way up, especially when you get beyond 0g (8.25 mm) without enough healing time.
For a deeper dive into the whole process, including aftercare, check out our comprehensive guide on how to properly stretch your lobes. It’s packed with extra tips to make sure your journey is a smooth one.
And remember, using high-quality tools is a huge part of your success. Bodycandy’s stainless steel and titanium stretching kits have everything you need to size up safely and in style, giving you the perfect, non-porous surfaces for a clean stretch every single time.
Choosing the Right Jewelry for Your Gauge Size
Alright, you've got the sizing chart down and you know how to stretch safely. Now for the best part—picking out the amazing jewelry that makes this whole journey so rewarding!
Choosing the right plugs, tunnels, and tapers for where you're at is super important for keeping your lobes happy while you show off your style. What works for a brand new stretch is totally different from what you'd wear in a lobe that's fully healed and settled in. Let's break it all down.
Jewelry for Smaller Gauges (16g-8g)
When you're first starting out, your lobes are in a pretty delicate spot right after each stretch. The name of the game here is safety and simplicity. Your absolute go-to jewelry should be single-flare plugs made from non-porous materials.
Single-flare plugs are perfect for this stage. They have a flat back and one flared end on the front, with a little rubber O-ring that slips on the back to hold it in place. This design makes them incredibly easy to slide into a fresh stretch without ticking off that sensitive new tissue.
For materials, stick with the best of the best:
- Surgical Steel: A classic for a reason. It's body-safe, totally non-porous (so no nasty bacteria can hide in it), and has a nice bit of weight that can help your lobes gently relax and heal up.
- Glass: Another fantastic choice for fresh stretches. Glass is unbelievably smooth, hypoallergenic, and a breeze to clean, which is why you'll see a lot of pro piercers recommend it.
At these smaller sizes, healing is everything. Stick to these safe materials and steer clear of porous stuff like wood or silicone until your lobes are way more established.
Options for Medium Sizes (6g-00g)
Once you've made it to the medium range and your lobes are fully healed between stretches, your world of style really starts to open up! This is where you can begin to play with different looks and materials. Single-flares are still a solid choice, but you can definitely introduce some new players to your collection now.
Did you know? The vast majority of ear gauge jewelry sales are between 14 gauge (1.63 mm) and 2 gauge (6.54 mm). You're in good company! It's a popular sweet spot for rocking awesome styles without going into huge sizes.
Here’s what you can start wearing in your healed lobes:
- Double-Flare Plugs: These have a flare on both ends, which holds them in place without needing any O-rings. CRITICAL: Only wear these in lobes that are fully healed and well-established. You need enough elasticity to pop that back flare through without causing any trouble.
- Silicone Tunnels: These are super lightweight, flexible, and crazy comfortable—especially for sleeping. Silicone is a great pick for healed piercings, but never use it for stretching or in a fresh stretch, since it's porous.
- Organic Materials: Now’s your chance to check out gorgeous materials like wood and stone. They’re lightweight and breathable but do require a little more care since they can't hang out in water for long.
Styles for Larger Sizes (Beyond 00g)
Welcome to the big leagues! Once you're past 00g, your lobes are basically a canvas for some seriously incredible jewelry. The weight of your jewelry becomes a major factor at these sizes. Heavy materials can put way too much strain on your lobes, so lightweight options are about to become your new best friends.
Great choices for larger gauges include:
- Wood Plugs: Very lightweight and come in some absolutely stunning designs.
- Silicone Tunnels: The ultimate choice for lightweight comfort.
- Stone Plugs: You can still rock stone, but opt for lighter types like amethyst or jade instead of heavier ones.
This is also a great time to look into screw-fit plugs and tunnels. They have one flared end that you can screw off, which makes them way easier to insert at larger sizes than trying to wrestle with a traditional double-flare.
To get a better feel for all the different styles out there, check out our guide that offers a quick take on various plug styles and how they fit.
Your Daily Aftercare Routine for Stretched Ears
So, you've made the jump to the next size. Awesome! But the journey doesn't stop there. Keeping your newly stretched ears clean and happy is just as critical as the stretching process itself. Think of it as a daily ritual—a few minutes to check in with your lobes and give them the TLC they need. A solid routine is what gets you to your goal size safely and keeps your lobes healthy for the long haul.
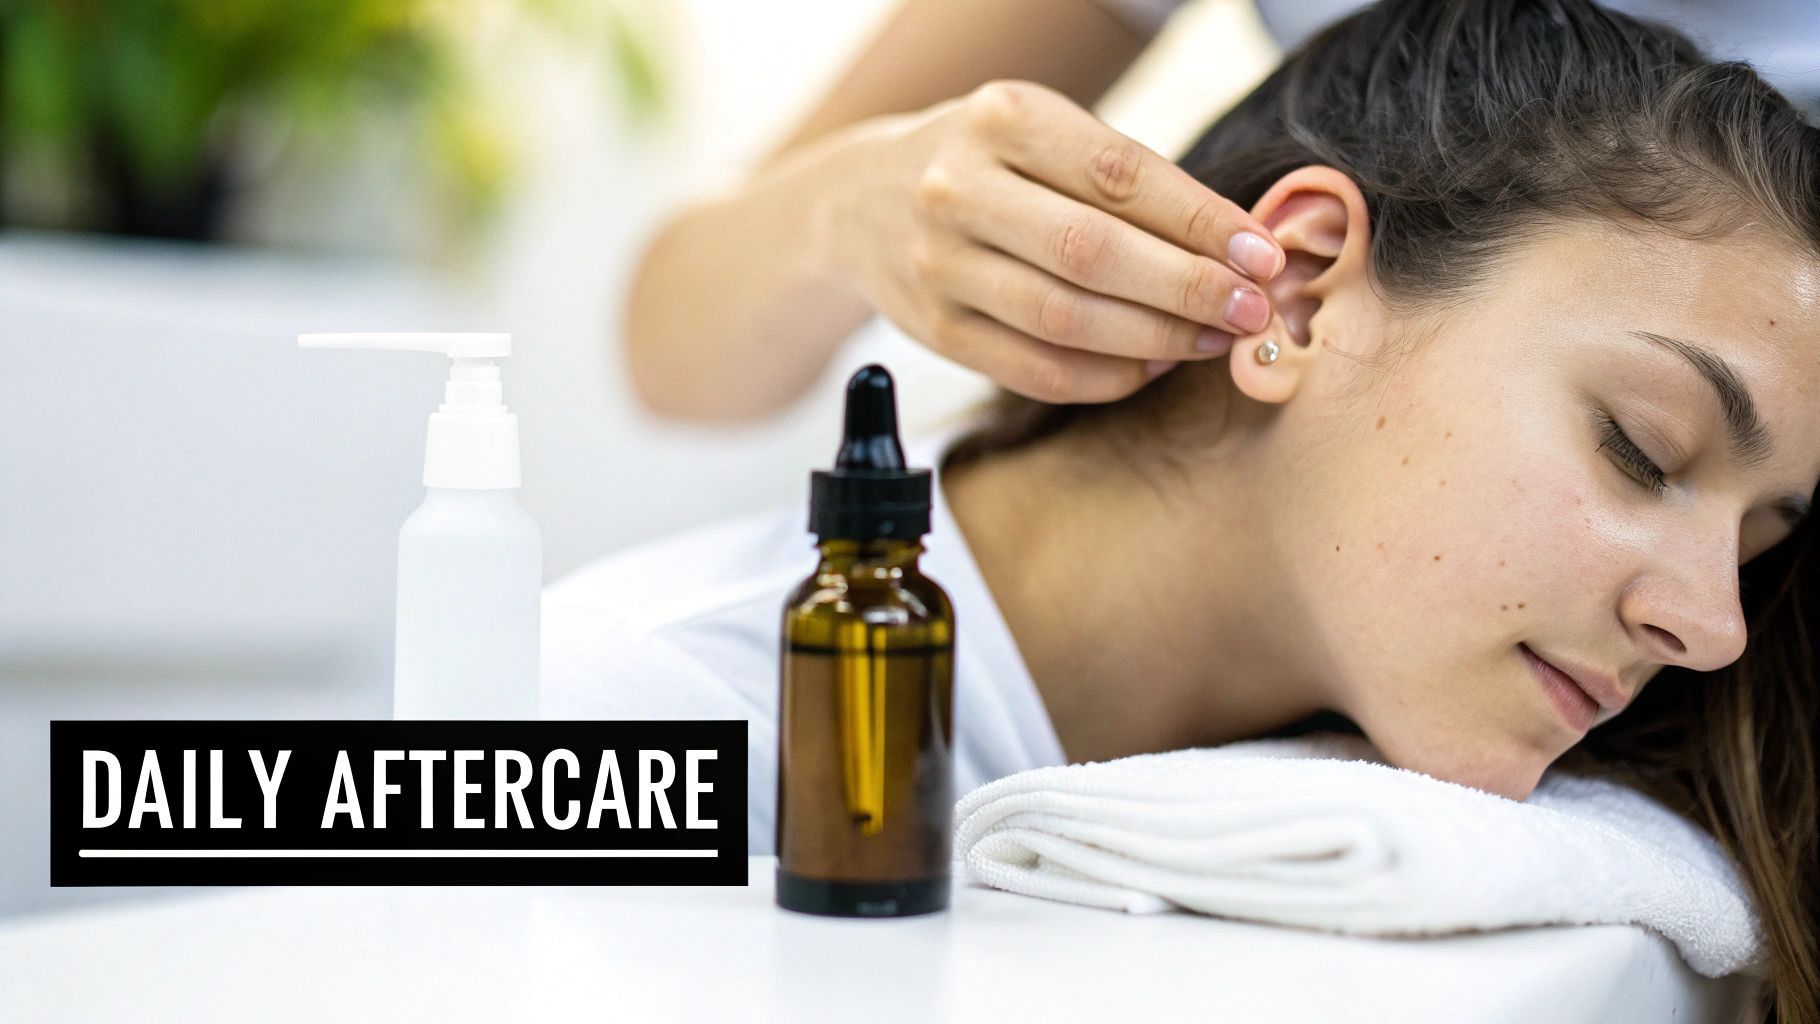
This simple routine is your secret weapon for happy lobes, whether you just sized up or you're just maintaining your current size. Let's make aftercare feel like a treat, not a chore!
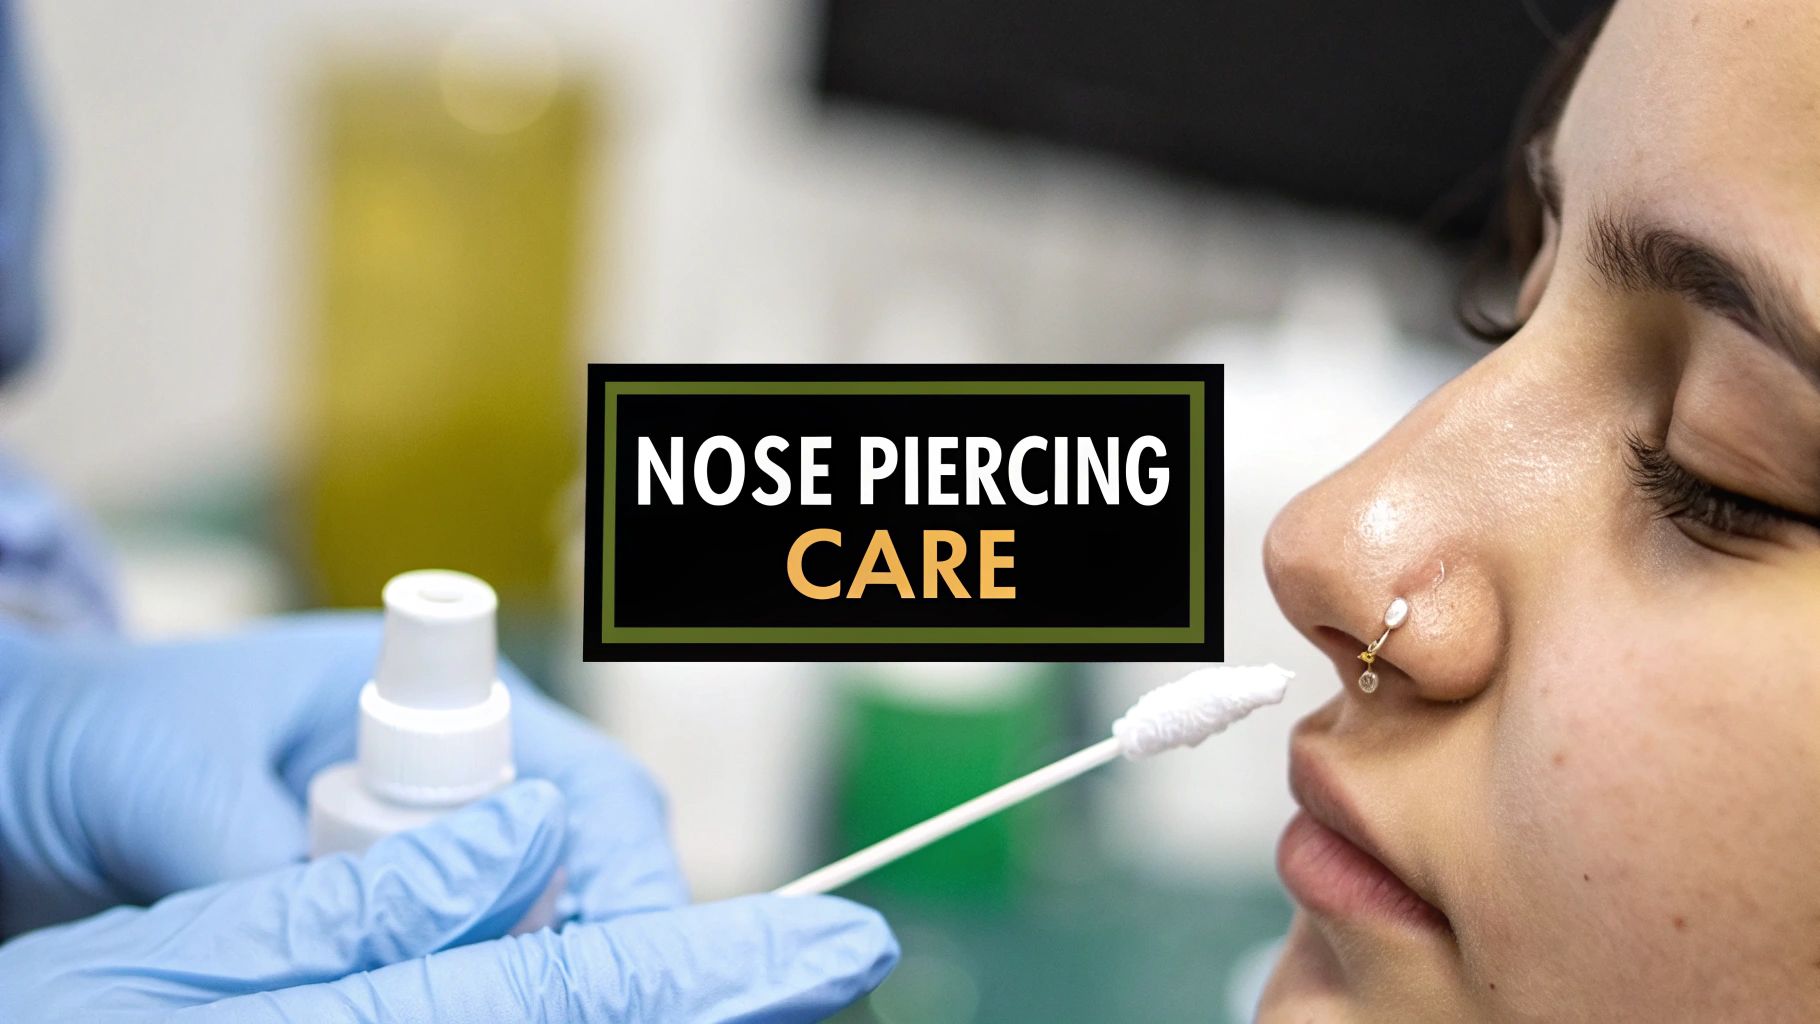
Daily Cleaning for Fresh Stretches
For the first week or two after any stretch, your lobes are in healing mode and need a little extra attention. Your job is simple: keep them clean to ward off any irritation or potential infections.
Twice a day, give the area a gentle cleaning with a sterile saline solution or a super mild, unscented soap with warm water. If you go the soap route, be sure to rinse every last bit off so there's no residue left behind. Then, pat everything dry with a clean paper towel. Pro tip: ditch the cloth towels for now, as they can hang onto bacteria and snag your fresh jewelry.
Heads Up: Steer clear of the harsh stuff like alcohol or hydrogen peroxide. They're way too aggressive for healing skin and can actually slow things down by causing dryness and irritation. Gentle and simple is always the way to go.
The Magic of Lobe Massages
Once the initial tenderness from your stretch has faded (usually after about a week), it's time to introduce the single best practice for stretched ears: daily oil massages. Seriously, this is a total game-changer for keeping your lobes thick, healthy, and elastic.
Just take out your jewelry and massage a few drops of a good-quality, natural oil into your lobes for a minute or two. This simple step works wonders:
- Boosts Blood Flow: The massage action gets the circulation going, which helps speed up healing and keeps the tissue healthy and plump.
- Improves Elasticity: Hydrated, happy skin is way more flexible and less likely to tear when you're ready for your next stretch.
- Prevents "Ear Funk": It helps break down and clear out sebum (that mix of dead skin cells and oil) that can build up, keeping everything feeling and smelling fresh.
Caring for Healed Lobes and Your Jewelry
Even when your lobes are fully healed and settled at a size, daily cleaning and massages are still your best friends. You can probably ease up on the saline soaks, but a quick clean of your lobes and jewelry in the shower is a great daily habit.
And don't forget the jewelry itself! Non-porous materials like surgical steel and glass can be easily washed with some gentle soap and water. For porous materials like wood or stone, never soak them. Instead, just wipe them down with a damp cloth and recondition them with a tiny bit of oil.
Recommended Oils for Massages:
- Jojoba Oil: This is the undisputed champion in the stretching community! Its structure is almost identical to your skin's natural oils, so it absorbs beautifully without causing irritation.
- Vitamin E Oil: Famous for its healing abilities, this oil is fantastic for nourishing your skin and helping with tissue repair.
- Emu Oil: Another excellent choice that's known to help with the healing process and reduce inflammation.
By taking just a few minutes each day for this routine, you're investing in a healthy, successful, and amazing stretching journey. Remember, happy lobes are stretchy lobes!
Common Stretching Problems and How to Fix Them
Even when you follow all the rules, sometimes your ears just won't cooperate. Don't panic! Hitting a few bumps in the road is a totally normal part of the stretching journey, and knowing what to do makes all the difference. Think of this as your go-to guide for troubleshooting the most common issues, so you can handle any setback like a pro.
The most important rule, no matter what's going on, is simple: if something feels wrong, downsize immediately. Popping your previous, smaller size back in gives your lobe the space and time it desperately needs to heal up.
The Dreaded Blowout
Alright, let's talk about the big one: the blowout. It sounds terrifying, but it’s totally manageable. A blowout happens when you stretch too fast, essentially forcing the new jewelry through before the fistula (the little skin tube of your piercing) is ready and willing. This pressure can push a ring of skin out the back of your piercing, creating a gross little lip.
If you even think you have a blowout, your first move is always to remove the jewelry and downsize by at least one or two sizes. This instantly relieves the pressure and gives that displaced skin a chance to settle back where it belongs.
Don't try to tough it out! Ignoring a blowout will only make it worse, leading to stubborn scar tissue that can be permanent. Downsizing and giving it plenty of time to heal is the only real way to fix it properly.
How to Handle Minor Irritation and Tears
Sometimes you'll run into smaller issues that aren't a full-blown blowout. You might see some redness, a bit of swelling, or even a tiny tear if a stretch was just a little too much for your lobe to handle that day.
Your game plan here should be calm and consistent. Here’s what to do:
- Downsize: Just like with a blowout, the first step is to take the pressure off. Go back to your last comfortable size.
- Saline Soaks: Give your lobes a gentle saline soak once or twice a day. This keeps the area clean and happy without using harsh chemicals that can make the irritation even worse.
- Lobe Massages: Once the initial soreness has faded, get back to doing gentle massages with jojoba oil or vitamin E oil. This is great for boosting blood flow and can help break down any potential scar tissue before it even thinks about forming.
When Your Jewelry Is the Problem
Did your ears feel totally fine one minute, then suddenly get red, angry, and itchy the next? You might be having a reaction to the jewelry material itself. This is super common with porous materials like acrylic or silicone if they're worn in a fresh stretch, or if you discover you have a sensitivity to certain metals.
If you suspect this is the case, make the switch to a high-quality, hypoallergenic material like implant-grade titanium or glass. These materials are incredibly smooth and non-reactive, giving your lobes a peaceful environment to calm down and heal up. Listening to what your body is telling you is always the best strategy for a long and successful stretching journey.
Your Top Questions About Gauge Sizes Answered
Still have a few questions buzzing around in your head about gauge sizes? You're not alone! This is a big journey, and it's smart to soak up all the information you can before you dive in deeper. We've gathered up the most common questions we hear to give you clear, real-talk answers.
Our goal is to get you feeling totally confident and excited about your stretching adventure. Let’s clear up these common questions so you can move forward like a pro.
Will Stretching My Ears Hurt?
Honestly, when you stretch your ears the right way—slow and steady—it really shouldn't be painful. You might feel a quick, warm tingle or a slight sting for a moment, but that's about it.
Sharp pain is your body screaming "STOP!" It's a bright red warning sign that your ear isn't ready for the next size. The secret is to never force the jewelry and to always, always respect the waiting times between stretches.
Can I Skip a Gauge Size to Stretch Faster?
Let's be totally blunt here: absolutely not! Trying to skip a size is the single fastest way to cause a painful blowout, tear your earlobe, or get a nasty infection. It's just not worth risking the health of your beautiful lobes.
Each jump in the gauge system is designed to be a small, manageable step. This gradual increase gives your skin the time it needs to heal, adjust, and build healthy new tissue. Patience truly is everything if you want amazing-looking, healthy stretched ears.
How Long Should I Wait Between Stretches?
This is easily one of the most critical parts of getting your gauge size right. A solid rule of thumb is to wait a bare minimum of 4-6 weeks between stretches when you’re at the smaller sizes (say, going from 16g to 12g).
Once you start getting into the bigger sizes (8g and up), your body needs even more recovery time. For these larger jumps, it's best to wait 2-3 months—or sometimes even longer. Your body will tell you when it's ready. If the next taper slides in with almost no resistance, you're good to go.
Will My Ears Ever Shrink Back to Normal?
This one really depends on the person and how big you decide to go. Many people find their ears can shrink back to look like a standard piercing if they don't stretch past a 2g or 0g. But everyone's skin elasticity is different, so there are no guarantees.
Once you stretch beyond what many call the "point of no return" (usually around 00g), it's highly unlikely your lobes will ever fully close on their own. At that point, it would probably take cosmetic surgery to close them up completely.
So, it's super important to think of stretching as a long-term commitment, especially once you start hitting those larger sizes.
Feeling more confident? Now that you've got the knowledge, it's time for the fun part! Ready to find your new look?
Shop the full collection of ear stretching jewelry at Bodycandy.com now!