So, you did it! You’re rocking a brand-new nose piercing and feeling amazing. That first look in the mirror is the absolute best, right? But now for the important part: making sure it heals up perfectly. The game plan is simple: keep it clean, keep your hands off, and let your body work its magic.
Your First Few Weeks: The Healing Playbook
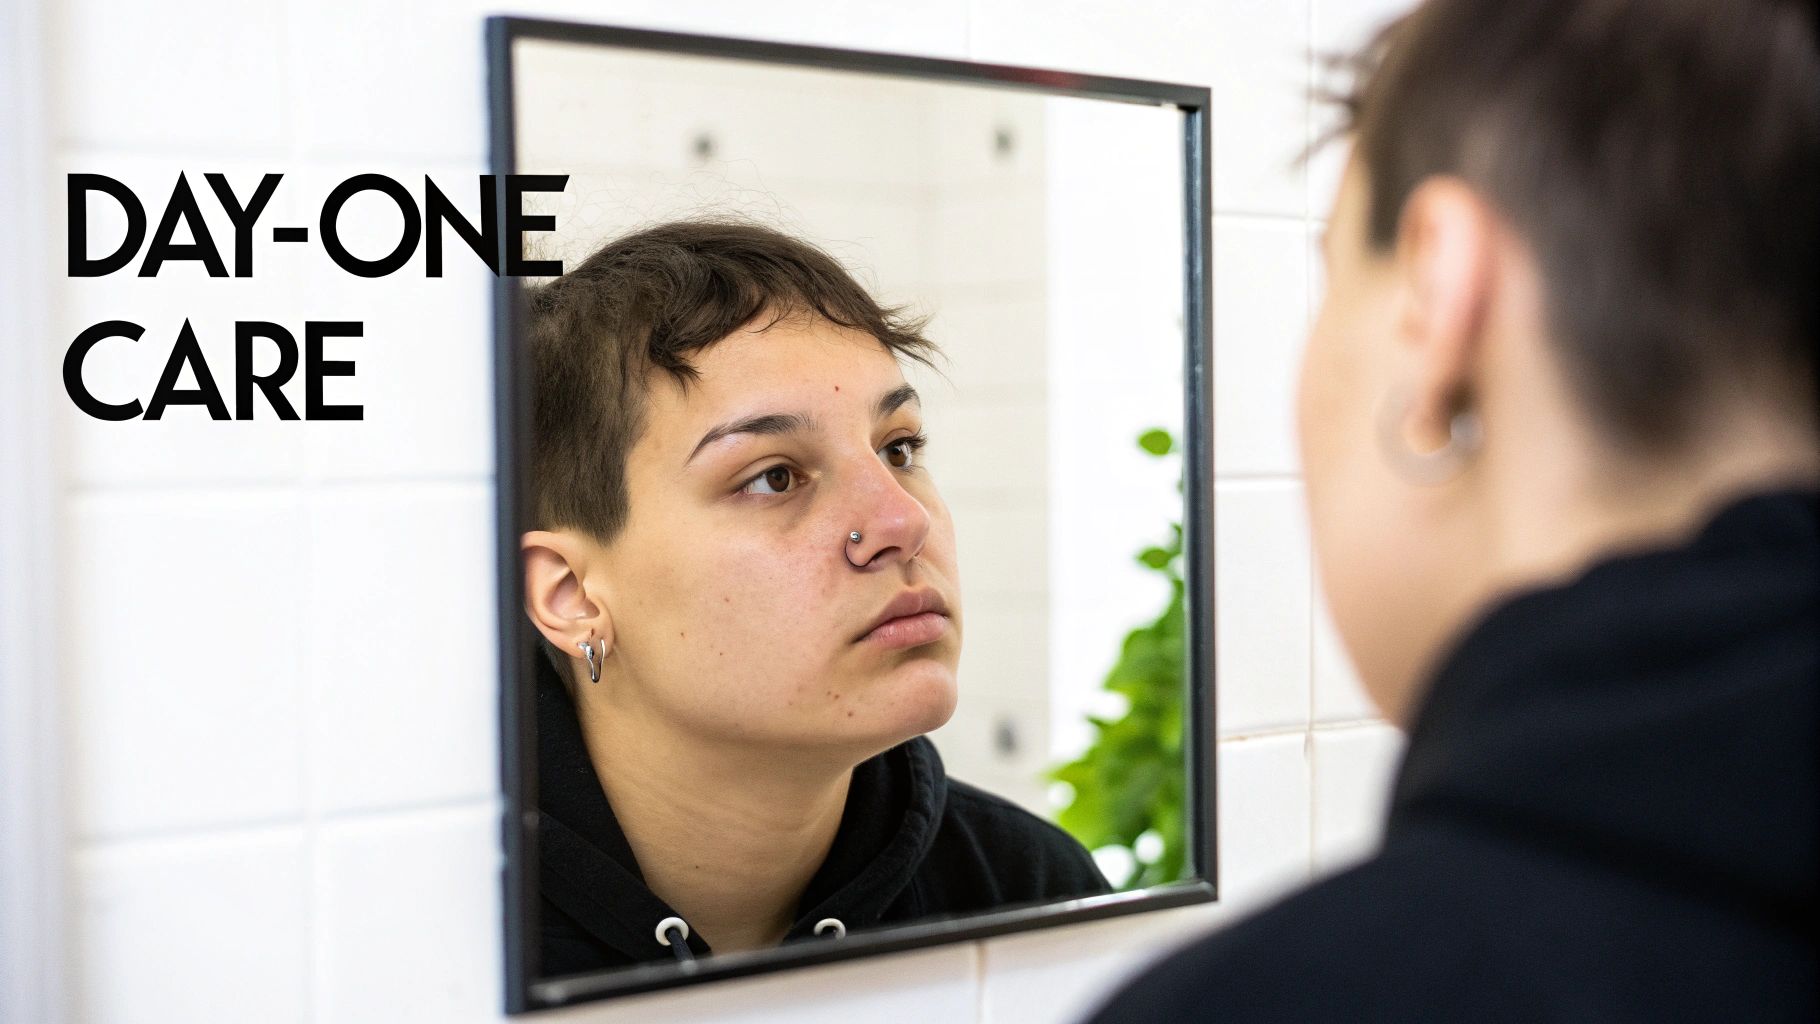
Welcome to the club! That new sparkle looks awesome on you, but how you treat your piercing in this initial phase sets the stage for a happy, healthy piercing for years to come. Think of this as your day-one guide to getting through the first month like a total pro.
What should you expect right now? It's totally normal to see some mild swelling, a bit of redness, and feel some tenderness for the first few days. You'll also probably notice some yellowish-white fluid that dries around the jewelry—we affectionately call these "crusties." Don't panic! This is just your body’s way of saying, "I'm healing!"
The golden rule here? Hands off! Seriously, the less you poke, prod, and twist it, the happier your new piercing will be.
Understanding the Healing Timeline
Every single body is different, so your healing time will be unique to you. But generally, nose piercings follow a pretty predictable path. The biggest takeaway is not to rush things. Giving your piercing the time it needs is the best way to avoid those dreaded irritation bumps down the road.
"Patience is your best friend during the healing process. Rushing to change jewelry or slacking on aftercare are the biggest mistakes you can make in the first few months."
This timeline gives you a good idea of what to expect, from the initial ouch-factor in week one to a much happier piercing by month one, and all the way through the full healing journey.
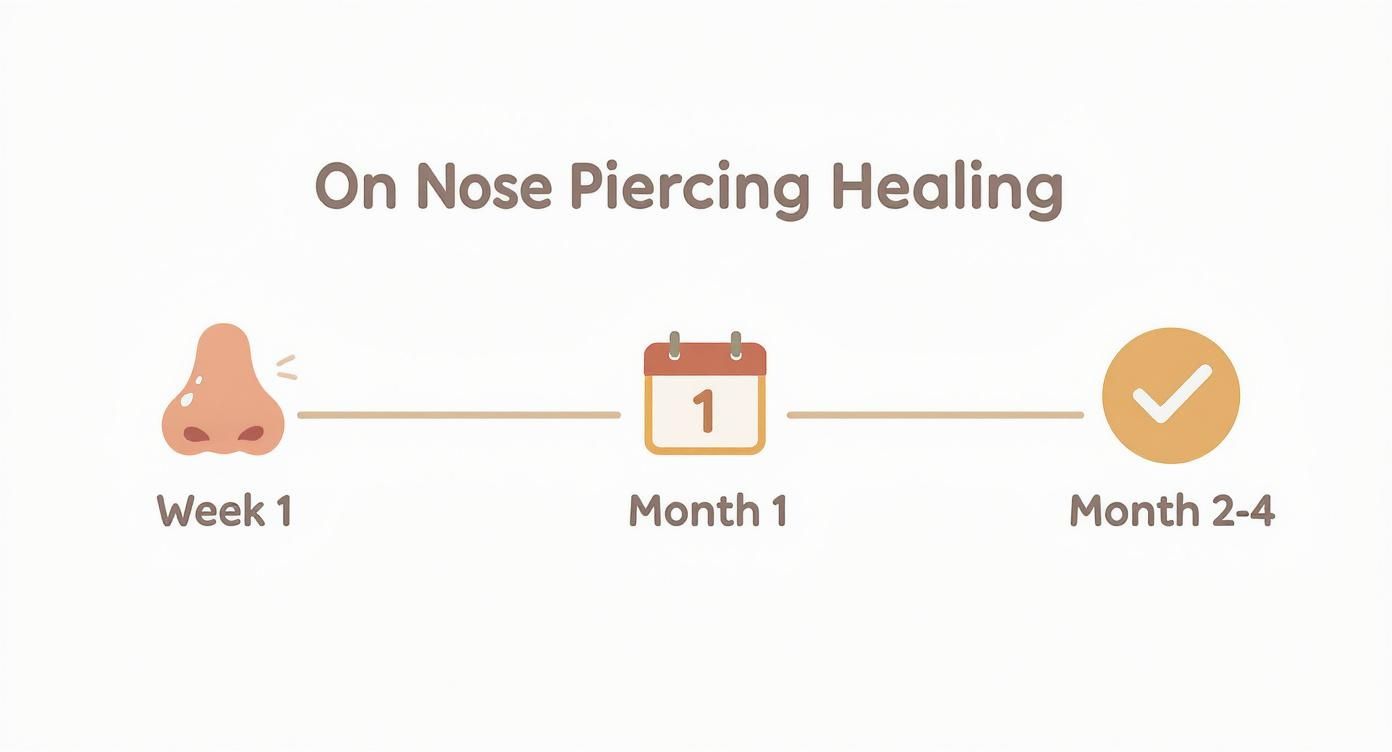
As you can see, the most intense part of the healing happens right at the beginning, but the journey to a fully stable piercing takes a bit longer.
Nose Piercing Healing Timeline At a Glance
Here's a quick cheat sheet of what to expect during the different stages of your nose piercing's healing journey.
| Healing Stage | Typical Duration | What to Expect |
|---|---|---|
| Initial Swelling | First 1-2 Weeks | Redness, tenderness, minor swelling, and the formation of "crusties." This is the most sensitive phase. |
| Settling In | Weeks 2-4 | Redness and swelling should start to go down. The piercing might still be a little tender. |
| Primary Healing | Months 2-4 | The piercing looks and feels much better on the outside, but the internal tissue (fistula) is still developing. |
| Fully Healed | 4-6+ Months | The piercing should be completely healed, inside and out. It's now safe to change jewelry more freely. |
Remember, these are just general guidelines. Listen to your body and give it the time it needs!
Most nostril piercings take about 2 to 4 months to heal on the surface, but the fistula—the tunnel of tissue inside—can take longer to fully mature. This is why sticking to your aftercare routine is so important. Things like touching it with unwashed hands or using harsh chemicals can easily set you back.
While your piercing might feel pretty good after a month, that internal tissue is still super fragile. You can learn more by checking out our guide on the healing times for popular piercings. Committing to your aftercare for the full healing period is the real secret to a happy, healthy, and beautifully healed nose piercing.
Mastering Your Daily Cleaning Routine
Alright, let's get into the single most important part of your aftercare: the daily cleaning. This routine is your secret weapon for a happy, healthy piercing. It might sound basic, but getting it right is going to make all the difference in your healing journey and help you dodge any potential drama.
Forget the weird advice you've probably seen on TikTok—we're sticking to the professional-approved methods that actually work.
This is your playbook for keeping that new sparkle clean, calm, and looking amazing.
The Only Cleaning Solution You Need
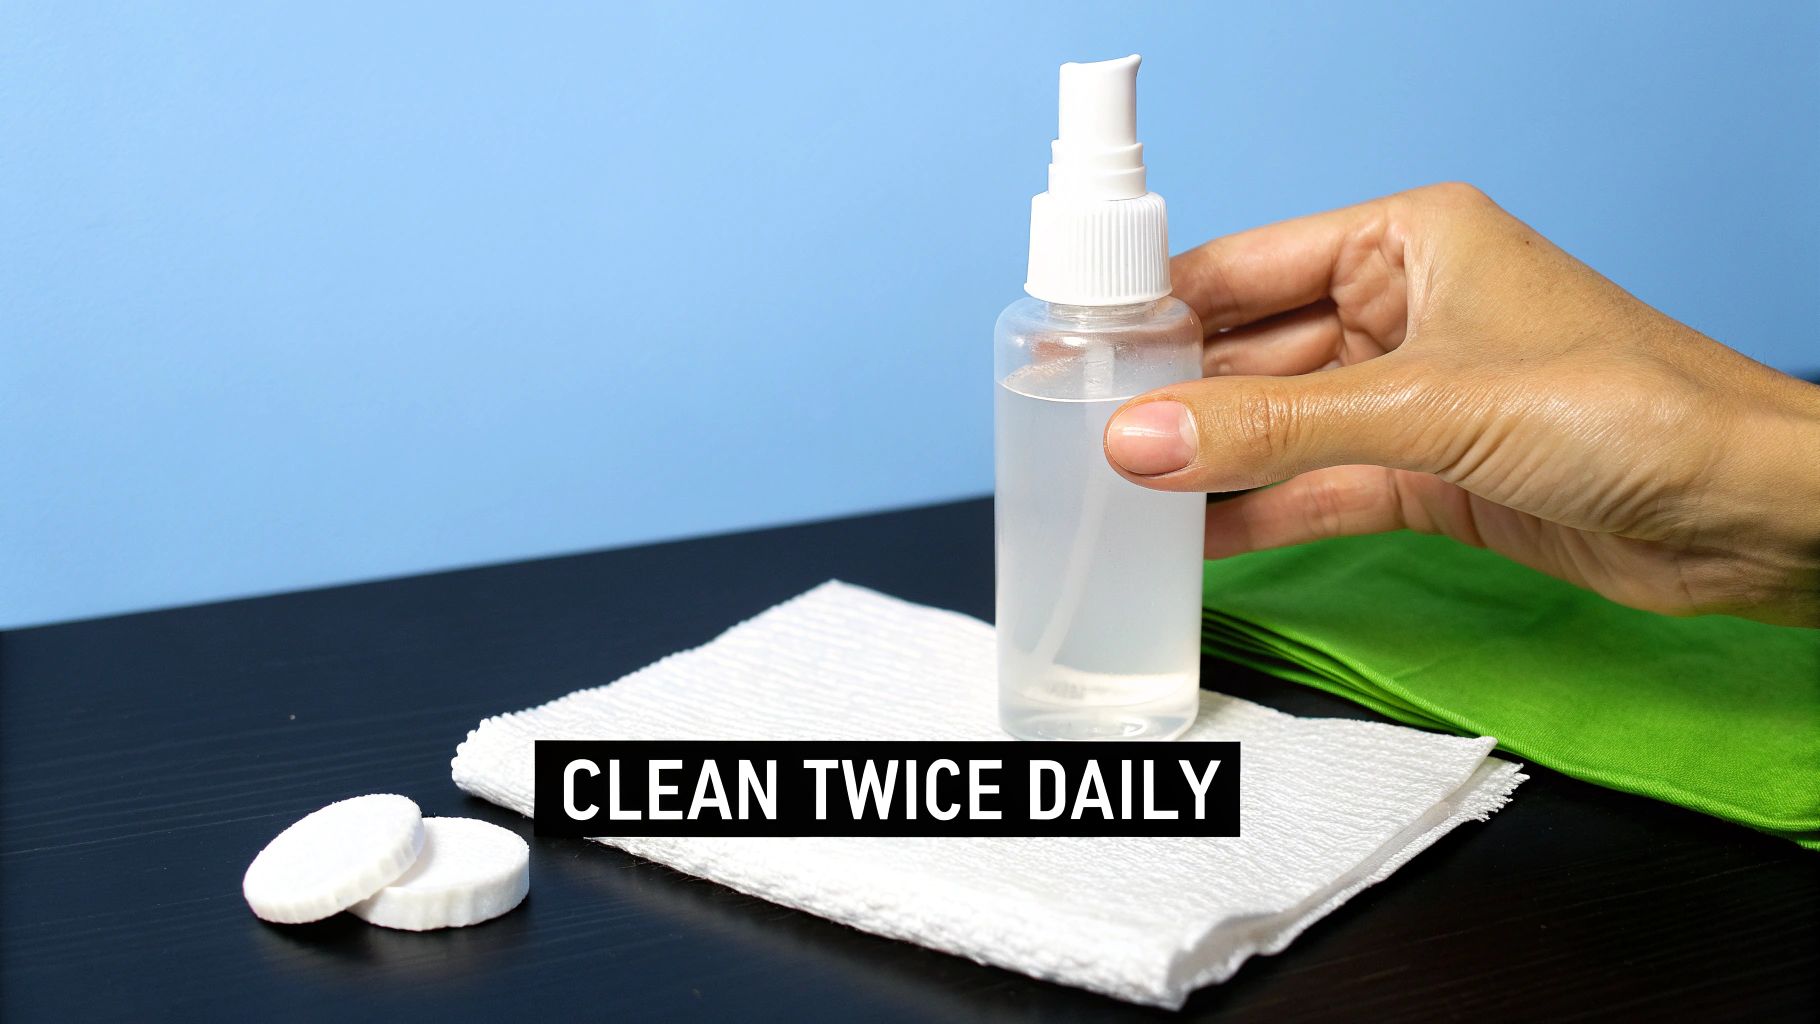
Let's cut right to the chase. The best—and only—thing you should use to clean your new nose piercing is a sterile saline solution. That's it. It’s gentle, effective, and mimics your body's own fluids, so it won't cause irritation.
You can find pre-made sterile saline wound wash at any pharmacy. Look for one that comes in a fine mist spray, which is perfect for piercings. Why? It allows for a completely no-touch application, which is a huge win for preventing contamination from your hands or stray cotton fibers.
So, what about making your own saltwater soak at home? Honestly? Just don't. It’s incredibly difficult to get the salt-to-water ratio exactly right. Too much salt will dry out and irritate your piercing, and too little won't do a thing. Save yourself the headache and stick to the sterile stuff.
Your Step-By-Step Cleaning Guide
Consistency is everything. You'll want to clean your piercing twice a day—once in the morning and once at night is perfect. It might be tempting to clean it more, but over-cleaning can be just as bad as not cleaning enough, as it can strip away the good stuff your body needs to heal.
Here’s exactly what to do:
- Wash Your Hands Thoroughly: Before you even think about touching your face, scrub your hands with antibacterial soap and warm water for at least 20 seconds. This is non-negotiable.
- Saturate the Area: Grab your sterile saline spray and spritz it directly onto the front and back of your piercing. Be generous—you want to make sure the entire area and the jewelry are soaked.
- Gently Pat Dry: Use a clean, disposable paper towel or a piece of non-woven gauze to gently pat the area dry. Please avoid using your bath towel! They can harbor bacteria and the little loops can easily snag on your new jewelry. A quick blast from a hairdryer on a cool, low setting also works wonders.
"Your goal isn't to scrub the piercing clean, but to gently rinse away debris and bacteria. The saline solution does all the heavy lifting for you—let it work its magic!"
Now, what about those little "crusties" that form around the jewelry? That dried fluid is totally normal! If they don't rinse away with the saline spray, don't panic. Just let the warm water in your shower run over your face for a minute to soften them up. They should then wipe away easily with some gauze.
Whatever you do, never pick at them with your fingernails!
This simple, twice-a-day routine is one of the most effective things you can do. It keeps the area clean without causing unnecessary trauma, creating the perfect environment for your body to work on healing your awesome new piercing.
Common Mistakes to Avoid (Trust Us on This!)
Knowing what not to do is just as important as your daily cleaning routine when it comes to a new nose piercing. It's surprisingly easy to accidentally mess up your healing with a few common missteps. Let's walk through the ultimate 'avoid-at-all-costs' list to keep your new piercing happy and drama-free.
Think of your new piercing as a delicate wound that needs the right environment to heal. Your mission is to protect it. By dodging these common mistakes, you’ll sidestep irritation, infection, and those dreaded piercing bumps.
Ditching Harsh Chemicals and DIY Solutions
It might seem like a good idea to use something "strong" to kill germs, but trust me, this is the biggest mistake you can make. Harsh products don't just kill bad bacteria; they destroy the delicate new cells your body is working so hard to build.
Please, whatever you do, avoid these products:
- Rubbing Alcohol & Hydrogen Peroxide: These are way too aggressive for a healing piercing. They will dry out your skin, kill off healthy new tissue, and seriously delay your healing process.
- Antibacterial Soaps: Most of these contain fragrances, dyes, and harsh chemicals that are a recipe for major irritation. Plus, they often leave behind a residue that’s tough to rinse away completely.
- Ointments (like Neosporin): These are thick, greasy, and essentially suffocate the piercing. They trap moisture and bacteria right against the wound, creating the perfect breeding ground for an infection.
Your piercing needs to breathe to heal properly. The only thing that should touch it is a sterile saline solution. It’s simple, gentle, and effective—exactly what your healing piercing needs and nothing it doesn’t.
Keeping Your Hands (and Face Products) Away
I get it—it's new, it's exciting, and you want to touch it. But you have to fight that urge! Your hands are covered in germs, and every single time you touch, twist, or fiddle with your jewelry, you're basically giving bacteria a direct invitation into an open wound. This is one of the top causes of infection, hands down.
It's not just your hands, either. You need to be mindful of anything else that comes into contact with your piercing.
Be Mindful of Everyday Irritants
Little things you do every day, without even thinking about it, can secretly irritate your new piercing. Just being aware of them can save you a world of trouble.
Think about your daily routine and watch out for these culprits:
- Makeup and Skincare: Foundation, concealer, powders, and even some face washes can clog your piercing and cause serious irritation. When you're applying them, be sure to leave a small, clean circle of skin around your jewelry.
- Sleeping Habits: Do your best to sleep on your back or on the side opposite of your new piercing. Constant pressure from a pillow all night can lead to irritation bumps and even change the piercing's angle. A great hack is to use a travel pillow and place your ear in the hole, which keeps your nose from getting squished.
- Changing Jewelry Too Soon: Your piercing might look healed on the outside after a couple of months, but the tissue inside is still incredibly fragile. Don't be tempted to swap out your starter stud! Changing the jewelry before it's 100% healed (which is usually 4-6 months for a nostril) can cause trauma and lead to those annoying bumps.
Avoiding these common mistakes is a huge part of successful healing. By being gentle and mindful, you're letting your body do its job without any interference.
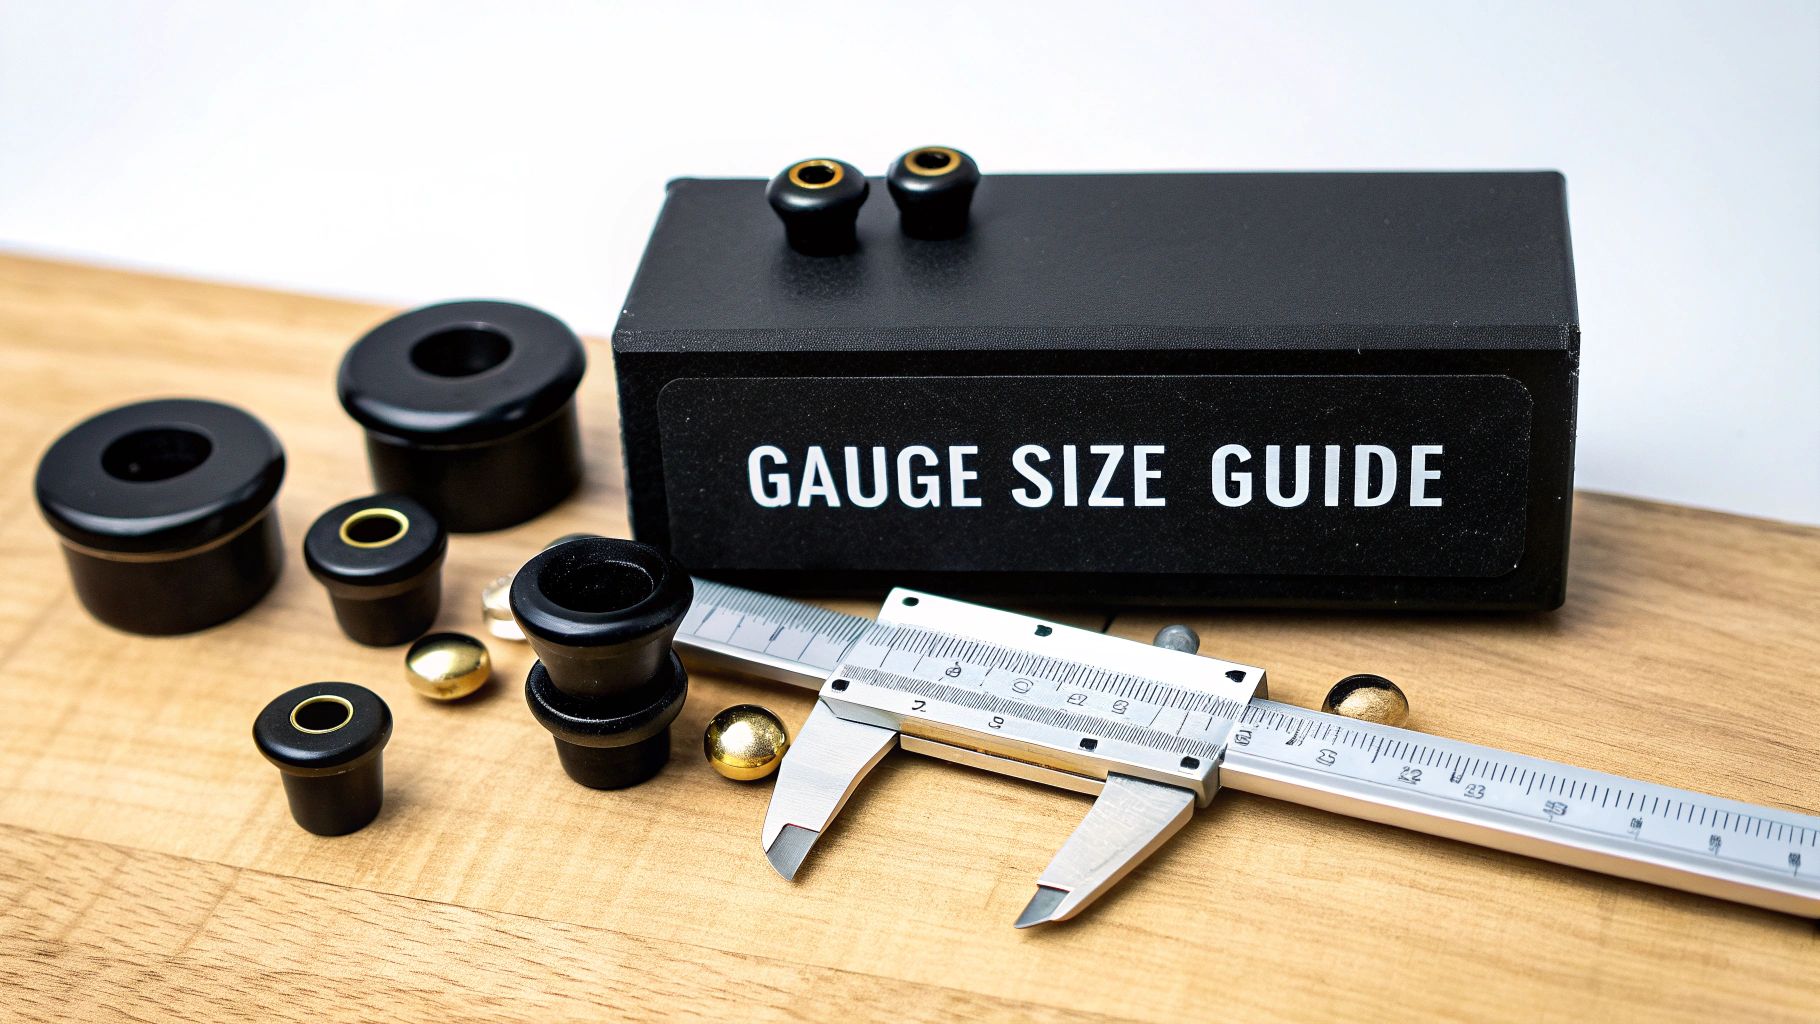
How to Choose Jewelry for a Happy Piercing
The jewelry you get pierced with isn't just for show—it's a massive part of your healing journey. Think of it like this: your body is building a brand-new tunnel of skin (called a fistula), and the jewelry is the scaffolding holding everything in place. Kicking things off with high-quality, body-safe metal is completely non-negotiable for a smooth heal.
Your piercer probably sent you home with the perfect starter piece, but it’s super helpful to understand why they chose it. The right metal and style will keep irritation at bay and help your new piercing thrive. This is your guide to picking jewelry that not only looks incredible but also keeps the healing process happy and drama-free.
Why Material Matters Most
When it comes to your first piece of jewelry, not all metals are created equal. You absolutely need something that won’t react with your body, and that means choosing a material that's implant-grade. This isn't just a fancy term; it's a certification that means the metal is safe to be worn inside the human body for a long, long time.
Here's the breakdown of the best choices for a fresh piercing:
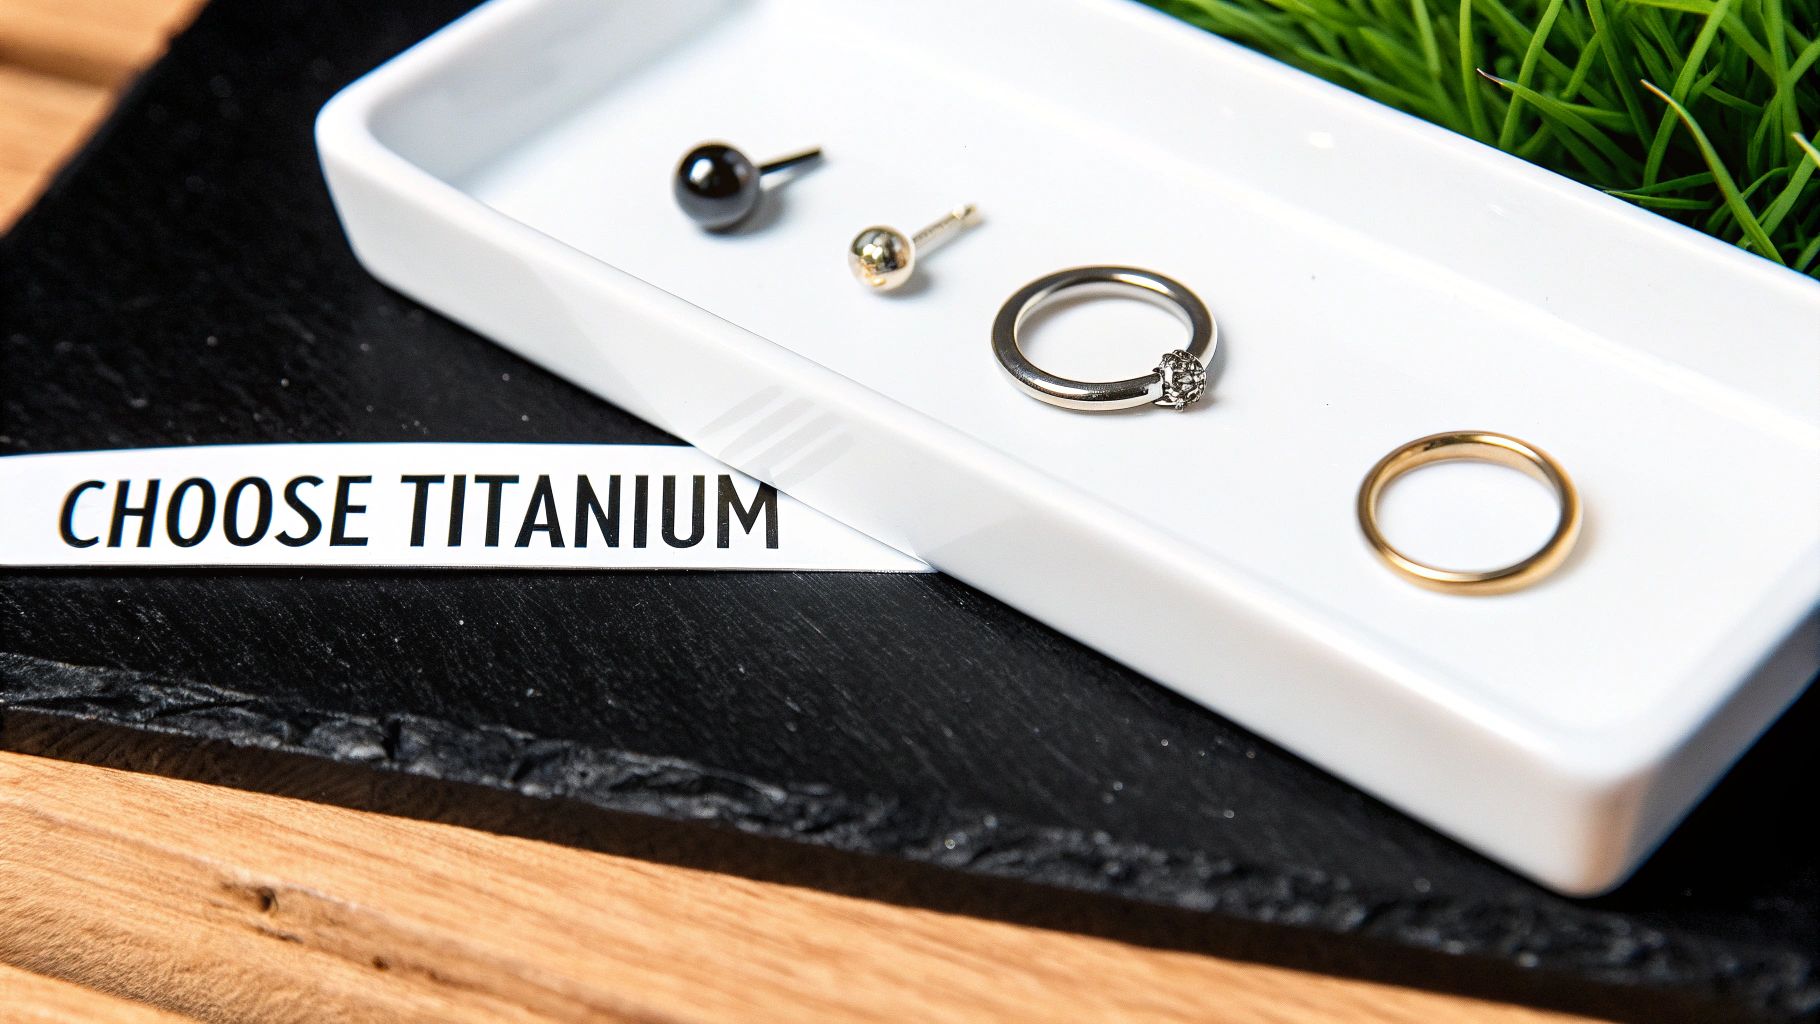
- Implant-Grade Titanium (ASTM F-136): This is the undisputed champion for initial piercings. It's completely nickel-free, super lightweight, and non-porous, making it incredibly biocompatible. If you have sensitive skin or have ever reacted to cheap jewelry, titanium is your safest bet.
- 14k or 18k Solid Gold: If you're a gold lover, the key word here is solid. Plated jewelry has a super thin layer of gold over a mystery base metal (often containing nickel) that can flake off, exposing your healing tissue to irritants. Always look for nickel-free options in 14k or 18k solid gold.
- Niobium: Another fantastic hypoallergenic option. Niobium is very similar to titanium and is a great choice for anyone with severe metal sensitivities.
So what about surgical steel? It's a common material, but "surgical steel" is a pretty vague term. Unless it has a specific implant-grade rating (like ASTM F-138), it can contain enough nickel to cause a reaction in lots of people. To play it safe, it's best to stick with titanium for your initial healing period.
Style for a Smooth Heal
Beyond the metal itself, the style of your first nose ring plays a huge role in healing. The goal is to pick something that minimizes movement and is easy to clean around.
For a new nostril piercing, your piercer will almost always use a labret stud (a post with a flat back) or a nose screw. These styles are designed to stay put and are far less likely to get snagged than a hoop. Hoops are definitely cute, but all that spinning and moving can drag bacteria right into the healing fistula and lead to nasty irritation bumps. Save the hoop for when you're fully healed—trust us, it's worth the wait.
To get a better handle on the different parts of a nose ring, check out our deep dive into the anatomy of a nose ring.
Pro Tip: Your initial jewelry will have a slightly longer post to make room for swelling. Once that initial swelling goes down (usually after 4-6 weeks), pop back to your piercer to have it downsized. A snug, properly fitted stud is way less likely to get caught on your towel or clothes!
It's clear people are taking this seriously. The global piercing aftercare spray market was valued at around USD 59.9 billion in 2023, which shows just how many of us are realizing that choosing the right products and materials from the start is key. You can read more about the growth of the piercing aftercare market if you're curious
Troubleshooting Common Piercing Problems
Even when you follow your aftercare instructions perfectly, sometimes your piercing can get a little moody. Don't panic! Most common issues are totally manageable if you catch them early. Think of this as your personal troubleshooting guide for any bumps—literal or figurative—you might encounter on your healing journey.
So, you’ve woken up and something feels… off. It’s a little red, a little swollen, and you’re starting to freak out. Before you jump to the worst-case scenario, let's figure out what’s really going on.
Irritation vs. Infection: What's the Difference?
This is the number one question we get, and it’s a super important one. Knowing the difference between an angry piercing and an infected one can save you a lot of stress.
An irritated piercing is usually just throwing a tantrum. It’s unhappy about something—maybe you snagged it on a towel, slept on it funny, or accidentally got makeup in it.
Signs of irritation typically include:
- Redness and mild swelling around the piercing site.
- Tenderness or soreness to the touch.
- Clear or whitish fluid (lymph) that forms those normal "crusties."
An infected piercing, on the other hand, is a whole different beast. This means bacteria has set up camp and your body is trying to fight it off. This requires more serious attention.
Signs of infection are much more intense:
- Extreme, throbbing pain and significant swelling that spreads.
- The area feels hot to the touch.
- Thick, yellow, or green pus-like discharge with a bad odor.
- You might even run a fever or feel generally unwell.
Crucial Tip: If you suspect a true infection, do not remove your jewelry! This can trap the infection inside and lead to an abscess. Go see a doctor right away for proper treatment, which usually involves antibiotics.
The Dreaded Piercing Bump
Okay, let's talk about the infamous piercing bump. This little reddish bump that appears right next to your piercing is almost always a sign of irritation, not infection. It’s called a hypertrophic scar, which is basically your body’s over-the-top reaction to trauma.
These bumps are usually caused by a few key culprits:
- Movement: Twisting your jewelry, snagging it, or wearing a hoop too soon.
- Pressure: Sleeping on the piercing consistently.
- Moisture: Not drying the area properly after cleaning.
- Poor Jewelry Quality: Wearing jewelry made of mystery metal can cause a reaction. You can learn more about how your body might react by reading our guide on allergic reactions and piercing care.
The good news? These bumps are not permanent! The trick is to find the source of the irritation and eliminate it. Go back to basics: stick to your saline soaks, be extra careful not to bump it, and make sure your jewelry is implant-grade titanium. The bump should slowly shrink and disappear with consistent, gentle care.
Most issues pop up within the first six months, which is why sticking to your routine is so critical. Be patient, be gentle, and when in doubt, your professional piercer is your best resource.
Your Nose Piercing Aftercare Questions Answered
We get tons of questions about taking care of new nose piercings, so we've pulled together the most common ones we hear. Think of this as your go-to guide for navigating the healing process without any stress.
Can I Use Tea Tree Oil On My New Nose Piercing?
Let's clear this up right away: please don't use tea tree oil on a new or healing piercing. While you might have heard about its antiseptic properties, it is far too aggressive for a fresh wound.
Using it can lead to some nasty irritation, excessive dryness, and even chemical burns. This will only set your healing back and can cause major complications, including those dreaded piercing bumps. Your best and only friend for cleaning should be a sterile saline solution.
How Do I Know if It Is Infected or Just Irritated?
This is a classic question, and it can be tough to tell the difference at first glance.
Irritation is pretty common and usually shows up as redness, some minor swelling, and a clear or whitish fluid that dries into "crusties." An infection, on the other hand, is a whole different beast. You'll see more severe symptoms like intense, throbbing pain, thick yellow or green pus, an unpleasant smell, and the area will feel hot when you touch it.
If you suspect an infection—especially if you're running a fever—it's time to call your doctor. For simple irritation, double down on your basic aftercare and try to pinpoint what's causing it (like snagging it or using harsh soaps).
When Can I Finally Change My Nose Stud to a Hoop?
We know you're excited, but patience is key here! You need to wait until your piercing is 100% fully healed before you even think about swapping your stud for a hoop. For most nostril piercings, that means a wait of at least 4-6 months, but it can often take longer.
Hoops move around way more than studs, which is a recipe for disaster in an unhealed piercing. In fact, changing jewelry too early is one of the biggest reasons people get irritation bumps. The safest move is to schedule a follow-up with your piercer. They can take a professional look and give you the official green light.
What Should I Do if My Nose Stud Falls Out?
Okay, don't panic, but you do need to act fast. A new nose piercing can begin to close up in just minutes or a few hours.
First thing's first: wash your hands really well with antibacterial soap. Then, gently try to guide the jewelry back in from the outside. If it doesn't slide in easily, stop. Don't ever force it, as that will just cause more trauma to the area.
If you can't get it back in, get to your piercer as soon as you can. They have the right tools (like an insertion taper) and the skills to safely reinsert the jewelry. If you can't make it to a piercer right away, you may have to let it heal and get it re-pierced down the road.
Ready to plan for that post-healing glow-up? At BodyCandy.com, we have an incredible collection of nose rings just waiting for you.
Shop our full collection of nose rings today!