So, you're thinking about stretching your ears? Awesome! That's a huge step in your body mod journey. Gauging is an amazing way to express yourself, but doing it right is everything when it comes to keeping your lobes healthy and happy. The whole idea is pretty simple: you use a taper to gently stretch your piercing just enough to pop in the next size of jewelry, usually a single-flare plug.
Your Guide To Gauging Your Ears Safely
Deciding to stretch your ears is the start of an exciting journey. Think of it as a personal art project where your lobes are the canvas. But like any masterpiece, you need the right approach, a bit of patience, and solid knowledge to get the incredible results you're picturing.
This isn't a race to the biggest size you can find. Honestly, rushing is the fastest way to mess things up. It's all about a slow, mindful process of listening to your body and giving your piercings the respect they deserve. We're here to be that friend who's been there, done that, and can walk you through it all, every step of the way.
What To Expect From This Guide
We're going to cut through all the confusing lingo and give you the real, honest advice you need. Forget about guesswork and sketchy "tips" from random forums. We'll lay out a clear, safe game plan that covers all the essentials.
Here's what we'll break down for you:
- The essential tools you absolutely need to get started.
- How to figure out your starting size and choose the right materials.
- The golden rules of stretching that will keep your ears happy and healthy.
Body jewelry is more popular than ever. The global market was valued at around USD 8.46 billion in 2025 and is still on the rise, with ear piercings making up a massive 46% of that. That just shows how many people are embracing ear mods, which is why knowing how to gauge your ears safely is non-negotiable. You can learn more about the growth of the body piercing market if you're curious.
By the time you finish this guide, you’ll have the confidence and know-how to start your stretching journey the right way, making sure your lobes stay healthy and look amazing for years to come.
Gathering Your Essential Ear Stretching Kit
Before you even think about starting your ear stretching journey, we need to talk about your gear. Having the right tools isn't just a suggestion—it's absolutely critical for keeping your lobes safe, happy, and healthy. Think of this as your official shopping list for a successful stretch.
So, what do you actually need? The gold standard for anyone starting out is a good old-fashioned combo of tapers and single-flare plugs. The taper is a cone-shaped tool that gently and gradually opens up your piercing. The single-flare plug is the jewelry you’ll wear right after. This dynamic duo makes the process smooth and straightforward. You can learn more about the different kinds in our detailed guide to taper styles for stretched piercings.
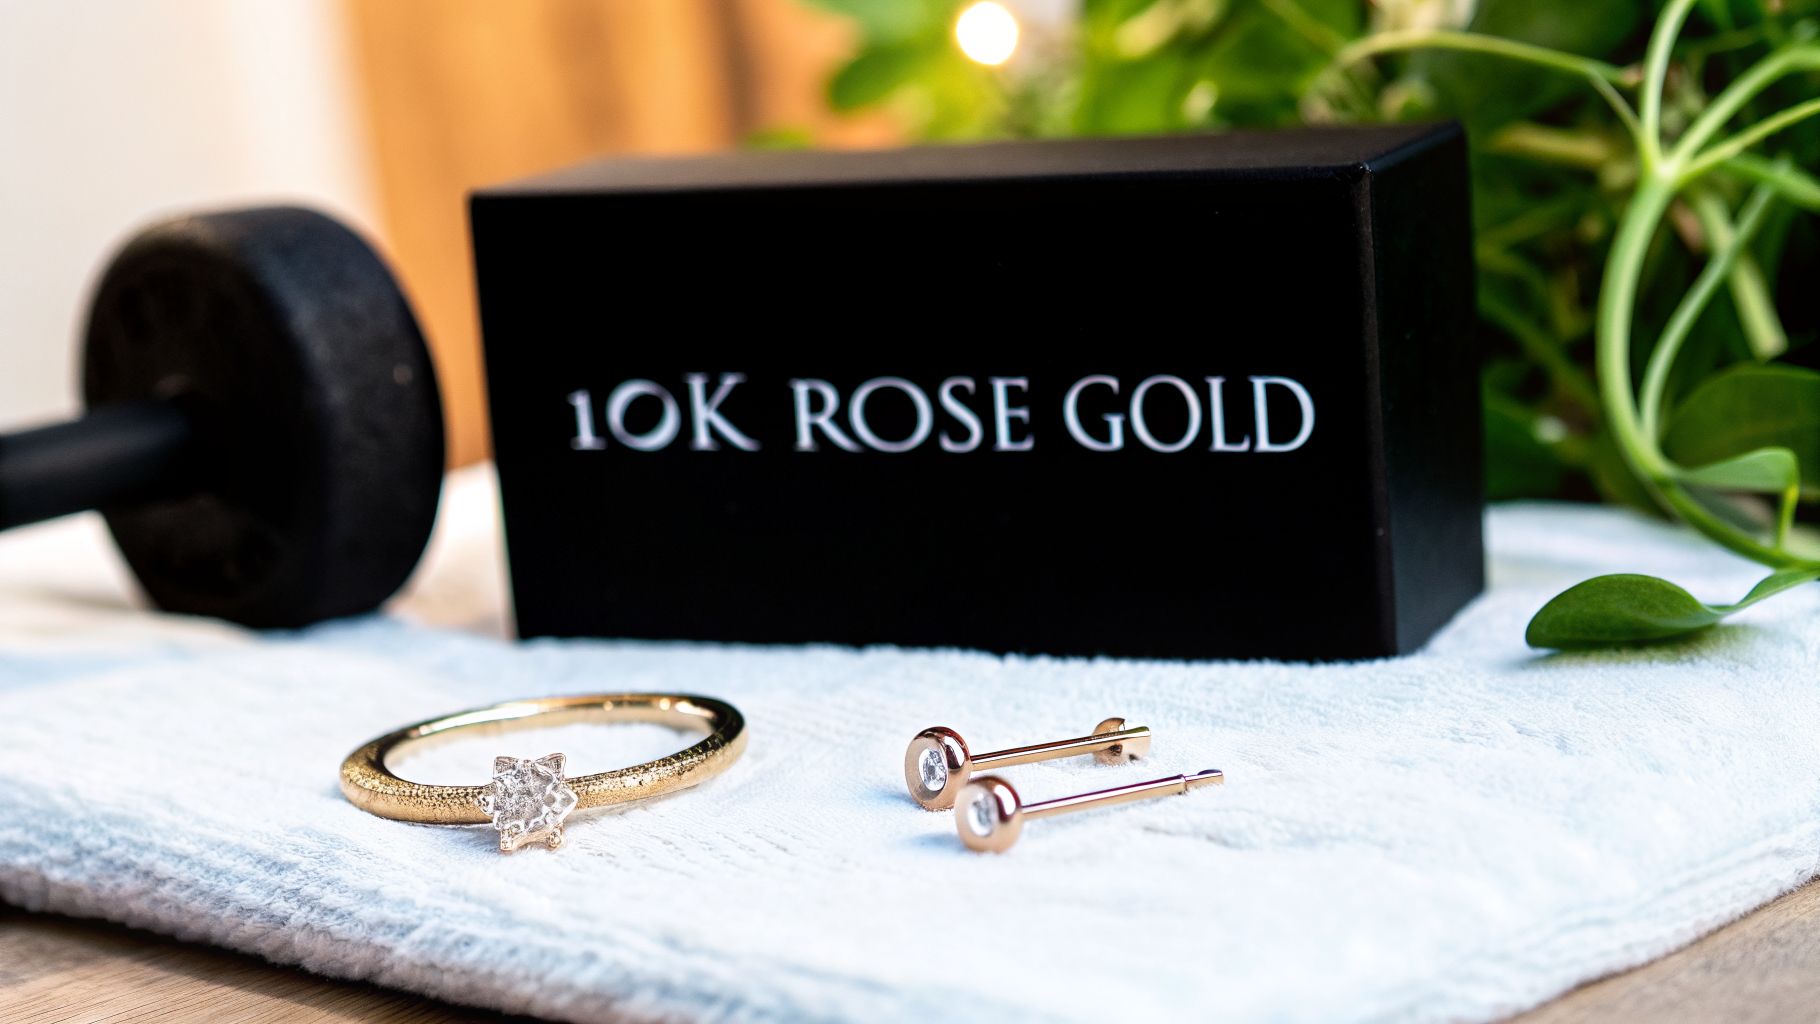
Picking The Right Materials
The material of your first set of plugs is a huge deal. Your freshly stretched lobe is essentially a new, delicate wound, so you need to use materials that your body won't fight against. The best choices are always non-porous and body-safe.
Your top options are going to be:
- Surgical Steel: This is a classic for a reason. It's affordable, super durable, and non-porous, making it easy to keep clean and fantastic for healing.
- Implant-Grade Titanium: A step up from surgical steel, titanium is incredibly lightweight and hypoallergenic. If you have sensitive skin or a known nickel allergy, this is your BFF, hands down.
- Glass: Not only does glass look amazing, but it's also completely non-porous and has a silky-smooth surface that’s perfect for healing. It's a great choice for anyone wanting to avoid metals entirely.
Pro Tip: You'll want to steer clear of porous materials like acrylic, silicone, or wood for a fresh stretch. These materials can trap bacteria, which can easily lead to irritation or, even worse, an infection. Save those awesome organic plugs for when your ears are fully healed and settled in at their new size.
The Unsung Hero: Lubricant
Last but not least is the unsung hero of every successful stretch: lubricant. You should never, ever attempt to stretch your ears dry. Trying to force a taper through without it is just a recipe for friction, tearing, and a whole lot of unnecessary pain.
A good lubricant makes the taper glide through your piercing smoothly and comfortably. Natural oils like jojoba oil or vitamin E oil are perfect because they moisturize your skin at the same time. You can also find specialized ear stretching balms and butters designed specifically for this purpose. Whatever you choose, be generous with it—lube up your earlobe and the entire taper before you even think about starting. Your lobes will thank you.
The Safe Stretching Process: Step By Step
Alright, you've got your new kit laid out, and you’re feeling that mix of excitement and maybe a few nerves. It's go-time! Let's walk through the actual process of gauging your ears, making sure every move is safe, clean, and confident.
The first rule of any body modification? Cleanliness is everything.
Start by washing your hands thoroughly with antibacterial soap. Next up, clean your earlobes and your new jewelry—both the tapers and the single-flare plugs—with a sterile saline solution or that same antibacterial soap. This step is completely non-negotiable; it's your absolute best defense against infection.
Lube It Up and Take It Slow
Now for the most important part of the physical stretch: lubrication. Grab your jojoba oil or stretching balm and apply a generous amount to your earlobe. Don’t be shy here! You want your lobe to be nice and slick.
Next, coat the entire taper with your lubricant, paying extra attention to the thicker end. This is what helps it glide through your piercing without causing friction or, even worse, tearing. Remember, the goal is a smooth, easy insertion, not a painful battle.
This quick visual breaks down the essential flow of using your kit for a safe and successful stretch.

As you can see, a safe stretch always follows a clear sequence: the taper gently opens the piercing, lubricant ensures it's a smooth ride, and the plug follows right behind to hold the new size in place.
The Actual Stretch: Gentle Does It
With everything prepped and ready, it's time for the main event. Take the thin end of the lubricated taper and slowly guide it into your piercing. You'll want to push it through gently and evenly from the front.
It's normal to feel a bit of pressure or a slight stinging sensation. What’s not normal is sharp, intense pain.
Listen to Your Body: If you feel any significant pain or see even a tiny bit of blood, stop immediately. Your ear is telling you loud and clear that it’s not ready. Take the taper out, clean your ear, and give it at least a few more weeks to chill out before you try again.
Once the taper is most of the way through, line up the single-flare plug directly against the thick end of the taper. In one smooth, continuous motion, push the plug through, following the taper right out the back of your earlobe.
Pop the O-ring on the back to secure it, and you're done! Congrats!
If you want a deeper dive into what to expect from your first kit, check out our guide on using ear stretching kits at home. It's packed with extra tips to help you get started on the right foot.
Mastering Aftercare And Healing
You did it—the first stretch is complete! Now comes the most important part of the entire process: aftercare. Think of your freshly stretched ear as a tiny, sensitive wound. How you treat it over the next few weeks will determine how well it heals and sets you up for the next size.

The goal here is pretty simple: keep it clean, keep it moisturized, and—this is the hard part—leave it the heck alone as much as possible. A solid aftercare routine is your best defense against infection, irritation, and everything else that can go wrong. It's what helps your lobe heal strong and elastic.
Your Daily Cleaning Routine
Your new best friend is a sterile saline solution. No exceptions. You'll want to clean your lobes twice a day, once in the morning and once at night. Just spray the solution on the front and back of the piercing, or you can apply it gently with a clean, non-woven gauze pad.
Here are a few ground rules for cleaning:
- No Harsh Stuff: Stay far, far away from rubbing alcohol, hydrogen peroxide, or those generic antibacterial soaps. They're way too aggressive and will dry out your skin, kill the good bacteria you need for healing, and just make the whole process take longer.
- Gently Does It: After soaking, carefully pat the area dry with a clean paper towel. Ditch the cloth towels for now—they can snag on your jewelry and are a breeding ground for bacteria.
- Clean Your Plugs: At least once a day, you should carefully remove your plugs. Wash them with a gentle soap and warm water, then make sure they're completely dry before putting them back in. A tiny bit of lubricant will help them slide back in without a fight.
This routine might sound basic, but trust us, consistency is everything. Proper hygiene is your number one defense against complications. You can learn more about specialized piercing care in our deep dive on H2Ocean aftercare products, which are perfect for healing piercings.
Patience Is Your Superpower
If there's one golden rule for learning how to gauge your ears, it’s this: be patient. Rushing is the fastest way to cause a blowout, thinning, or even a tear. Your body needs time to chill out, heal, and generate new, healthy tissue around the jewelry.
The absolute rock-bottom minimum wait time between stretches is 4 to 6 weeks. But honestly, listening to your body is way more important than sticking to a calendar. Plenty of experienced people wait two months or even longer, especially once they get to the bigger sizes.
Remember: Stretching is a marathon, not a sprint. A little tenderness or redness for a day or two is totally normal. But if you're feeling sharp pain, major swelling, seeing yellowish discharge, or it's throbbing like crazy, those are red flags. Downsize immediately and go back to cleaning your lobes like they're brand new.
By mastering a solid aftercare routine and embracing a little patience, you’re setting yourself up for a safe and successful ear stretching journey. Give your lobes the love they deserve, and they'll be ready for the next size before you know it.
Common Stretching Mistakes To Avoid
We get it—you’re excited to reach your goal size and show off some killer new jewelry. But when it comes to stretching your ears, patience isn't just a virtue; it's a non-negotiable rule. Rushing is the fastest way to cause serious, sometimes permanent, damage to your lobes.

Let's dive into the most common slip-ups people make so you can steer clear of them from day one. Learning from others' mistakes is the smartest way to set yourself up for a safe, successful, and amazing stretching journey.
The Dangers Of Rushing And Skipping Sizes
This is, without a doubt, the biggest mistake in the book. Your earlobes need time to heal and generate new, healthy tissue between each stretch. Trying to skip sizes or force in larger jewelry before your body is ready is a recipe for disaster.
This kind of impatience can lead to some pretty gnarly consequences:
- Blowouts: This is when a ring of scar tissue is forced out the back of your piercing. It’s unsightly and can be really difficult to heal.
- Tears and Bleeding: Forcing a taper through an unready ear can cause micro-tears or even significant rips in the tissue, which is just asking for an infection.
- Thinning Lobes: Consistently stretching too fast can cause the bottom of your earlobe to thin out over time, which can become permanent.
Key Takeaway: Think of stretching like leveling up in a game. You can't just skip to the final boss. You have to patiently work through each level, letting your lobes get stronger and more elastic along the way. Your body will thank you for it.
Using The Wrong Jewelry Materials
Just as crucial as timing is what your jewelry is made of, especially for a fresh stretch. Your lobe is essentially a healing wound, and putting the wrong material in it can cause a world of trouble. Porous materials like silicone, wood, or acrylic are a huge no-no here.
These materials have microscopic holes that can trap bacteria, dead skin cells, and other gunk right up against your healing tissue. This can easily lead to irritation, foul odors, and nasty infections. Silicone is especially risky because its grippy texture can actually fuse to healing skin, causing major damage when you try to take it out.
The body modification world is huge, and with its growth comes a big focus on safety. North America, for instance, accounted for over 42% of global body jewelry revenue in 2023, partly because of this strong emphasis on health and proper procedures. As you can discover more insights about regional body jewelry trends, you'll see why quality matters so much.
Always stick to non-porous, body-safe options like surgical steel, titanium, or glass for your fresh stretches.
Frequently Asked Questions About Gauging Ears
Still have a few questions buzzing around in your head? You're definitely not alone. The world of ear stretching is full of new terms and techniques, and it's smart to get all the info you can before you start.
This section tackles the most common questions we get about how to gauge your ears. We're giving you clear, straightforward answers to help you feel totally confident as you move forward. Let's get into it.
Does Gauging Your Ears Hurt?
This is the big one, right? The short answer is: it shouldn't. When you stretch correctly and listen to your body, gauging shouldn't be seriously painful.
You might feel some slight pressure, warmth, or a mild stinging sensation for a moment, but you should never feel sharp, intense pain. Pain is your body's alarm system—it’s screaming that your ear isn't ready, you're going too fast, or you're causing a tear. Always listen to your body; if it hurts, stop immediately.
What Is An Ear Blowout And How Do I Fix It?
An ear blowout is exactly what it sounds like: a not-so-pretty situation where the inside of your stretched piercing gets forced out the back of your earlobe. This creates a gnarly little "lip" of skin. It’s almost always caused by stretching too quickly or skipping sizes.
If you spot a blowout, the first thing to do is downsize immediately. Go back to the previous size to relieve the pressure on the delicate tissue. Daily sea salt soaks and gently massaging the area with jojoba oil or vitamin E oil can help reduce the scar tissue over time, but healing takes a whole lot of patience.
How Long Should I Wait Between Ear Stretches?
Patience is probably the most important tool you have. The golden rule is to wait at least 4-6 weeks between stretches, but honestly, waiting even longer is better. Many people find waiting 2-3 months between sizes, especially as they get larger, leads to much healthier lobes in the long run.
Your ear needs that time to fully heal, relax, and build strong, new tissue. Rushing this process is the number one cause of blowouts, thinning lobes, and other nasty complications.
Remember: There's no trophy for getting to your goal size the fastest. The real win is having healthy, happy lobes that look amazing for years to come. Slow and steady is the only way to go.
Can I Use Silicone Tunnels For Stretching?
This is a hard no. You should never, ever use silicone jewelry for a fresh stretch. Silicone is a porous material, which means it can trap bacteria right up against your healing skin, creating the perfect storm for a nasty infection.
It's also super 'grippy' and can literally fuse to the inside of a healing fistula. Save those awesome, comfy silicone tunnels for when your ears are completely healed and settled at their new size. For the actual stretching, always stick with non-porous materials like surgical steel, titanium, or glass.
Ready to find the perfect jewelry for your next stretch? BodyCandy has a massive collection of high-quality plugs, tunnels, and tapers in every size and style you can imagine.