So you did it—welcome to the helix piercing club! Now you’re probably asking yourself, "How long until I can actually show this thing off?" The short answer is a helix piercing takes anywhere from 6 to 12 months to fully heal. It's a marathon, not a sprint, my friend. Unlike a soft earlobe, your helix goes through cartilage, which has way less blood flow and takes its sweet time rebuilding itself.
Your Helix Piercing Healing Roadmap
Getting a helix piercing is awesome, but the healing journey that follows requires some real patience. Think of it this way: an earlobe piercing is a quick dash to the finish line, but a helix piercing is a long-distance run.
This long-haul healing is all about biology. Your earlobe is packed with blood vessels that rush healing goodies to the site, making recovery super fast. Cartilage, on the other hand, doesn't have that luxury. Its blood supply is much more limited, which means the healing process is slower and more deliberate.
This slower pace isn't a bad thing at all! It just means your body is carefully and methodically building a strong, healthy channel (called a fistula) for your new jewelry. Trying to rush it by swapping jewelry too soon or slacking on aftercare is like trying to run that marathon at full speed—you're just going to trip yourself up. Setting realistic expectations from day one is the secret to a happy, healthy piercing.
Why Every Helix Heals Differently
You might hear about your friend's helix healing in a perfect six months, while someone else is still being careful a full year later. This is totally normal! The healing time can be all over the place because of a few key things, like your personal immune system, how dedicated you are to aftercare, and even where on the cartilage you got pierced.
The first 2 to 4 months are when the most noticeable healing happens, but getting that fistula fully mature and strong takes much longer.
Here are a few things that make your healing timeline unique:
- Your Body's Immune Response: Everyone's internal healing crew works at its own speed. Simple as that.
- Your Aftercare Dedication: Are you cleaning it daily? Are you avoiding sleeping on it? Your habits matter—a lot.
- Accidental Snags: Catching your piercing on your hair, a towel, or even a face mask can cause little setbacks that add to the overall healing time.
A helix piercing is a long-term commitment. Don't compare your journey to someone else's. Just focus on consistent aftercare, and your body will do the rest at its own pace.
Helix Healing At a Glance
To give you a clearer picture, let's break down the healing journey into a few key phases. This little table is your cheat sheet for what to expect and when, so you know what's normal as your new piercing settles in.
For a deeper dive into this super popular piercing, don't forget to check out our complete guide to the standard helix cartilage piercing.
| Healing Phase | Typical Duration | What to Expect |
|---|---|---|
| Initial Swelling & Tenderness | Week 1 - Week 4 | Expect redness, swelling, and sensitivity. It might feel sore, and you'll probably see some clear or whitish fluid that forms "crusties." This is your body's normal first response. |
| Primary Healing | Month 1 - Month 6 | Swelling and redness will go way down. The piercing will feel a lot less tender, but it's still very delicate on the inside. Consistent cleaning is absolutely crucial during this phase. |
| Maturation & Strengthening | Month 6 - Month 12+ | The piercing might look and feel healed from the outside, but the internal tissue is still toughening up. It's normal to feel a little soreness if you accidentally bump it. |
Remember, this timeline is just a guide. The most important thing is to listen to your body and give your new helix the time and care it needs to look amazing.
Navigating the Three Stages of Helix Healing
Think of your new helix piercing's healing journey like a major construction project with three distinct phases. Knowing what’s happening "behind the scenes" in each stage helps you understand what’s normal, what to watch out for, and how to best care for it. It's a process, for sure, but once you know the playbook, it's way less intimidating!
Essentially, your body is building something brand new: a perfect little tunnel of healed skin called a fistula. This is what will eventually hold your jewelry securely. It takes time and energy, and it all happens in a pretty predictable order.
This visual timeline gives you a great snapshot of the major milestones in your helix piercing's healing time.
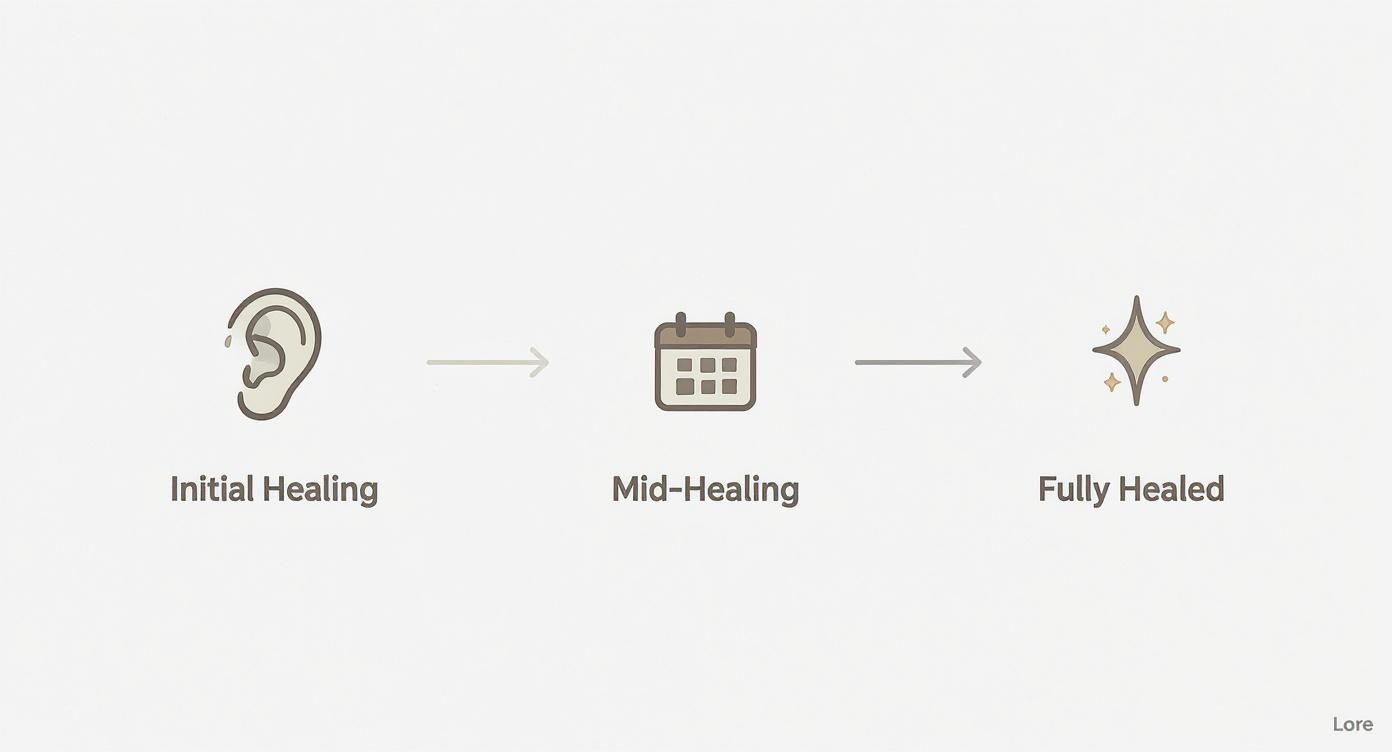
As you can see, it’s a journey that moves from a tender new wound needing lots of TLC to a fully healed and stylish part of your look.
Stage One: The Inflammatory Phase
Welcome to Act One! This initial "red alert" stage lasts from roughly Week 1 to Week 4. Right after getting pierced, your body’s emergency response team rushes to the scene to begin the cleanup and rebuilding process.
During this time, you should absolutely expect:
- Redness and Swelling: This is totally normal. It's just a sign of increased blood flow bringing all the good healing stuff to your ear.
- Tenderness or Mild Pain: Your ear will be sensitive, which is why the "Leave It The Heck Alone" (LITHA) method is your new best friend. Seriously, don't touch it!
- Clear or Whitish Fluid: Your body secretes a fluid called lymph, which dries into those little "crusties" you'll see. This is a good sign of healing, not an infection!
Stage Two: The Proliferative Phase
Now we get to the main construction phase, which runs from about Month 1 to Month 6. The initial drama has calmed down, and your body is getting down to the business of building new tissue. This is when it’s working hard to create that fistula, the sturdy skin tunnel for your jewelry.
Even though your piercing might look and feel way better on the outside, it's still super fragile on the inside. A stray snag on your hair, bumping it, or sleeping on it can easily set back your healing. It’s like trying to build a house of cards—one wrong move and you’re starting over. Consistent aftercare is absolutely critical during this long stage.
The Proliferative Phase is tricky. Your piercing can look healed, but it's still a major construction zone on the inside. Be extra gentle and protect it!
Stage Three: The Maturation Phase
This is the final stretch, the "strengthening and settling in" act. This stage can last from Month 6 all the way up to 12 months or even longer. The fistula is fully formed, but now it needs to toughen up and get more durable. Think of it like a newly paved road—it looks done, but it needs time to fully cure before it can handle heavy traffic.
During this final phase, any lingering redness and tenderness will completely disappear, and you'll stop seeing crusties. Helix piercings are cartilage piercings, which notoriously take their sweet time to heal. While they generally take between 6 to 12 months to heal fully, piercers often see that about 70-80% of people are fully healed within the 6 to 9-month window, as long as they stick to their aftercare routine. You can learn more about piercing timelines from piercing specialists.
Your Foolproof Helix Aftercare Routine
Nailing your aftercare is the single most important thing you can do for a happy, healthy helix piercing. Because the helix piercing healing time is a marathon, not a sprint, you need a solid routine you can stick with. This is your day-by-day playbook for success, and trust me, it's way simpler than you think. The real secret isn't to over-clean or fuss with it, but to be consistent and gentle.
Your goal is to create a clean, safe space so your body can do its amazing construction work without being bothered. Think of yourself as the security guard for your new piercing—your only job is to keep troublemakers (like bacteria and snaggy sweaters) away while the internal healing crew gets to work.
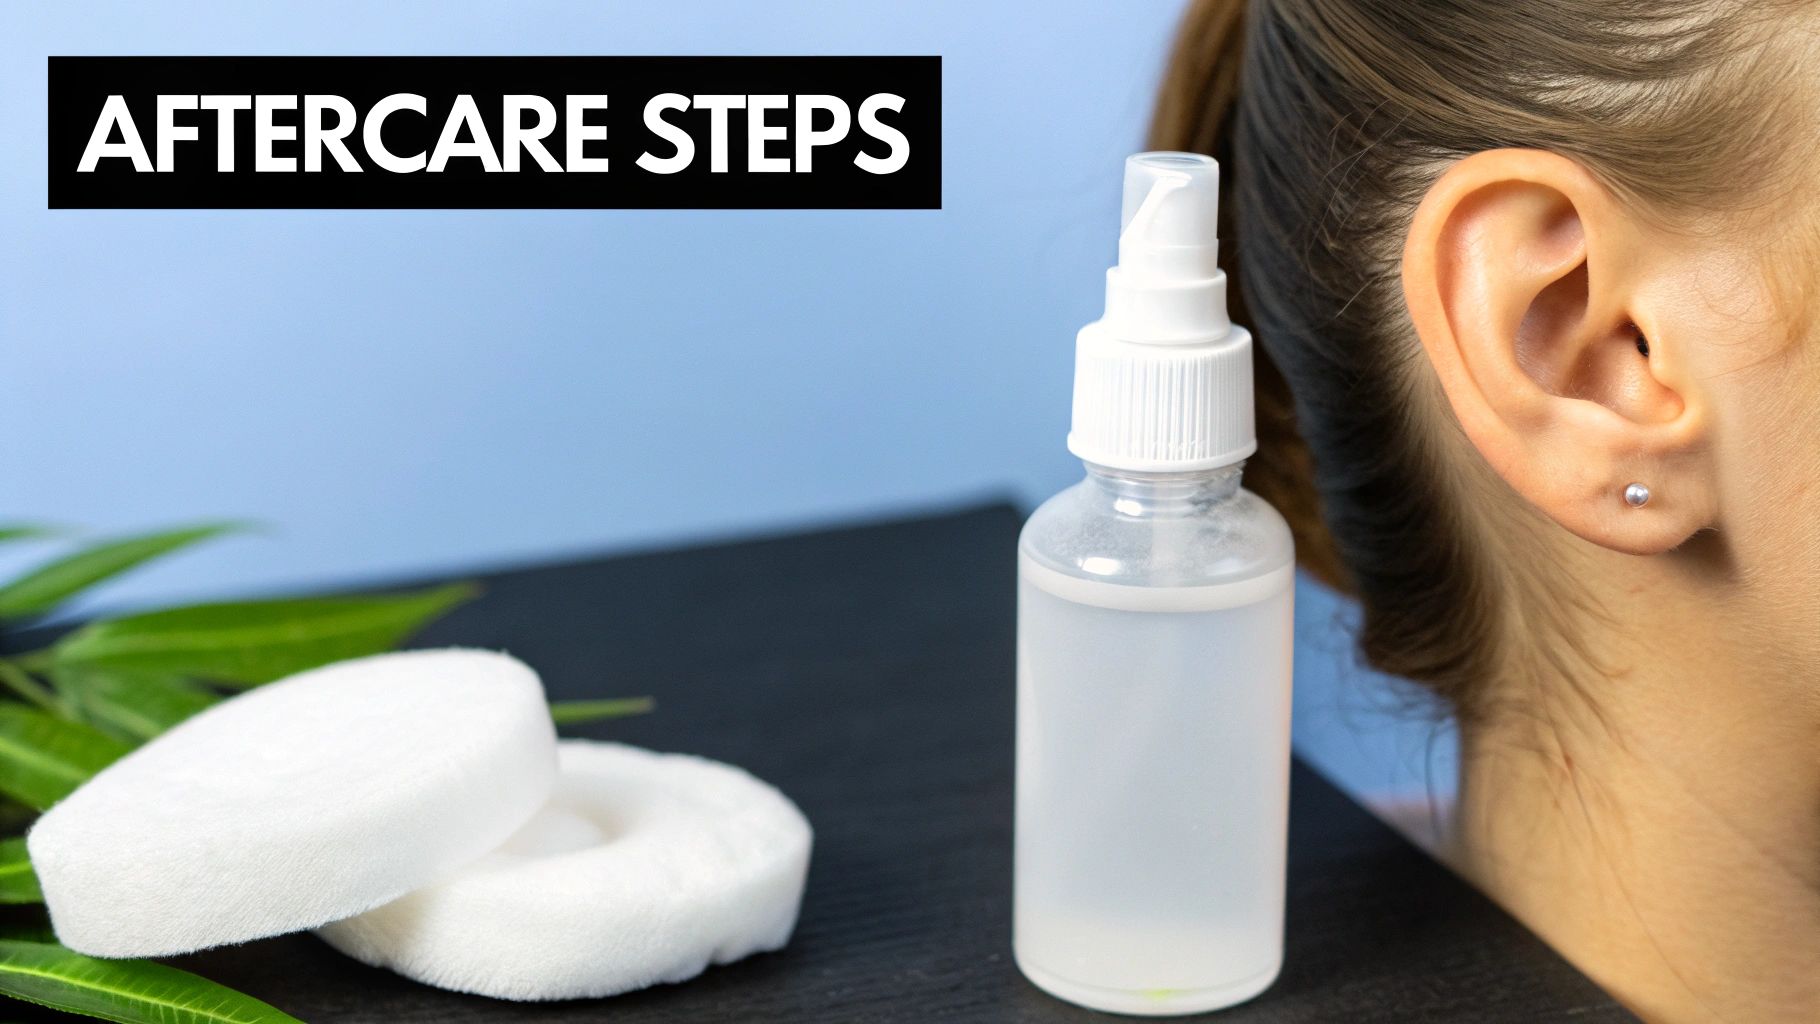
Your Step-By-Step Cleaning Guide
Forget all those complicated potions and DIY salt soaks you've heard about. The best practice, recommended by professional piercers everywhere, is incredibly simple. All you really need is a sterile saline spray.
Here’s what you'll do every day:
- Wash Your Hands: Before you even think about touching your ear, get those hands clean! A thorough wash with soap and water is non-negotiable.
- Spray Gently: Lightly mist the front and back of your helix piercing with your sterile saline solution. Don’t blast it; a gentle spray is all it takes.
- Pat Dry Carefully: Use a fresh piece of non-woven gauze or a paper towel to gently pat the area dry. Please, no cloth towels—they can harbor bacteria and snag your new jewelry. A neat trick is to use a hairdryer on the cool setting.
- Repeat: Stick to this routine twice a day, once in the morning and once at night. Cleaning too much can cause irritation, and not cleaning enough can lead to gunk buildup. Twice a day is the sweet spot.
Your aftercare routine should be a gentle, supportive process. The less you mess with your piercing, the better it will heal. Your body knows what to do; you're just helping it along.
What to Avoid at All Costs
Just as important as what you do is what you don't do. A lot of old-school "remedies" are actually just harsh chemicals that will only anger your new piercing and drag out the helix piercing healing time.
Steer clear of these products, no matter what:
- Alcohol and Hydrogen Peroxide: Way too harsh! They kill everything in their path—not just the bad bacteria, but also the delicate new cells your body is working hard to grow.
- Ointments (like Neosporin): These are way too thick. They trap bacteria and block oxygen from getting to the piercing, which is critical for healing.
- Soaps and Harsh Cleansers: Fragrances, dyes, and other additives can cause some serious irritation. Just stick to your saline spray. For a deeper look at top-tier aftercare, check out our guide on H2Ocean aftercare to see why specialized solutions are a piercer favorite.
Embrace the "LITHA" Philosophy
If you take away one piece of advice, let it be this: LITHA, which stands for Leave It The Heck Alone. Your hands are covered in germs, and every single time you touch, twist, or fiddle with your jewelry, you’re introducing bacteria and causing tiny tears in the healing tissue.
Twisting your jewelry is a total myth from back in the day; it doesn't help at all. In fact, it just damages the fragile fistula (the skin tube) that's trying to form inside the piercing. Seriously, the less you physically interact with it, the faster and happier it will heal.
This also means being mindful of things that can put pressure on it. The number one culprit? Sleeping on it. This can put 8-10 pounds of pressure on a delicate wound all night long, which is a recipe for irritation bumps and can even permanently change the angle of your piercing.
Here's a pro-tip for all you side sleepers: grab a travel pillow! Sleep with your ear nestled in the open hole. It lets you sleep on your favorite side without crushing your brand-new helix. It's an absolute game-changer for a smooth healing journey.
How to Spot Infection vs Irritation
Alright, let's tackle one of the most common freak-out moments every new piercing owner faces: the dreaded "Is this normal?!" panic. It's totally common for a new helix to get a little fussy, but how can you tell if it's just having a bad day or if something more serious is brewing? Knowing the difference between simple irritation and a full-blown infection is your new superpower.
Most of the time, what you're seeing is just irritation. Your piercing is a wound, after all, and it's going to have its ups and downs. Snagging it on your shirt, accidentally sleeping on it, or even a sudden change in the weather can make it flare up. The key is to stay calm and understand the signs so you don't make things worse by overreacting.
Unpacking the Symptoms
First things first: irritation and infection are not the same thing. Think of irritation as your piercing whispering, "Hey, something is bothering me!" An infection, on the other hand, is your body screaming, "We have uninvited guests (bacteria), and this is a real problem!"
Normal irritation symptoms usually include:
- Slight redness or pinkness right around the piercing site.
- Mild swelling that might come and go.
- Tenderness, especially when you accidentally touch or bump it.
- Clear or whitish fluid (that’s lymph) which dries into "crusties." This is a totally normal and good part of healing!
These are just signs that your piercing is a bit annoyed. The key difference is that the symptoms are generally mild, localized right around the piercing, and tend to calm down with a little TLC.
Recognizing the Red Flags of Infection
An infection is a whole different beast. It’s much more dramatic and needs your immediate attention—it's less of a quiet complaint and more of a full-blown emergency. The signs are distinct and usually much more severe.
Key signs of a potential infection are:
- Intense, throbbing pain: We’re talking about pain that gets worse over time, not better.
- Extreme swelling and redness: The redness might spread far out from the piercing site.
- Heat: The area feels noticeably hot to the touch, a classic sign your body is fighting something off.
- Colored discharge: Thick, yellow, or green pus is a major red flag.
- A foul odor: Infections can often come with an unpleasant smell.
If you’re running a fever or just feel generally unwell on top of these symptoms, it could mean the infection is spreading.
When in doubt, don't play doctor. An infection is a serious medical issue. If you suspect your piercing is infected, leave your jewelry in and see a medical professional right away.
Infection vs Irritation: What's the Difference?
To make it even clearer, let's put these symptoms side-by-side. This table is your go-to guide for a quick, stress-free diagnosis.
| Symptom | Normal Irritation | Possible Infection |
|---|---|---|
| Pain Level | Mild tenderness, especially when bumped. | Constant, throbbing, and worsening pain. |
| Swelling | Minor swelling that may fluctuate. | Significant, spreading, and firm swelling. |
| Discharge | Clear or whitish fluid (lymph) that forms "crusties." | Thick, yellow, or greenish pus. |
| Color | Pinkish or slightly red right around the hole. | Dark, angry red color that spreads outwards. |
| Temperature | Normal to the touch. | Hot to the touch. |
Looking at them together, you can see how much more intense and widespread the signs of infection are.
What About Those Dreaded Piercing Bumps?
Ah, the infamous piercing bump. This is probably the #1 cause of panic, but listen up: most of the time, it’s just a sign of irritation, not infection. These little bumps, often called pustules or granulomas, are just localized pockets of inflammation. They're your body's way of putting up a barrier around an area that's being aggravated.
The most common culprits are physical trauma (like snagging it), pressure (from sleeping on it), or trapped moisture. The good news? If you can remove the source of the irritation—say, by using a travel pillow to keep pressure off your ear—and stick to your gentle saline cleaning routine, these bumps will almost always go away on their own. They require patience, not panic. And whatever you do, never try to pop them!
Factors That Influence Your Healing Time
Ever wonder why your friend’s helix piercing seemed to heal in record time, while yours is still a little fussy? It's not a piercing mystery—your body and your daily habits play a huge role in how things go. Think of your new piercing as a tiny construction project; for the best results, you need a great crew (your immune system) and perfect working conditions (your lifestyle).
The helix piercing healing time isn't a fixed number because we're all different. A few key things can either put you on the fast track to healing or add a few bumps along the road. Knowing what they are puts you in the driver's seat, giving your piercing the best possible chance to heal smoothly.
Your Body and Your Habits
The biggest factor in this whole journey is... you! How you treat your body directly impacts how well it can repair itself. A healthy, well-rested body has all the energy and resources it needs to build that new tissue like a pro.
Here’s what really matters on the inside:
- Overall Health: If your immune system is busy fighting off a cold or dealing with other health issues, it has way fewer resources to dedicate to your new piercing. Seriously, staying healthy is piercing aftercare, too!
- Sleep Quality: This is primetime for your body's repair crew. Getting 7-9 hours of quality sleep a night gives your body the downtime it needs to work its magic.
- Stress Levels: Sky-high stress can throw a wrench in your immune system, making you more prone to irritation and slowing everything down. Find a way to chill out—your piercing will thank you for it!
Your lifestyle is a huge piece of the healing puzzle. Eating well, staying hydrated, getting enough sleep, and managing stress aren't just good for you—they're amazing for your new helix.
External Factors You Can Control
Beyond what’s going on inside, there are things in the outside world that can make or break your healing experience. The good news is you have direct control over these, and paying close attention can prevent some major setbacks.
One of the biggest culprits of a cranky piercing is physical trauma. Every single time you snag your piercing on your hair, a towel, or your face mask, you're creating a tiny injury in that delicate healing channel. These little accidents can easily add weeks or even months to your recovery.
The other major player here is your jewelry. The material, style, and fit of that initial earring are incredibly important.
Why Your Jewelry Choice Is Everything
The jewelry you start with can truly make all the difference. This is exactly why professional piercers are so picky about what they use for a fresh helix.
-
Material Matters: Your body can have a bad reaction to certain metals. Implant-grade titanium is the undisputed champion for initial piercings because it's hypoallergenic and biocompatible. That just means your body is highly unlikely to freak out over it. Surgical steel is another common choice, but titanium is a much better bet, especially for sensitive skin.
-
Style and Fit: Starting with a stud (like a flat-back labret) instead of a hoop is non-negotiable. Hoops move around a lot, which constantly irritates the piercing. Your first piece of jewelry will also be a bit longer to leave room for swelling. Once that initial swelling goes down, you'll need to see your piercer to downsize the post so it doesn't snag on everything.
Choosing high-quality, appropriate jewelry right from the start is one of the easiest ways to guarantee a smoother, faster helix piercing healing time. It's all about minimizing irritation and setting yourself up for success on the journey to that fully-healed look you're dreaming of.
When Can You Change Your Helix Jewelry?
We know the feeling. You've been so good about cleaning your new helix piercing, and you're just dying to switch out that basic starter stud for a seriously cool hoop from Bodycandy. But we're here to tell you: patience is your best friend right now!
Changing your jewelry too soon is one of the biggest mistakes you can make. It can trigger a whole new world of irritation and completely undo all the careful healing you’ve accomplished so far.
The Downsize: Your First (and Most Important) Jewelry Change
Your very first jewelry swap isn't the one you've been dreaming of—it's a critical step called "downsizing," and your piercer needs to handle this one. This typically happens around the 4 to 8-week mark, after all that initial swelling has finally chilled out.
Your piercer will swap the original, extra-long post for a shorter one that sits flush against your ear. This is super important because a long bar is a magnet for snags on hair, clothes, and pillows. A snugger fit prevents that constant bumping and pulling, which is a major cause of those dreaded irritation bumps and can even mess with the piercing's angle.
So, When Can You Really Change It?
Alright, let's get to the fun part. When can you finally take the reins and swap in that new piece yourself? The answer is simple, but it demands some serious self-control: you have to wait until your piercing is 100% healed.
For a helix, that's a long haul—we're talking a minimum of 6 to 12 months. Yep, you read that right! Trying to shove new jewelry into a piercing that's still on the mend is just asking for trouble.
Before you even think about it, go through this checklist. Your helix is only ready for new jewelry when all of these are true:
- There's zero pain or tenderness, even if you bump it by accident.
- You see no redness or swelling around the piercing holes.
- It's been weeks since you've seen any of those "crusties" (that dried lymph fluid).
- The piercing doesn't bleed or leak any fluid when you clean it.
If you can't say "yes" to every single one of those, your ear is telling you to wait a bit longer.
That first time changing your helix jewelry should be an exciting milestone, not a painful setback. If it hurts or you have to force the jewelry in, stop right there. Your body is giving you a clear signal that it's not ready.
When that glorious day finally comes, make sure you're upgrading to high-quality jewelry. Choosing materials like implant-grade titanium is the best way to keep your newly healed piercing happy and healthy. Want to know more about why it's the gold standard? Check out our guide on why we're obsessed with titanium body jewelry.
Once you're fully healed, it’s time to have fun and explore all the incredible helix styles Bodycandy has to offer.
Got Questions About Helix Healing? We've Got Answers.
Still have a few things on your mind? Don't worry, we've got you. We’ve gathered the most common questions people ask about helix piercing healing time and laid out the answers right here. Think of this as your personal cheat sheet for getting through the final stretch of your healing journey with total confidence.
Is It Normal For My Helix To Hurt Months Later?
Yes, it's completely normal to feel some random soreness for several months! Even after your helix looks perfect on the outside, the tissue deep inside is still busy maturing and getting stronger.
Accidentally bumping it or sleeping on it wrong can definitely cause a temporary flare-up of tenderness. The key is to watch for other symptoms. As long as you don't see signs of an infection—like colored pus, intense heat, or major swelling—a little periodic soreness is just a normal part of the long-term helix piercing healing time. If the pain becomes constant or really severe, it's always smart to check in with your piercer.
Can I Go Swimming With a New Helix Piercing?
You’ll want to press pause on any swimming plans for a bit. It's super important to avoid submerging your new helix piercing in pools, hot tubs, lakes, and oceans for at least the first 2-3 months. These bodies of water are basically a party for bacteria that would love nothing more than to crash your healing process and cause an infection.
If you absolutely must go for a dip after that initial period, protect your piercing like it’s your most prized possession. Use a waterproof wound sealant bandage to cover it completely. The moment you're out of the water, give it a thorough cleaning with a sterile saline spray.
What Jewelry Material Is Best For a Healing Helix?
For a brand-new helix piercing, the undisputed champion is an implant-grade titanium flat-back labret stud. This material is amazing because it's hypoallergenic and biocompatible, which drastically cuts down on the risk of your body getting irritated.
A stud is also way better than a hoop at first. Hoops tend to move and rotate a lot, which can really disturb that delicate healing channel. Once you’re fully healed (and we mean fully healed, past the 6-month mark), you can finally dive into the endless world of gorgeous hoops and decorative studs!
How Do I Know When My Helix Is Fully Healed?
A truly and fully healed helix is a drama-free helix. This means no more pain, swelling, or tenderness, even when you move the jewelry a little. The skin around the piercing holes will look calm and normal, not red or pink.
The most reliable sign of a fully healed piercing is the complete absence of "crusties" (that dried lymph fluid) for several weeks in a row. This whole process takes a minimum of 6 months, but for most people, it's closer to a full year.
Patience really is the secret ingredient here. Once you've hit that milestone, your ear is officially ready for a style upgrade!
Ready to celebrate your fully healed helix? Bodycandy has the most amazing collection of studs, hoops, and unique cartilage jewelry waiting for you. Shop our full collection now and show off your new look! Find your perfect piece at https://bodycandy.com.