So, you’ve taken the plunge and gotten that killer conch piercing—welcome to the club! The conch piercing healing journey is a marathon, not a sprint. You're looking at a patient 6 to 9 months, and sometimes even longer, for that cartilage to fully strengthen and settle down.
Don't sweat it, though. Your patience and aftercare from here on out are what will make this piercing look absolutely amazing for years to come. We've got your back with everything you need to know.
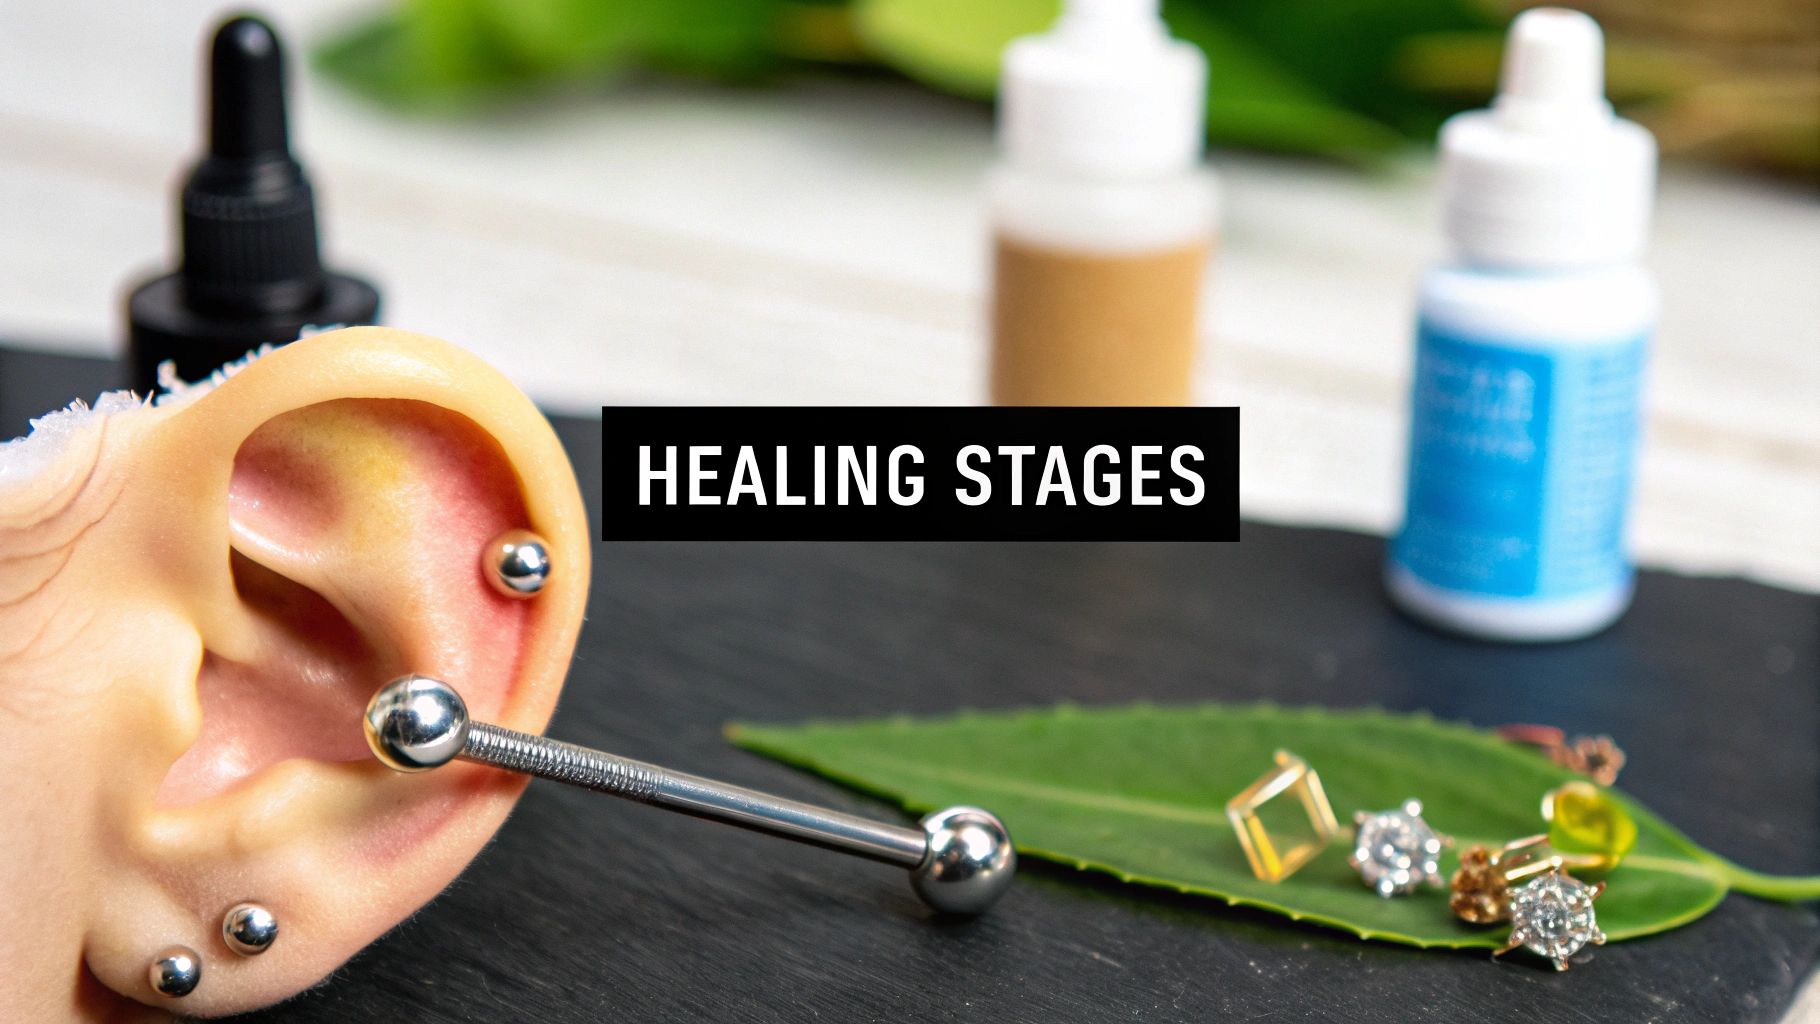
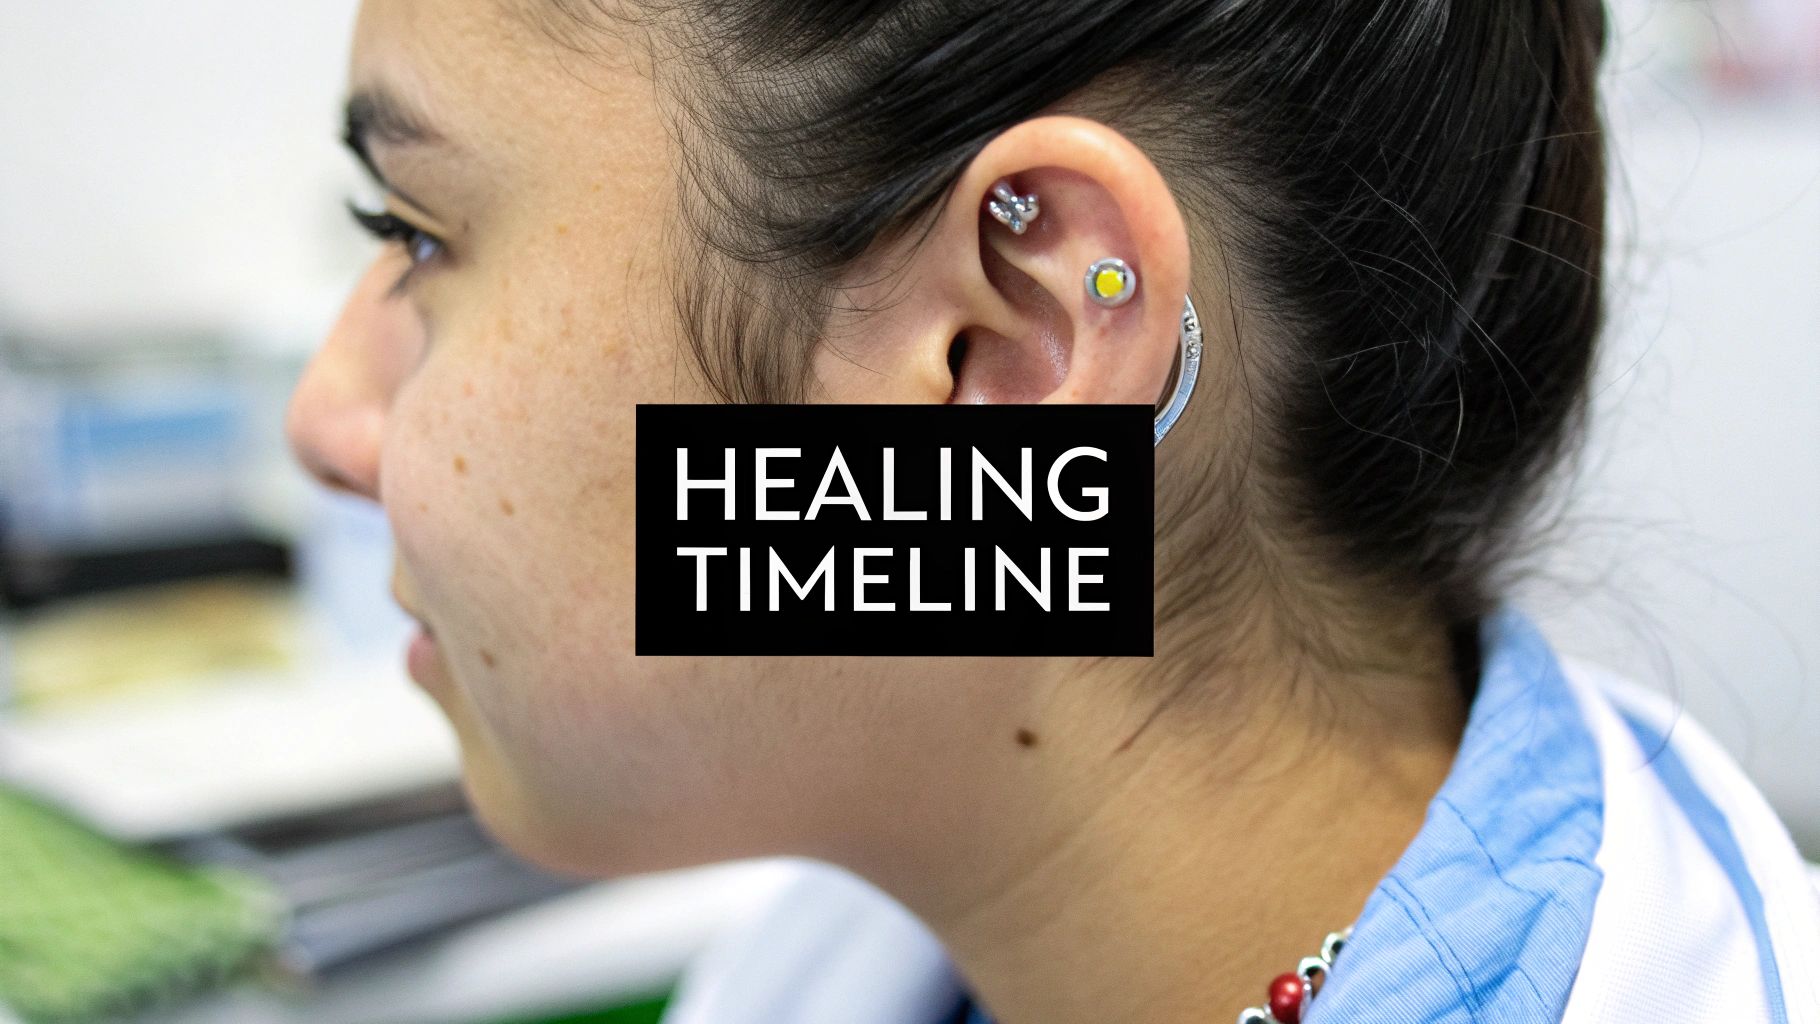
Your Conch Piercing Healing Timeline Explained
Getting a new piercing is a total rush, but what happens after you leave the studio is the real key to a happy, healthy piercing. Think of the healing process as your body's personal construction project. It happens in predictable phases, each with its own quirks and care requirements.
Knowing what to expect makes the whole experience way less stressful and helps you spot when something might be a little off. This is a great visual guide to the major stages, from that initial swelling to a fully settled and stylish piercing.
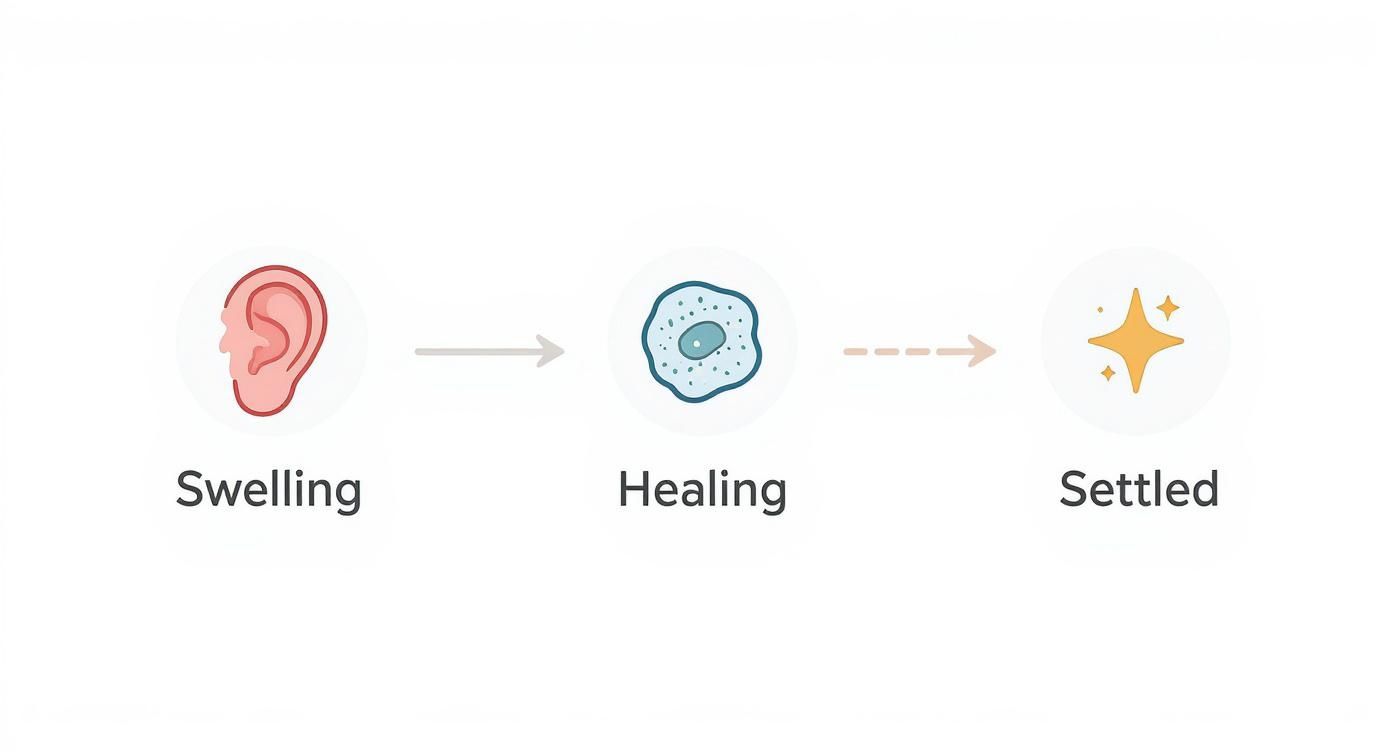
As you can see, the process moves from an intense initial reaction to a long-term strengthening phase. This is exactly why consistent aftercare is vital all the way through.
The Inflammatory Phase: The First Few Weeks
This is the "OMG, what did I just do?" stage, and it's totally normal. Right after being pierced, your body sends a rush of blood and healing cells to the area to start the repair process.
- What to Expect: You'll likely see redness, feel some swelling, and notice a warm, throbbing sensation. It will be tender to the touch, and you might see some clear or whitish fluid—this is just lymph fluid, not pus!
- Your Job: Be gentle! Your only goal here is to keep it clean and avoid any and all irritation. That means no touching, no twisting, and definitely no sleeping on it.
This initial phase sets the foundation for everything that follows. While about 50-60% of conch piercings stick to that standard 6-9 month healing window, your aftercare diligence really makes a difference. In fact, some studies show that people who stick to a consistent saline cleaning routine can see healing times speed up by as much as 30%. You can learn more about what impacts piercing recovery in our detailed guide on healing times for popular piercings.
To help you keep track, here's a quick breakdown of what you can expect during each phase of your conch's healing journey.
Conch Piercing Healing Stages At-a-Glance
| Healing Stage | Typical Duration | What to Expect | Key Aftercare Focus |
|---|---|---|---|
| Inflammatory | 1-4 Weeks | Redness, swelling, tenderness, clear/white fluid (lymph). Very sensitive. | Clean gently twice daily with saline. Avoid all pressure, touching, or sleeping on it. |
| Proliferative | 1-6 Months | Redness and swelling subside. Piercing may look "healed" but is very fragile. | Maintain cleaning routine. Be vigilant about avoiding snags or bumps. |
| Maturation | 6-9+ Months | Piercing looks and feels normal. Tissue inside strengthens and settles. | Continue cleaning as needed. Wait until the end of this phase to change jewelry. |
This table is just a general guide, but it gives you a solid idea of the long-term commitment and why you can't rush the process.
The Proliferative Phase: The Building Months
After the initial drama dies down, your body gets down to business. This is the longest phase, where new tissue (called granulation tissue) starts to form a tunnel, or "fistula," through the piercing.
Don't be fooled by appearances! Your piercing might look and feel much better during this stage, but it's far from healed on the inside. The new tissue is extremely delicate and can be easily damaged.
This is where so many people get a false sense of security and slack off on their aftercare. Resist the urge! Consistency is still your best friend. Sticking to your cleaning schedule and avoiding snags will help your body build a strong, healthy fistula. Any setbacks now can lead to those dreaded irritation bumps or a much longer healing time.
The Maturation Phase: The Final Stretch
Welcome to the home stretch! This final phase can last for several months even after the piercing seems healed. Your body is now fortifying and strengthening the new tissue inside that fistula, making it tough and resilient.
The piercing holes will start to look more even and less red, and the tissue will tighten around the jewelry. You'll notice way less discharge and tenderness. Once this stage is complete, your conch piercing is officially healed and ready for you to show it off with all that gorgeous jewelry you've been eyeing.
Remember, a little patience now equals a happy, healthy piercing for life.
Mastering Your Daily Aftercare Routine
Think of your aftercare routine as the secret to unlocking a perfectly healed piercing. Getting this right is completely non-negotiable if you want a happy, healthy conch that looks amazing for years to come. Consistency is your new best friend here.
This isn't about complicated rituals or weird potions. It's about a simple, effective routine that keeps bacteria out and lets your body work its healing magic without any drama.
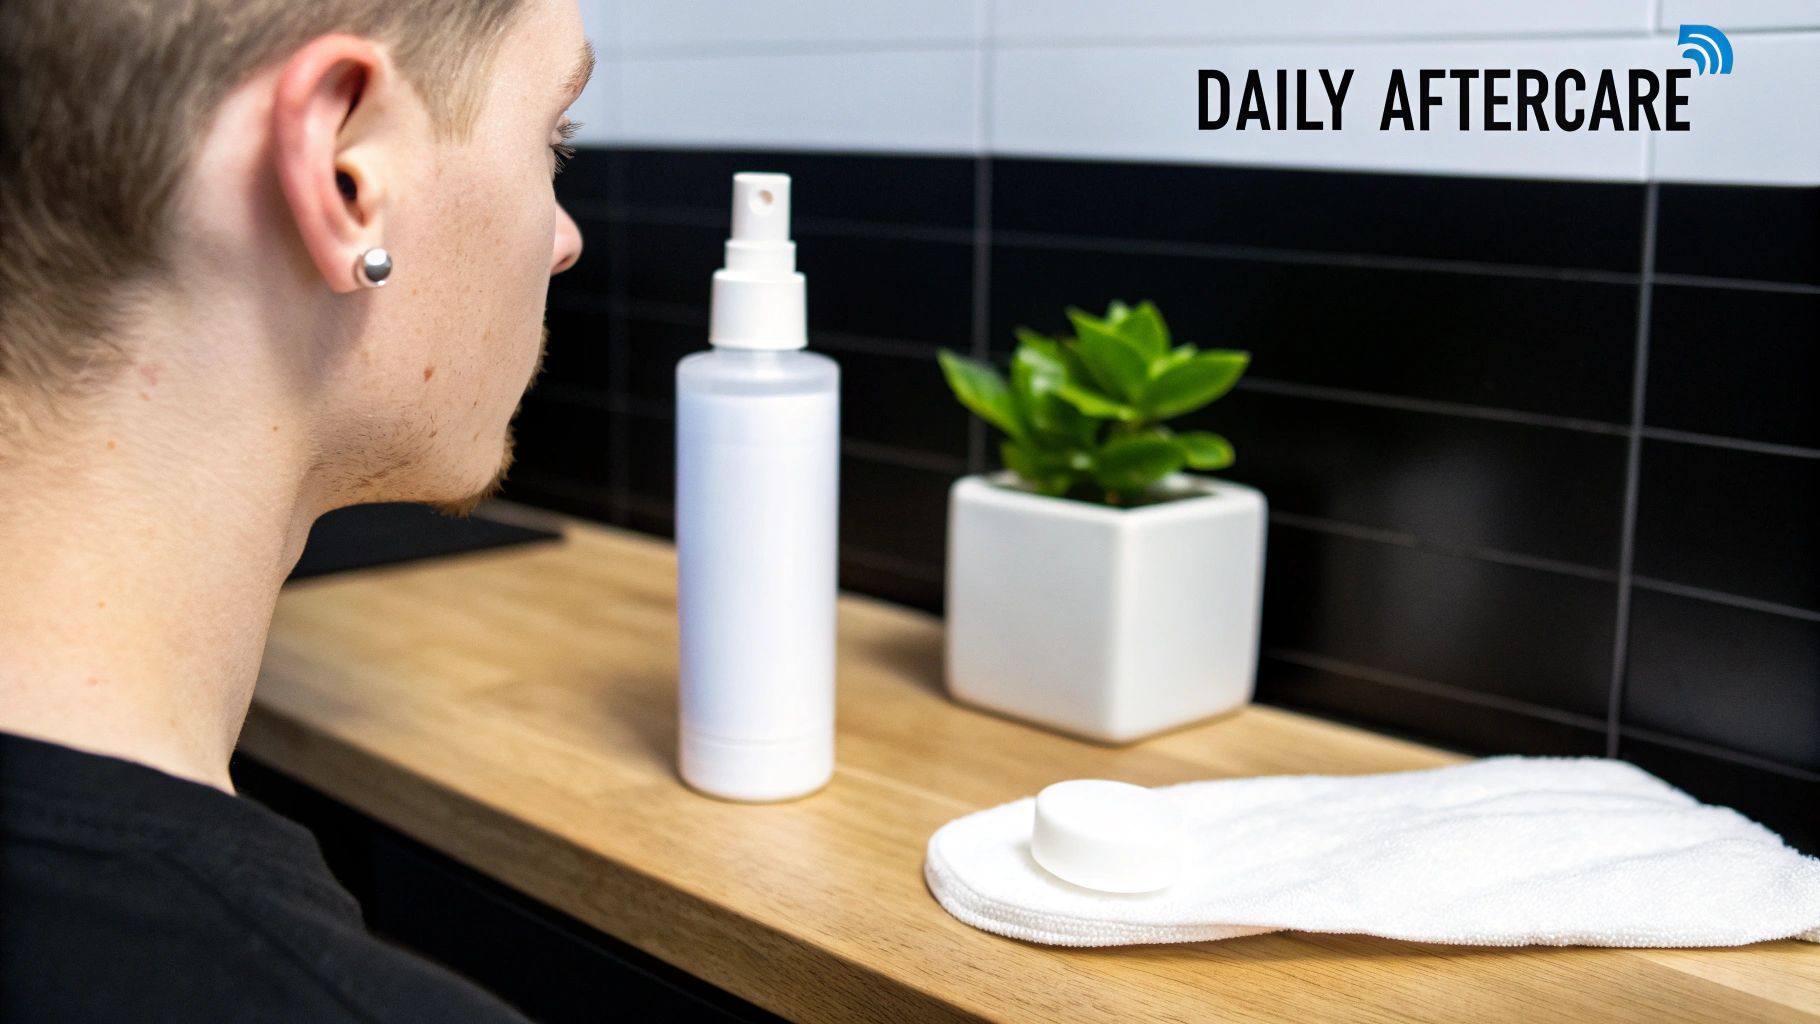
The Golden Rule: Sterile Saline Solution
Let's just clear the air right now: the only thing you should be using to clean your new piercing is a sterile saline solution. That’s it.
Forget everything you've heard about using rubbing alcohol, hydrogen peroxide, antibacterial soaps, or essential oils. These products are way too harsh for a fresh, delicate piercing.
Why are they so bad for your piercing?
- Alcohol & Hydrogen Peroxide: These chemicals are scorched-earth—they kill everything, including the good cells your body is sending to heal the wound. This can seriously delay your conch piercing healing time.
- Soaps & Ointments: They can leave behind a sticky residue that traps bacteria and suffocates the piercing, which really needs to breathe to heal properly.
Sterile saline is gentle, effective, and mimics your body's own natural fluids. That's what makes it the perfect cleaning agent. It just cleans away crusties and debris without causing irritation.
Your Step-by-Step Cleaning Guide
Ready for the easiest routine ever? You're going to do this twice a day—once in the morning and once at night. Believe it or not, over-cleaning can be just as bad as under-cleaning, as it can strip the area of its natural moisture and lead to irritation.
Here's your simple, foolproof plan:
- Wash Your Hands: Before you even think about touching your ear, wash your hands thoroughly with soap and water. This is the single most important step to prevent infection.
- Saturate the Area: Grab your sterile saline spray. Generously spray the front and back of your conch piercing, making sure the solution gets right into the piercing site. Let it soak for about a minute to soften up any of those "crusties" (which is just dried lymph fluid).
- Gently Clean: Use a clean piece of non-woven gauze or a paper towel to gently wipe away the softened crusties. You'll want to avoid using cotton balls or Q-tips, as their tiny fibers can get snagged on the jewelry and cause major irritation.
- Pat Dry: Gently pat the area dry with a fresh paper towel. A damp environment is a playground for bacteria, so making sure it's dry is super important.
Pro Tip: Don't twist or turn your jewelry! This is an outdated piece of advice. Twisting the jewelry just re-injures the delicate new tissue your body is trying to build, leading to irritation bumps and a much longer healing journey. Just let it be.
What Not to Do: The Aftercare No-No List
Just as important as knowing what to do is knowing what not to do. Avoiding these common mistakes will keep your healing journey smooth and problem-free.
- Don't Sleep On It: Putting pressure on a new piercing is a recipe for disaster. It can cause swelling, pain, irritation bumps, and even change the angle of the piercing itself. A travel pillow can be your savior here—just place your ear in the hole!
- Don't Submerge It: Avoid swimming in pools, hot tubs, lakes, and oceans for at least the first month. These bodies of water are full of bacteria that can lead to a nasty infection.
- Don't Touch It: Your hands are covered in germs. Unless you are actively cleaning it, keep them off your piercing.
- Don't Use Harsh Chemicals: We said it before, but it's worth repeating. Stick to sterile saline solution only!
Following aftercare instructions is crucial. In fact, improper cleaning is a huge factor in piercing complications, accounting for about 45% of reported issues. Data shows that 80-85% of successful conch piercing healing stories involve people who stick to a twice-daily saline cleaning routine.
For a reliable and piercer-approved product, you'll want something specifically designed for body piercings. We break down one of the most popular options in our article on why H2Ocean aftercare spray is a piercer favorite. It’s a great way to ensure you have the right tools for the job from day one.
What's Normal Pain and What's a Red Flag?
Let's be real—getting a thick piece of cartilage pierced is going to come with some discomfort. But how do you tell the difference between the normal aches of healing and a sign that something's actually wrong? Knowing how to read your body's signals is key to a calm and successful healing journey.
Think of it like the soreness you feel after a really tough workout. It's a deep, dull ache, it might throb a bit, but it's a sign your body is doing its job and starting to repair itself. Learning to distinguish this totally normal soreness from a real problem will help you act fast if you ever need to.
What Normal Healing Feels Like
So, what should you actually expect to feel in those first few weeks? It's definitely not all sunshine and rainbows, and that's perfectly okay! Understanding the typical sensations will keep you from panicking every time your ear feels a little weird.
Here’s a look at what's completely normal for a healing conch:
- Initial Sting and Throbbing: For the first few days to a week, expect a persistent, dull throb. This is just your body’s inflammatory response kicking in, and it's a good sign!
- Tenderness and Sensitivity: Your whole ear might feel tender to the touch. You’ll definitely notice it if you accidentally bump it or roll over in your sleep. Ouch.
- Itchiness: This one drives people crazy, but it's a great sign. As new skin cells form, it’s super common for the piercing to get itchy. Whatever you do, resist the urge to scratch! A quick spritz of your sterile saline spray can help calm it down.
- Warmth and Redness: Your ear might feel warm and look a little pink or red right around the piercing. This is just from increased blood flow bringing all the good healing stuff to the area.
This initial discomfort is a shared experience. In fact, studies of conch piercings show that 70-75% of people rate the initial piercing pain between a 5 and 6 out of 10. During the healing phase, about 80% of people report moderate discomfort for the first 2-4 weeks, which gradually fades over the next month. You can discover more insights about piercing pain and healing experiences online.
Spotting The Red Flags Early
While some discomfort is part of the deal, certain signs are your body’s way of screaming for help. These are the red flags you absolutely should not ignore. Knowing the difference between "ouch, it's healing" and "uh oh, something's wrong" is your most powerful tool.
The key is to look for symptoms that are worsening over time instead of gradually improving. A little bit of swelling on day two is normal; swelling that suddenly gets worse on day ten is not.
Pay close attention to these warning signs. If you spot any of them, it’s time to check in with your piercer or a doctor.
A Clear Checklist For Potential Problems
Is it just being fussy, or is it an infection? Use this checklist to tell the difference.
Normal Healing Signs:
- Discharge: Thin, clear, whitish, or pale yellow fluid that dries into "crusties." This is just lymph fluid, and it's totally normal.
- Swelling: Moderate swelling that peaks in the first week and then slowly goes down.
- Pain: A dull, aching pain or general tenderness that gets a little better each day.
- Redness: A pinkish or reddish hue right around the piercing site.
Infection Red Flags:
- Discharge: Thick, green, dark yellow, or grey pus, which often has an unpleasant smell.
- Swelling: Excessive swelling that spreads far from the piercing and makes your ear feel tight and hot to the touch.
- Pain: Intense, sharp, or throbbing pain that gets worse instead of better. You might feel it deep inside your ear.
- Redness: A dark red or purplish color spreading out from the piercing site, sometimes in streaks.
- Fever: If you start feeling sick, have a fever, or get the chills, it could be a sign the infection is becoming systemic. See a doctor immediately.
At the end of the day, trust your gut. You know your body better than anyone. If something feels off or you're just worried about your conch piercing healing, it's always better to be overly cautious and get professional advice. A quick call to your piercer can give you peace of mind or get you on the right track before a small issue becomes a big one.
How To Troubleshoot Common Healing Problems
Even if you follow your aftercare routine to the letter, your new conch piercing can still get a little fussy. A surprise snag on a sweater or accidentally sleeping on it for just a few minutes can throw a wrench in your healing journey. Don't panic! Most issues are minor and just need a little extra TLC.
This is your go-to guide for those little bumps in the road. Knowing how to spot and handle common problems will keep your conch piercing healing process smooth and as stress-free as possible.
The Dreaded Irritation Bump
If you've spent any time on piercing forums, you've heard the horror stories about "the bump." Nine times out of ten, this isn't some scary infection but a simple irritation bump. Think of it as your piercing's way of throwing a tiny tantrum because something annoyed it.
These bumps are usually small, reddish, and pop up right next to the piercing hole. They're typically filled with trapped fluid and are a direct response to some kind of physical trauma or ongoing irritation.
So, what causes these annoying bumps to show up? The list of culprits is pretty common:
- Sleeping on the piercing: This is the number one cause. Consistent pressure restricts blood flow and physically bothers the healing tissue.
- Snagging the jewelry: Catching your piercing on clothing, your hair, or even a towel can cause immediate inflammation that leads to a bump.
- Improper jewelry: Jewelry that's too tight, too loose, or made from a cheap, low-quality material can constantly irritate the piercing channel.
- Over-cleaning or harsh products: Using anything other than a sterile saline spray can seriously dry out and anger your piercing.
- Touching or twisting the jewelry: Fidgeting with your piercing introduces bacteria and disrupts the delicate healing fistula (the tube of skin forming inside).
Calming an irritation bump is all about patience and, most importantly, removing the source of the problem. Go back to basics: stick strictly to your saline spray routine, be extra careful not to sleep on it (a travel pillow is your best friend here!), and keep your hands off. The bump should slowly shrink and disappear as the irritation goes away.
Is It An Infection Or Just Irritation?
This is the big question that sends everyone into a full-blown panic. It’s absolutely crucial to know the difference, because an actual infection needs professional attention, while simple irritation just needs some gentle care. An infection is caused by bacteria getting inside the wound, whereas irritation is a purely physical reaction.
Let's break down the key differences so you can become a pro at spotting the real signs of trouble.
Key Takeaway: The most significant difference is the discharge. Normal healing fluid (called lymph) is clear or whitish and dries into "crusties." An infection, on the other hand, produces thick, colored pus.
Here’s a simple comparison to help you figure out what’s going on with your piercing.
| Symptom | Irritation | Infection |
|---|---|---|
| Pain | General soreness or tenderness, especially when bumped. | Intense, sharp, or throbbing pain that gets worse over time. |
| Swelling | Localized puffiness right around the piercing site. | Severe swelling that spreads across a large part of the ear; the area feels hot to the touch. |
| Redness | A pink or reddish ring immediately around the jewelry. | A dark red or purple color that spreads, sometimes in streaks leading away from the piercing. |
| Discharge | Clear, white, or pale yellow fluid (lymph). | Thick, opaque pus that is yellow, green, or grey, and may have a bad smell. |
If your symptoms are lining up with the "Infection" column, it's time to act.
When To See A Professional
If you suspect you have an infection, do not remove the jewelry. I know it's tempting, but taking it out can allow the piercing hole to close up, trapping the infection inside. This can lead to a much more serious problem, like an abscess.
First, get in touch with your piercer. They have seen it all and are experienced in identifying healing issues. They can often tell you if your piercing is just severely irritated or if it looks like a genuine infection brewing. They can also help troubleshoot your aftercare and check if the jewelry itself is causing the problem.
However, if you experience any of the following, it’s time to see a doctor right away:
- You have a fever or feel generally unwell.
- The redness is spreading rapidly in streaks from the piercing.
- The pain is severe and unmanageable.
- There is a large amount of thick, smelly pus.
A doctor can properly diagnose the infection and, if needed, prescribe antibiotics to clear it up. Working with both your piercer and a medical professional will give you the best chance of saving your piercing and, most importantly, keeping you healthy.
Choosing Jewelry For A Healthy Healing Process
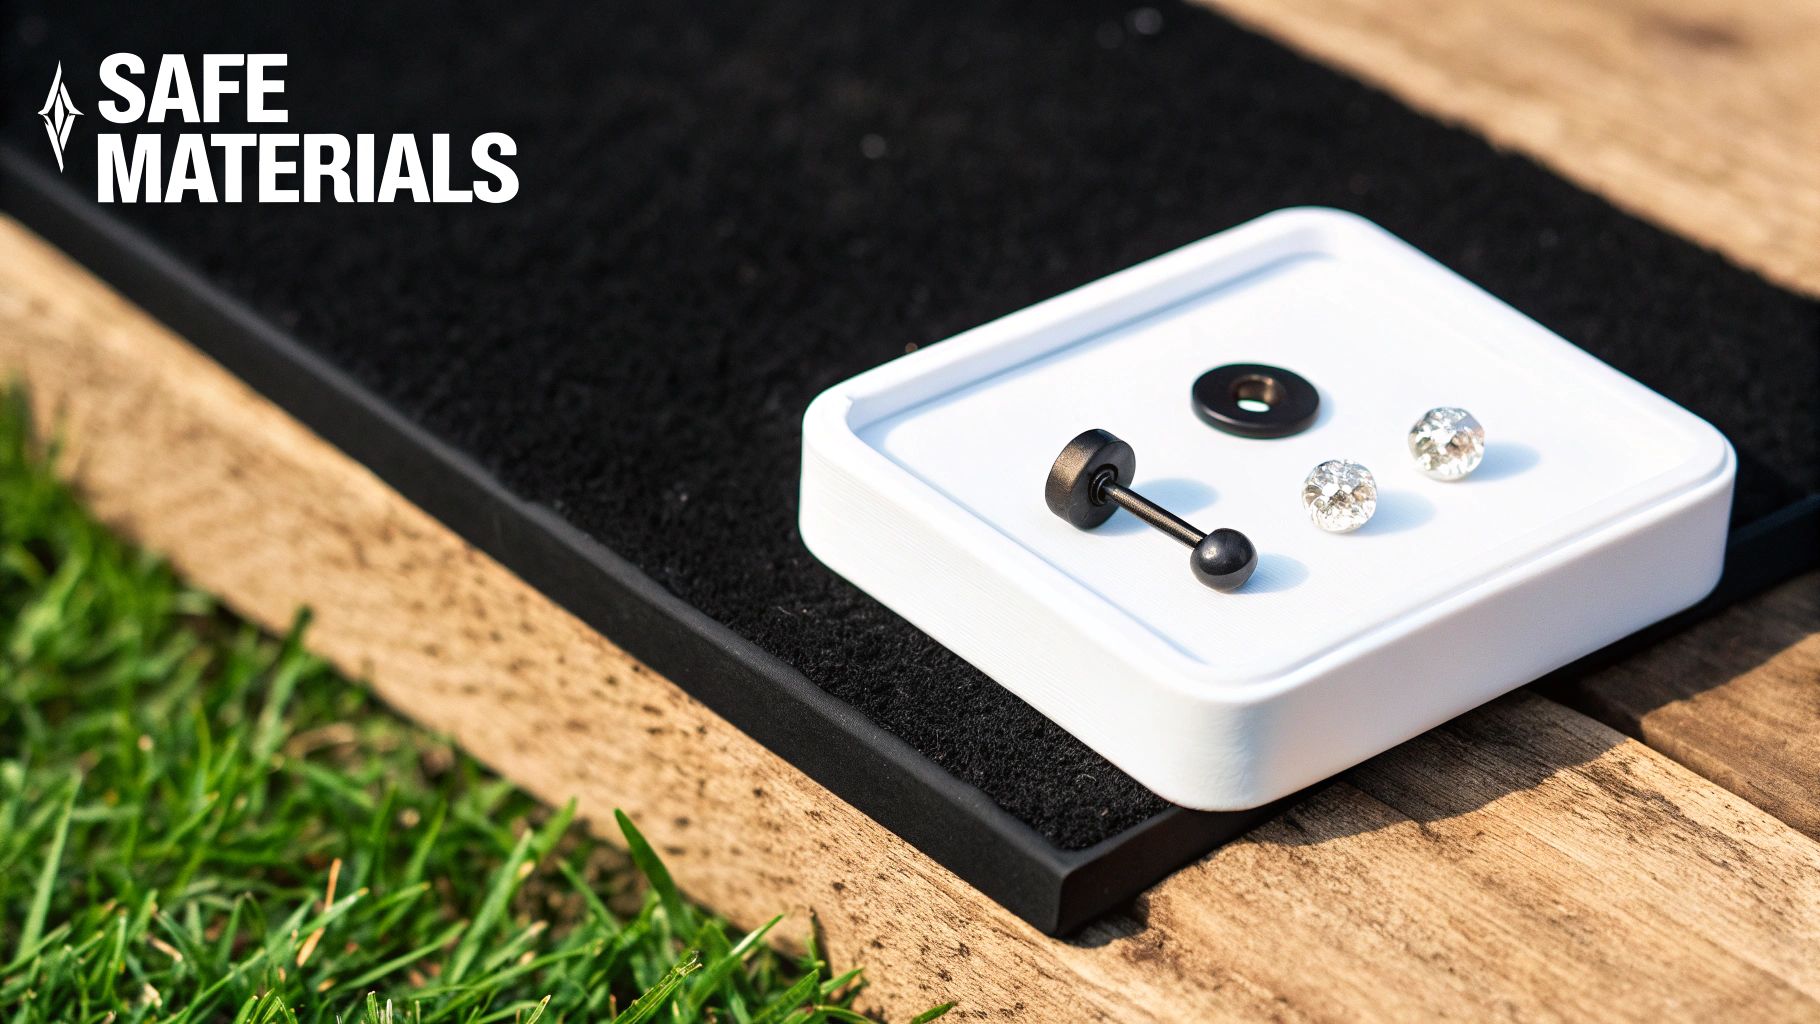
Let’s talk bling! The jewelry your piercer uses to kick off your conch journey is way more than a style choice—think of it as a critical piece of medical equipment designed for a happy, healthy healing process. This is absolutely not the time for mystery metals or cute, cheap finds from a fast-fashion joint.
Think of your initial jewelry like a cast for a broken bone. It has to be strong, stable, and made from something your body won't freak out over. Getting this part right from day one sets you up for a smooth ride and cuts down the risk of irritation right from the get-go.
Why Material Is Everything
Your body is incredibly smart. When a foreign object shows up (like that awesome new piercing!), its first job is to decide if it's a friend or a foe. Low-quality metals often pack in nickel and other alloys that can trigger nasty allergic reactions, leading to itching, redness, bumps, and a whole lot of misery.
This is where biocompatible materials save the day. These are metals your body is most likely to welcome without putting up a fight.
Here are the top-tier choices for your initial jewelry:
- Implant-Grade Titanium (ASTM F-136): This is the undisputed champion of piercing metals. It's the exact same stuff used for surgical implants, is totally nickel-free, and is ridiculously lightweight, making it perfect for a sensitive, healing piercing.
- Implant-Grade Surgical Steel (ASTM F-138): Another solid, body-safe option. While it does contain a tiny amount of nickel, it's bound up inside the metal in a way that makes it highly unlikely to cause a reaction for most people.
- Solid 14k or 18k Gold: If you have your heart set on gold, you have to make sure it’s solid—not plated! Plated jewelry has a super thin layer of gold over a mystery base metal (usually full of nickel), which can wear away and expose your healing tissue to all sorts of irritants. Stick to nickel-free palladium or rose gold alloys for the best results.
Your piercer chose your initial jewelry for a reason—it's specifically selected to give your conch piercing healing the best possible start. Trust their expertise!
Getting the right material for your first piece of conch jewelry is non-negotiable for a smooth healing journey. To help you understand the options, here’s a quick breakdown of the good, the bad, and the ugly when it comes to metals for a fresh piercing.
Initial Conch Piercing Jewelry Comparison
| Material | Why It's Great for Healing | Potential Issues | Best For |
|---|---|---|---|
| Implant-Grade Titanium | Completely nickel-free, lightweight, and non-reactive. The gold standard for initial piercings. | None, really! It's the safest bet. | Everyone, especially those with sensitive skin or nickel allergies. |
| Implant-Grade Steel | Body-safe and durable. A solid, reliable choice for most people. | Contains trace amounts of nickel, which could irritate very sensitive individuals. | People without known metal sensitivities who want a quality, affordable option. |
| Solid 14k-18k Gold | Looks beautiful and is biocompatible if it's nickel-free. | Can be heavy and expensive. Plated or low-karat gold can cause major irritation. | Healed piercings, or initial piercings only if it's from a reputable brand and confirmed nickel-free. |
| Sterling Silver | Inexpensive and widely available. | Tarnishes (oxidizes) easily, which can stain skin and introduce bacteria into a healing wound. A huge no-no. | NEVER for a healing piercing. Only for fully healed piercings for short-term wear. |
| Mystery Metals / Plated | Cheap and trendy designs. | The base metal is often full of nickel and other irritants. The plating wears off, exposing your skin. | Decorative jewelry for your healed piercings, but never for a new or healing one. |
Ultimately, listening to your piercer and starting with high-quality, implant-grade materials is the best way to ensure your conch heals up perfectly.
The Long and Short of It: Sizing Matters
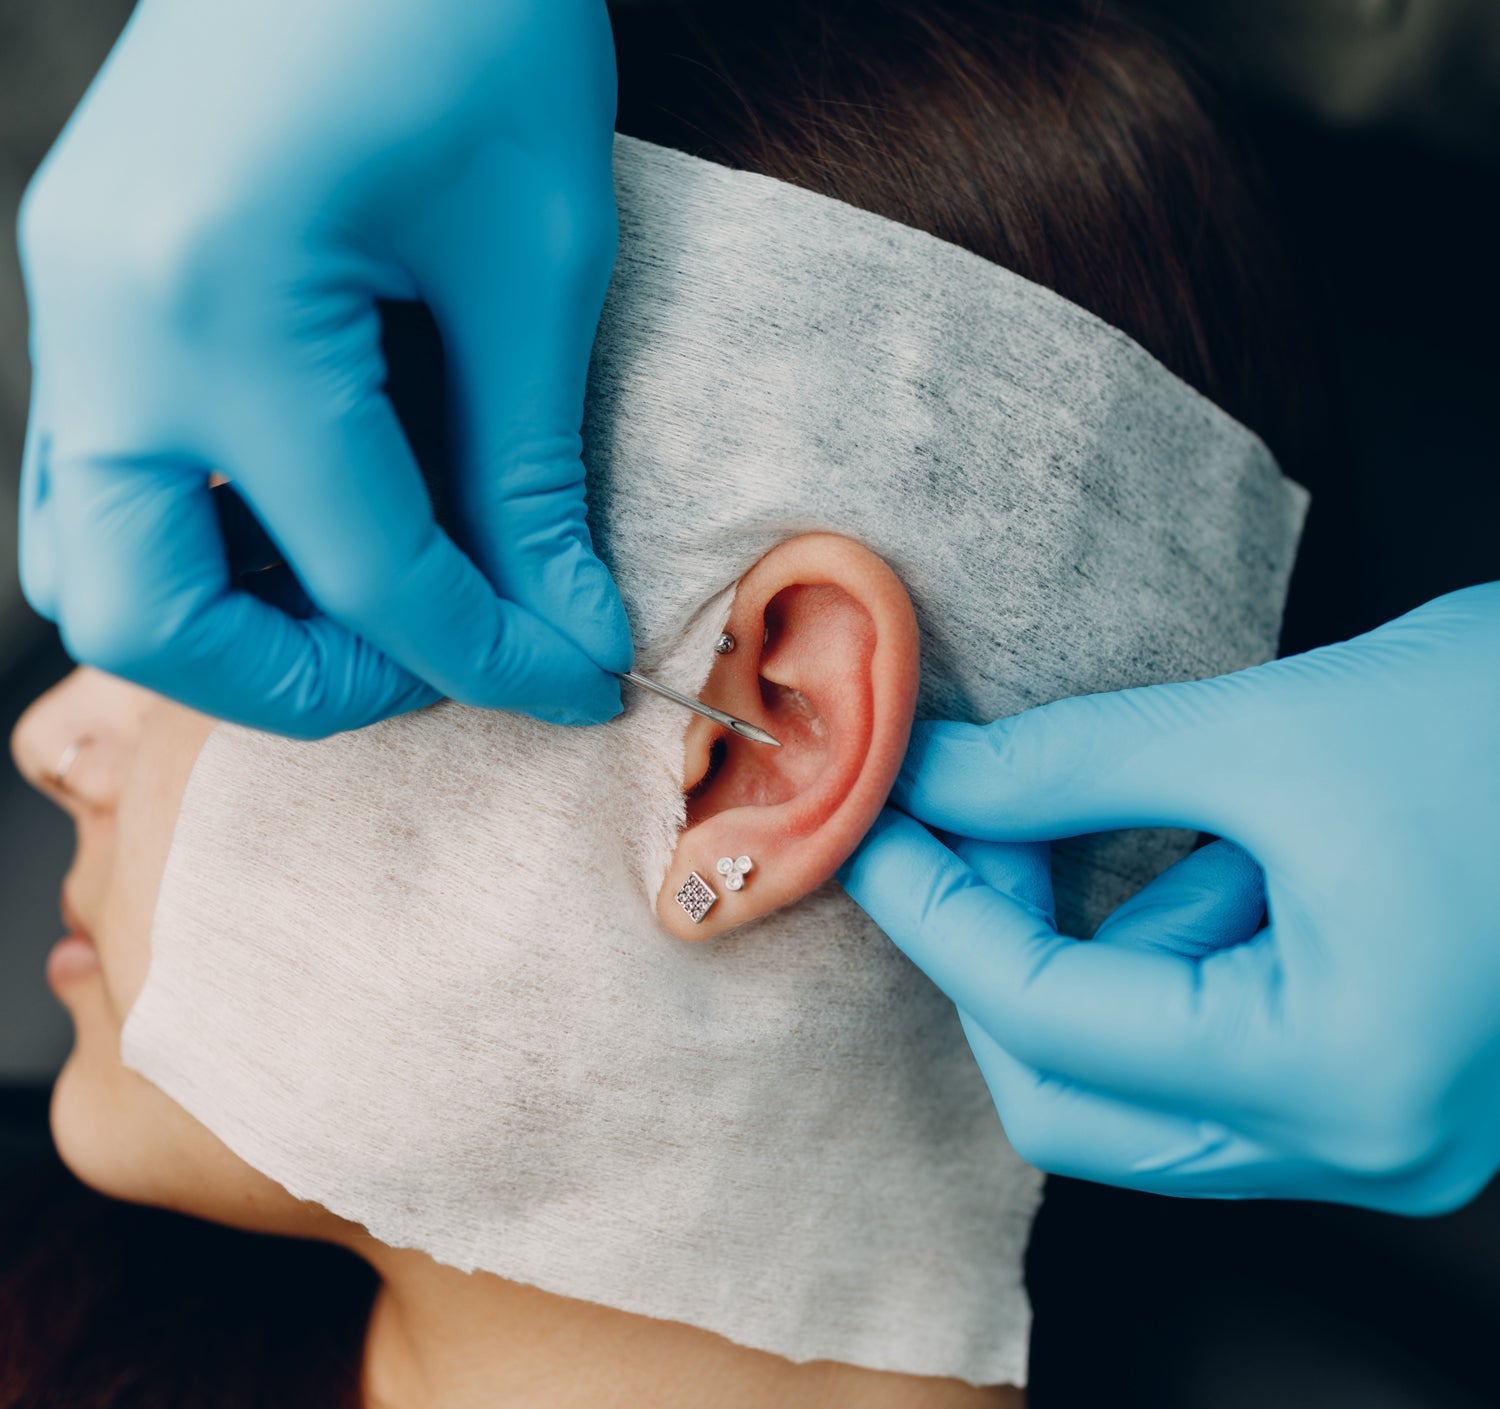
Ever notice how your initial conch jewelry seems to have an extra-long post or bar? That’s 100% on purpose! A professional piercer will always start you off with a longer piece, like a flat back labret stud, specifically to accommodate that initial swelling.
This extra room is absolutely crucial. If the bar were too short, the swelling could swallow the jewelry, causing painful pressure, embedding, and some really serious complications. The longer bar gives your ear room to breathe and do its thing during that first inflammatory stage.
But that leads to the most important follow-up appointment you'll have: the downsize.
The All-Important Downsize
After about 4 to 8 weeks, that initial swelling will have chilled out significantly. Now, that once-perfectly-long bar is actually too long. A bar with too much extra length is a magnet for snags on hair, clothes, and pillows, causing movement that irritates the delicate healing tunnel (the fistula).
This is when you absolutely MUST go back to your piercer for a downsize. They’ll swap out your long starter post for a shorter one that sits perfectly flush against your ear. This simple step is one of the most effective things you can do to prevent irritation bumps and make sure your piercing heals at the right angle.
Seriously, don’t skip this appointment! Downsizing is a non-negotiable part of a successful conch piercing healing journey. It keeps your piercing stable, secure, and on the fast track to looking fabulous. You can learn more about what makes certain metals superior in our guide to titanium body jewelry, the real VIP for fresh piercings.
Your Conch Piercing Healing Questions Answered
Still have some questions swirling in your head? You're not alone. The conch piercing healing journey is a long one, and it's totally normal to wonder about the little day-to-day details.
We’ve gathered the most common questions we hear and are serving up the quick, clear answers you need. Think of this as your personal FAQ to help you feel confident and in control every step of the way.
When Can I Finally Change My Conch Jewelry?
Patience is everything with a cartilage piercing! You shouldn't swap your initial jewelry just for style until your conch is 100% fully healed, which can take 6-9 months or even longer. It's a marathon, not a sprint.
There is one jewelry change you absolutely must make, though. You need to see your piercer for a "downsize" around the 4-8 week mark. They'll swap the long initial post for a shorter one once the swelling has gone down, which is critical for preventing snags and irritation bumps. Changing it yourself before it's fully healed is a recipe for disaster and can set your healing back by months.
How Can I Sleep Without Irritating It?
This is a total game-changer for conch healing. The golden rule is to avoid sleeping directly on your new piercing at all costs. Consistent pressure can cause major swelling, lead to those dreaded irritation bumps, and even permanently change the angle of your piercing.
The Ultimate Piercing Pro-Tip: Grab a travel pillow—the U-shaped kind—and sleep with your ear in the open space. This brilliant trick takes all the pressure off your healing cartilage, letting you sleep soundly without waking up to a sore, angry ear.
This simple habit can make one of the biggest differences in achieving a smooth and speedy healing process.
Can I Wear Earbuds or Headphones?
You have to be smart about this one. Your safest bet is over-ear headphones that sit around your ear instead of on it, avoiding contact with the piercing altogether.
Earbuds are much riskier, especially during the first few months. They can introduce bacteria directly to the piercing site and put pressure on the jewelry, which is a major source of irritation. If you absolutely must use an earbud on that side, make sure you clean both your piercing and the earbud thoroughly beforehand and be extremely gentle.
What Should I Do If I Accidentally Snag My Piercing?
First, take a deep breath—it happens to everyone! Don't panic. Immediately clean the area with your sterile saline solution to flush out any bacteria that might have been introduced.
You might notice a bit of redness, some extra swelling, or even a tiny bit of bleeding, which is a normal reaction to trauma. A cool, clean compress can help soothe any discomfort. Just keep a close eye on it for the next few days. If the pain gets worse, the swelling increases dramatically, or you see any signs of infection, contact your piercer right away for advice.
Now that you're an expert on conch piercing healing, are you dreaming of the gorgeous jewelry you'll wear once it's all healed up? At Bodycandy, we've got a massive collection of stunning, high-quality pieces perfect for your new piercing.
Ready to find your new look? Shop our full collection of cartilage jewelry today!