You finally got the cartilage piercing you've been thinking about for ages. Now you're shopping for jewelry, and every product page is throwing numbers at you. 16G, 8mm, 10mm hoop, flat back, inner diameter. It can feel like you suddenly need a tiny engineering degree just to buy one cute earring.
You don't.
Cartilage piercing size gets way less confusing once you know what each number is telling you. What's more, once you know why those sizes matter, you stop guessing. You start picking jewelry that feels better, heals better, and fits your ear instead of just looking good in a photo.
Welcome to Your Cartilage Jewelry Era
If you're staring at your ear in the mirror wondering whether your stud is too long, whether your hoop is too tight, or whether 16G is thicker or thinner than 18G, you're in very good company.
Cartilage jewelry looks tiny, but the sizing choices are doing a lot of work. A piercer doesn't pick a gauge at random. They're thinking about stability, comfort, swelling, healing, and your specific anatomy. That's why two pieces of jewelry can look almost the same online and still feel completely different once they're in your ear.
Why this stuff feels weird at first
Many individuals get tripped up by one of three things:
- Gauge confusion because the numbers run backward. A smaller number means thicker jewelry.
- Length confusion because a post that looks too long at first may be the right choice for healing.
- Hoop confusion because hoop size is about the inside space, not the outside edge.
Big idea: Cartilage piercing size isn't one number. It's a fit system.
That's the mindset shift that makes everything click.
You're not just choosing “a cartilage earring.” You're choosing a thickness, a bar length or hoop diameter, and a style that matches where your piercing sits and whether it's still healing. Once you see it that way, the whole thing gets much easier to manage, and your ear stack starts feeling a lot more intentional.
Cracking the Code of Jewelry Sizing
You open a jewelry listing and see 16G, 8mm, 6mm hoop. Cute. Also kind of cryptic.
Those numbers are not random. They answer three different fit questions, and once you know which question each one answers, cartilage sizing starts feeling a lot less mysterious.

Gauge means thickness
Gauge is the thickness of the post that goes through your piercing.
The part that throws people off is the backwards numbering. A lower gauge number means thicker jewelry. So 14G is thicker than 16G, and 16G is thicker than 18G. If you want a fuller breakdown of how cartilage gauges compare, BodyCandy explains it clearly in this guide to the many gauges of cartilage piercings.
Why would a piercer start with a thicker gauge instead of the daintiest option? Stability. Fresh cartilage can be moody. A slightly thicker post usually gives the piercing a steadier channel and stands up better to little bumps, sleeping pressure, and everyday movement. Thinner jewelry can look delicate, but in a new piercing, delicate is not always your friend.
Length is for posts and studs
If you're wearing a flat back stud, straight barbell, or curved barbell, length is the wearable space between the ends of the jewelry.
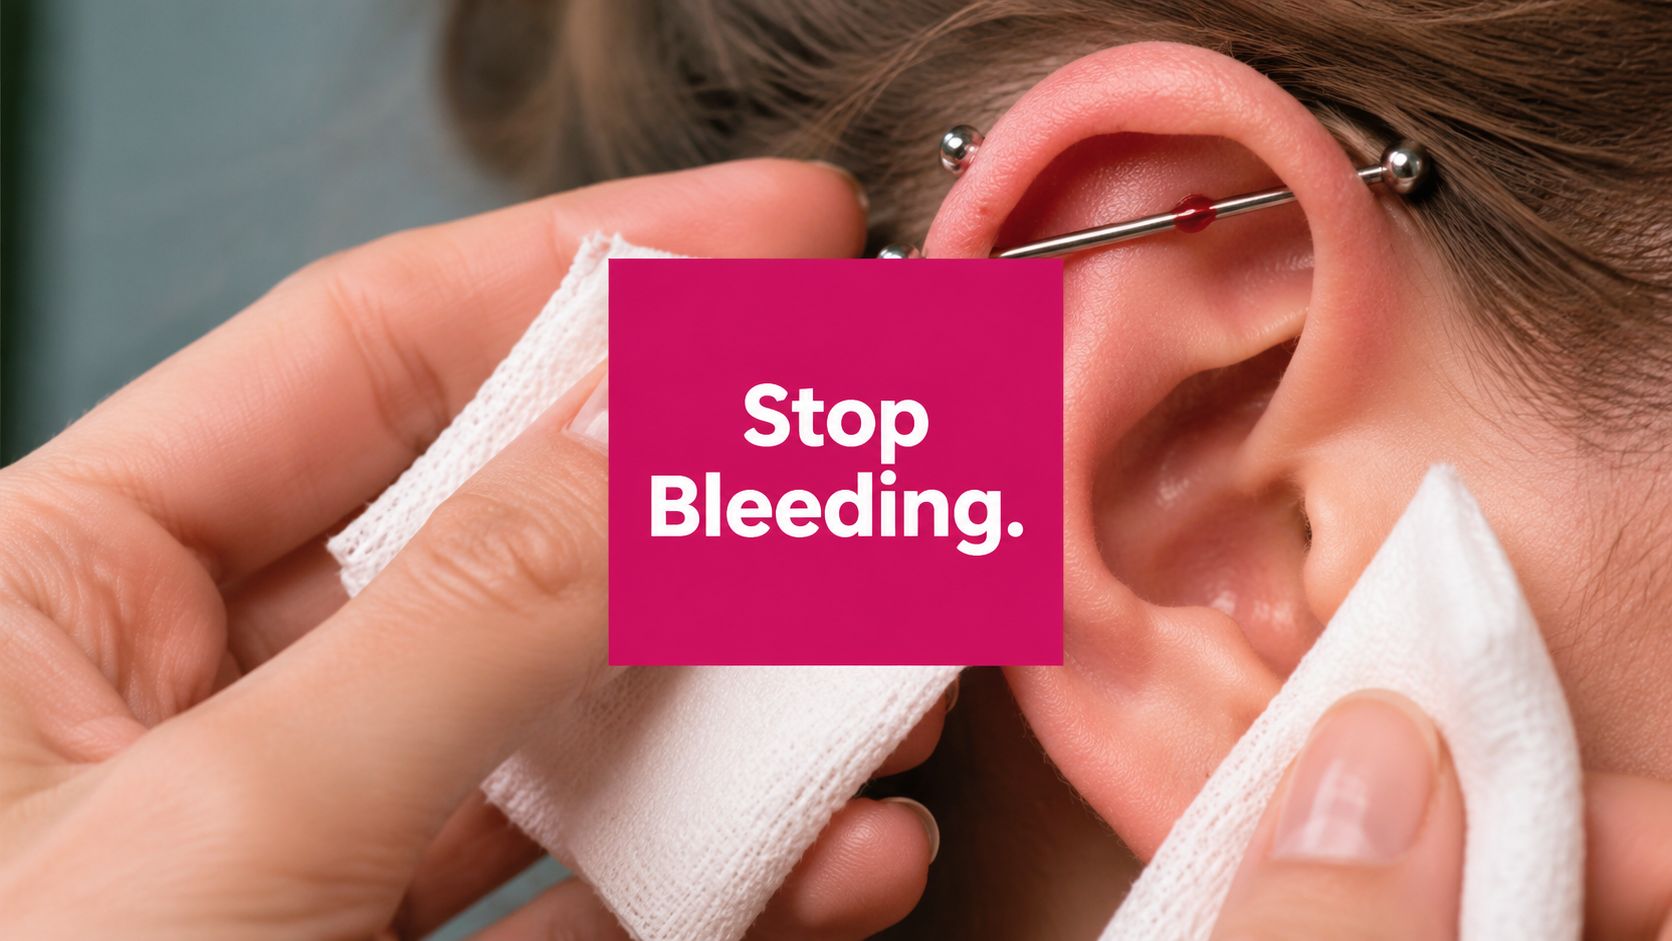
This measurement matters because cartilage tends to swell during healing. A fresh piercing often needs a little extra room so the tissue is not pressed by the jewelry. The Association of Professional Piercers jewelry standards explain that initial jewelry should allow for swelling and fit the anatomy and placement.
That's why a post that looks a bit long on day one can be the right call. It gives your ear space to be irritated without getting pinched. Later, once the piercing settles down, that same extra room can start to feel annoying because the post can shift, snag, or sit at a weird angle.
Diameter is for hoops
For hoops and rings, the fit question changes. You care about diameter, usually the inner diameter.
Inner diameter is the open space inside the ring, and that open space is what decides whether the hoop hugs your ear nicely or feels too tight. The Body Art Forms size guide shows how body jewelry is measured, including inner diameter for rings.
A snug hoop is usually a healed-piercing move for a reason. Fresh cartilage needs breathing room. A tight ring can put pressure on the entry and exit points, and it can rotate more than you want while the piercing is still touchy. Once healed, a closer-fitting hoop often looks cleaner and feels better because you're no longer leaving space for active swelling.
A hoop can look tiny in your hand and still feel too tight if the inner diameter does not leave enough room for your actual ear tissue.
Gauge to millimeter conversion
Here's the cheat sheet that makes online shopping much easier:
| Gauge (G) | Millimeters (mm) |
|---|---|
| 20G | 0.8 mm |
| 18G | 1.0 mm |
| 16G | 1.2 mm |
| 14G | 1.6 mm |
The Painful Pleasures jewelry sizing chart is a handy reference for these standard gauge-to-millimeter conversions.
One small detail that helps a lot. The jump from 18G to 16G is only 0.2 mm, but cartilage can absolutely notice that difference. Your ear is picky like that.
Typical Sizes for Popular Cartilage Piercings
You pick out a cute hoop online, it arrives, and somehow it either floats off your ear or squeezes it like a too-tight hair tie. That is usually not a style problem. It is a sizing problem, and the size choice starts with how each cartilage placement is built and how it heals.

Here is the simple version. Many cartilage piercings are commonly done at 16G, and some placements are also pierced at 18G. Fresh piercings often start with a post around 6 mm to 8 mm because your piercer is planning for swelling, not just the look on day one. The goal is stable jewelry that gives the tissue enough room to calm down without leaving so much extra length that it snags and shifts around.
The mini ear tour
-
Helix
A helix is often pierced at 16G with a flat back stud. That slightly thicker gauge gives the jewelry a bit more stability in a spot that gets hit by hair, glasses, hoodies, and sleep pressure. Piercers usually start with a little extra post length for early swelling, then swap to a shorter post later so the jewelry sits neater and moves less. If you want a quick refresher on common gauge options, BodyCandy explains the many gauges of cartilage piercings. -
Forward helix
Forward helix piercings often use 16G or 18G, depending on your anatomy and your piercer's approach. This area is small, but small does not automatically mean thinner is better. A low-profile flat back usually works well because it stays out of the way near the front of the ear, where bumps and snags happen fast. -
Tragus
A tragus is commonly pierced with a short-looking flat back, but the starter post is usually a bit longer than the healed one. That choice makes sense in a spot that deals with earbuds, phone pressure, and accidental knocks. The finished look is usually snug and tidy. The healing look needs a little grace. -
Conch
Conch piercings are often started with a 16G stud, and there is a good reason for that. The center of the ear has enough tissue that a stable post often heals more calmly than a ring that rotates and presses while the area is still fresh. Later, once healed, many people switch to a hoop for that bold wrapped look. The diameter has to match the width of your ear, though, or the ring will feel pinchy instead of polished.
Here's a quick visual if you want to see common cartilage placements in action.
The curved crew
-
Rook
Rooks are usually pierced with a curved barbell, often in 16G. That shape follows the ridge of the ear instead of fighting it. Straight jewelry in a naturally curved fold can create awkward pressure, which is why shape matters just as much as gauge here. -
Daith
Daith piercings are often done with a ring or curved piece, commonly around 16G. This spot sits tucked inside the ear, so fit gets very specific very quickly. A healed daith can look amazing with a close ring, but a fresh one needs enough room so the jewelry is not pressing into swollen tissue inside that fold.
One pattern shows up over and over. Fresh cartilage jewelry is chosen for healing first, style second. Healed cartilage jewelry flips that order a bit, because once swelling is gone, you can go shorter, snugger, and closer to the look you want.
Practical rule: The right size is the one that suits your anatomy, your healing stage, and the jewelry shape all at once.
Cartilage sizing is not random. Piercers choose these starting sizes because they balance support, room, and comfort in tissue that can be stubborn about healing. Once you know the why, the numbers stop feeling like secret code.
How to Measure for a Perfect Fit at Home
You don't need a jewelry lab setup to get a decent measurement. A basic ruler with millimeter markings is enough to get you surprisingly close, especially if you're measuring jewelry you already own and like.
The biggest favor you can do yourself is to measure the jewelry, not your ear. Your current piece gives you a physical reference point. If it fits well, that measurement becomes your shopping shortcut.

Measuring a stud or post
Take the jewelry out only if your piercing is healed enough for that to be safe and comfortable.
Then do this:
- Clean the piece first so you're not handling grimy jewelry.
- Lay it flat next to a ruler with millimeter marks.
- Measure only the wearable bar. Don't include the decorative top or the backing.
- Write it down immediately because you will forget. Everyone does.
If your jewelry is a flat back labret, focus on the straight post length between the front end and the flat disc.
Measuring a hoop
Hoops throw people off because they usually measure the wrong part.
For a hoop, measure the inner diameter, which is the open space inside the ring from one inner edge to the opposite inner edge. Don't measure from the outside edges unless a listing specifically says outer diameter, and for cartilage that's usually not the measurement you need.
A second helpful move is checking a measurement tutorial if you want a visual walk-through. BodyCandy has one on how to measure jewelry using calipers, and the same general logic helps even if you're using a ruler.
Measure twice. Order once. Tiny differences can change how cartilage jewelry feels.
If your current piece fits badly, don't use it as your ideal reference. Use it as a clue. Too much movement usually means you need a different length or diameter. Pressure, pinching, or embedding usually means the fit is too tight for the situation.
The Swelling Factor and Downsizing Essentials
You get a fresh cartilage piercing, glance in the mirror, and immediately notice the post looks longer than you expected. That can feel wrong if you were picturing a neat, close-to-the-ear fit. For a new piercing, though, that extra length is usually the smart choice.
Fresh cartilage is moody. It can swell, hold onto irritation, and stay tender longer than a soft lobe piercing. Your starter jewelry is chosen for healing first and looks second. A piercer often starts cartilage with a thicker, stable gauge such as 16G and a longer post because the tissue needs breathing room while it settles. Thin, tiny, super-snug jewelry may look delicate, but it gives a fresh piercing less support and less space when your ear puffs up.

Why fresh piercings need more room
A long initial post works like leaving room in a seat after a big winter coat. You want space for reality, not just for the ideal version of your ear on a calm day.
If the jewelry is too short during early swelling, the ends can press into the skin. That pressure can make irritation worse, trap discharge, and in bad cases cause the jewelry to sink in. Your piercer is trying to prevent those problems from the start. The goal is a stable fit that can handle swelling without turning every bump or pillow nap into a drama.
This is also why a snug hoop is usually better saved for later. A close-fitting ring has less wiggle room for swelling, and cartilage does not love being forced into a tight curve while it is still healing.
Downsizing is a milestone, not a punishment
Once the swelling has eased and the piercing has calmed down, that extra-long post stops being helpful. Now it can catch on hair, shift around while you sleep, or angle the jewelry in a way that annoys the piercing.
Downsizing means switching to a shorter post after the initial healing period, usually with your piercer's help. The reason is simple. Less extra length means less movement, and less movement often means less irritation. You are not changing jewelry just for looks. You are giving the piercing a better day-to-day fit for its current stage.
A few signs it may be time to ask about downsizing:
- More bar is visible than when you first got pierced
- Hair, towels, or shirts keep catching on the post
- The jewelry sits crooked because there is too much extra space
- Swelling and tenderness have settled down and the area feels calmer overall
Healing jewelry makes room for swelling. Fitted jewelry makes healed cartilage easier to live with.
Material still matters. Fresh or easily irritated piercings usually do best with simple, biocompatible pieces in the correct size. If your ear has been fussy and you want more context on what irritation can look like, BodyCandy has a helpful post on common cartilage piercing concerns and irritation issues.
Troubleshooting Common Jewelry Fit Problems
Even when you know your cartilage piercing size, ears can still be fussy. Here's the quick reality check for the fit issues people run into most.
It feels too tight
If your jewelry feels like it's squeezing, pressing, or leaving no breathing room, the fit may be too short or too snug for your current stage of healing.
That matters most with fresh or irritated cartilage. Swollen tissue needs space. If the jewelry is pressing in, stop treating it like a style problem and treat it like a fit problem.
It moves around too much
If your stud slides back and forth all day or your hoop spins more than you want, the jewelry may be longer or wider than your ear really needs.
That doesn't always mean it's wrong. Fresh jewelry often has extra room on purpose. But if the piercing is healed and the movement is causing annoyance, a shorter post or a smaller inner diameter may give you the cleaner fit you want.
My hoop looked cute online, but it feels intense
This usually happens when the hoop is too snug for the placement. Cartilage curves are weird and personal. A ring that hugs beautifully on one person may create pressure on another.
For healed cartilage, snug can be great. Too snug is not.
My piercing is irritated and I can't tell if it's the size
It might be. It might also be movement, sleeping on it, changing jewelry too early, or reacting to the material.
When irritation keeps showing up, don't just buy random replacements and hope for a miracle. Check the gauge, check the length or diameter, and if needed, have a piercer look at the angle and fit in person.
Ready to build an ear stack that actually fits? Browse BodyCandy for cartilage jewelry styles, then use the measurements you already know to narrow in on the right gauge, post length, or hoop diameter. If you're still unsure, save your current jewelry measurements first, then shop with those numbers in hand.