So, you took the plunge and got a gorgeous new belly piercing! The sparkle is real, but now comes the most important part: the belly piercing healing journey. This is a marathon, not a sprint, and you can expect it to take anywhere from six months to a full year for your new bling to be truly and fully healed.
Your Belly Piercing Healing Timeline
Getting a new belly piercing is a total vibe, but the real commitment is the aftercare that follows. Unlike an earlobe that might feel fine in a few weeks, your navel piercing needs a lot more time and TLC. Its location means it moves every time you bend, twist, or rock those high-waisted jeans, which can easily lead to irritation and slow things down.
This guide will walk you through the entire process, from those initial tender days to finally swapping in some new sparkly bling from your Bodycandy cart. A typical belly button piercing needs a significant healing period, generally ranging from six months up to a full year.
During the first 4 to 6 weeks, you'll likely experience some redness, swelling, and crusting. Don't panic; this is all a totally normal part of your body's amazing healing process. If you want to dive even deeper, you can find more insights about the full navel piercing healing process on bodyjewelry.com.
To help you visualize what's ahead, here is a quick look at the major stages of your healing journey.
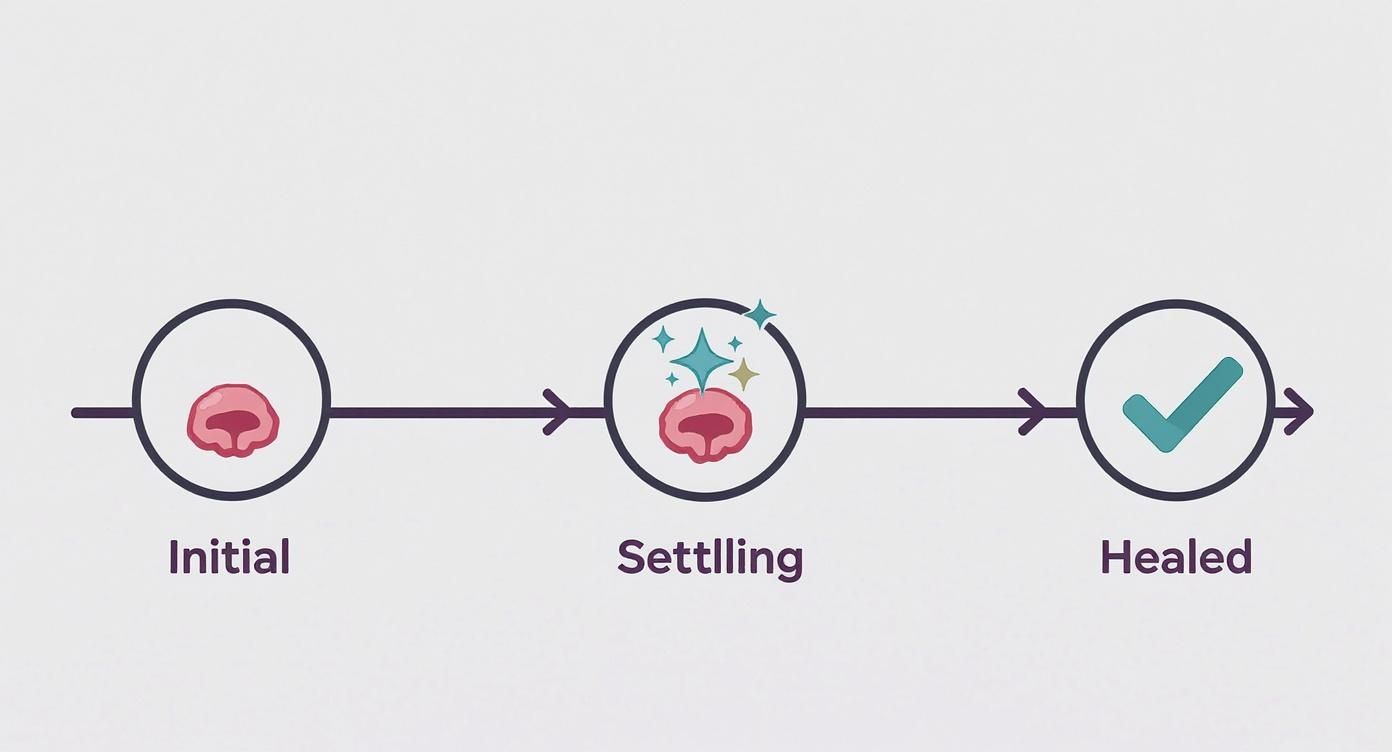
This timeline really highlights that while the initial drama (swelling and tenderness) calms down relatively quickly, the internal tissue—the fistula—takes much longer to become strong and stable.
To make things even clearer, let's break down what you can expect month by month.
Belly Piercing Healing Timeline At a Glance
This table maps out the typical journey, but remember, everyone's body is different! Think of this as a general road map, not a strict schedule.
| Healing Stage | What It Looks and Feels Like | Your Main Aftercare Goal |
|---|---|---|
| Weeks 1-4 (Inflammation Phase) | Redness, significant swelling, tenderness. Clear or whitish fluid (lymph) that forms "crusties." The piercing will be very sensitive. | Gentle cleaning 2x a day with saline solution. Avoid all friction, pressure, and snagging. Don't touch it! |
| Months 2-4 (Proliferation Phase) | Redness and swelling will noticeably decrease. Tenderness will fade. You'll still see crusties, but likely less often. | Continue cleaning 1-2x a day. Remain vigilant about avoiding snags and high-waisted pants. The piercing is still fragile. |
| Months 5-12+ (Maturation Phase) | The piercing should look normal from the outside. No more redness, swelling, or regular discharge. It feels comfortable day-to-day. | The fistula (the skin tunnel) is still strengthening. You can reduce cleaning to once a day or a few times a week. Do not change the jewelry until your piercer gives you the green light. |
The key takeaway here is patience. Even when your piercing looks healed on the outside, it's still working hard on the inside. Rushing things is the fastest way to run into problems.
What Is Normal During Healing
It’s so easy to stress over every little twinge and bit of redness with a new piercing. Knowing what's part of the standard playbook can save you a ton of unnecessary panic.
Here’s what you can generally expect to see:
- Initial Swelling and Redness: For the first week or two, the area will likely be red, a bit swollen, and definitely tender to the touch. This is just your body's initial response.
- Clear or Whitish Discharge: You might notice a clear or slightly whitish fluid that dries into "crusties." This isn't pus! It's just lymph fluid, a sign your body is hard at work healing the site.
- Mild Itching: As the skin begins to repair itself, a little itchiness is super common. It can be annoying, but whatever you do, don't scratch it!
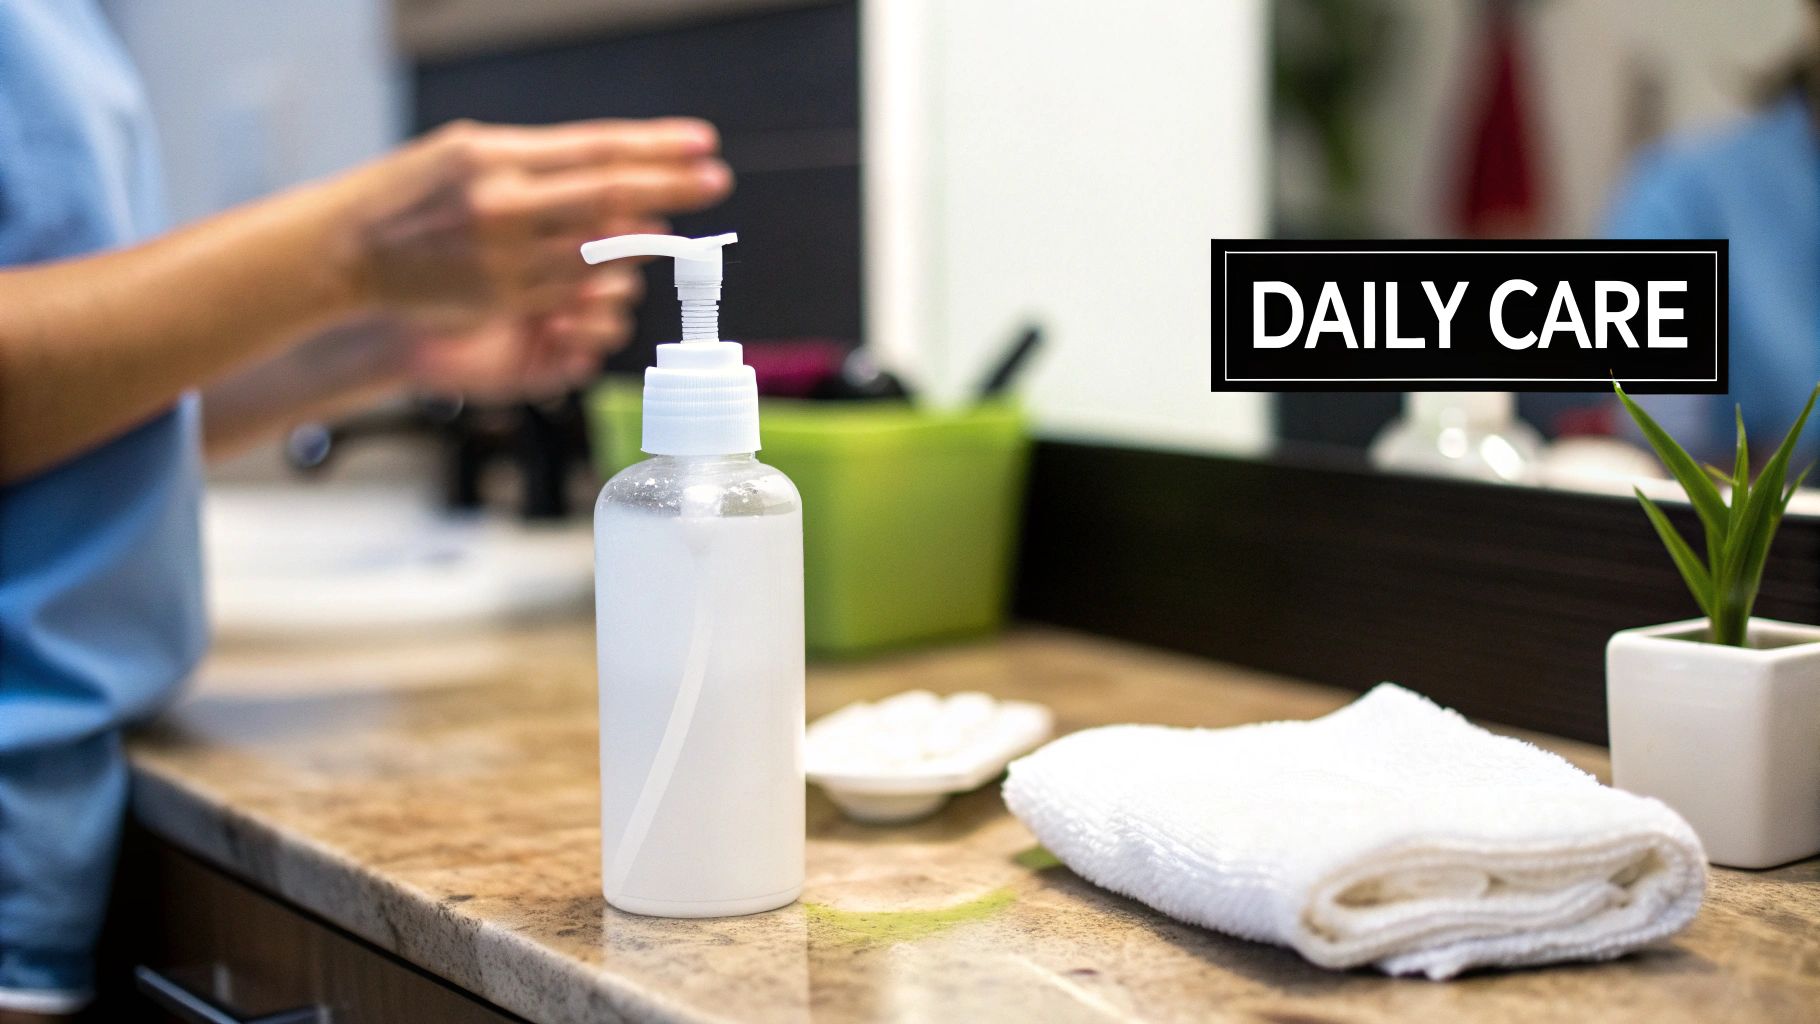
Creating Your Daily Aftercare Ritual
Alright, you’ve got your awesome new piercing! Now it's time to nail the aftercare routine. This isn't some complicated chore; think of it as a simple, daily moment of care that will absolutely make or break your entire belly piercing healing experience.
And the best part? It’s incredibly simple. The foundation of a happy healing journey is just one thing: sterile saline solution. That’s it! No harsh soaps, no alcohol, and please, no DIY salt-water concoctions your friend swears by. Your body is a healing machine, and your only job is to give it a clean, calm environment to work its magic.

The Golden Rules of Cleaning
First thing’s first: always wash your hands thoroughly with antibacterial soap before you even think about touching your piercing. Seriously. Your hands carry more germs than you can imagine, and introducing them to a fresh wound is just asking for trouble.
Once your hands are clean, the process is a breeze. You'll want to clean your piercing twice a day—once in the morning and once at night is the sweet spot. Consistency is everything, but don't overdo it. Cleaning too often can strip away beneficial bacteria and dry out the skin, which just leads to more irritation.
- Spray It On: Lightly mist the front and back of the piercing with your sterile saline solution. You don’t need to drown it; just a quick spritz to cover the entry and exit points is perfect.
- Let It Sit: Give the solution a minute to soak in and soften up any "crusties." That's just dried lymph fluid, by the way, and it’s a completely normal part of the healing process!
- Gently Pat Dry: Grab a clean, disposable paper towel or some sterile non-woven gauze to gently pat the area dry. Steer clear of bath towels—they can harbor bacteria and snag on your jewelry. Ouch.
Remember, the goal is to clean the piercing, not disturb it. This means no twisting, turning, or fiddling with your jewelry. The less you move it, the faster your body can build that new tunnel of tissue for a stable, happy piercing.
What to Avoid at All Costs
Just as important as what you do is what you don't do. The piercing world is full of outdated advice that can seriously derail your healing. Your navel is a sensitive spot, and using the wrong products can cause a world of hurt.
To keep your new piercing happy, stay far away from these troublemakers:
- Harsh Chemicals: Alcohol, hydrogen peroxide, and antibacterial soaps (like Dial) are way too aggressive for a healing piercing. They kill off the healthy cells your body needs to rebuild tissue.
- Ointments and Creams: Products like Neosporin or Bacitracin are a huge no-no. They’re not designed for puncture wounds and create a seal over the piercing, trapping moisture and bacteria inside. That’s the perfect recipe for an infection.
- Swimming: Pools, hot tubs, lakes, and oceans are basically giant petri dishes for bacteria. You have to avoid submerging your piercing until it’s fully healed. No exceptions on this one!
For a deeper dive into the best aftercare products, learning about H2Ocean aftercare products on our blog can give you extra confidence in your routine. Sticking to a simple, piercer-approved method is the surest way to get that beautifully healed navel piercing you've been dreaming of.
Navigating the First Few Months of Healing
Alright, so you've got your new belly piercing. The next few months are seriously the most important part of your healing journey. Think of your piercing as a delicate little thing that's counting on you to keep it safe from, well, everything. This means paying attention to details you've never thought about before, from the pants you wear to the way you crash at night.
Let's get into the real-world playbook for keeping your new navel piercing happy and on the road to a smooth recovery.
Dress for Healing Success
Your wardrobe is now your piercing's best friend... or its worst enemy. High-waisted pants, tight belts, and scratchy fabrics are officially on the "no-fly" list. They're notorious for snagging, pulling, or just putting constant pressure on your new jewelry, which is a recipe for some major irritation.
For the next few months, it's all about living that comfy life:
- Loose-fitting tops: Soft cotton t-shirts, breezy blouses, and crop tops that steer clear of your navel are your new go-to's.
- Low-rise bottoms: Give your piercing space to breathe! Low-rise jeans, joggers, shorts, or skirts are perfect.
- Breathable fabrics: Stick to materials like cotton. They let air circulate, which helps keep the area dry and happy.
Daily Life and Your New Piercing
Beyond your closet, a few small tweaks to your everyday habits can make a massive difference. You'll quickly realize that some things you do on autopilot now need a little extra thought.
Sleeping Positions
If you're a stomach sleeper, I've got some news for you. It's time for a temporary change of scenery. Sleeping on your stomach puts direct pressure on the piercing all night long. This can lead to swelling, irritation, and can even cause the jewelry to shift or "migrate." Try to get comfortable sleeping on your back or your side to keep the area free and clear.
Showering and Exercise
Showering is totally fine—in fact, it helps keep things clean. Just make your piercing the last thing you rinse off to make sure no shampoo or soap residue is left hanging around. Once you're out, gently pat the area dry with a clean paper towel. Never, ever use your bath towel; they're a breeding ground for bacteria and the little loops love to snag jewelry.
As for working out, just be mindful of any exercises that involve a lot of core crunching or intense twisting. Sweat isn't great for a fresh piercing, so do a quick saline cleanse right after your gym session to wash away any salty buildup.
Decoding Normal Healing Signs
Your body is about to do some weird—but totally normal—things as it heals. Knowing what to expect will save you from a ton of unnecessary panic.
You'll almost certainly notice some "crusties" forming around the jewelry. This isn't anything gross; it's just dried lymph fluid, and it's a sign that your body is doing exactly what it's supposed to do! Don't pick at them. Just let your saline spray soften them up, then gently wipe them away with some non-woven gauze.
A little bit of clear or whitish discharge is also part of the process. What you don't want to see is yellow or green discharge, or an area that becomes hot to the touch, excessively swollen, and painful. If that happens, it's time to check in with your piercer.
Remember, healing is a marathon, not a sprint. Every body is different, but you can get a general idea of what to expect by checking out our guide on healing times for popular piercings.
How to Handle Common Healing Hiccups
Even when you follow your aftercare routine to the letter, the belly piercing healing process can sometimes throw you a curveball. Don't panic! Most of the time, it's just your body's way of telling you something is off. Let's walk through troubleshooting the most common issues that can pop up.
One of the most frequent worries is the dreaded irritation bump. This is a small, pimple-like bump that appears right next to the piercing. It’s almost always caused by something simple—friction from high-waisted pants, a little too much moisture trapped under the jewelry, or accidentally snagging it on a towel.
The key is to play detective, find the source of the irritation, and get rid of it.
Irritation vs. Infection: Knowing the Difference
It’s incredibly easy to see a little redness and jump to the worst-case scenario. But telling the difference between a simply annoyed piercing and a genuine infection is crucial for your peace of mind and your health.
An irritated piercing is just that—irritated. An infected one needs prompt medical attention. Getting familiar with the signs will save you a lot of unnecessary stress.
Here’s a quick comparison to help you figure out what's going on:
| Symptom | Normal Irritation | Potential Infection |
|---|---|---|
| Discharge | Clear, whitish, or pale yellow fluid that dries into "crusties." | Thick, opaque yellow or green pus, often with a foul odor. |
| Swelling | Mild puffiness localized right around the piercing site. | Significant, spreading swelling that feels hard or hot to the touch. |
| Pain | Tenderness when touched or moved, but it's generally manageable. | Throbbing, persistent pain, even when you're not touching it. |
| Redness | A pink or reddish ring immediately around the piercing holes. | Dark red coloration or red streaks that spread out from the piercing site. |
| Heat | The area may feel slightly warm, but not intensely so. | The entire area feels noticeably hot when you touch it. |
If your symptoms are lining up with the "Potential Infection" column, it's time to act. Do not take the jewelry out! This can trap the infection inside and cause a much bigger problem. Instead, head to a doctor for proper diagnosis and treatment.
Dealing with More Serious Concerns
While much less common, it’s good to be aware of other potential issues like jewelry rejection and migration. This is when your body decides it doesn't want the foreign object in your skin and starts pushing it toward the surface.
You might be experiencing rejection if you notice:
- The skin between the entry and exit holes looks thinner than it used to.
- You can see more of the barbell than when it was first pierced.
- The piercing holes themselves look stretched out or enlarged.
- The jewelry has clearly shifted from where it was originally placed.
Another concern is scarring. This is a known risk with any body modification, and good aftercare is your best defense. In one study, 24% of participants with navel piercings reported some level of scarring. Things like snagging the jewelry, improper aftercare, or even just a genetic predisposition to keloids can increase this risk. You can find more info on factors affecting piercing outcomes on WebMD.com.
If you think your jewelry is migrating or you're seeing signs of excessive scarring, go see your professional piercer. They have the experience to assess the situation and advise you on the best path forward, which might mean swapping to different jewelry or, in some cases, removing the piercing to let it heal properly.
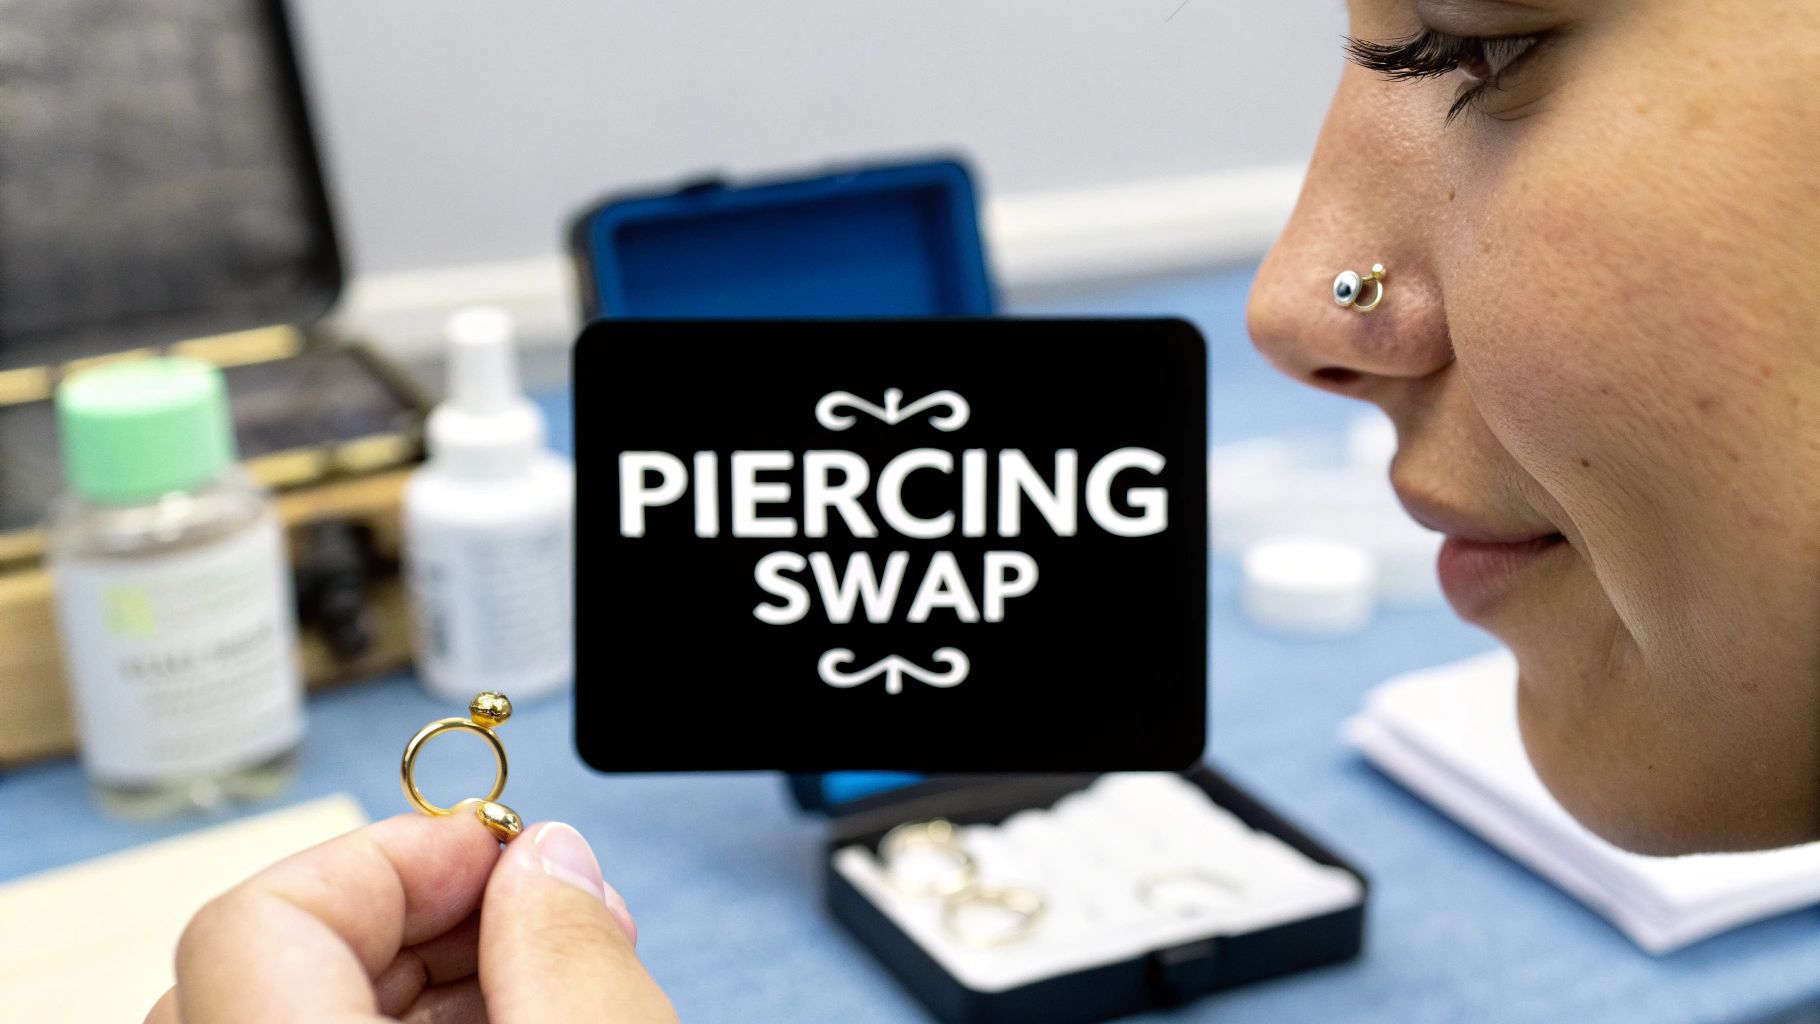
When Can You Finally Change Your Jewelry
It's the question every single person with a new belly piercing asks: "So, when can I finally put in that super cute, sparkly ring I've had my eye on?"
We get it! The temptation to swap out that initial, standard barbell for something that screams you is real. But this is one of the most critical moments in your belly piercing healing journey, and patience is your absolute best friend.
Jumping the gun and changing your jewelry too early can be a disaster. The inside of your piercing, known as the fistula, takes much longer to heal than the outside. A piercing heals from the outside in, meaning it can look perfectly fine on the surface weeks or even months before it's truly stable.
If you change the jewelry before that internal tunnel is strong, you can easily tear the delicate, newly formed tissue. This sends you right back to square one, causing pain, swelling, and a massive healing setback.
Your Healed Piercing Checklist
So, how do you know for sure that it's go-time? Your piercing will give you some clear signs that it's ready for its big debut. Don't even think about making a change until you can confidently check off every single item on this list.
- The Full Wait: You’ve patiently waited the full healing time recommended by your piercer, which is typically 6 to 12 months.
- No More Crusties: You haven't seen any of that normal healing discharge (the "crusties") for several weeks.
- Pain-Free Zone: The jewelry can be gently moved without any pain, pinching, or tenderness.
- Looks Calm and Happy: The skin around the piercing holes looks like normal, healthy skin—no redness, puffiness, or irritation.
Making the First Switch Safely
Once you've passed the healed checklist, it's time for the fun part! That first jewelry change is exciting, but you still need to be super careful and clean.
Start by washing your hands thoroughly with antibacterial soap. Next, gently clean your piercing and the new jewelry with sterile saline solution to make sure everything is pristine.
Carefully unscrew your old jewelry, slide it out, and immediately (and gently!) insert the new piece. Don't leave the piercing empty for any length of time, as even a healed fistula can begin to shrink surprisingly fast.
Choosing the right material for your first swap is crucial. Your new piercing is still getting used to things, so you want to use high-quality, body-safe metals. This is not the time for mystery-metal jewelry from a mall kiosk!
Stick to implant-grade titanium, 14k or 18k solid gold, or surgical steel. These materials are less likely to cause irritation or an allergic reaction in your newly healed piercing. If you have sensitive skin, it’s a great idea to learn more by checking out our guide on hypoallergenic jewelry for sensitive skin. This will help ensure your transition to new bling is smooth, stylish, and totally irritation-free.
Your Belly Piercing Healing Questions Answered
We’ve heard every question in the book when it comes to the belly piercing healing journey. Seriously, every single one. So, we've gathered the most common anxieties and curiosities all in one place to give you quick, clear answers.
From that first heart-stopping snag to wondering when you can finally get back in the water, let's clear up the confusion. Think of this as your go-to guide for healing beautifully and with total confidence.
Can I Go Swimming with a New Belly Piercing?
This is a hard no, bestie. For that initial, super critical healing period, you absolutely have to stay out of pools, hot tubs, lakes, and oceans. These bodies of water are basically a party for bacteria, and a fresh piercing is an open invitation for a nasty infection to crash.
You really should wait until your piercing is completely healed—which, yes, can take that full 6 to 12 months—before you even think about going for a swim. If you find yourself in a situation where you absolutely must get in the water, a waterproof, breathable bandage can offer a little bit of protection. But let's be real, it’s not foolproof. Your safest bet is to just skip the dip altogether.
My Piercing Looks Healed, Is It Safe to Change?
Don't fall into this classic trap! It's so tempting, I know. But piercings heal from the outside in, which is incredibly deceptive. This means the entrance and exit holes can look perfectly happy and healed long before the internal tissue (the fistula) is actually strong and stable.
Changing your jewelry too soon is a one-way ticket to disaster. You can easily tear that delicate internal tissue, which immediately causes irritation, swelling, and a major setback in your healing time. You’d pretty much be starting the clock all over again. The golden rule is to wait for the full timeline your piercer gave you.
Key Takeaway: A piercing that looks healed and one that is healed are two very different things. The inside needs just as much time, if not more, than the outside. Patience now means a happy, healthy piercing for years to come.
What Should I Do If I Accidentally Snag My Belly Ring?
Ouch! Okay, first, take a deep breath. Don't panic. Gently check the area for any bleeding. If you see a little, just apply light pressure with a clean piece of non-woven gauze or a paper towel until it stops.
Once the initial shock wears off, give it a gentle saline soak or spray to clean the area and flush out any bacteria that might have snuck in. For the next few days, you'll want to treat it like it's brand new again. That means being extra cautious with clothing, avoiding any pressure on it, and staying on top of your cleaning routine. It will probably be sore and a bit swollen for a few days, which is totally normal.
However, if the pain gets worse, you see any yellow or green discharge, or the jewelry looks like it has shifted, it’s time to head back to your piercer for a professional check-up.
Is It Normal for My Piercing to Have Crusties?
Yes, this is 100% normal and is actually a good sign! Those little crusty bits that form around your jewelry are just dried lymph fluid. It’s a natural byproduct your body produces as part of the healing process.
The most important rule here: do not pick at them with your fingers! This can introduce bacteria and seriously irritate your piercing. Instead, let your daily saline spray do the work to soften them up. After they’re soft, you can gently wipe them away with a clean piece of sterile gauze. Don't worry, these crusties will become less and less frequent as your belly piercing healing journey progresses.
Now that you're armed with all this healing knowledge, are you dreaming of the day you can finally show off some new bling? At Bodycandy, we have an incredible collection of high-quality belly rings just waiting for you.
Check out our full collection of belly button rings and get inspired for your healed look!